Creating a Hades 3D Model: Expert Workflow & Best Practices
скачать 3d модели для chicken gun
Creating a high-quality Hades 3D model requires a balanced blend of creative vision, technical execution, and efficient workflow management. In my experience, the best results come from a clear concept, strong reference gathering, and leveraging AI-powered tools to streamline repetitive steps—especially for artists and developers working in games, film, or XR. Below, I share my full process, practical tips, and lessons learned for modeling, texturing, rigging, and exporting a production-ready Hades character.
Key takeaways
- Start with a well-defined concept and organized references to speed up modeling decisions.
- Block out the base mesh quickly, then refine proportions and details iteratively.
- Use AI-powered segmentation, retopology, and texturing tools to accelerate the pipeline.
- Prioritize clean topology and efficient UVs for easier texturing and animation.
- Test rigging and animation early to avoid costly rework.
- Export with platform requirements in mind, and always check for errors before sharing.
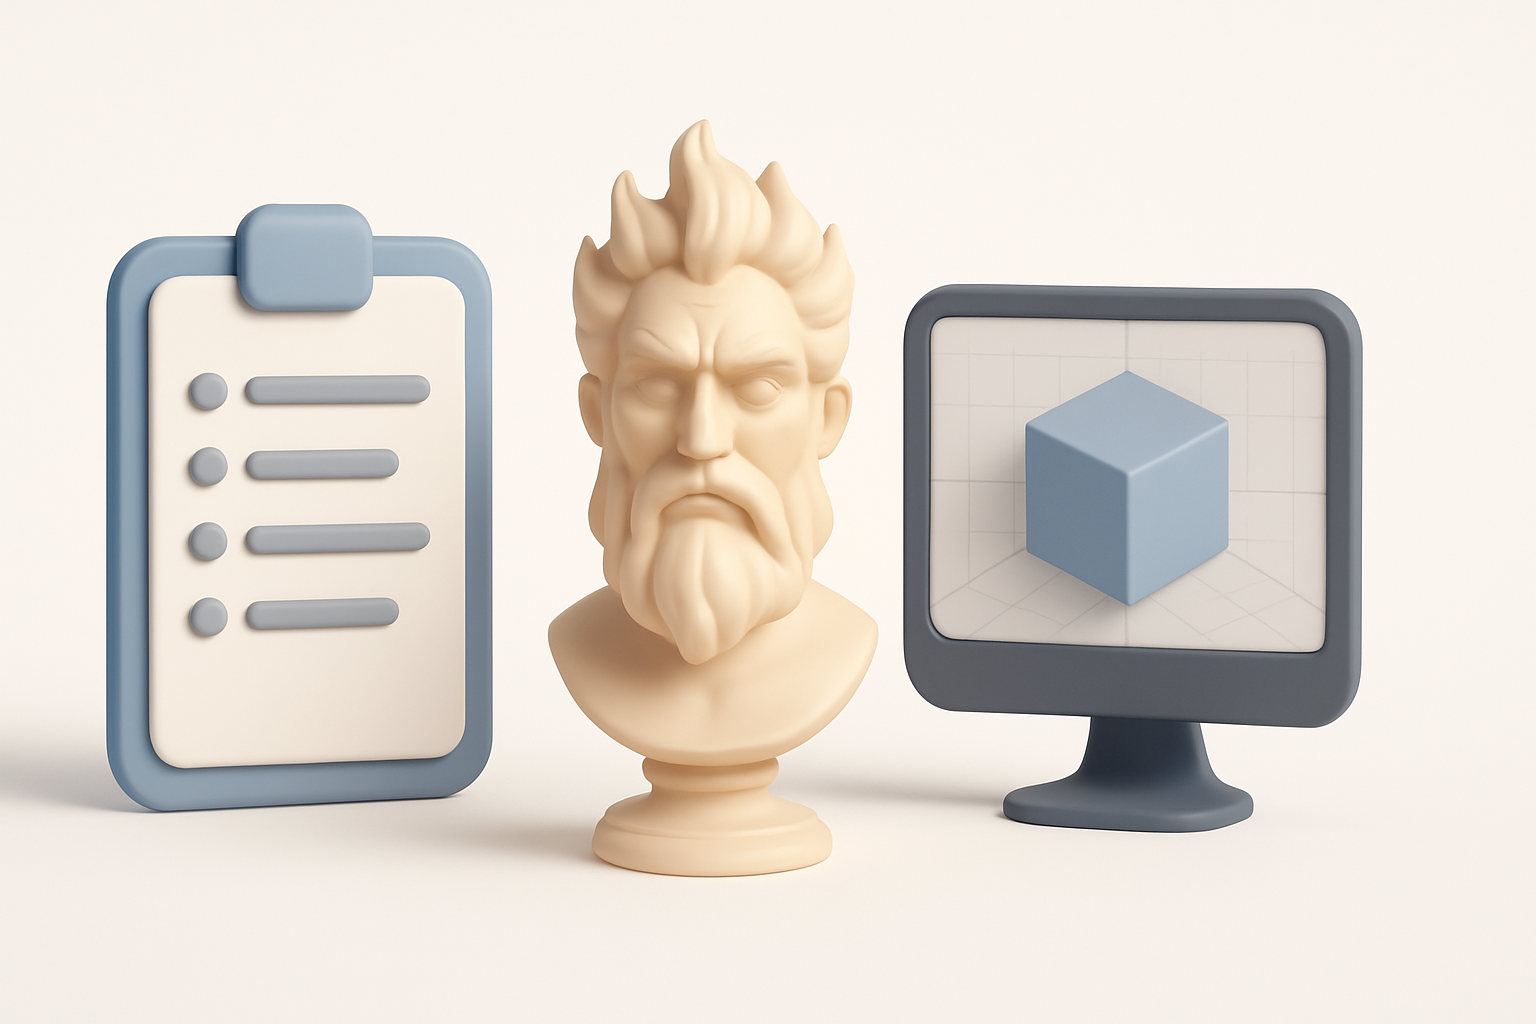
Executive Summary: Key Takeaways for Hades 3D Modeling
What makes a great Hades 3D model
A standout Hades model captures the character’s mythological essence—powerful, mysterious, and visually distinct. What sets great models apart is a strong silhouette, balanced proportions, and details that support the narrative (e.g., regal armor, fiery motifs). I focus on readable forms and expressive features that translate well across platforms.
Summary of recommended workflows
My recommended workflow involves:
- Concept and reference gathering
- Base mesh blocking
- Detail sculpting
- Retopology and UVs
- Texturing and materials
- Rigging and animation
- Export and integration
Leveraging AI tools like Tripo can automate segmentation, retopology, and basic texturing, saving hours on technical steps.
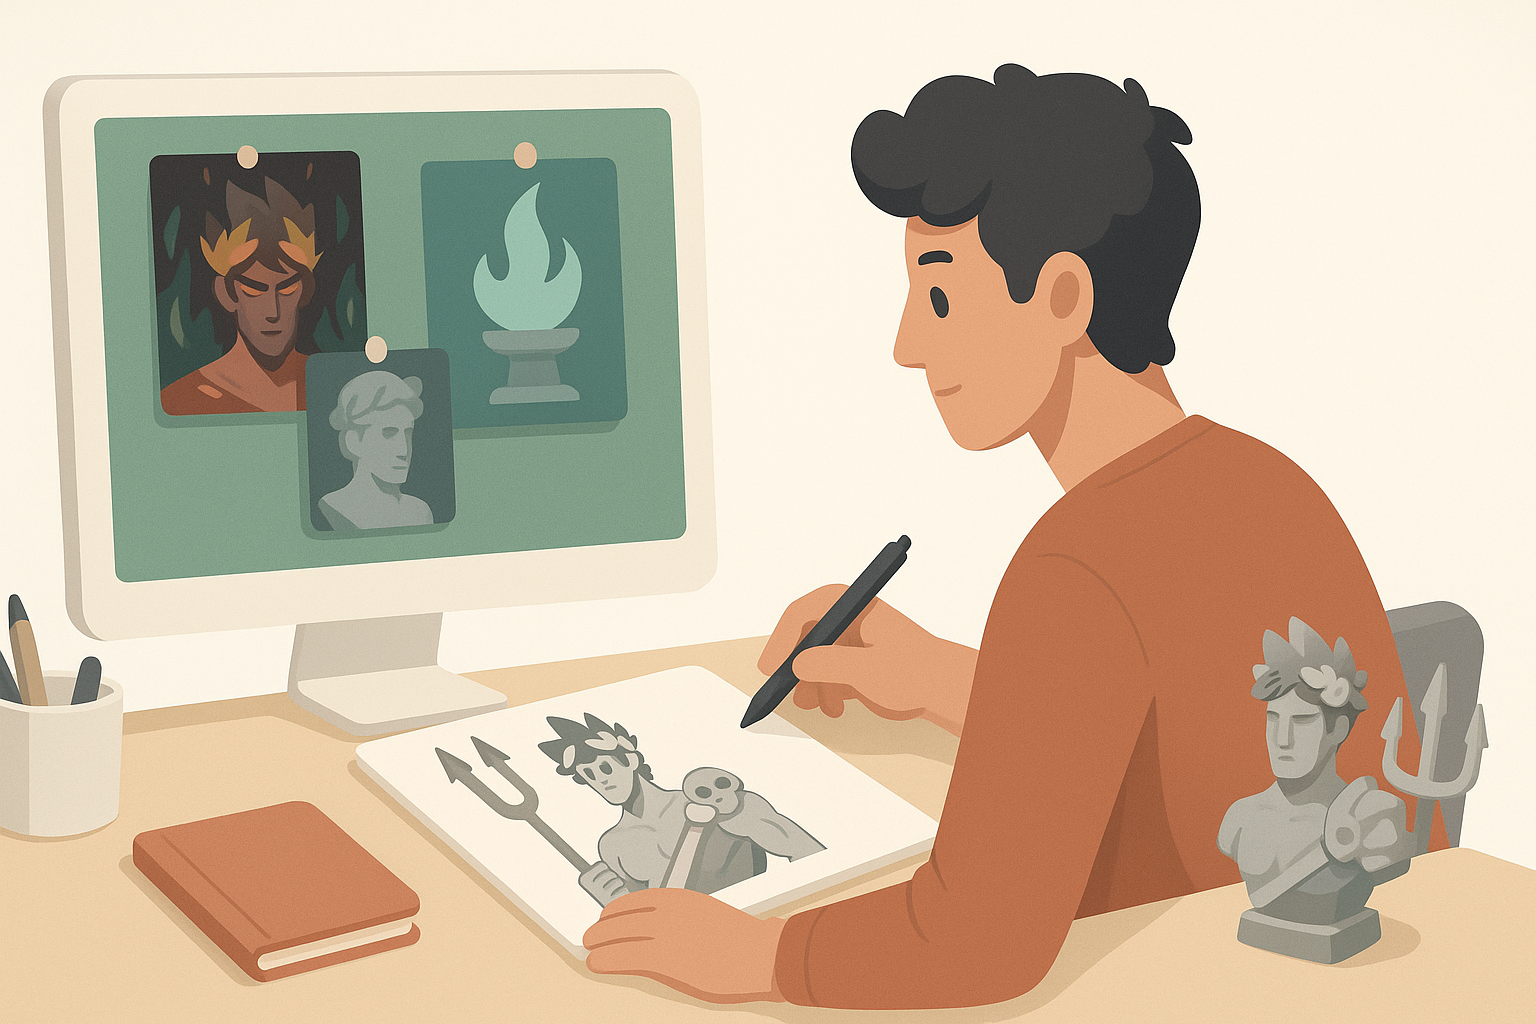
Conceptualizing and Gathering References for Hades
Choosing the right Hades design style
Before modeling, I decide whether I want a stylized, realistic, or hybrid look. For Hades, I often lean into dramatic, angular features and dark, regal attire. I sketch or collect concept art to clarify the direction.
Checklist:
- Define target style (realistic, stylized, etc.)
- Identify key traits (armor, color, props)
- Confirm platform/engine requirements (polycount, texture size)
Collecting and organizing reference materials
I gather references from mythology books, films, games, and art communities. Organizing them in mood boards or reference sheets helps maintain consistency.
Tips:
- Use high-res images for anatomy, clothing, and accessories
- Group references by category (face, costume, materials)
- Keep everything accessible during modeling
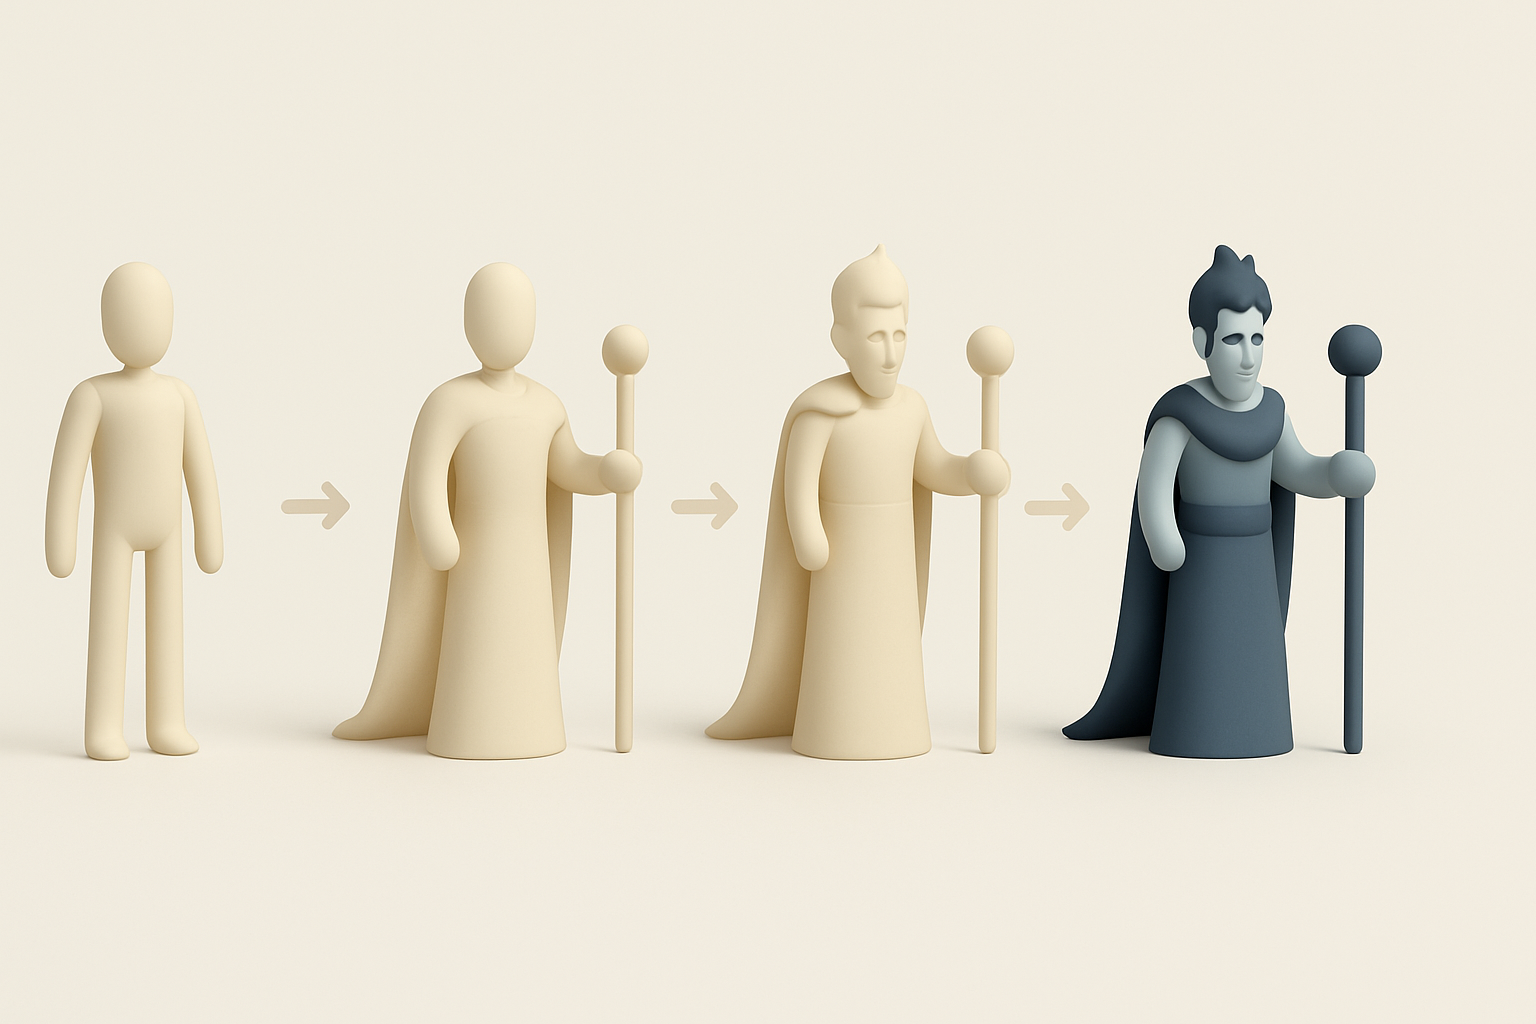
Modeling Hades: Step-by-Step Workflow
Blocking out the base mesh
I start with simple shapes to establish the main forms—head, torso, limbs. In Tripo, I can generate a rough base mesh from sketches or text prompts, then tweak proportions manually.
Steps:
- Block out using spheres/cubes for major forms
- Adjust overall silhouette and pose
- Focus on proportions, not details
Refining details and proportions
Once the base is set, I sculpt secondary forms: facial structure, muscle groups, armor plates. I check the model from multiple angles to avoid proportion issues.
Pitfalls to avoid:
- Over-detailing too early
- Ignoring symmetry or anatomical landmarks
- Neglecting the silhouette
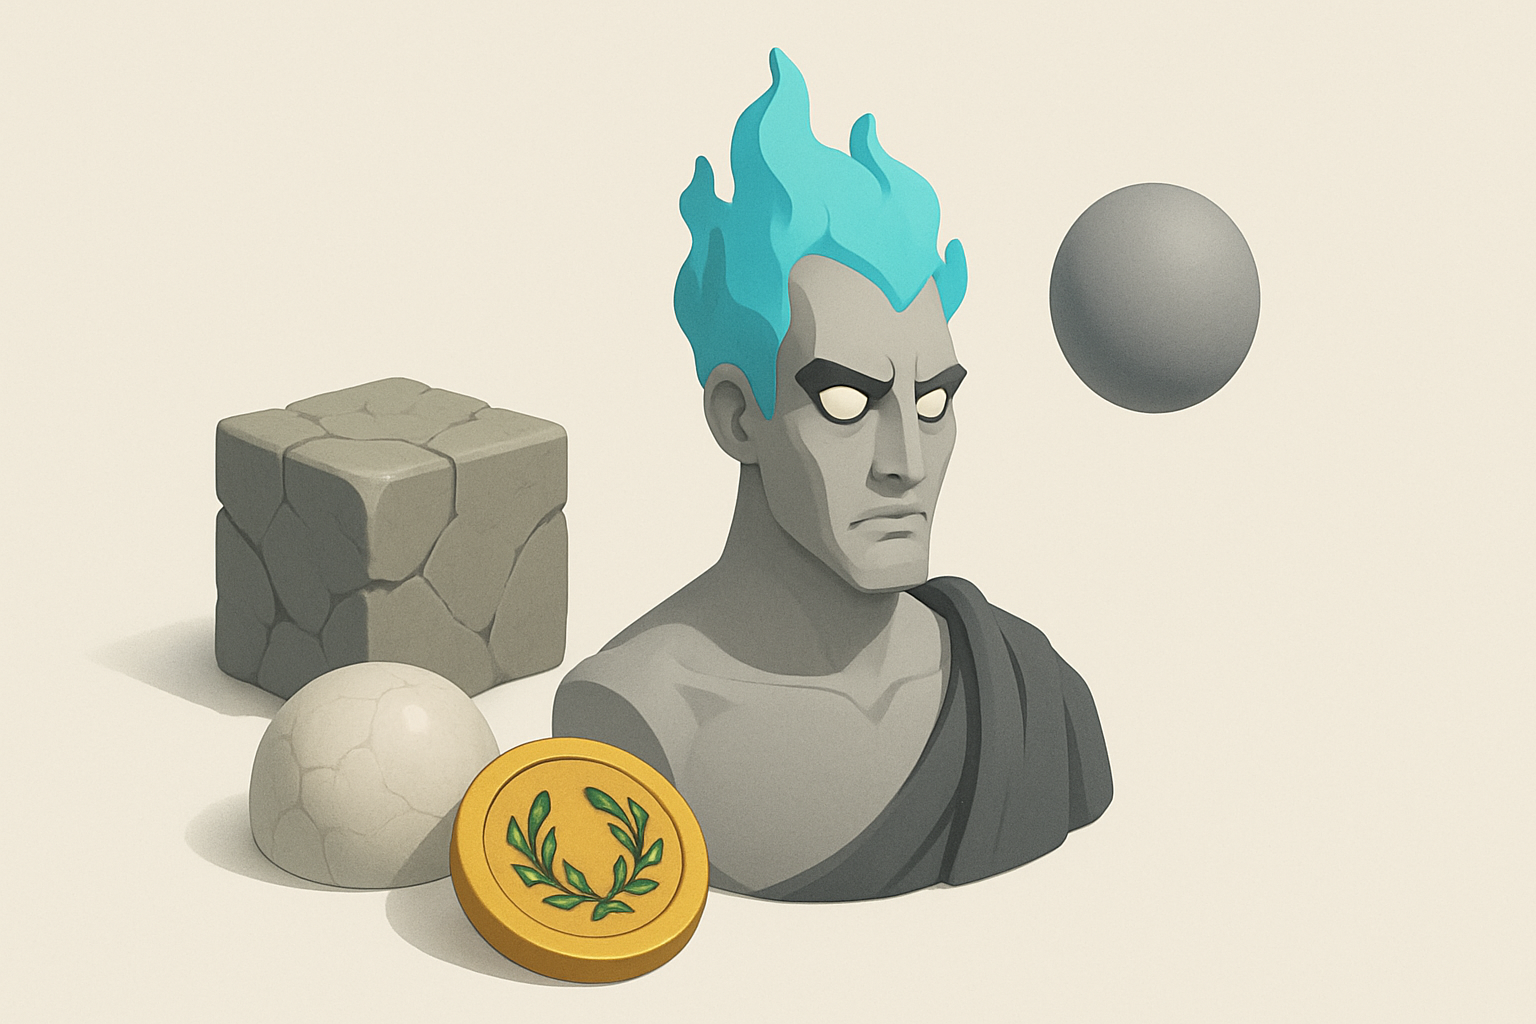
Texturing and Materials: Bringing Hades to Life

Selecting color palettes and materials
I choose a palette that reinforces Hades’ theme—deep blacks, metallic golds, fiery reds. For materials, I reference obsidian, bronze, and ethereal effects.
Tips:
- Limit palette to 3–4 main colors
- Use material references for realism
- Test color balance in different lighting
Applying textures and surface details
I use AI-assisted texturing to block in base colors and patterns, then hand-paint or tweak as needed for wear, damage, and highlights.
Checklist:
- Bake ambient occlusion and curvature maps
- Layer procedural and hand-painted textures
- Preview in engine to check for artifacts
Retopology, UV Mapping, and Optimization
Efficient retopology techniques
Clean topology is crucial for animation and performance. I use auto-retopology tools to get a quick base, then manually adjust edge flow around joints and face.
Best practices:
- Keep edge loops around eyes, mouth, and shoulders
- Minimize triangles in deforming areas
- Target optimal polycount for platform
UV unwrapping and texture baking
I unwrap UVs with minimal seams and maximize texture space. Baking normals and AO maps from high to low poly ensures detail retention.
Steps:
- Organize UV islands logically (head, torso, limbs)
- Avoid stretching and overlapping
- Bake maps at final texture resolution
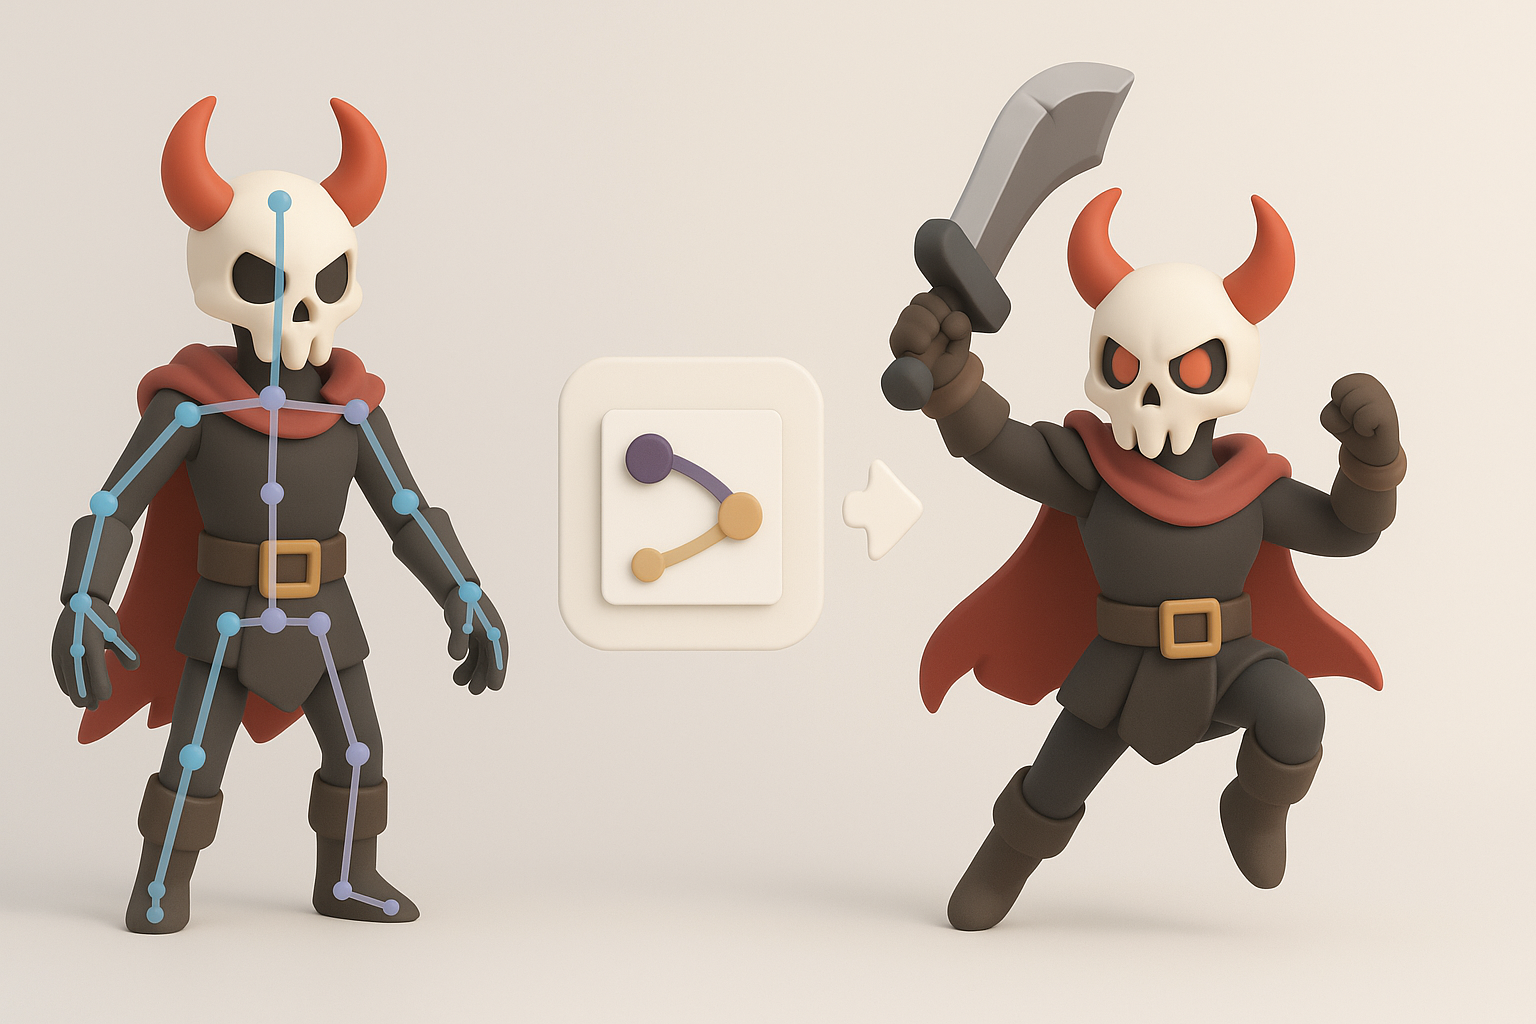
Rigging and Animation for Hades Models
Setting up a basic rig
I build a skeleton with enough joints for expressive poses. For quick results, I use auto-rigging features, then refine weights manually.
Tips:
- Place joints at natural pivots (shoulders, hips)
- Test basic poses early
- Lock down skin weights before animating
Animating key poses and expressions
I block out main poses (idle, attack, gesture) and facial expressions. Even basic animation brings the character to life and exposes rigging issues.
Pitfalls:
- Skipping facial rigging for key characters
- Ignoring secondary motion (cloth, accessories)
- Not testing in target engine
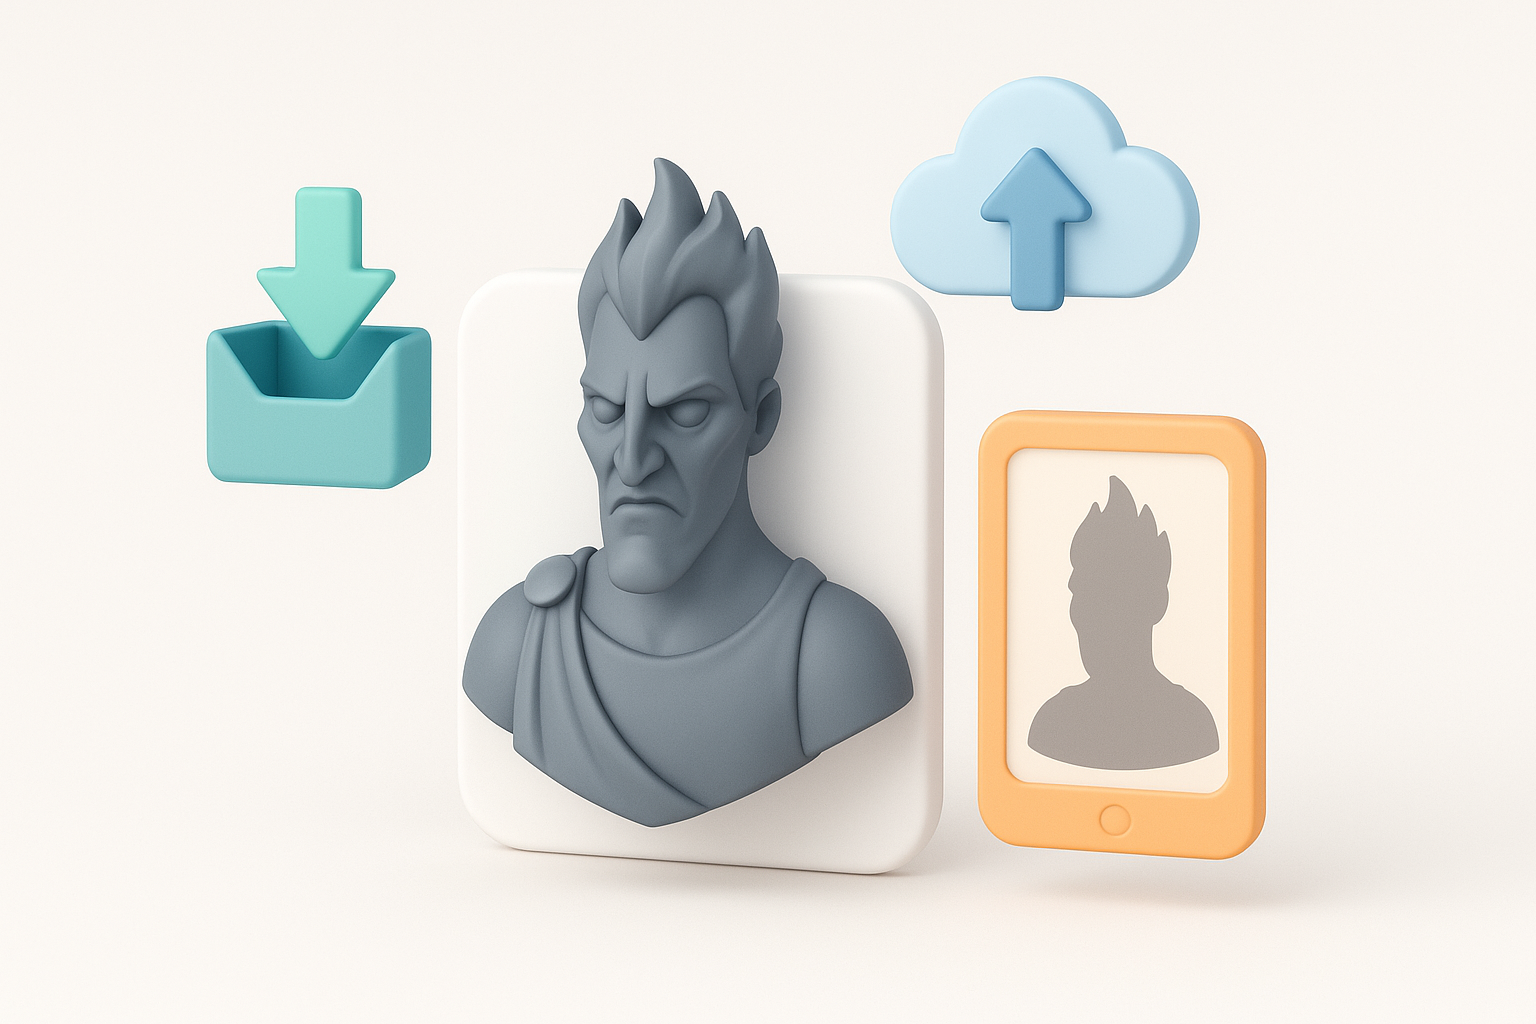
Exporting, Sharing, and Using Your Hades 3D Model

Export settings for various platforms
I export in formats compatible with target engines (FBX, GLTF). I check scale, orientation, and texture paths before final export.
Checklist:
- Match engine units and axis orientation
- Embed or pack textures
- Test import in engine/editor
Showcasing and integrating your model
I prepare renders and turntables for portfolio or review. For integration, I check animation playback and material setup in the destination environment.
Tips:
- Use neutral lighting for showcase renders
- Document polycount and texture specs
- Gather feedback before final delivery
Best Practices and Lessons Learned from My Workflow

Common pitfalls and how to avoid them
- Rushing through reference gathering leads to inconsistent designs.
- Overcomplicating topology makes rigging harder.
- Neglecting UV layout results in texture artifacts.
Tips for streamlining the process with AI tools
- Use AI segmentation and retopology for quick iterations.
- Let AI handle repetitive tasks, but always review outputs.
- Combine procedural and manual texturing for best results.
Comparing AI-Powered and Traditional 3D Modeling Approaches
Speed and quality differences
AI-powered tools significantly reduce time spent on base mesh creation, retopology, and basic texturing. In my workflow, I can go from concept to rigged model in hours instead of days. Manual methods still offer more control for unique details and polish.
When to use AI tools versus manual methods
- Use AI for blocking, segmentation, and repetitive steps.
- Switch to manual sculpting and painting for hero assets or when artistic nuance is critical.
- Always review and refine AI-generated outputs to ensure quality.
By combining clear references, efficient workflows, and the right mix of AI and manual techniques, I consistently deliver high-quality Hades 3D models ready for production or showcase.


