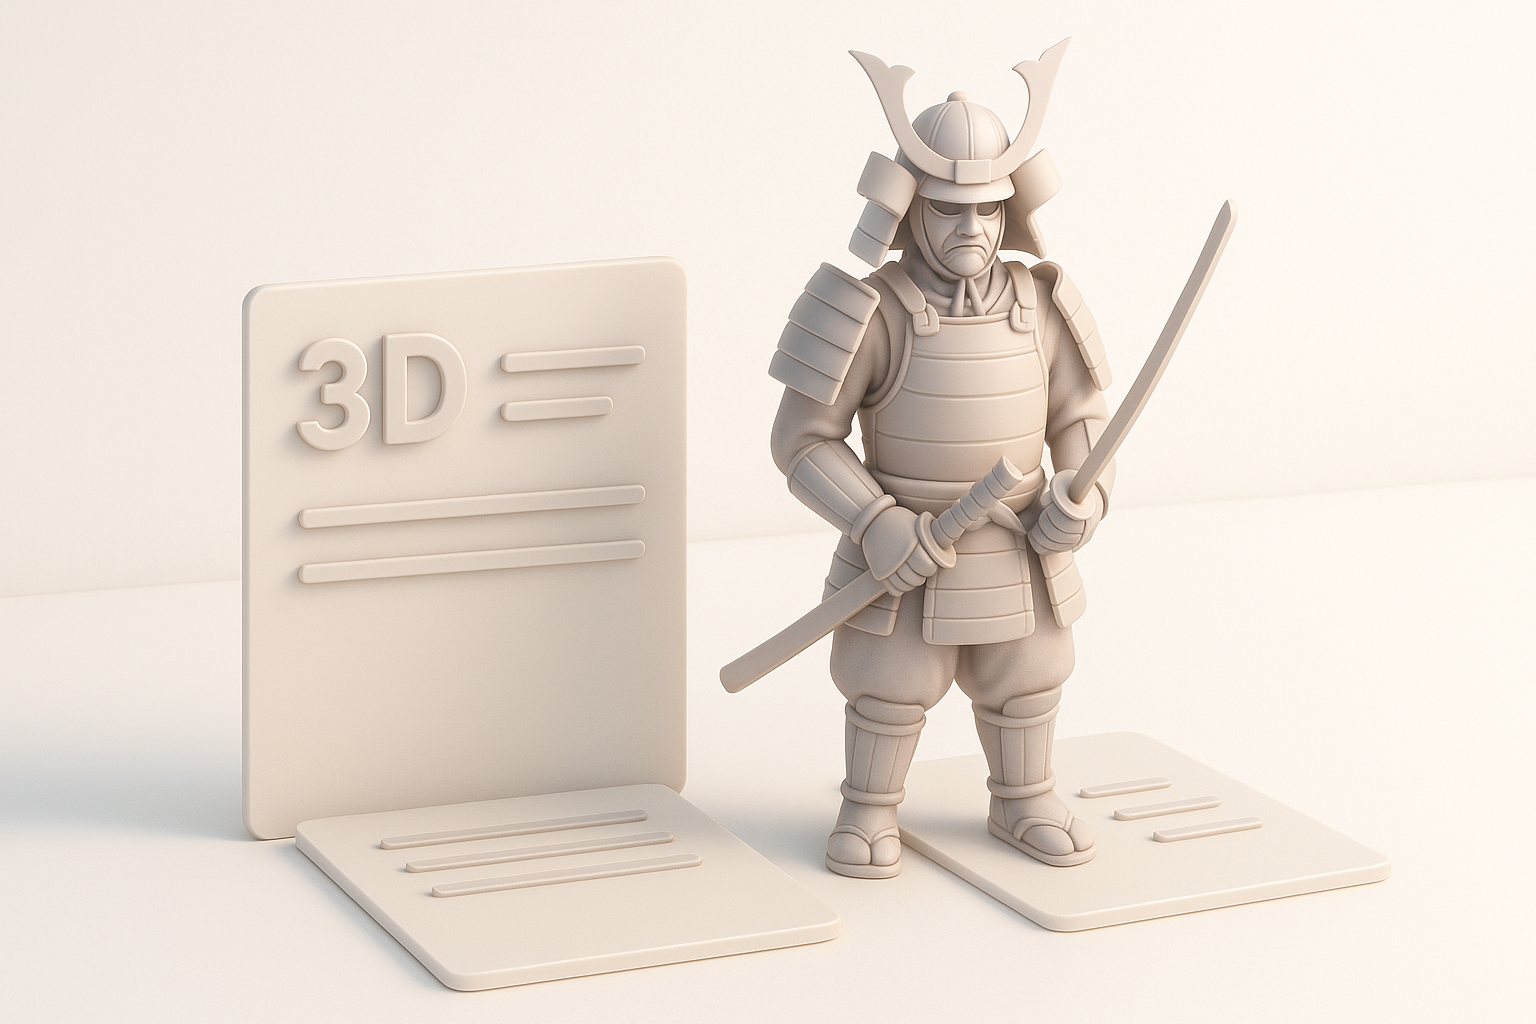
Creating a GTA 5 Samurai 3D Model: Expert Workflow & Tips
Creating a production-ready samurai character for GTA 5 is a rewarding challenge that blends historical design with modern game requirements. In this guide, I’ll walk you through my full workflow—from planning and modeling to texturing, rigging, and game integration. I’ll also share practical tips for using AI-powered tools like Tripo to accelerate the process, plus key pitfalls to avoid. Whether you’re a game modder, 3D artist, or developer, you’ll find actionable advice to make your samurai character stand out and run smoothly in GTA 5.
Key takeaways:
- Start with clear references and a defined samurai style for GTA 5’s world.
- Block out and refine the model before detailing—don’t rush proportions.
- Use AI tools like Tripo for rapid prototyping and segmentation.
- Focus on optimized UVs and materials for both realism and performance.
- Rig and export with game compatibility in mind to avoid integration headaches.
- Troubleshoot early and optimize for GTA 5’s performance constraints.
Executive Summary: Key Takeaways for GTA 5 Samurai 3D Models
What to Expect from This Guide
This guide covers my full workflow for creating a samurai 3D model tailored for GTA 5, from concept to game-ready asset. I’ll share expert strategies, practical checklists, and personal insights from real projects—plus how I leverage AI to speed up repetitive tasks.
Summary of Best Practices
- Always start with robust planning and curated references.
- Prioritize clean topology and efficient UVs for game performance.
- Use AI tools for initial passes, but always review and refine manually.
- Test your model in-game early to catch rigging or shading issues.
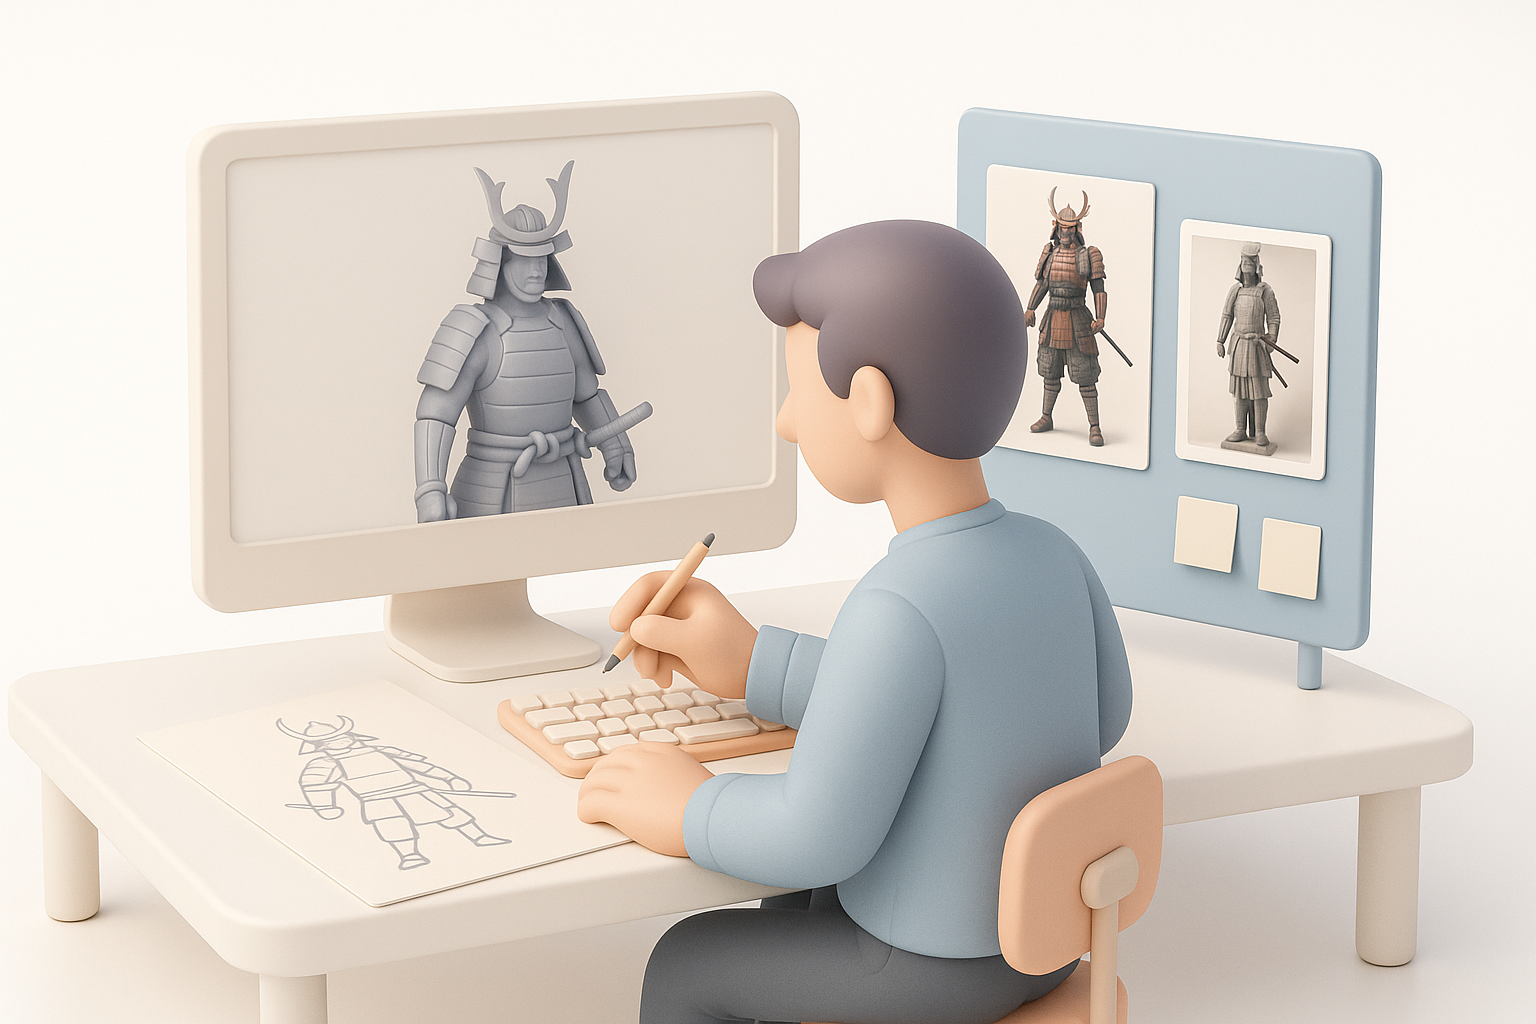
Planning and Reference Gathering for a Samurai Character
Choosing the Right Samurai Style for GTA 5
GTA 5’s visual style is semi-realistic, so I aim for a samurai design that balances authenticity with the game’s aesthetic. Decide early: will your samurai fit into modern Los Santos, or is it a historical mod? I typically blend classic armor shapes with stylized elements to match GTA’s character proportions.
Checklist:
- Decide on era (Edo, Sengoku, fantasy, etc.)
- Match armor style to GTA 5’s art direction
- Sketch or kitbash quick concepts to visualize fit
Collecting and Organizing Reference Images
I gather a mix of historical photos, movie stills, and existing GTA 5 character references. Organize them in folders by category (armor, weapons, faces, etc.) for quick access during modeling. Moodboards help maintain consistency.
Tips:
- Use high-res images for armor and fabric details
- Reference GTA 5 characters for scale and style
- Annotate key features (helmet shape, armor layering)
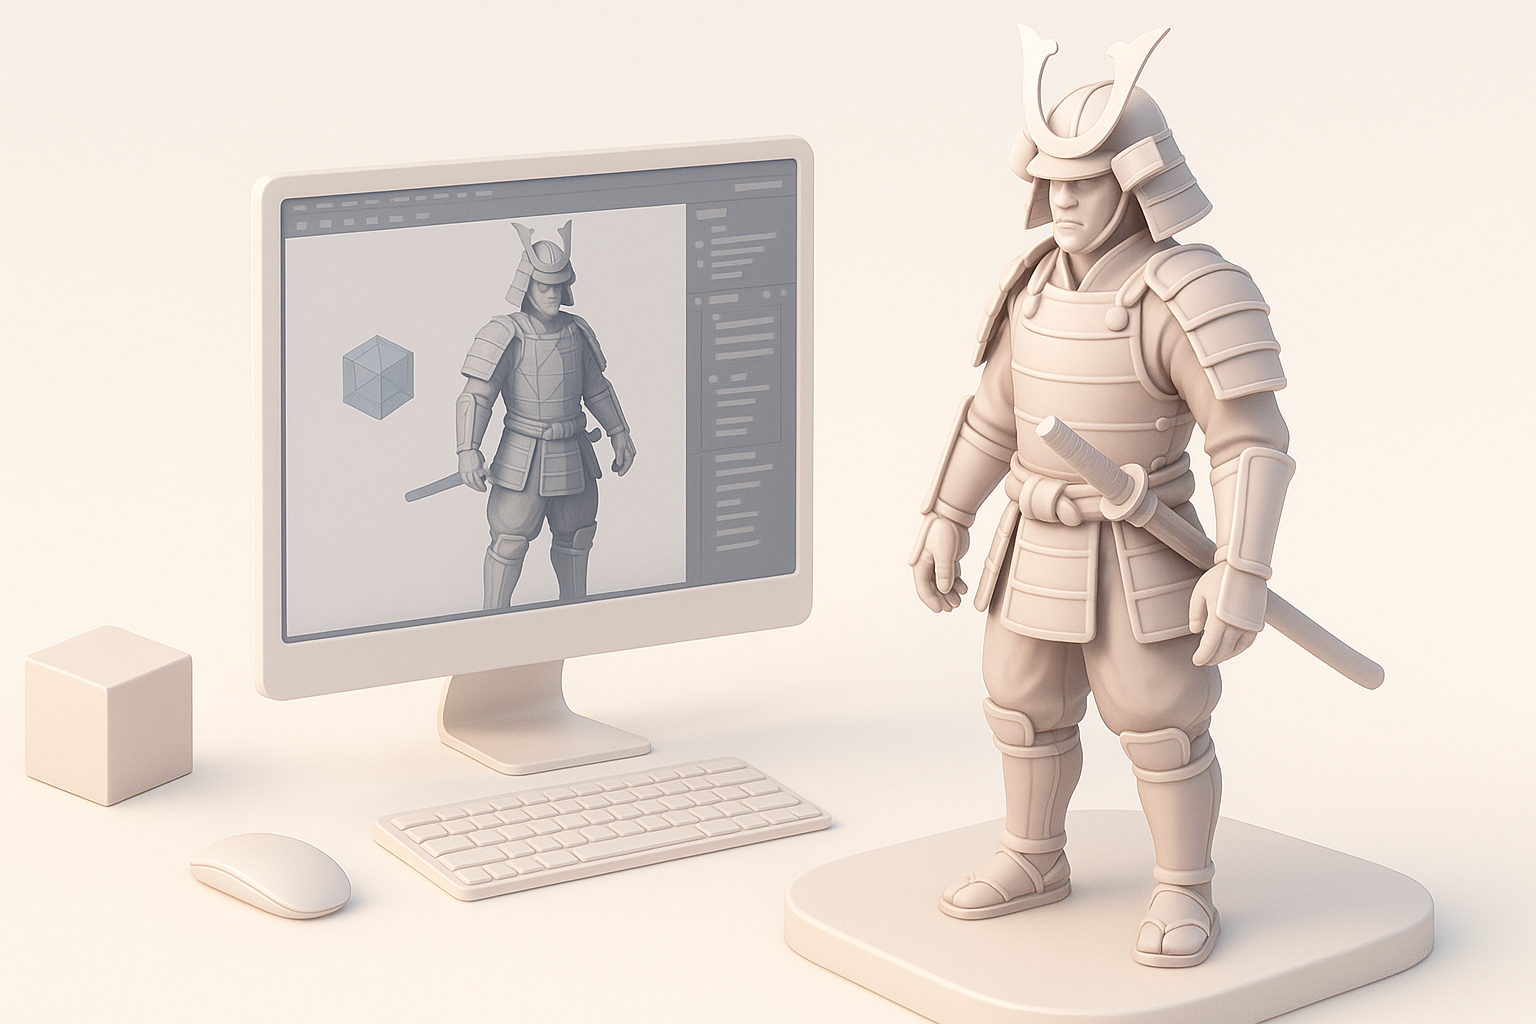
Modeling the Samurai: My Step-by-Step Workflow
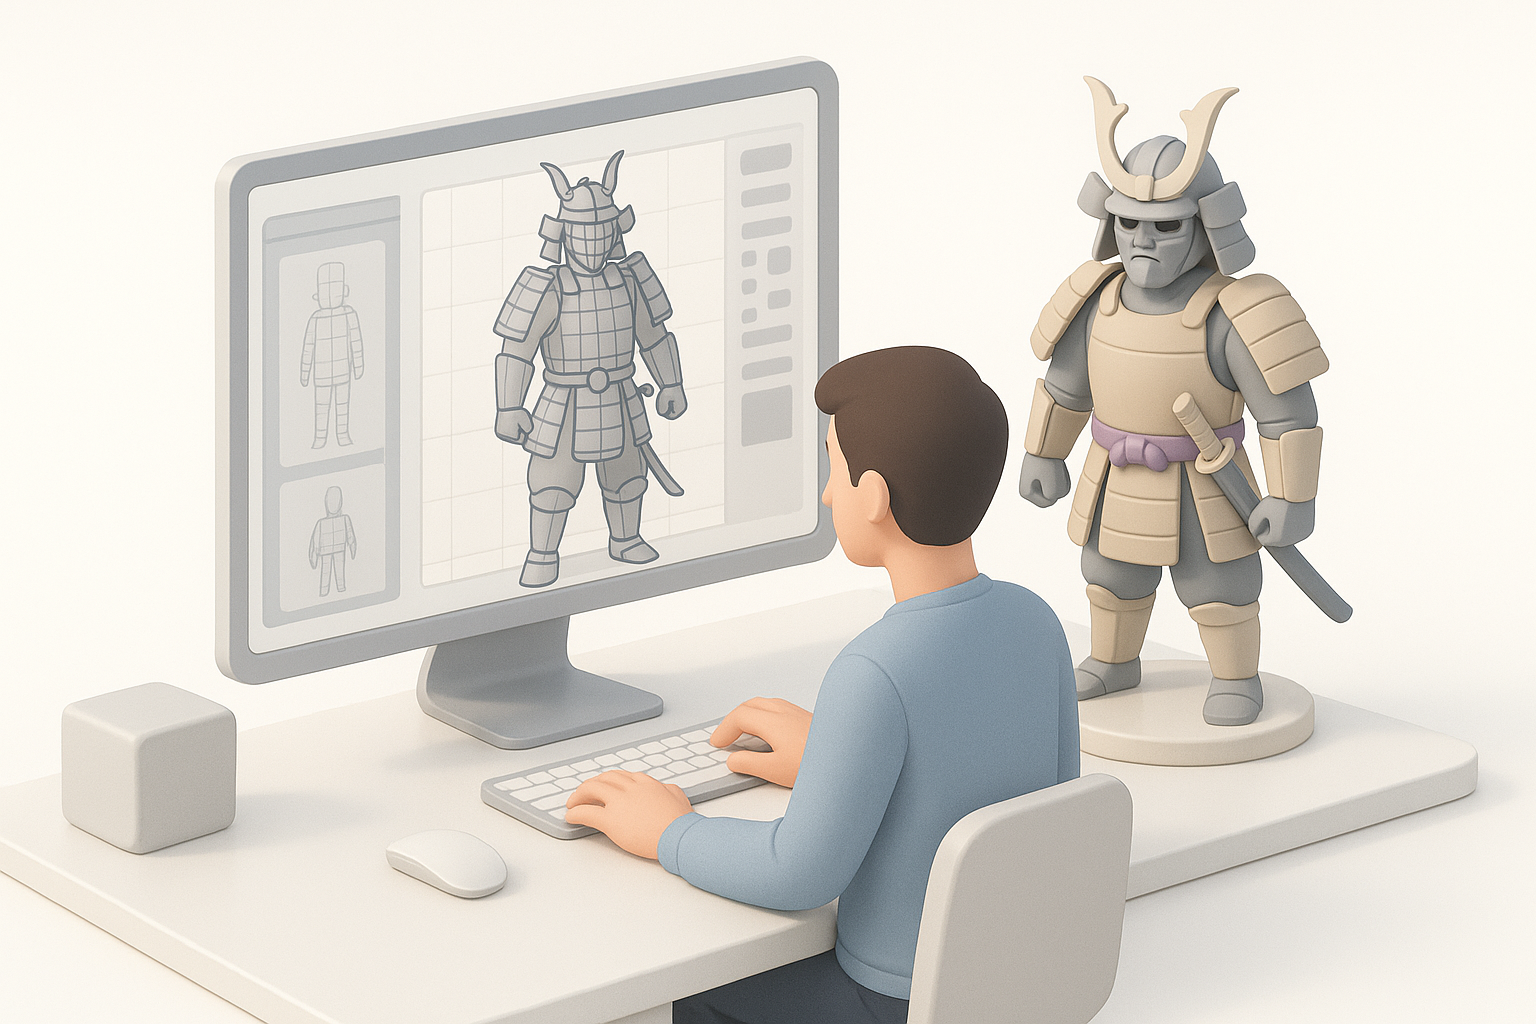
Blocking Out the Base Mesh
I start with a low-poly base mesh, focusing on silhouette and major volumes. In Tripo, I can generate a quick base from a text prompt or sketch, then refine proportions in my modeling suite.
Steps:
- Block out torso, limbs, and head.
- Rough in armor pieces as separate objects.
- Adjust proportions to match GTA 5 characters.
Adding Details and Refining Proportions
Once the base is solid, I incrementally add detail—layering armor, belts, and accessories. I often switch between sculpting and retopology to maintain clean geometry.
Pitfalls to avoid:
- Over-detailing before proportions are locked
- Ignoring game polycount limits (target 20–40k tris for main characters)
- Forgetting to check silhouette from all angles
Texturing and Materials: Bringing the Samurai to Life
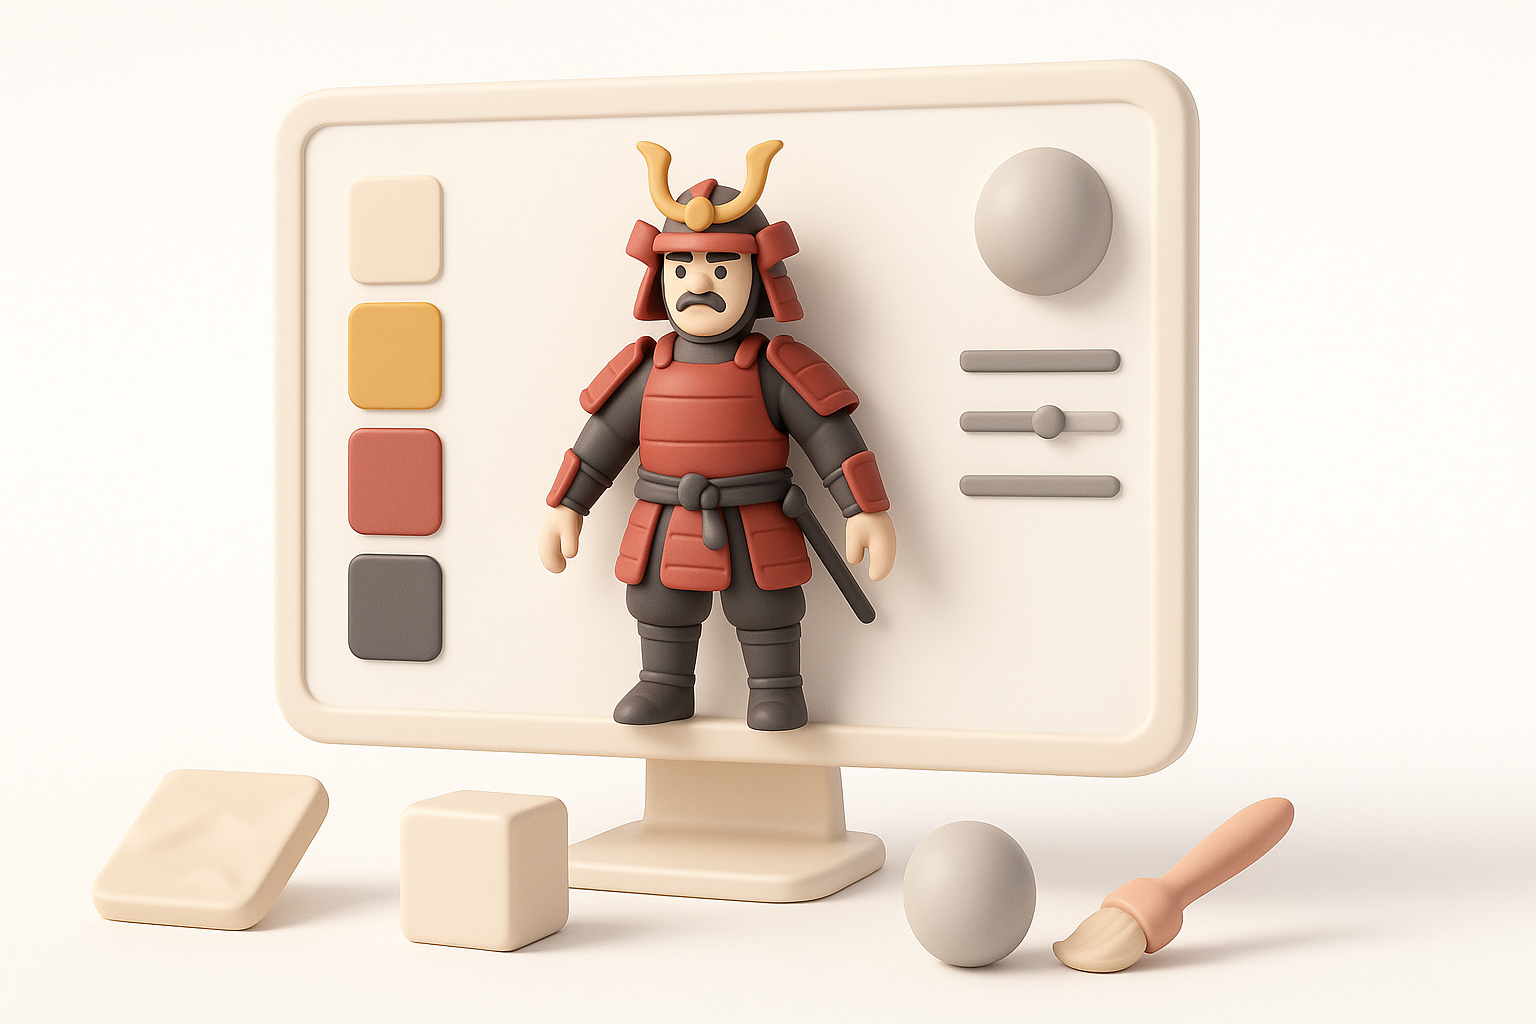
UV Mapping and Texture Painting
Efficient UVs are essential for game assets. I use auto-unwrap tools in Tripo for initial UVs, then manually tweak seams for critical areas. For texturing, I prefer hand-painting details and overlaying photo textures for realism.
Quick process:
- Lay out UVs with minimal stretching.
- Bake normal and AO maps.
- Paint base colors, then add wear/dirt layers.
Material Choices for Authenticity
I use physically-based materials for metals, leathers, and fabrics. Authenticity comes from subtle roughness and color variation. For GTA 5, I keep textures at 2K or 4K and optimize later.
Tips:
- Sample real armor photos for metal hues
- Use smart masks for edge wear and dirt
- Preview materials in-engine or a similar renderer
Rigging and Preparing for GTA 5 Integration
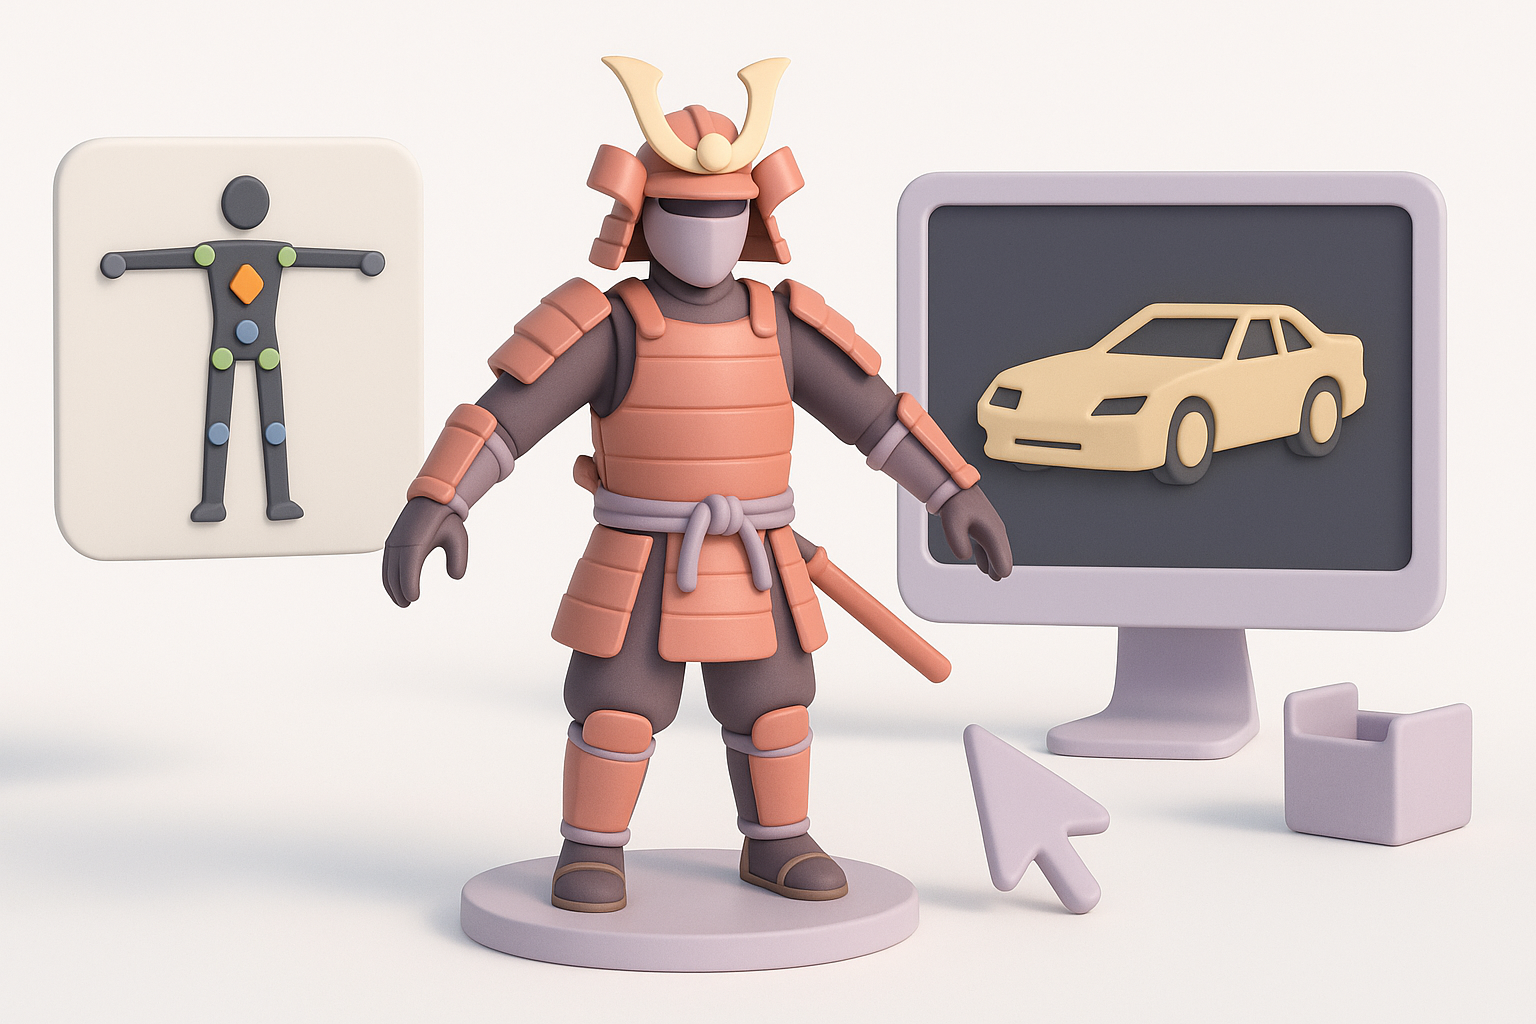
Setting Up the Skeleton and Weights
Rigging for GTA 5 means matching the game’s skeleton structure. I either adapt the default GTA 5 rig or retarget my skeleton to it. Careful weight painting is crucial—armor plates should move naturally but not deform.
Checklist:
- Match bone hierarchy to GTA 5’s requirements
- Test deformation with basic poses and animations
- Separate rigid and flexible armor for better weighting
Exporting for Game Compatibility
Export using FBX with proper naming conventions. I double-check scale and axis orientation to avoid import issues. Tripo’s export presets help, but I always validate in GTA 5’s modding tools.
Common pitfalls:
- Incorrect bone names or hierarchy
- Non-uniform scale causing animation errors
- Forgotten texture assignments
Using AI-Powered Tools for Faster 3D Model Creation
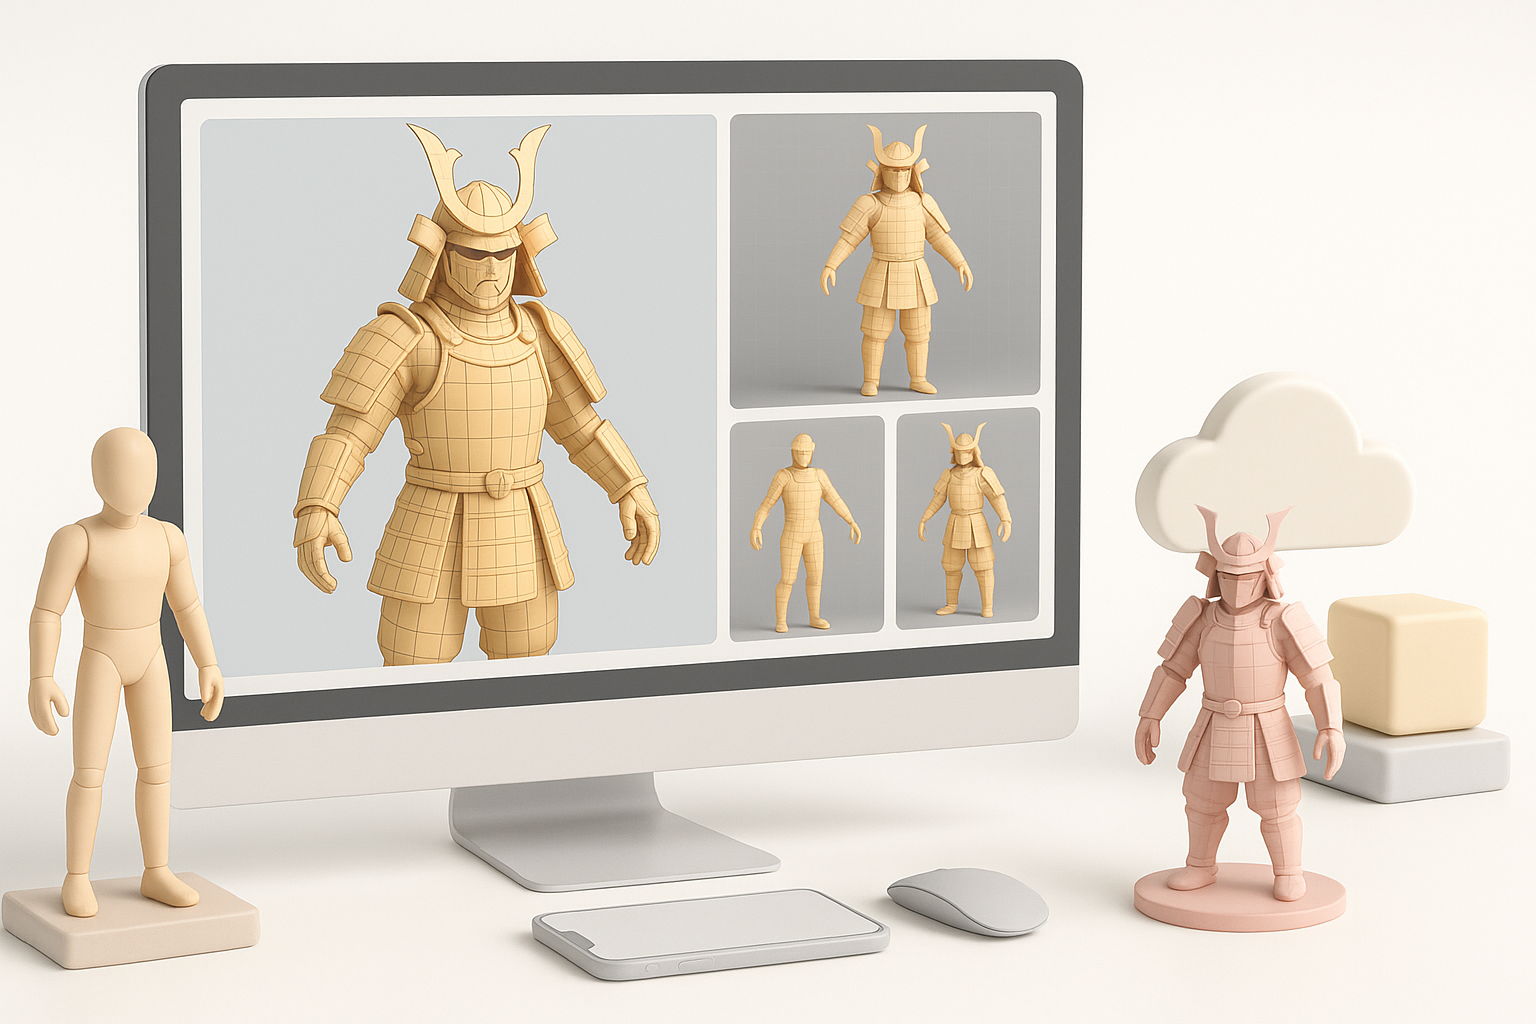
How I Leverage Tripo for Rapid Prototyping
I use Tripo to quickly generate base meshes from sketches or text, then refine the output in my DCC tool. Its segmentation and retopology features save hours, especially when iterating on armor variations.
Workflow:
- Generate initial mesh (text/sketch input)
- Auto-segment armor and clothing
- Manual cleanup and detail passes
Comparing AI Tools and Manual Techniques
AI tools are fantastic for blocking out ideas and handling repetitive tasks. However, manual refinement is always needed for game-ready assets. I recommend using AI for the grunt work—never as a full replacement for hands-on modeling.
Pros of AI tools:
- Speed up base mesh and UV creation
- Great for rapid iteration and concepting
Cons:
- Require manual fixes for topology and detail
- Sometimes miss subtle style cues needed for GTA 5
Troubleshooting and Optimization Tips
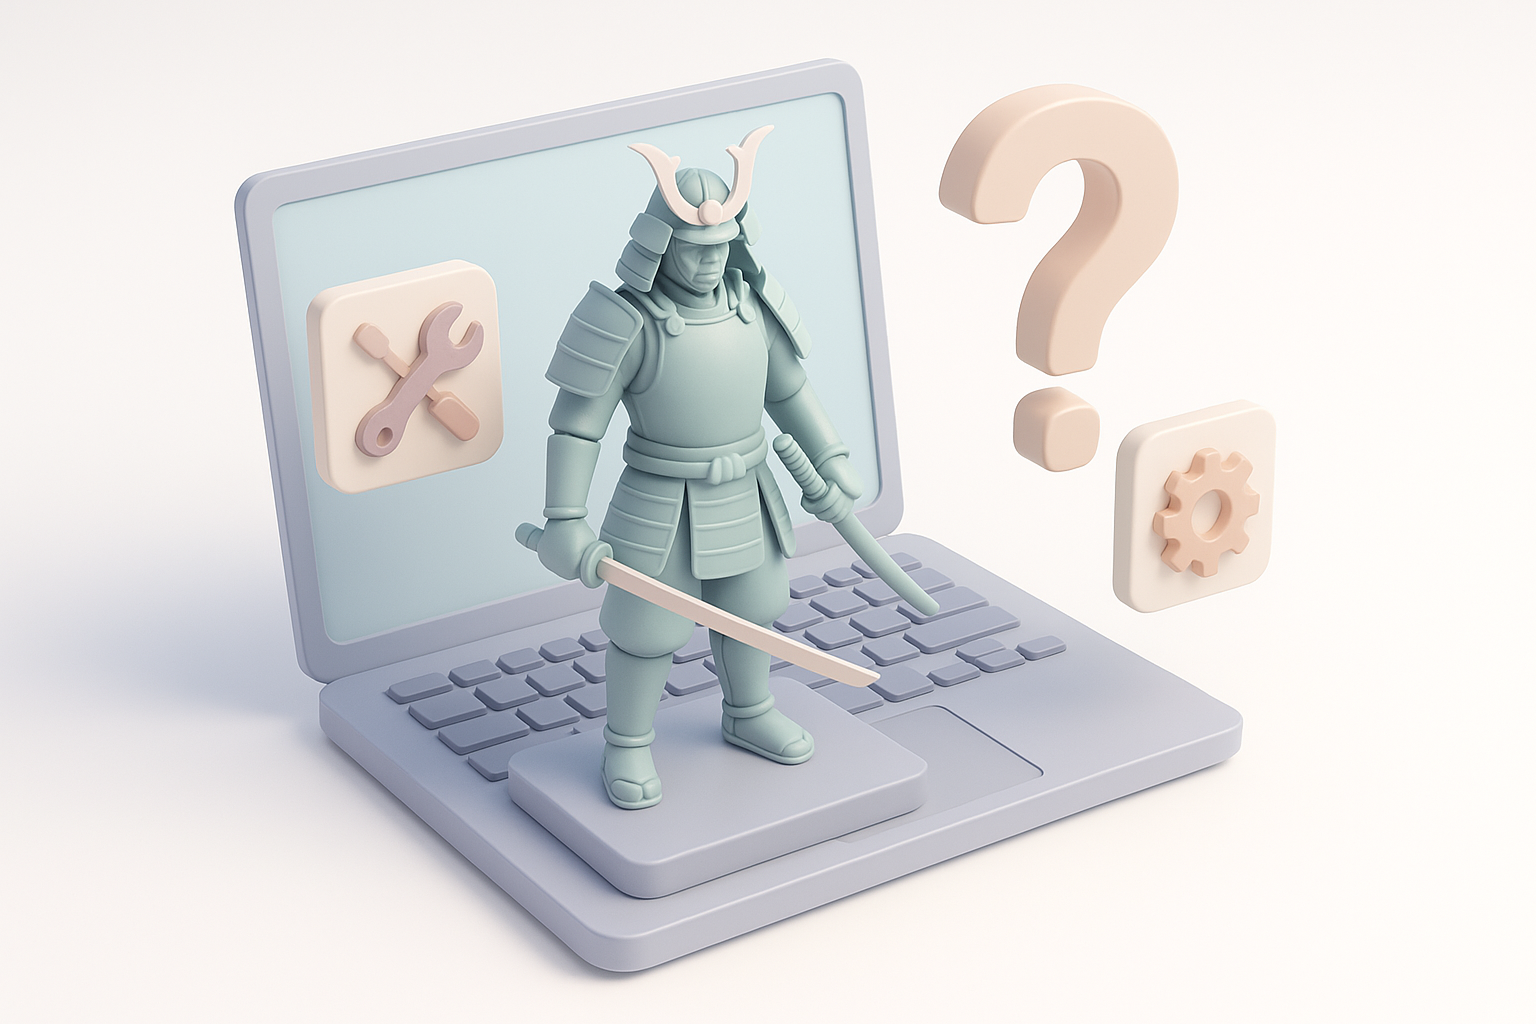
Common Issues and How I Solve Them
Typical problems include mesh artifacts, UV stretching, and rigging glitches. I run frequent test exports and preview in GTA 5’s modding tools to catch issues early.
Fixes:
- Rework problematic geometry, especially in joints
- Re-unwrap UVs for visible seams or stretching
- Adjust weights if armor clips or deforms oddly
Optimizing for Performance in GTA 5
GTA 5 can be sensitive to high-poly models and large textures. I use mesh decimation and texture compression to keep assets efficient.
Optimization steps:
- Reduce polycount on hidden or flat surfaces
- Bake details into normal maps instead of geometry
- Downscale textures where possible (1K–2K for minor props)
Final Thoughts: What I’ve Learned from Creating Samurai Models
Personal Insights and Recommendations
Creating samurai models for GTA 5 taught me the value of planning, reference gathering, and iterative refinement. AI tools like Tripo have made my workflow much faster, but manual polish is always essential for game-ready results. Don’t skip testing in-game—real-time feedback is invaluable.
Next Steps for Advanced Customization
For advanced users, consider custom shaders, dynamic cloth, or facial animation for extra realism. Modding communities are a great resource for technical tips and feedback. Keep experimenting—each project is a chance to refine your workflow.
If you’re aiming for a high-quality GTA 5 samurai character, blend historical style with game requirements, leverage AI for speed, and always prioritize optimization and in-game testing.


