How I Create a Goku 3D Model: Expert Workflow & Tips
Creating a high-quality Goku 3D model requires a blend of artistic vision, technical skill, and practical workflow management. In my experience, the process is greatly streamlined by leveraging AI-powered tools alongside traditional methods, allowing for rapid iteration and production-ready results. Whether you’re aiming for a stylized or realistic rendition, planning, reference gathering, and precise execution are crucial. This guide is for artists and developers who want actionable steps and expert insights to efficiently model, texture, rig, and animate Goku for games, film, or XR.
Key takeaways:
- Accurate references and clear style definition are essential for believable results.
- Blocking, sculpting, and detailing require iterative refinement.
- Texturing and materials bring character to life—especially Goku’s hair and costume.
- Rigging and animation prep ensure dynamic poses and movement.
- AI tools like Tripo accelerate workflows and reduce technical bottlenecks.
- Optimize topology and export settings for target platforms.
Executive Summary: Key Takeaways for Goku 3D Modeling
What makes an effective Goku 3D model
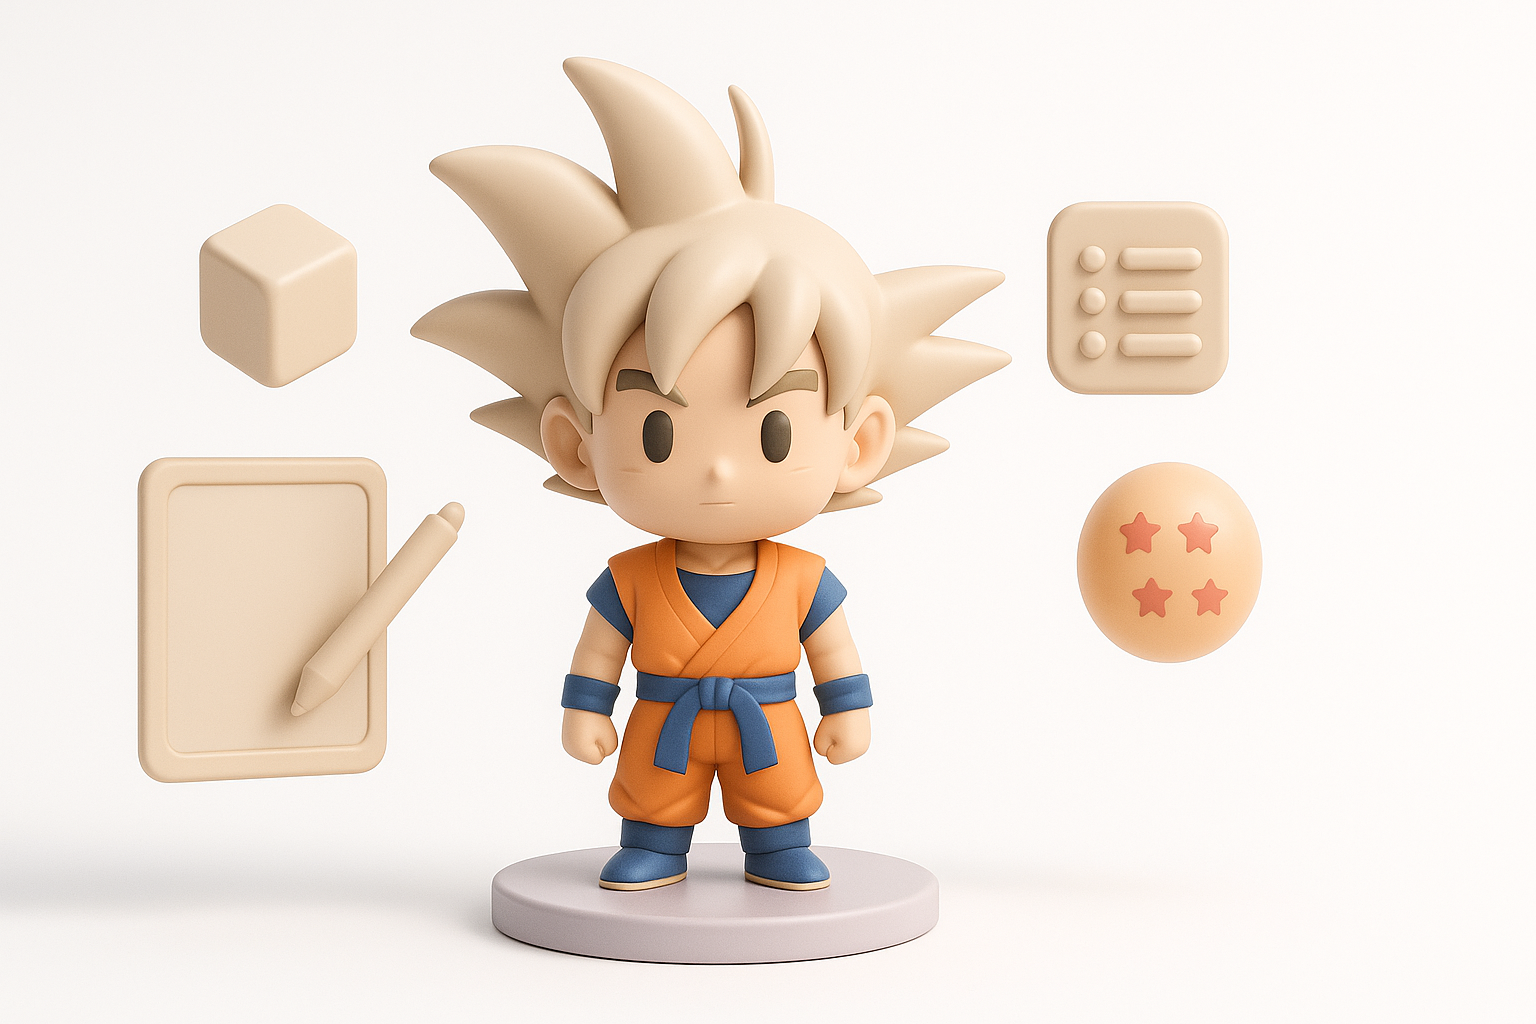
An effective Goku model captures iconic features: spiky hair, muscular anatomy, and expressive face. Whether stylized or realistic, proportions and silhouette must match the character’s recognizability. In my workflow, I prioritize clear reference images and iterative sculpting to nail these essentials.
Summary of recommended workflows
I recommend starting with reference gathering, followed by base mesh blocking, detailed sculpting, and careful texturing. Rigging and animation prep are next, with AI tools integrated for segmentation, retopology, and rapid prototyping. Optimization and export settings are tailored to the final use case.
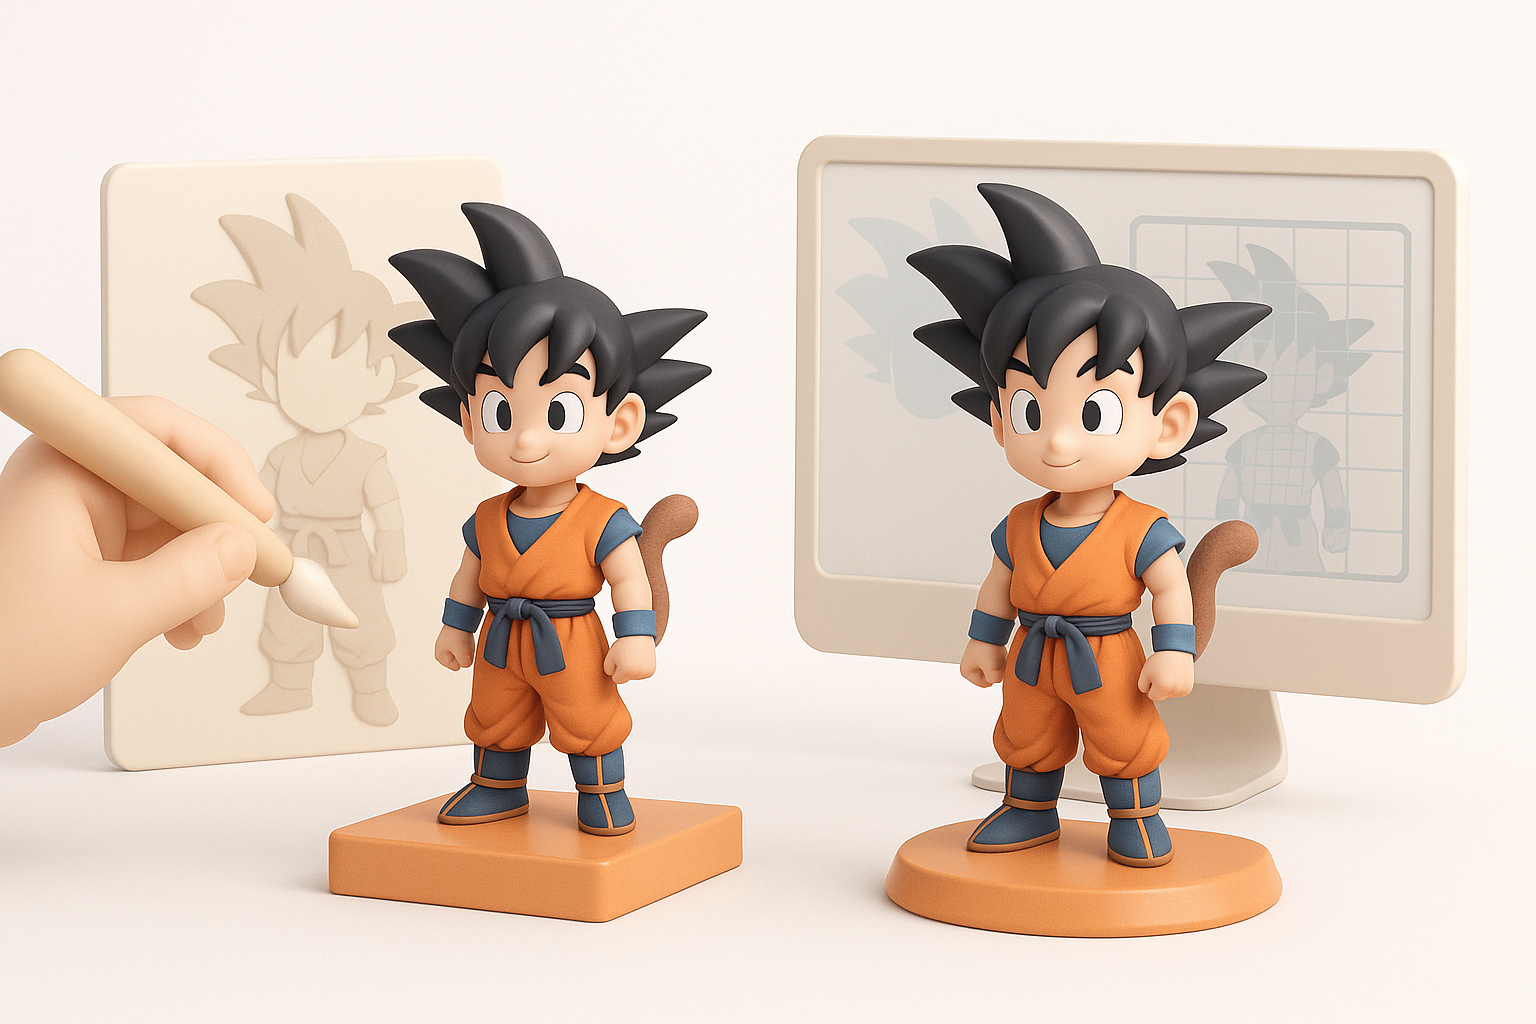
Planning and Reference Gathering for Goku 3D Models
Collecting accurate references and concept art
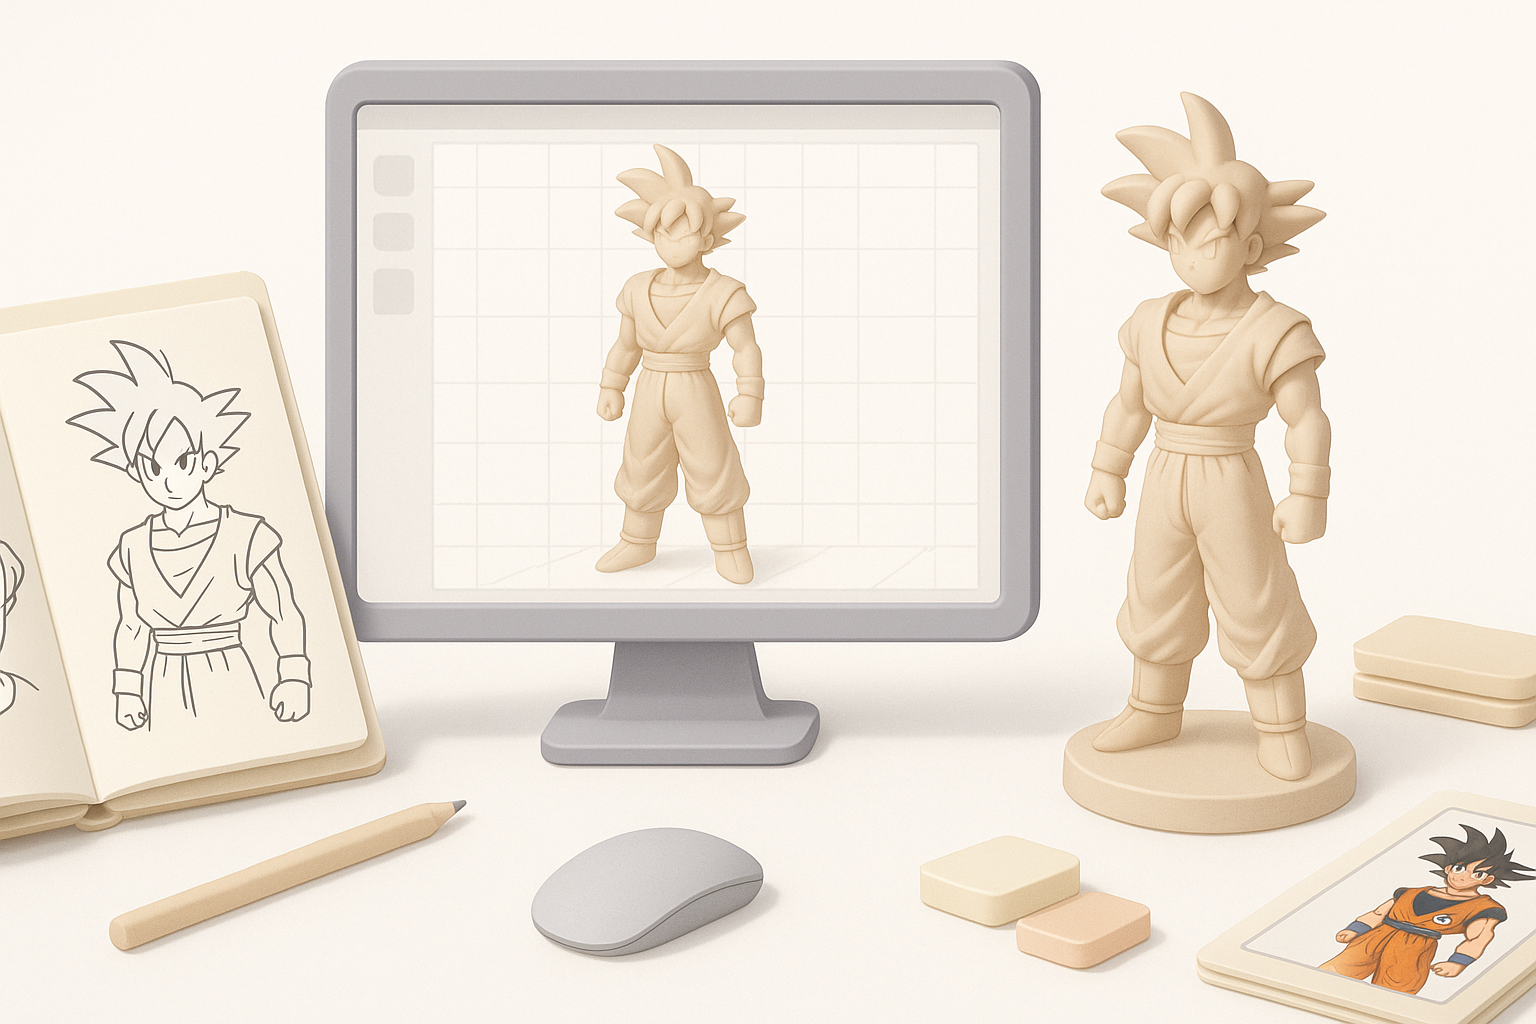
I always begin by sourcing high-resolution images from official artwork, anime screenshots, and fan art. Multiple angles help clarify anatomy and costume details. For complex poses, I supplement with action figure photos or 3D scans.
Checklist:
- Front, side, and back views of Goku
- Close-ups of face, hair, and costume
- Reference for signature poses and expressions
Defining style: realistic vs. stylized Goku
Deciding on style early shapes the entire workflow. For stylized models, I exaggerate features like hair spikes and muscle definition. Realistic approaches require anatomical accuracy and nuanced textures.
Pitfalls to avoid:
- Mixing styles unintentionally
- Overcomplicating details for stylized models
Step-by-Step Workflow: My Process for Modeling Goku
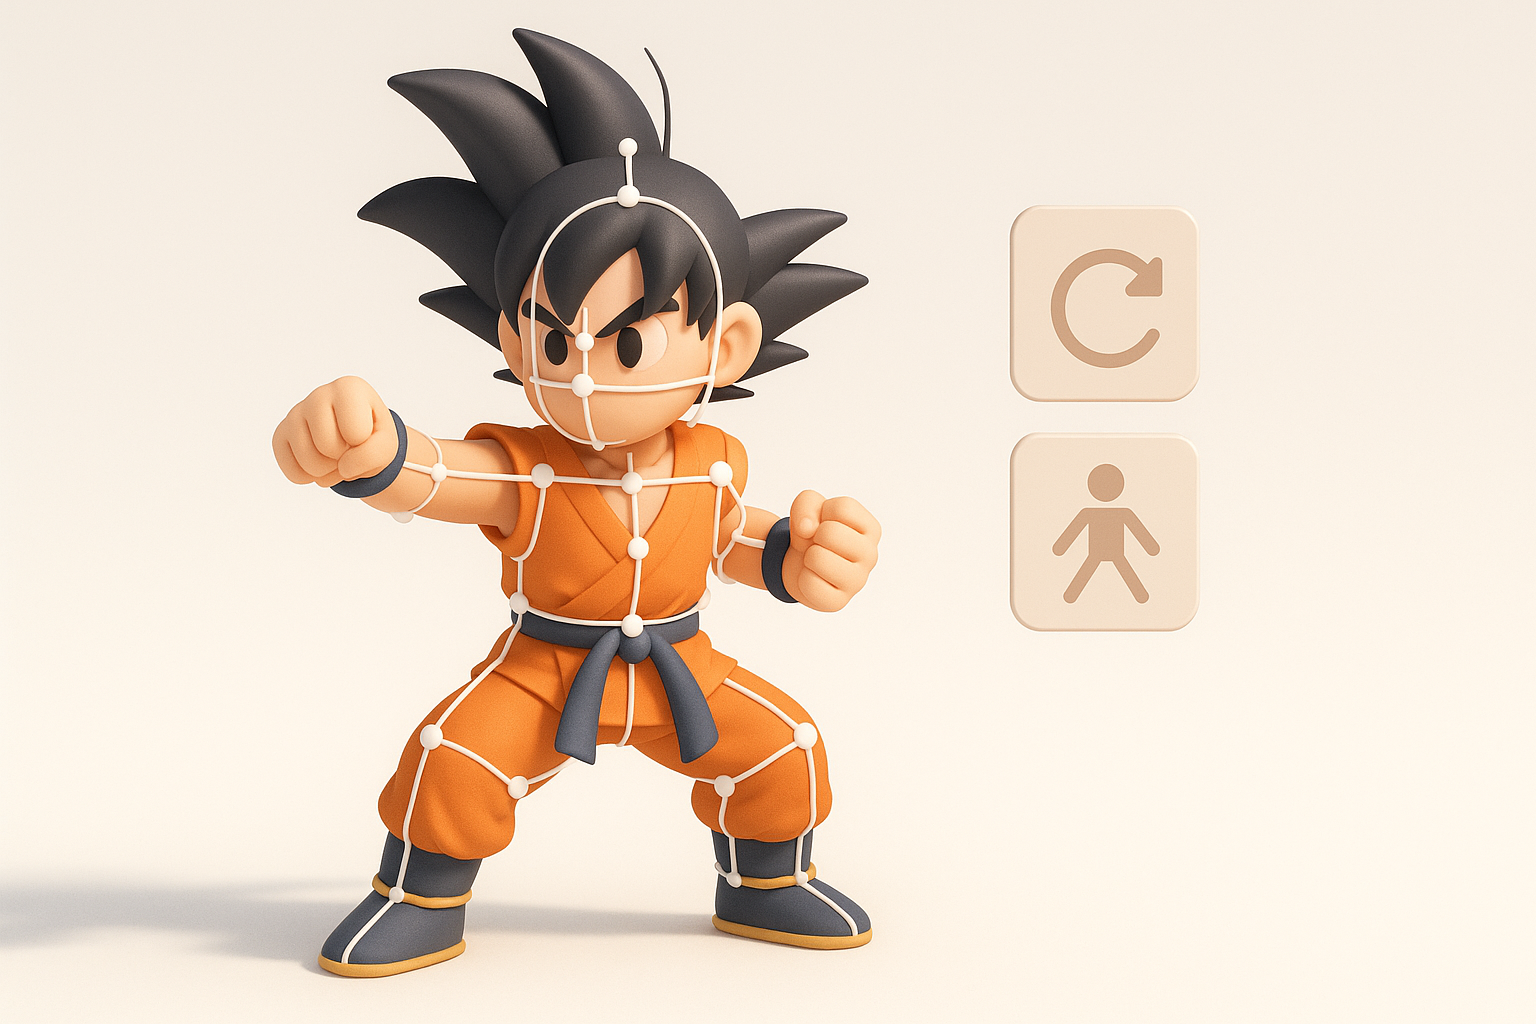
Blocking out the base mesh
I start with a simple base mesh—either from scratch or using AI-generated segmentation. The goal is to establish correct proportions and silhouette before adding detail.
Steps:
- Rough out torso, limbs, and head
- Adjust proportions to match Goku’s reference
- Use symmetry tools for efficiency
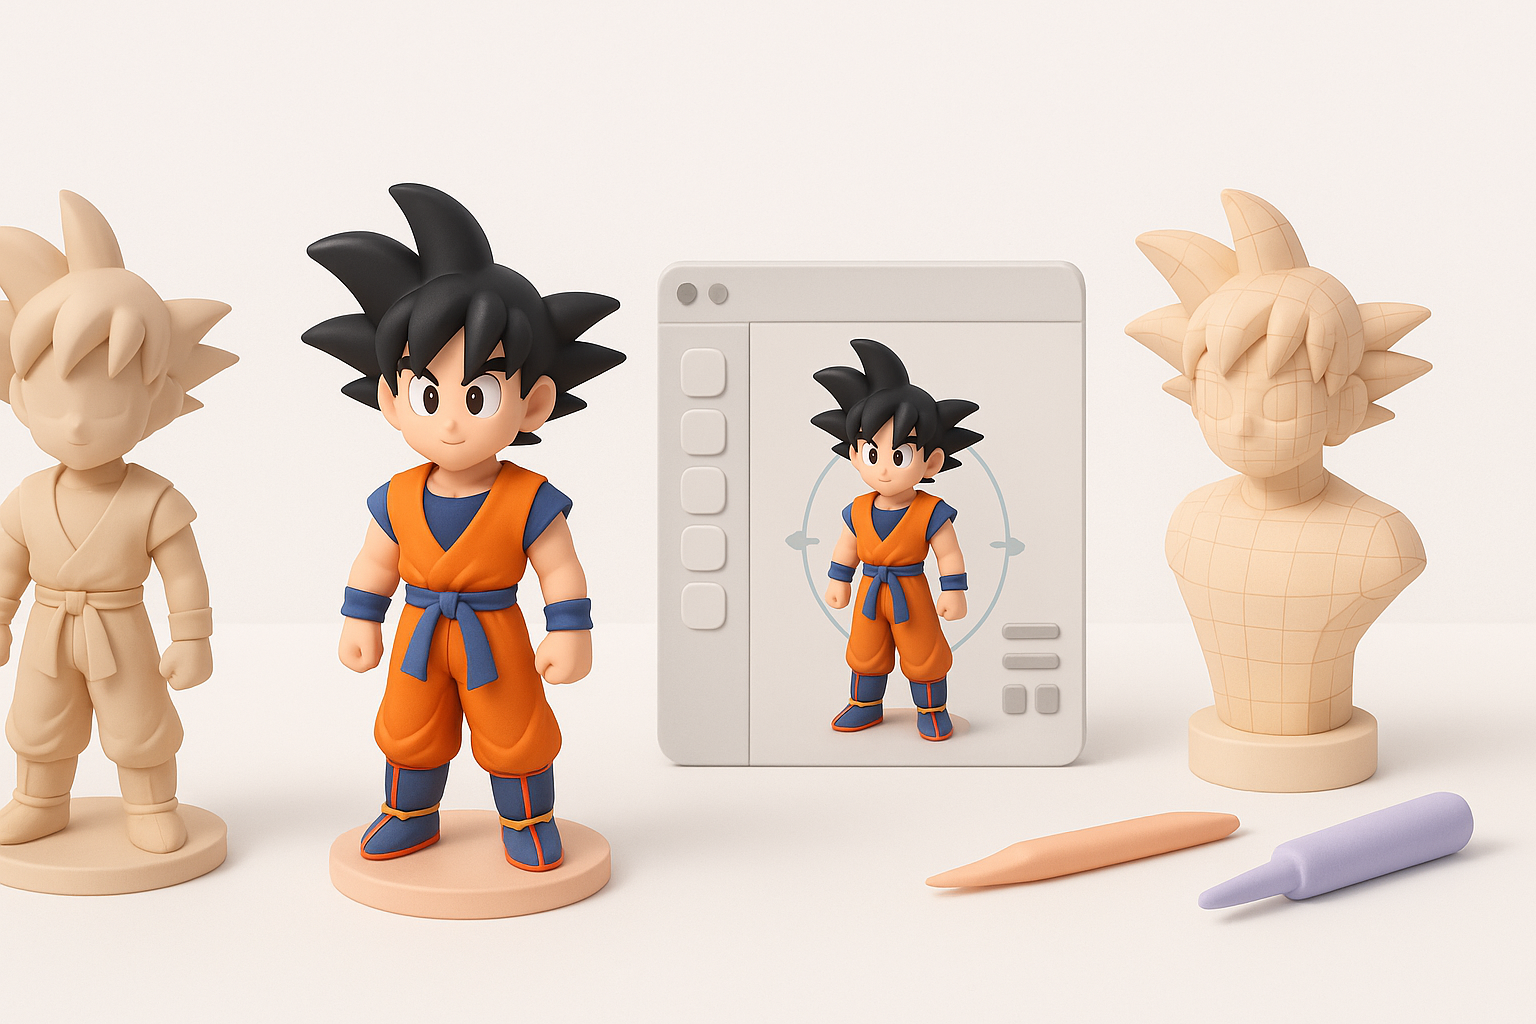
Sculpting and refining anatomy and details
With the base mesh ready, I move to sculpting muscles, facial features, and iconic hair. Iterative passes help refine anatomy and add secondary details.
Tips:
- Focus on silhouette before tiny details
- Save incremental versions for easy rollback
- Use Tripo’s intelligent segmentation for quick part isolation
Texturing and Materials: Bringing Goku to Life
Best practices for UV mapping and painting
Clean UVs are crucial for seamless textures. I unwrap the model with minimal distortion, then paint base colors and gradients. AI tools can assist with auto-UV and texture proposals, but manual tweaks are often necessary.
Mini-checklist:
- Organize UV islands logically (face, hair, costume)
- Avoid stretching, especially on visible areas
- Test with checker patterns before painting
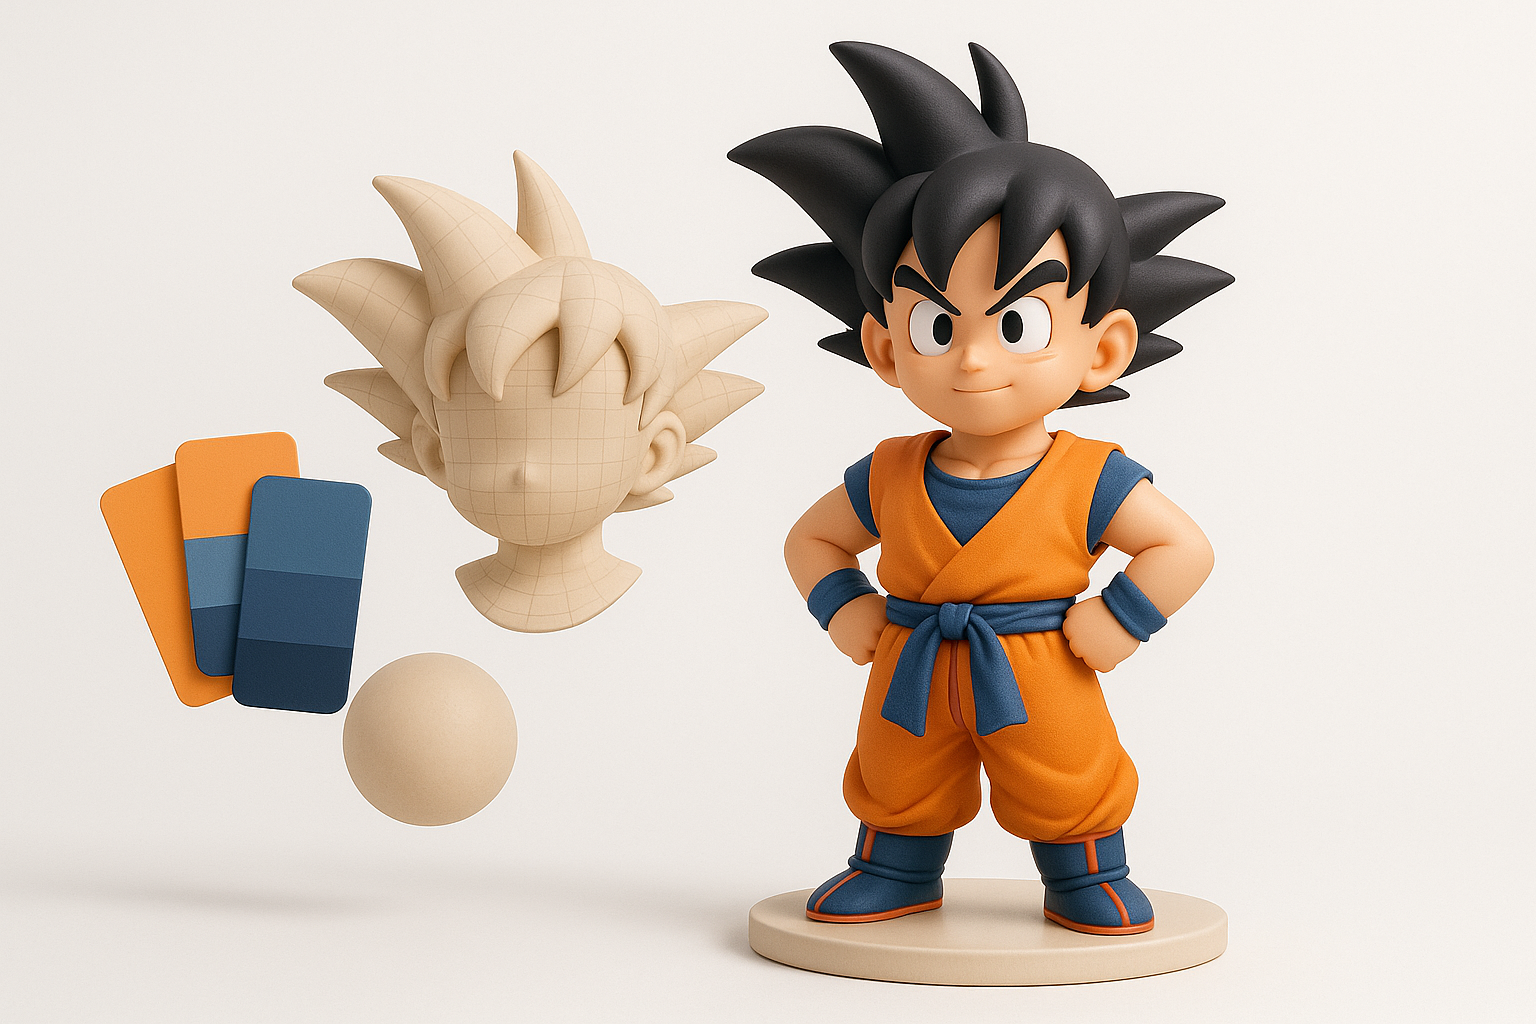
Tips for achieving iconic hair and costume textures
Goku’s hair is best handled with sharp, contrasting highlights. For his costume, I use layered textures—base color, subtle fabric grain, and dirt/wear for realism.
Pitfalls:
- Overly glossy hair
- Flat, unlayered costume textures
Rigging and Animation: Preparing Goku for Action
Setting up a clean rig for posing or animation
A clean rig is essential for dynamic posing. I use auto-rigging features for basic skeletons, then manually adjust weights for complex areas like shoulders and hips.
Steps:
- Place joints for spine, limbs, and neck
- Weight painting for smooth deformations
- Test with extreme poses
Animating signature Goku moves
Animating Goku involves capturing his energy—jumping, fighting, and powering up. I keyframe major poses, then refine transitions. AI-assisted animation tools can help with timing and secondary motion.
Tips:
- Reference anime frame timing
- Exaggerate motion for stylized impact
Optimizing and Exporting Goku 3D Models for Production
Retopology and mesh optimization techniques
For production use, I retopologize the sculpt to create a clean, efficient mesh. AI tools can automate much of this, but manual checks ensure edge flow and animation readiness.
Checklist:
- Reduce polycount without losing form
- Maintain edge loops around joints
- Test deformation after retopology
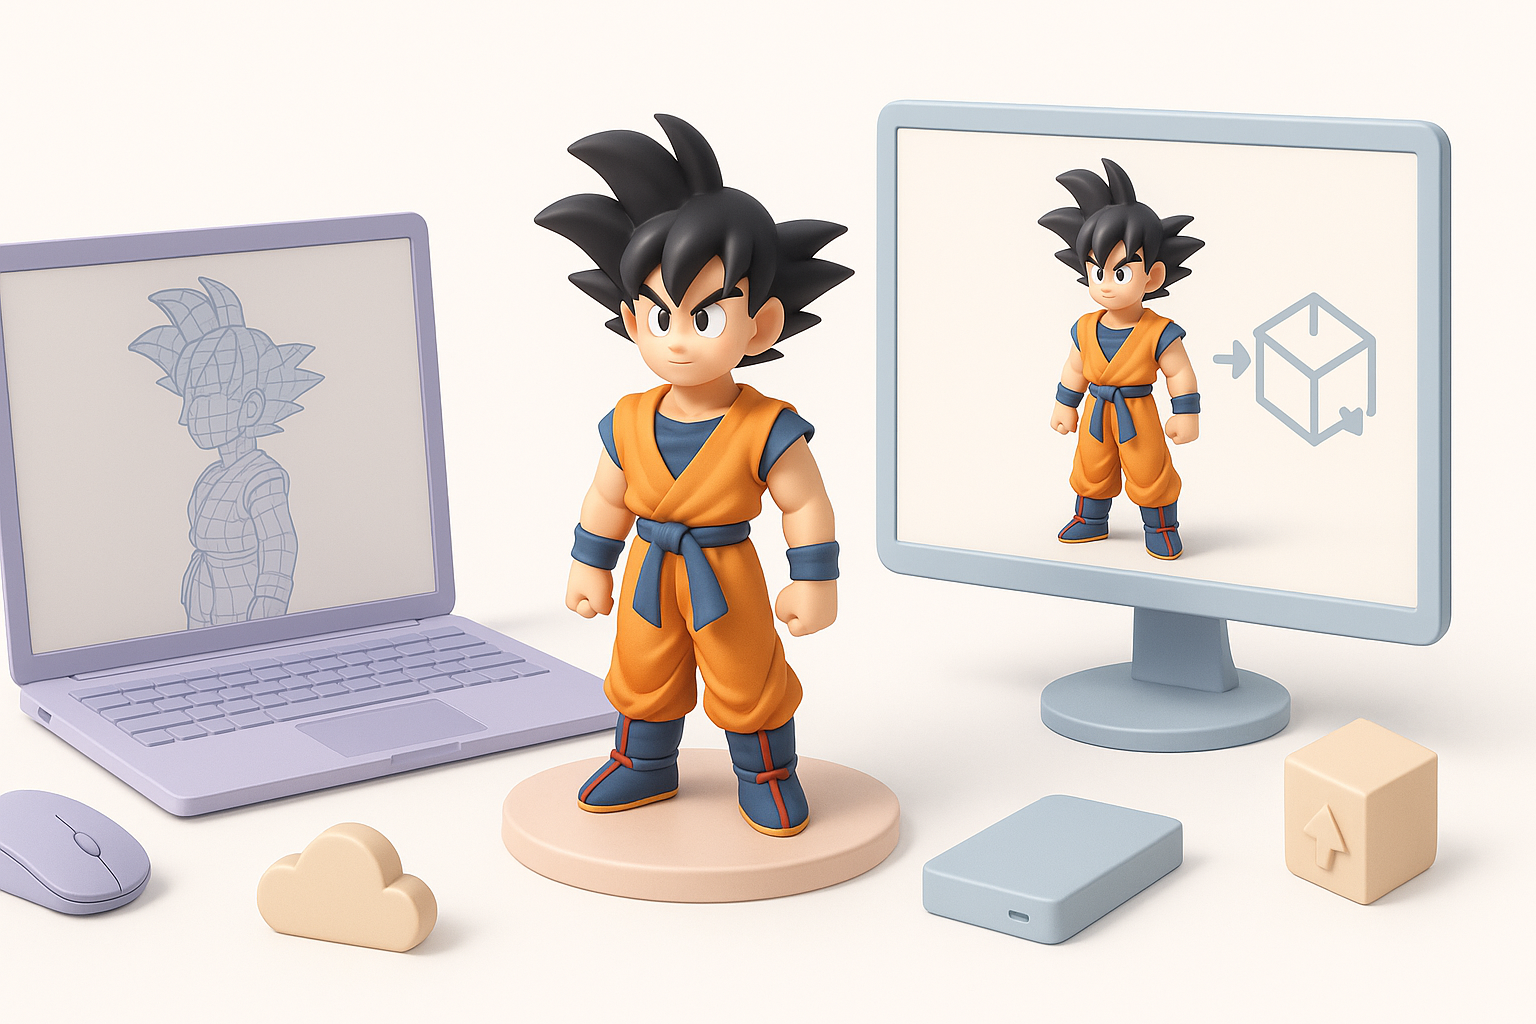
Export settings for games, film, and XR
Export settings depend on the target platform. I use FBX or GLTF for games/XR, with optimized textures and materials. For film, higher resolution meshes and more complex shaders are acceptable.
Tips:
- Check compatibility with target engine
- Include necessary maps (normal, roughness, etc.)
AI-Powered Tools and My Experience with Tripo
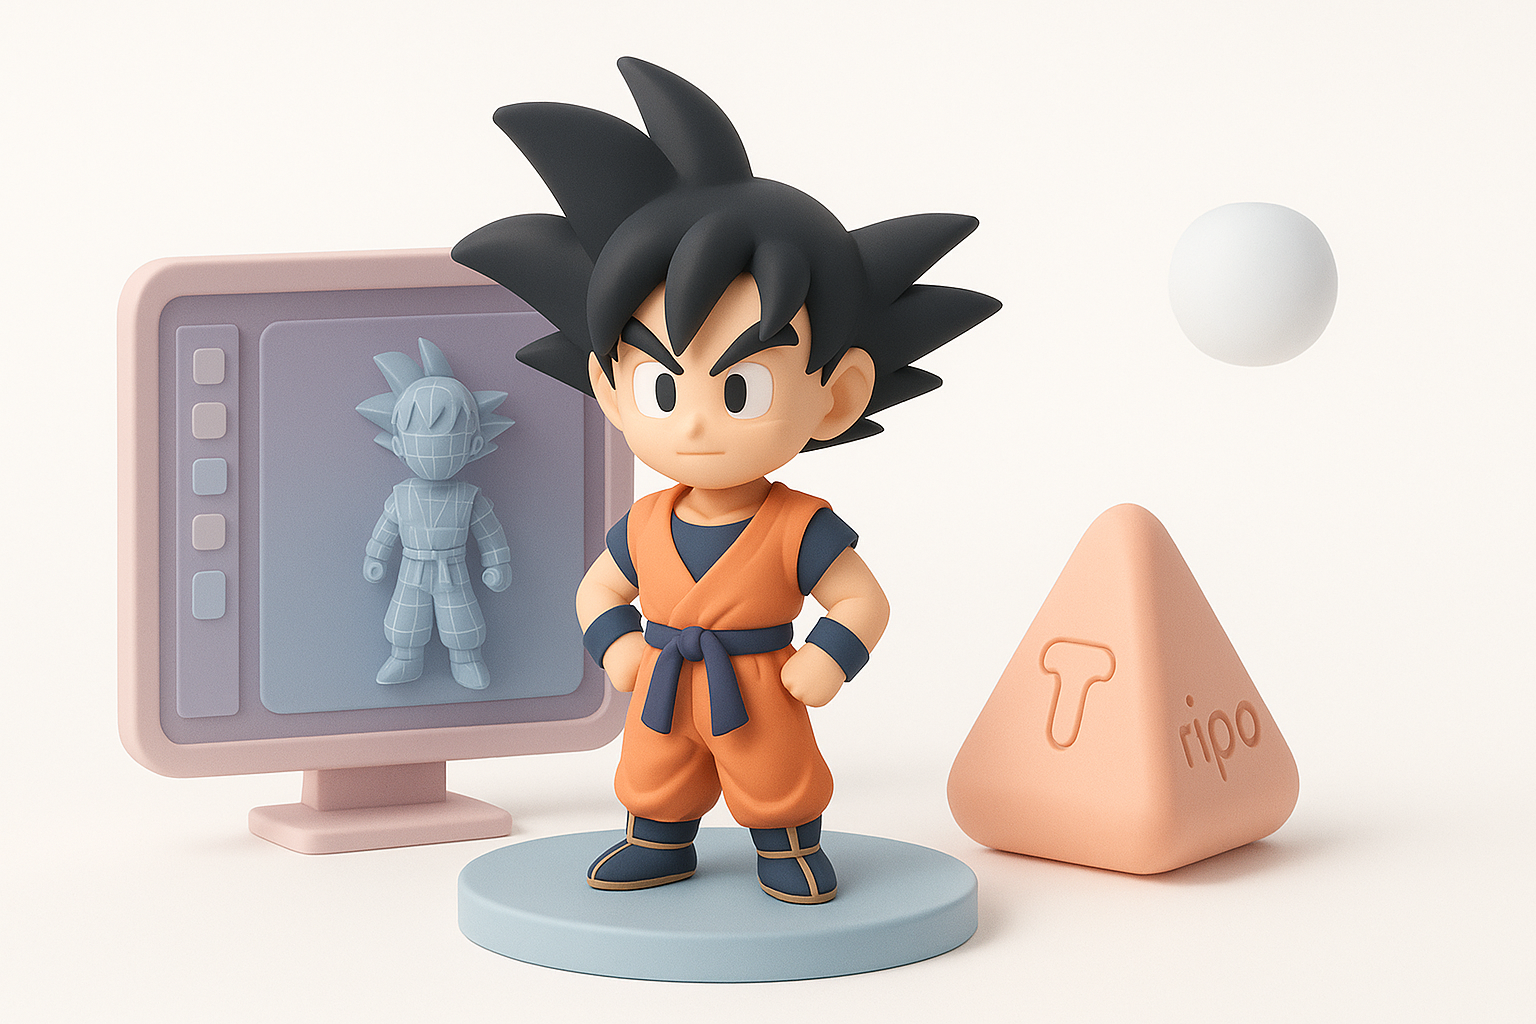
How AI accelerates Goku 3D model creation
AI tools like Tripo speed up segmentation, retopology, and texturing. I’ve found that generating base meshes or textures from text/image input saves hours, especially for rapid prototyping.
Practical uses:
- Auto-segmenting hair and costume parts
- Generating UV layouts and base textures
- Fast retopology for animation-ready meshes
Integrating Tripo into my workflow: pros and tips
Integrating Tripo is straightforward—I use it for initial mesh generation and refinement, then switch to manual tools for detail work. It’s most effective for repetitive or technical tasks.
Tips:
- Use AI for early stages, manual for final polish
- Review outputs for accuracy before moving forward
Comparing Manual and AI-Driven Goku 3D Modeling Approaches
Strengths and limitations of each method
Manual modeling offers full artistic control but is time-consuming. AI-driven workflows are faster and reduce technical barriers, though they may require manual correction for complex features.
Strengths:
- Manual: precision, custom detail, full control
- AI: speed, automation, accessibility
When to choose AI vs. traditional workflows
I choose AI tools when speed is critical or for prototyping. For final production, manual refinement is often necessary, especially for iconic characters like Goku.
Pitfalls:
- Over-reliance on AI can lead to generic results
- Manual workflows can bottleneck production
Common Challenges and My Solutions in Goku 3D Modeling
Overcoming anatomy and proportion issues
Goku’s proportions are exaggerated yet balanced. I constantly cross-check with references and use proportional guides to avoid mistakes.
Tips:
- Use reference overlays in viewport
- Adjust anatomy iteratively, not all at once
Achieving expressive facial features
Expressive faces are key to Goku’s appeal. I focus on eyebrow shape, mouth curvature, and eye size. Sculpting in layers helps maintain flexibility.
Pitfalls:
- Stiff, symmetrical expressions
- Over-detailing at the expense of clarity
Final Thoughts: What I’ve Learned Creating Goku 3D Models

Personal tips for aspiring 3D artists
Stay organized, iterate often, and don’t rush the planning phase. Use AI tools to speed up technical steps, but always review outputs critically.
Advice:
- Build a strong reference library
- Practice anatomy and facial expression sculpting
- Experiment with both manual and AI workflows
Staying creative and efficient in character modeling
Balancing creativity and efficiency is crucial. I keep my workflow modular—segment tasks, leverage automation, and always leave room for artistic polish. This approach keeps modeling fun and productive, even with complex characters like Goku.


