Creating a Godzilla Ultima V3 3D Model: My Workflow & Tips
Creating a 3D model of Godzilla Ultima V3 is both a technical and creative challenge—one that rewards careful planning, solid reference gathering, and a streamlined workflow. Over multiple projects, I’ve refined a process that leverages both traditional techniques and AI-powered tools like Tripo to achieve production-ready results efficiently. This article is for 3D artists, game devs, and anyone interested in high-detail creature modeling, covering my full pipeline from references to export, with practical advice and pitfalls to avoid.
Key takeaways:
- Accurate references and planning are essential for iconic creatures like Godzilla Ultima V3.
- Efficient workflows combine manual sculpting with AI-assisted segmentation, retopology, and texturing.
- UV mapping and material setup can make or break realism—don’t rush these steps.
- Optimized topology and basic rigging are crucial for animation and XR/game integration.
- AI-powered tools can dramatically speed up tedious tasks, but manual refinement remains important.
Executive Summary: Key Takeaways on Godzilla Ultima V3 Modeling
What makes Godzilla Ultima V3 unique in 3D modeling
Godzilla Ultima V3 stands out due to its intricate anatomy—massive proportions, exaggerated musculature, and distinct skin details. Capturing its unique silhouette and menacing presence is key. Unlike generic kaiju, Ultima V3’s facial features, dorsal plates, and tail require careful attention to reference and anatomy.
Summary of my recommended workflow
My workflow starts with gathering references and planning, then moves to blocking out the main forms using sculpting tools. I use AI-powered platforms like Tripo for segmentation, retopology, and initial texturing, then refine details manually. Rigging and export settings are tailored for the intended platform—be it games, film, or XR.
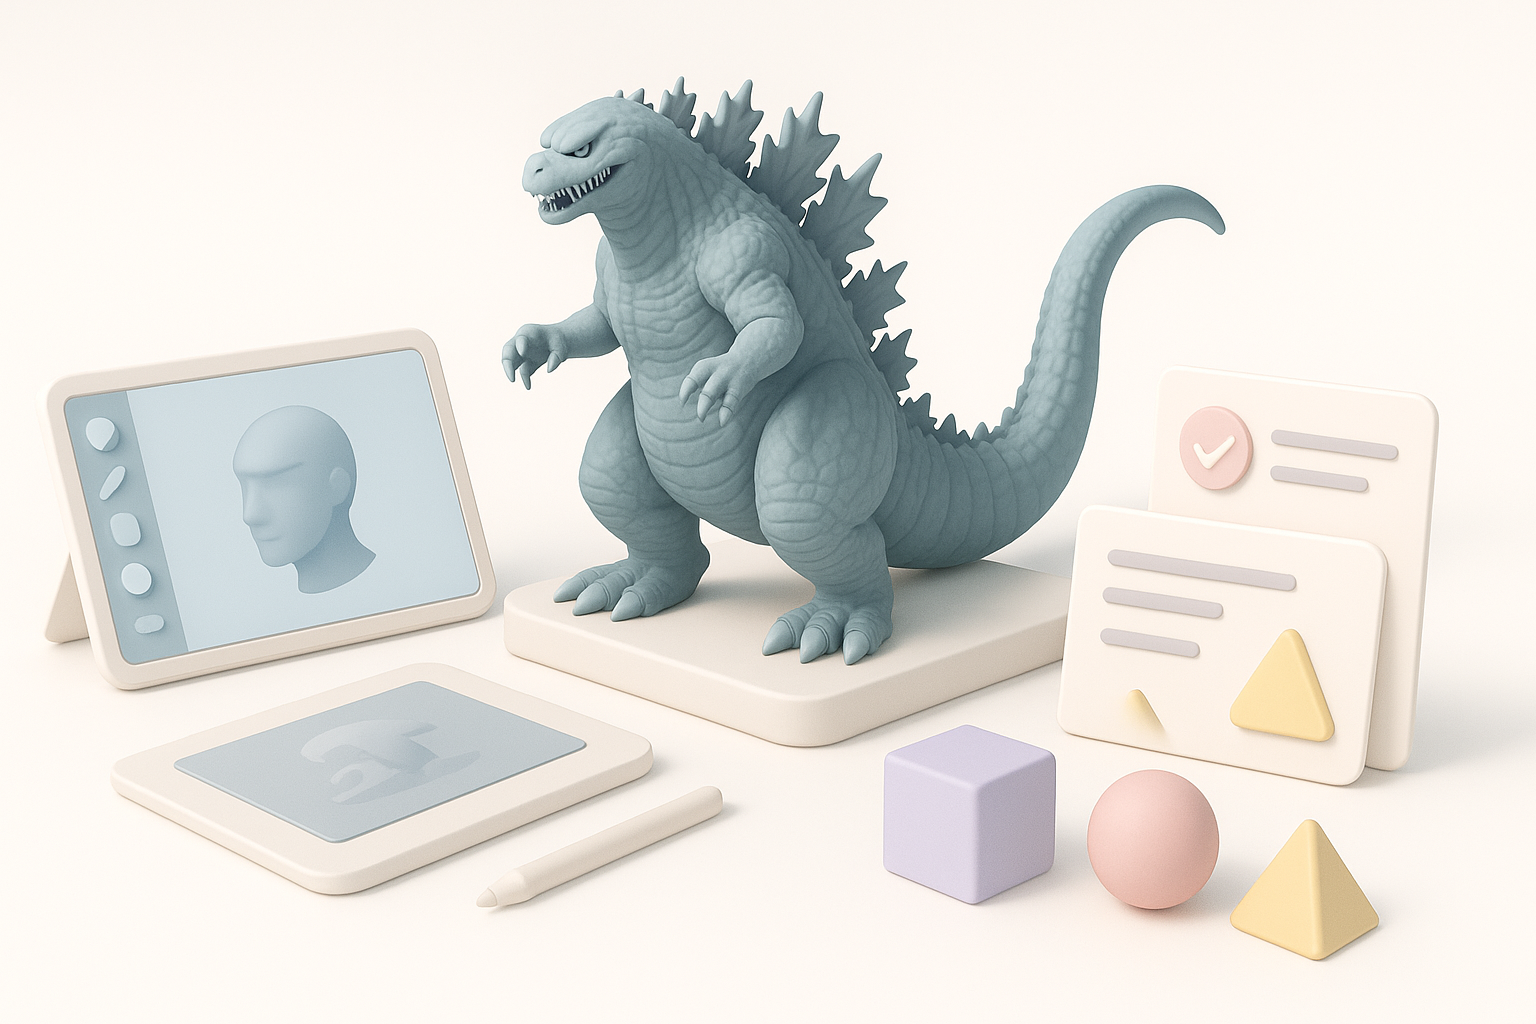
Gathering References and Planning the Godzilla Ultima V3 Model
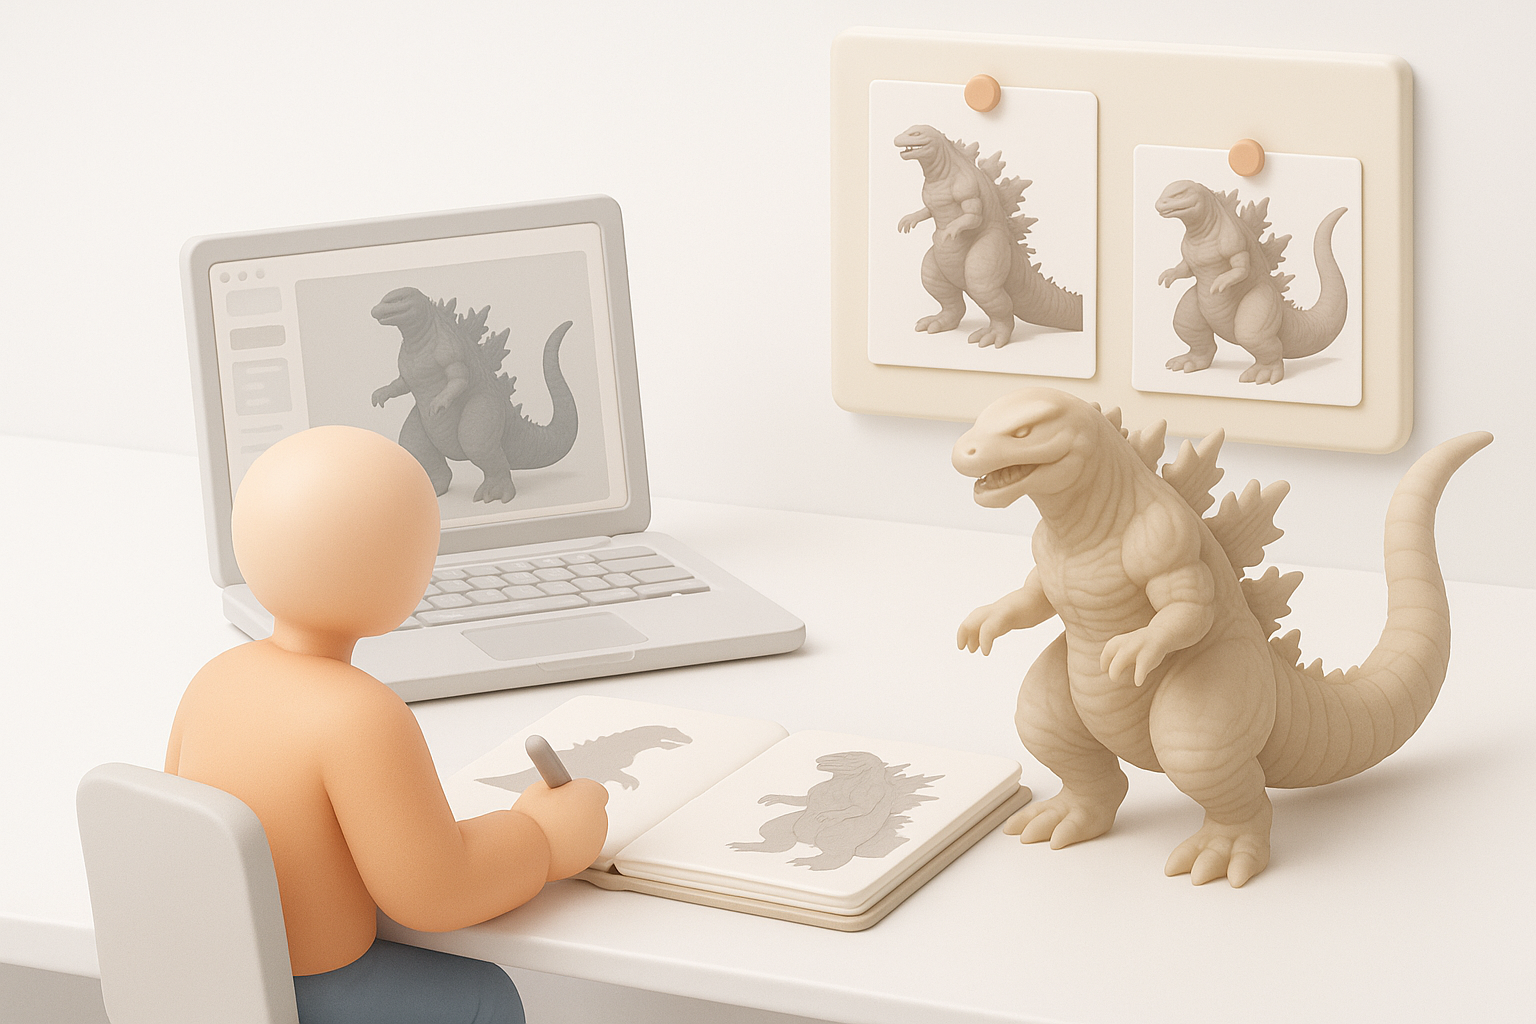
Sourcing accurate visual references
I always start by collecting as many high-quality references as possible: film stills, official concept art, collectibles, and fan models. Multiple angles are essential—front, side, and back—since Godzilla’s proportions can vary by interpretation.
Checklist:
- Official movie and promotional images
- Art books and model sheets
- Screenshots from multiple scenes
- Close-ups of unique features (head, dorsal plates, tail)
Defining scale, pose, and level of detail
Early on, I decide on the final use (animation, static render, XR), which informs scale and pose. For Ultima V3, a neutral T-pose works best for rigging, but I sometimes pose the tail or hands slightly to avoid mesh overlap. Level of detail depends on the target—games need lower poly counts, while film assets can be dense.
Tips:
- Block out rough proportions before committing to details
- Set up a scale reference (e.g., human figure) in your scene
- Decide on the “hero” side for extra detail if time is limited
Modeling Techniques for Godzilla Ultima V3 in 3D
Blocking out the main forms
I start with basic shapes—spheres and cylinders for the torso, limbs, and tail. Using digital sculpting tools, I quickly rough out the silhouette, focusing on the big landmarks: chest, hips, head, and tail sweep.
Steps:
- Block in torso, limbs, tail, and head as separate meshes
- Adjust proportions using reference overlays
- Merge and smooth transitions
Adding details and refining anatomy
Once the main forms are set, I move to secondary shapes: muscle groups, facial structure, and dorsal plates. For Godzilla Ultima V3, the skin folds and plate arrangement are critical. I use custom alphas and brushes for scales and scars.
Pitfalls:
- Don’t add detail too early—get proportions right first
- Watch for symmetry issues, especially in the face and plates
- Save iterations so you can revert if detail pass goes off-track
Texturing and Materials: Bringing Godzilla Ultima V3 to Life
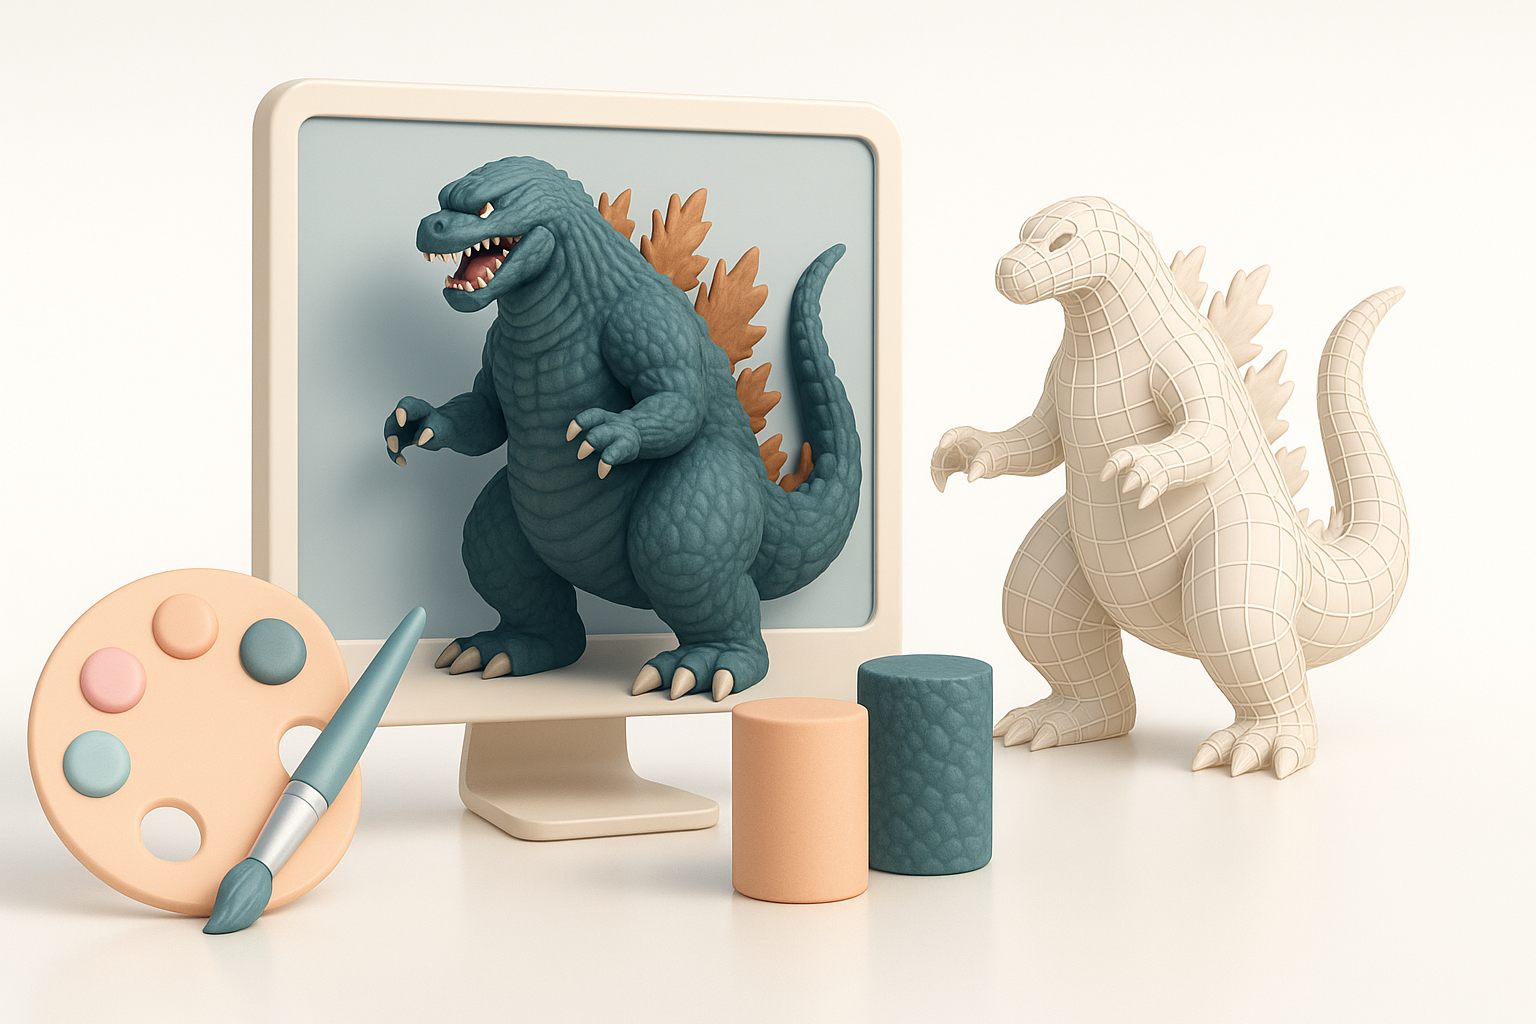
Creating realistic skin textures
Godzilla’s skin is a mix of rough, reptilian scales and subtle color shifts. I use high-resolution displacement or normal maps for surface detail, and paint color maps based on references—dark charcoal, with red or blue undertones.
Workflow:
- Use AI-powered texturing for a quick base, then hand-paint overlays
- Layer procedural noise for extra realism
- Add specular/roughness variation to mimic wet, leathery skin
Best practices for UV mapping and material setup
Good UVs are critical for seamless texturing. I rely on auto-unwrap tools for initial layout, then manually adjust seams around visible areas. For a model this size, I use multiple UDIMs or texture sets.
Tips:
- Avoid stretching around high-detail areas (face, plates)
- Test material previews in your rendering engine early
- Keep texture resolution consistent with project requirements
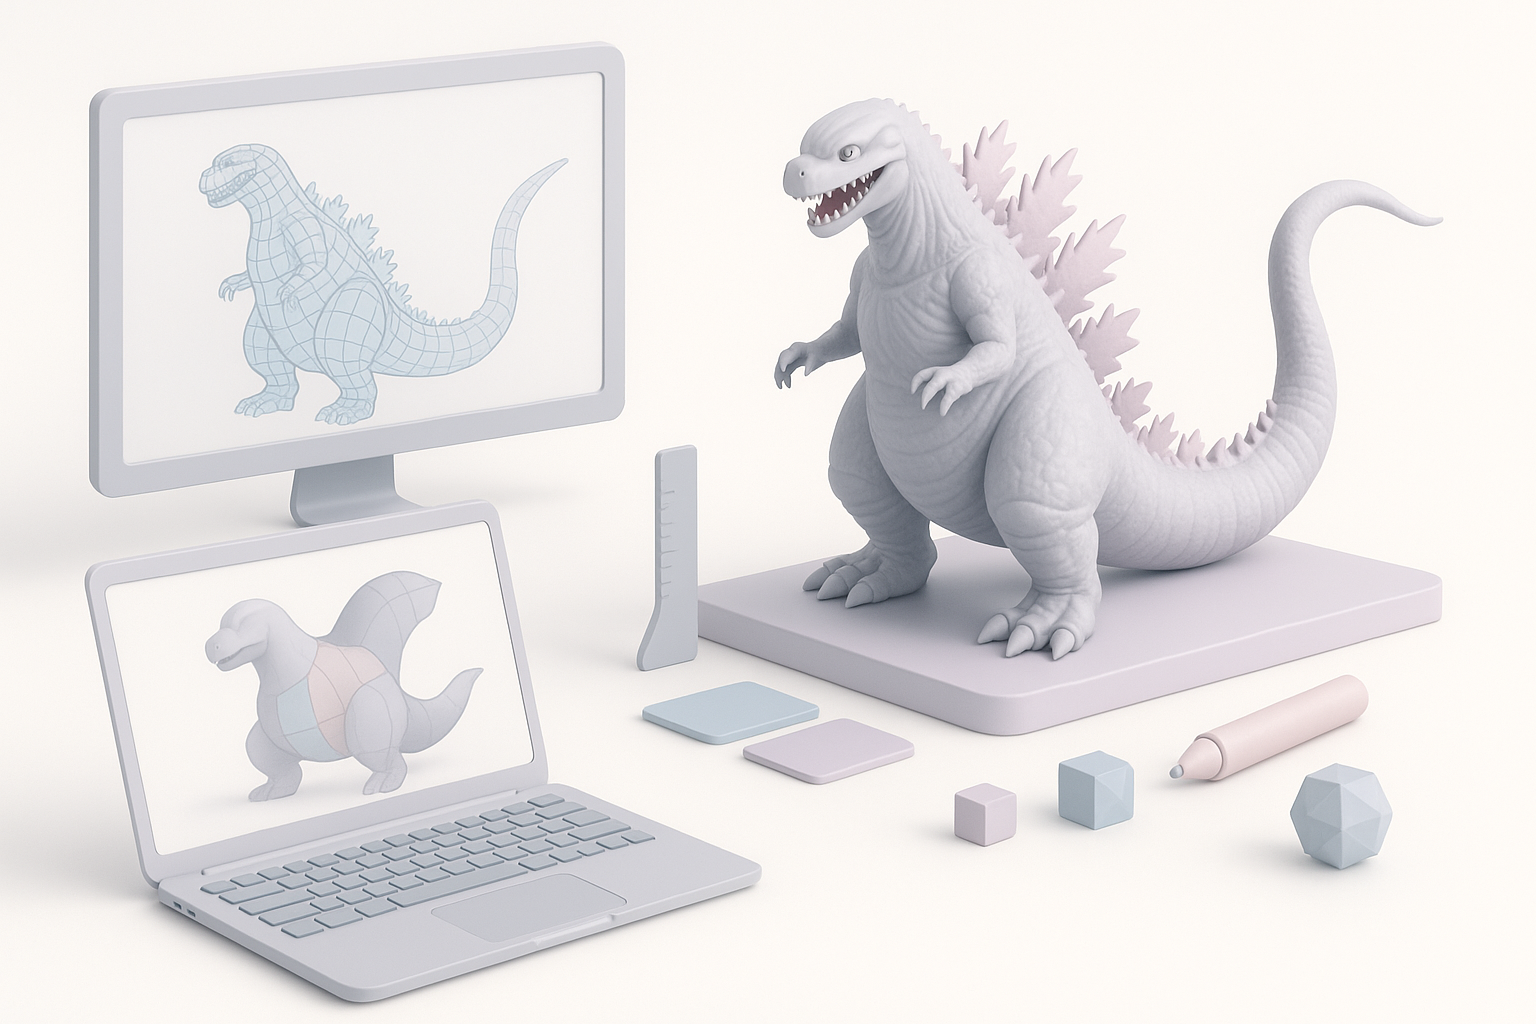
Retopology, Rigging, and Animation Considerations
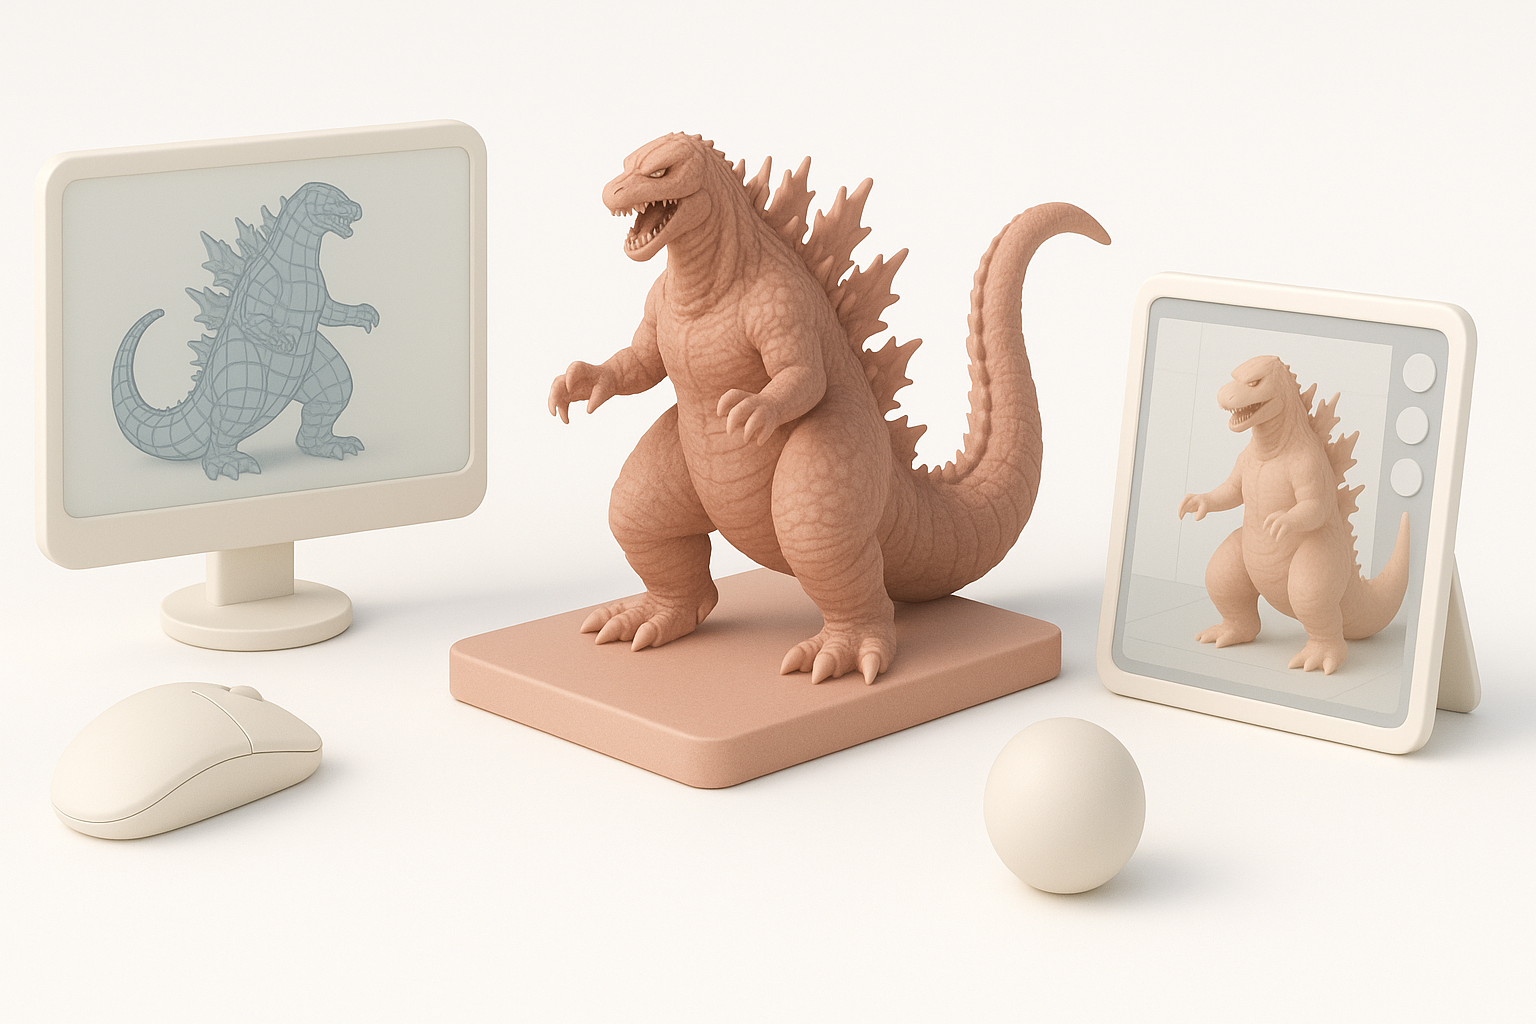
Optimizing topology for animation
For animation or real-time use, I retopologize the sculpt to create clean, efficient edge flow—especially around joints (shoulders, jaw, tail base). AI-powered retopology can save hours, but I always double-check for errors.
Checklist:
- Evenly distributed quads, denser at deformation zones
- Edge loops around mouth, eyes, and major joints
- Test deformations with basic rig before finalizing
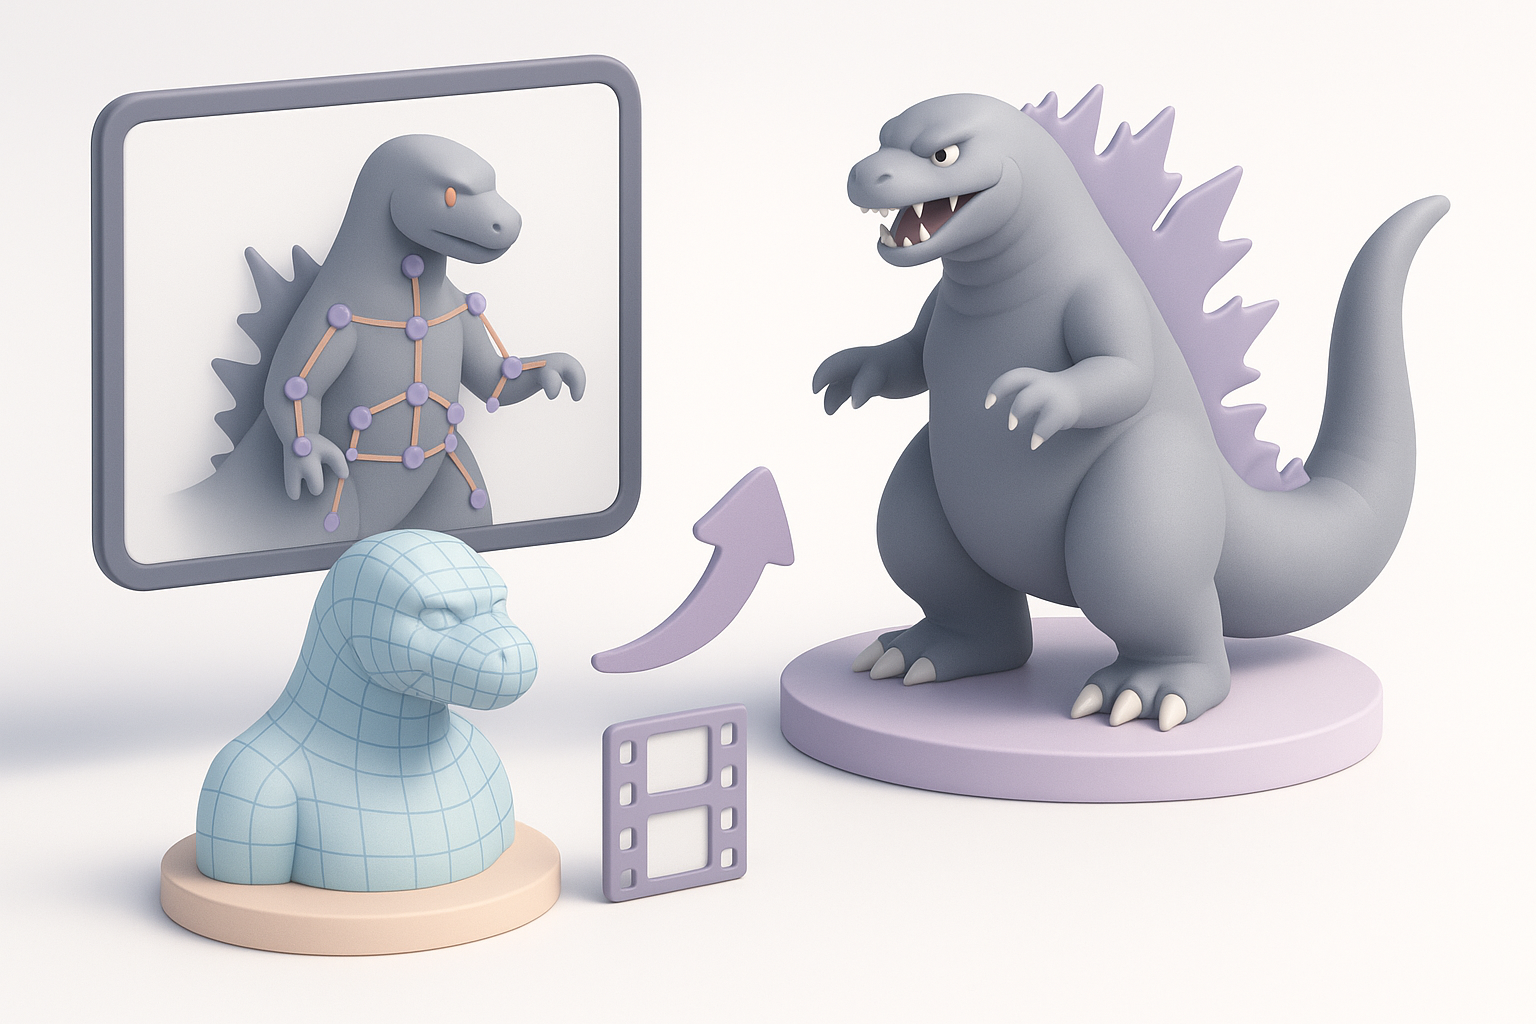
Setting up basic rigs and posing
I build a simple skeleton with controls for the spine, limbs, jaw, and tail. For quick posing, I use auto-rigging features, then manually weight-paint problem areas. For animation, I add extra controls for the plates and tail tip.
Pitfalls:
- Overly complex rigs slow down posing and export
- Poor weighting leads to ugly deformations—test with extreme poses
Exporting, Sharing, and Using the Model in Projects
Export settings for different platforms
Export settings depend on the end use. For games, I keep poly count and texture resolution optimized (e.g., 50k–100k tris, 2–4K textures). For XR, I test on target hardware to ensure performance.
Steps:
- Export as FBX or GLTF for widest compatibility
- Bake textures and normal maps to reduce shader complexity
- Include LODs if required by the engine
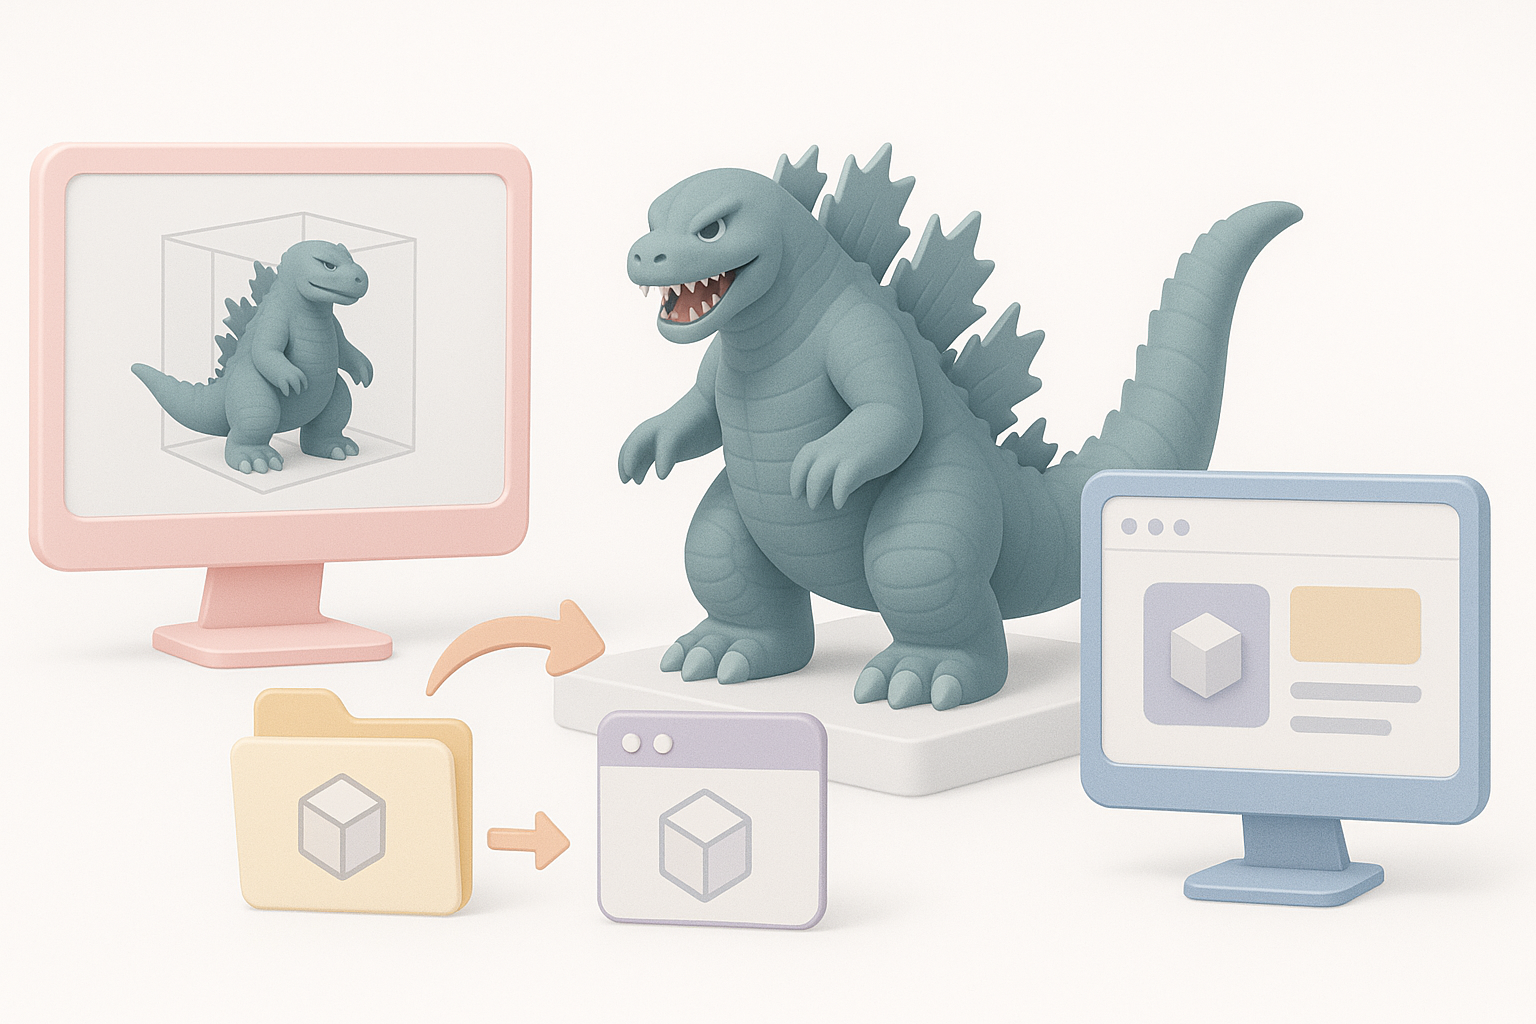
Integrating the model into games or XR experiences
I import the model into the target engine (Unity, Unreal, etc.), set up materials, and test animations. For XR, I check for scale and interaction issues—Godzilla’s size can be tricky in AR/VR.
Tips:
- Test lighting and shadows in-engine
- Adjust collision meshes for performance
- Package all assets (meshes, textures, rigs) for easy reuse
Best Practices and Lessons Learned from My Workflow
Common challenges and how I solve them
Challenges:
- Reference inconsistencies (solved with consensus from multiple sources)
- Over-detailing early (solved by sticking to a staged workflow)
- UV seams in visible areas (solved by careful seam placement and painting)
Tips for efficiency and quality
- Use AI-powered tools for segmentation, retopology, and first-pass texturing, but always review outputs manually
- Save incremental versions—mistakes happen, and rollback saves time
- Set clear goals for each session (blockout, detail, texture) to avoid burnout
Comparing AI-Powered and Traditional 3D Modeling Approaches
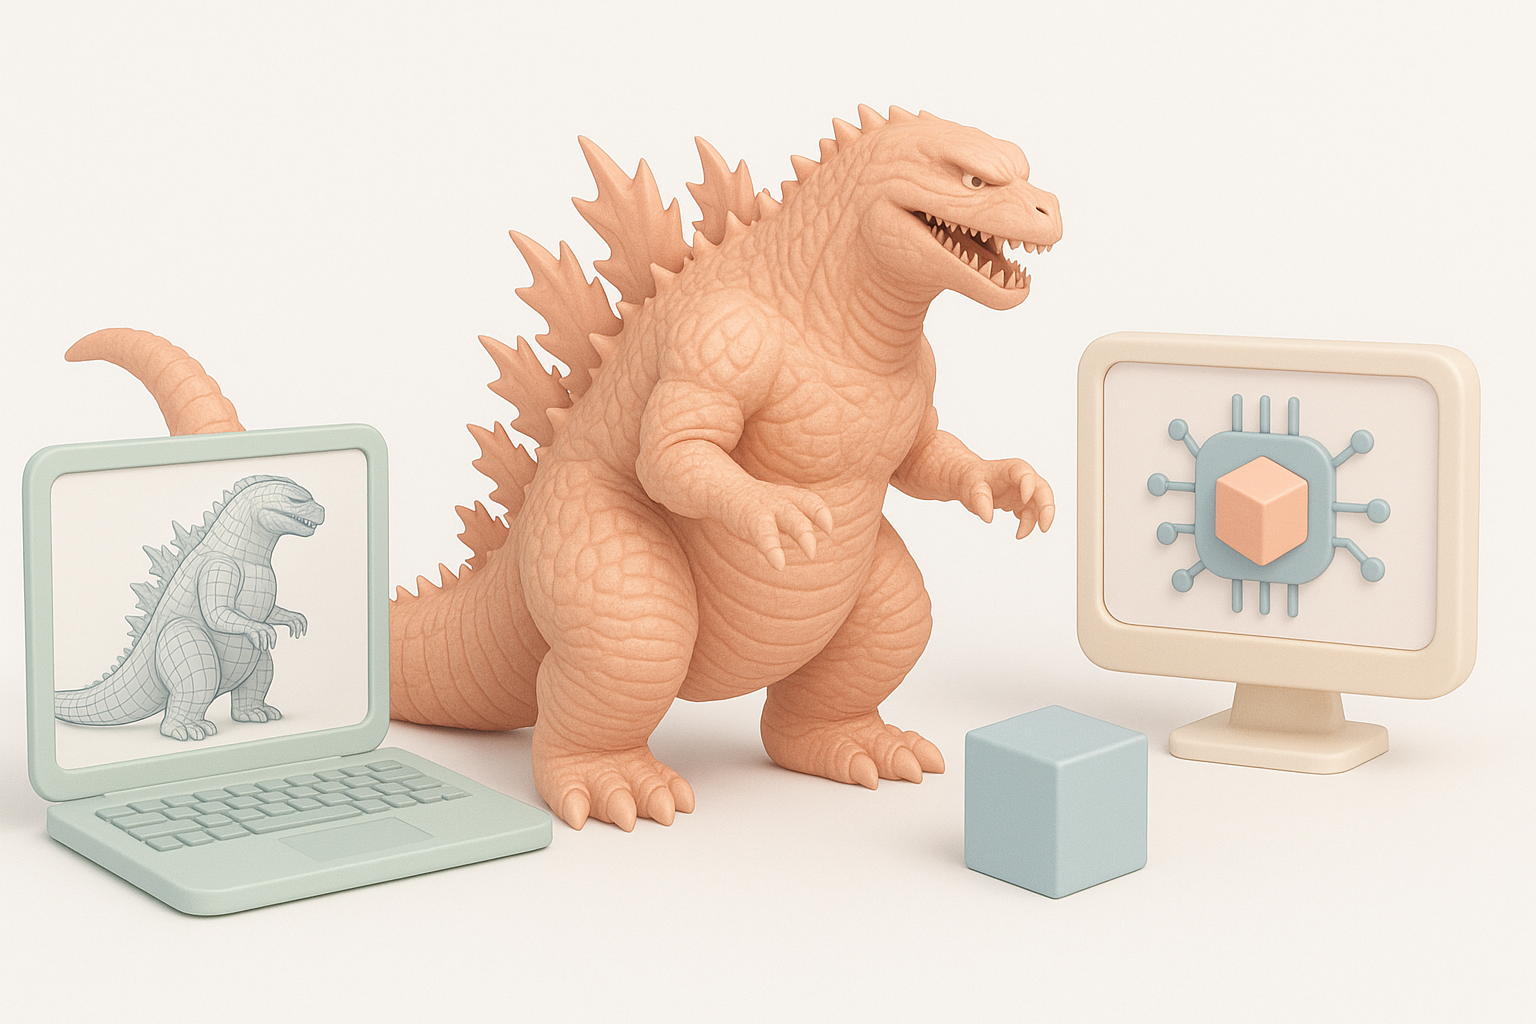
When to use AI-powered tools like Tripo
I use Tripo when I need to accelerate repetitive tasks—auto-segmentation, retopology, and initial texturing are much faster than manual methods. It’s especially useful for concepting or when tight deadlines are involved.
Best cases:
- Quick iterations for client feedback
- Rapid prototyping for games or XR
- Reducing manual labor on complex organic shapes
Pros and cons of alternative methods
AI-powered tools:
- Pros: Speed, automation, lower entry barrier
- Cons: Sometimes require manual cleanup, less control over fine details
Traditional methods:
- Pros: Maximum control, best for hero assets
- Cons: Time-consuming, requires more expertise
In my experience, a hybrid workflow—starting with AI assistance and finishing with manual refinement—delivers the best blend of speed and quality for complex models like Godzilla Ultima V3.


