Creating a Glock 3D Model: Expert Workflow & Best Practices
Creating a production-ready Glock 3D model requires a blend of precision, efficient workflows, and the right tools. In my experience, leveraging AI-powered platforms for rapid base mesh generation, followed by careful retopology, texturing, and rigging, streamlines the process without sacrificing quality. This article is for artists and developers in gaming, film, and XR who want practical, actionable insights into Glock 3D modeling—from concept to export. Below, I share the key steps, pitfalls, and solutions I’ve learned from real-world projects.
Key takeaways:
- Accurate reference gathering is the foundation for realism.
- AI-powered platforms accelerate base mesh creation and segmentation.
- Clean retopology and intelligent segmentation are critical for production-ready assets.
- Realistic texturing relies on both manual and AI-assisted methods.
- Rigging and animation must be tailored to the intended use (games, XR, etc.).
- Export optimization depends on target platform requirements.
Executive Summary: Key Takeaways for Glock 3D Modeling
What I’ve learned from rapid Glock modeling
Speed and accuracy are not mutually exclusive when modeling a Glock. By integrating AI-driven tools, I’ve drastically reduced the time needed for base mesh creation and segmentation, allowing me to focus more on detail and polish. However, attention to reference and topology remains essential for production-quality results.
Essential tools and workflows
My workflow centers on a combination of AI-powered platforms (like Tripo AI), traditional 3D modeling software, and image editing tools. This hybrid approach lets me iterate quickly, troubleshoot issues, and deliver assets that meet industry standards.
Planning and Reference Gathering for Glock Models
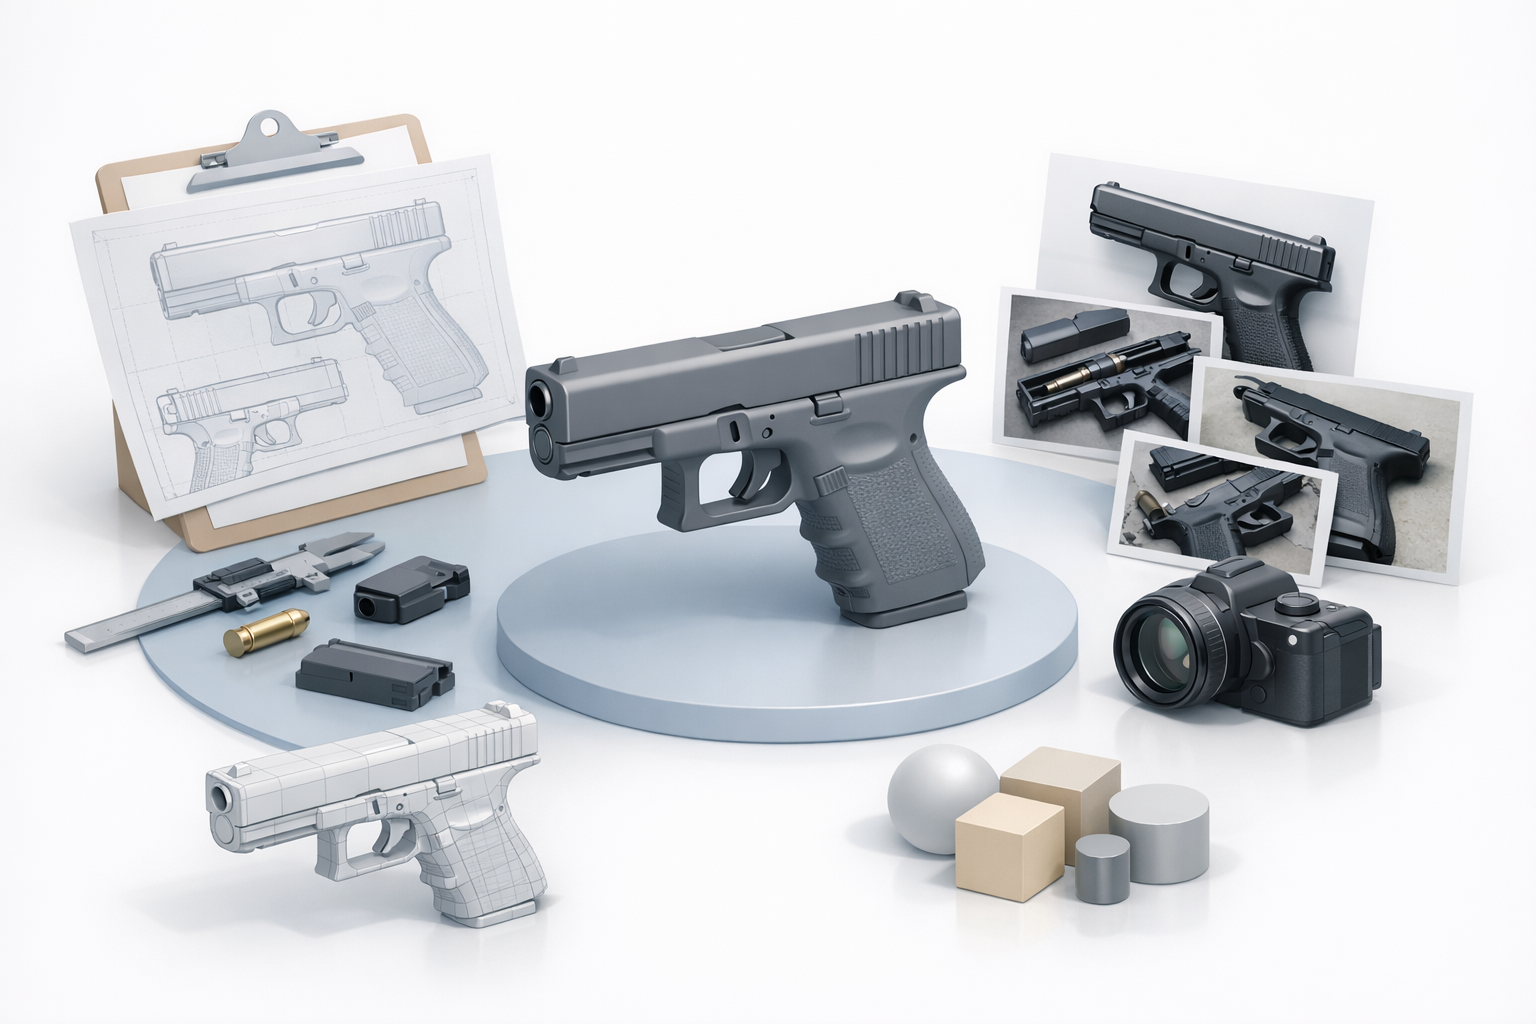
Choosing accurate references and blueprints
The first step in any Glock modeling project is sourcing high-quality references. I always seek out technical blueprints, orthographic photos, and exploded diagrams—these ensure proportion and detail accuracy. Manufacturer websites and enthusiast forums are reliable sources.
Checklist for reference gathering:
- Technical blueprints (side, top, front views)
- High-res product photos
- Close-ups of textures and markings
- Exploded views for internal parts
My approach to concept sketches and image sourcing
If blueprints aren’t available, I sketch over photos to establish proportions. I use image editing software to align and layer references, which helps visualize the model before starting. For texture reference, I collect macro shots of polymer and metal finishes.
Generating the Glock Base Mesh: Methods and Tools
Using AI-powered platforms for base mesh creation
AI platforms like Tripo AI let me generate a rough Glock base mesh from text prompts or reference images in seconds. This is particularly useful for rapid prototyping or when I need multiple variations. The output is usually segmented and ready for refinement.
Steps I follow:
- Input reference images or text description.
- Review generated mesh for accuracy.
- Export for further editing in traditional 3D software.
Manual modeling vs. automated workflows
While manual modeling offers full control, it’s time-consuming. I prefer automated workflows for initial mesh generation, then manually adjust proportions and details. The key is not to rely solely on automation—always check mesh accuracy and fix artifacts.
Pitfalls:
- Automated meshes may lack precise edge flow.
- Manual tweaks are often necessary for trigger, slide, and grip details.
Retopology and Segmentation: Ensuring Production-Ready Geometry
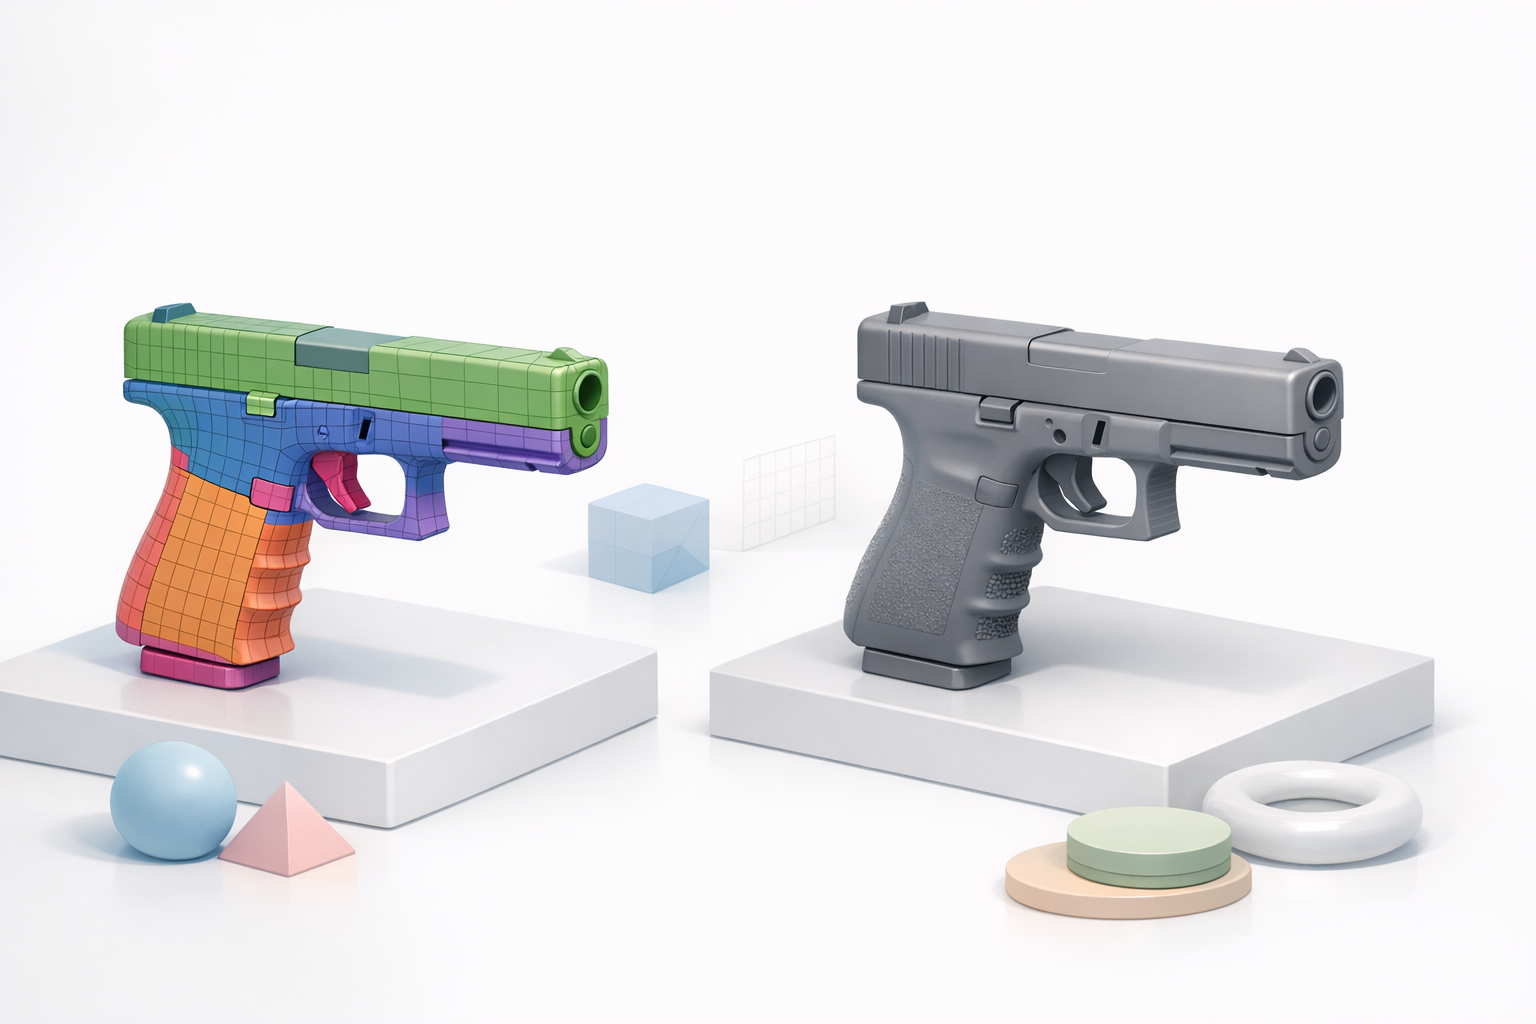
My retopology process for clean topology
Clean topology is essential for animation, texturing, and export. I use retopology tools to optimize edge flow, especially around moving parts (trigger, slide). AI-driven retopology in Tripo AI often gets me 80% there; I manually refine areas requiring deformation.
Best practices:
- Maintain quads for deformation zones.
- Simplify geometry for non-visible internal parts.
- Avoid unnecessary edge loops.
Intelligent segmentation tips for complex parts
Segmentation is crucial for realistic interaction and texturing. I segment the Glock into logical parts: frame, slide, trigger, magazine, and sights. AI tools help, but I always double-check segmentation for animation and material assignment.
Mini-checklist:
- Segment moving parts for rigging.
- Assign unique materials to each segment.
- Group internal components for easier management.
Texturing and Material Creation for Glock Models
Best practices for realistic Glock textures
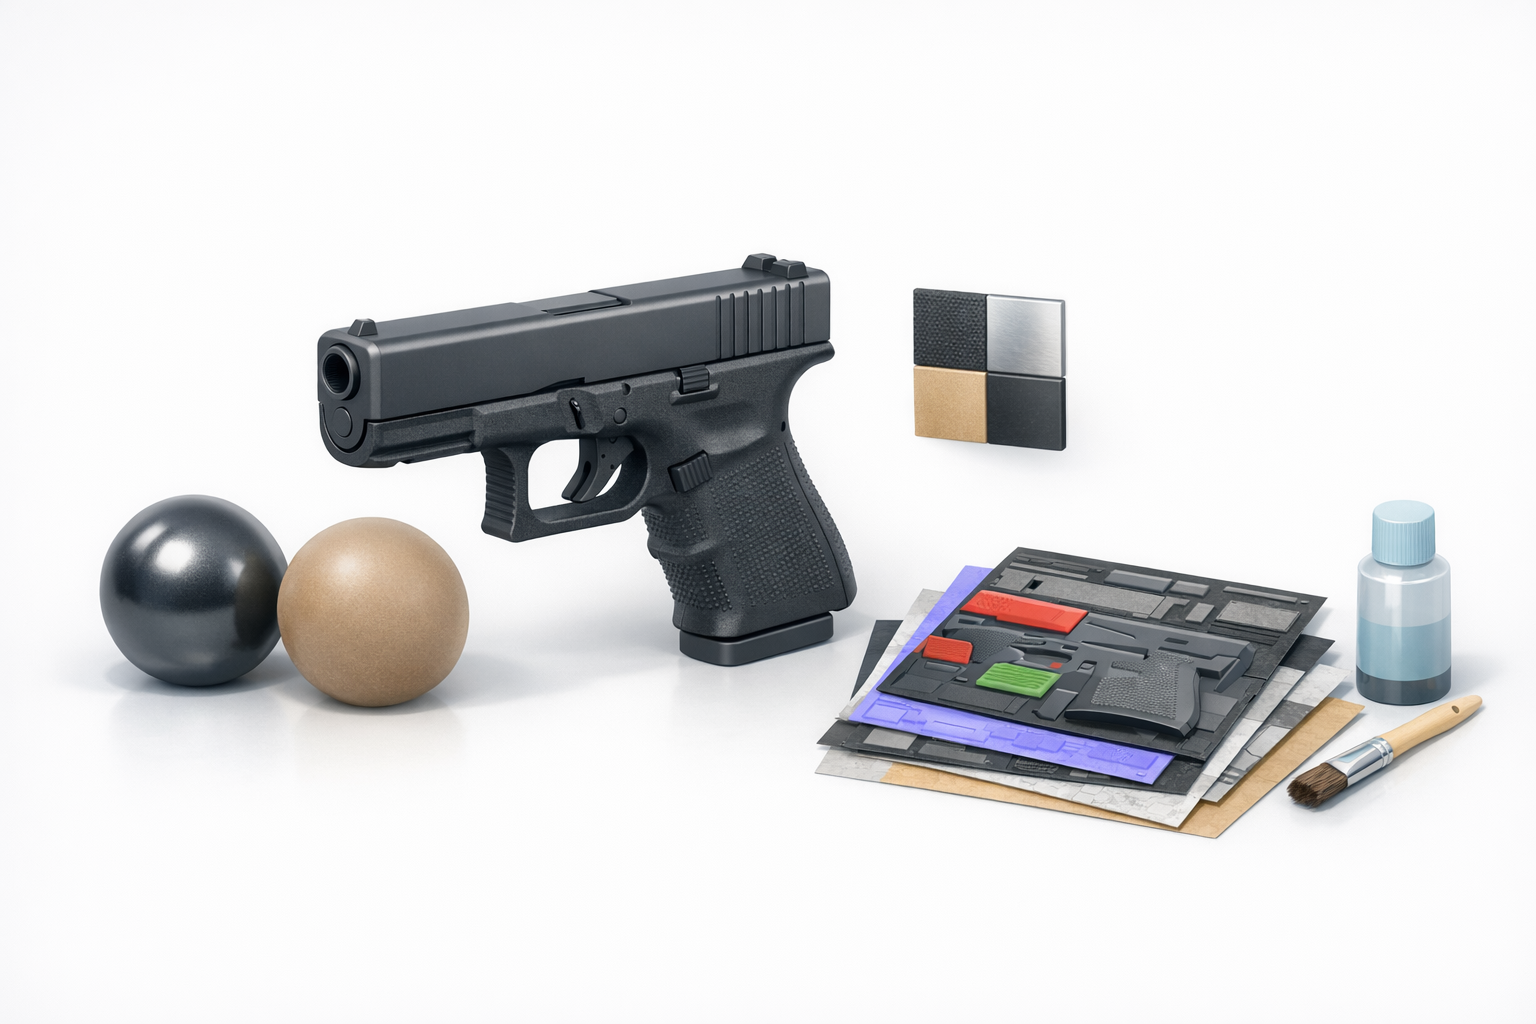
Realism comes from accurate textures. I use high-res photos for albedo maps and manually create normal and roughness maps to capture polymer and metal details. Pay attention to subtle wear, logos, and grip patterns.
Tips:
- Use real-world reference for materials.
- Layer dirt, scratches, and wear for authenticity.
- Test textures under multiple lighting conditions.
Integrating AI-assisted texturing in my workflow
AI-assisted texturing speeds up base material creation—especially for polymer and metal finishes. I usually generate initial maps with Tripo AI, then refine in Photoshop or Substance Painter.
Workflow:
- Generate base maps via AI.
- Refine details manually.
- Bake and export for testing.
Rigging and Animation: Preparing Glock Models for Use

How I rig Glock models for games and XR
Rigging a Glock is straightforward but must account for moving parts. I rig the slide, trigger, magazine, and safety mechanisms. For games, I keep rigs lightweight; for XR, I add more detail for interactive features.
Rigging steps:
- Create bones for slide, trigger, magazine.
- Set up constraints for realistic movement.
- Test animations for reload and firing sequences.
Animation tips for functional Glock assets
Functional animation is key for realism. I animate firing, reloading, and slide actions, using reference videos for timing. Looping and blending animations ensure smooth transitions in-game.
Pitfalls:
- Overcomplicating rigs can slow performance.
- Always preview animations in the target engine.
Exporting, Optimization, and Comparison of Methods
Export settings for various platforms
Exporting depends on target platform. For games, I optimize mesh and textures for performance. For XR, I use higher resolution and more detailed rigs. I always check compatibility (FBX, GLTF, USD) and test in the intended engine.
Export checklist:
- Reduce poly count for mobile platforms.
- Optimize texture resolution.
- Verify rig and animation compatibility.
Comparing AI-driven and traditional workflows
AI-driven workflows save time on base mesh and texturing, but manual refinement is still necessary for production assets. Traditional methods offer more control but are slower. I recommend starting with AI, then refining as needed.
Takeaway:
- AI accelerates prototyping.
- Manual work ensures accuracy and polish.
Common Challenges and My Solutions in Glock 3D Modeling

Troubleshooting geometry and texture issues
Common issues include mesh artifacts, poor edge flow, and texture stretching. I use mesh analysis tools to spot problems early and re-project UVs if needed. For textures, I check seams and bake maps carefully.
Solutions:
- Run mesh diagnostics before export.
- Fix UV seams with manual painting.
- Test textures in target lighting environments.
Lessons learned from real-world projects
Every Glock project teaches something new. The biggest lesson: never skip reference gathering or topology checks. AI tools are invaluable for speed, but attention to detail is what makes a model production-ready.
Final tips:
- Always iterate based on feedback.
- Balance speed with quality.
- Document your workflow for future projects.
Slug suggestion: glock-3d-model-expert-workflow-best-practices
Meta description: Explore expert workflows, best practices, and AI-powered tools for creating production-ready Glock 3D models. Learn key steps, tips, and solutions.
Keywords: glock 3d model, 3d modeling workflow, ai 3d tools, retopology, texturing, rigging


