Creating a Ghost of Tsushima 3D Model: Expert Workflow & Tips
скачать 3d модели для chicken gun
If you want to create 3D models inspired by Ghost of Tsushima, you’ll need a blend of artistic vision and technical efficiency. Over the years, I’ve refined a workflow that leverages AI-powered tools alongside hands-on sculpting to achieve high-quality, game-ready assets—fast. This article breaks down my end-to-end process, from reference gathering and blocking out forms to texturing, rigging, and optimization, with practical advice for both beginners and seasoned 3D artists.
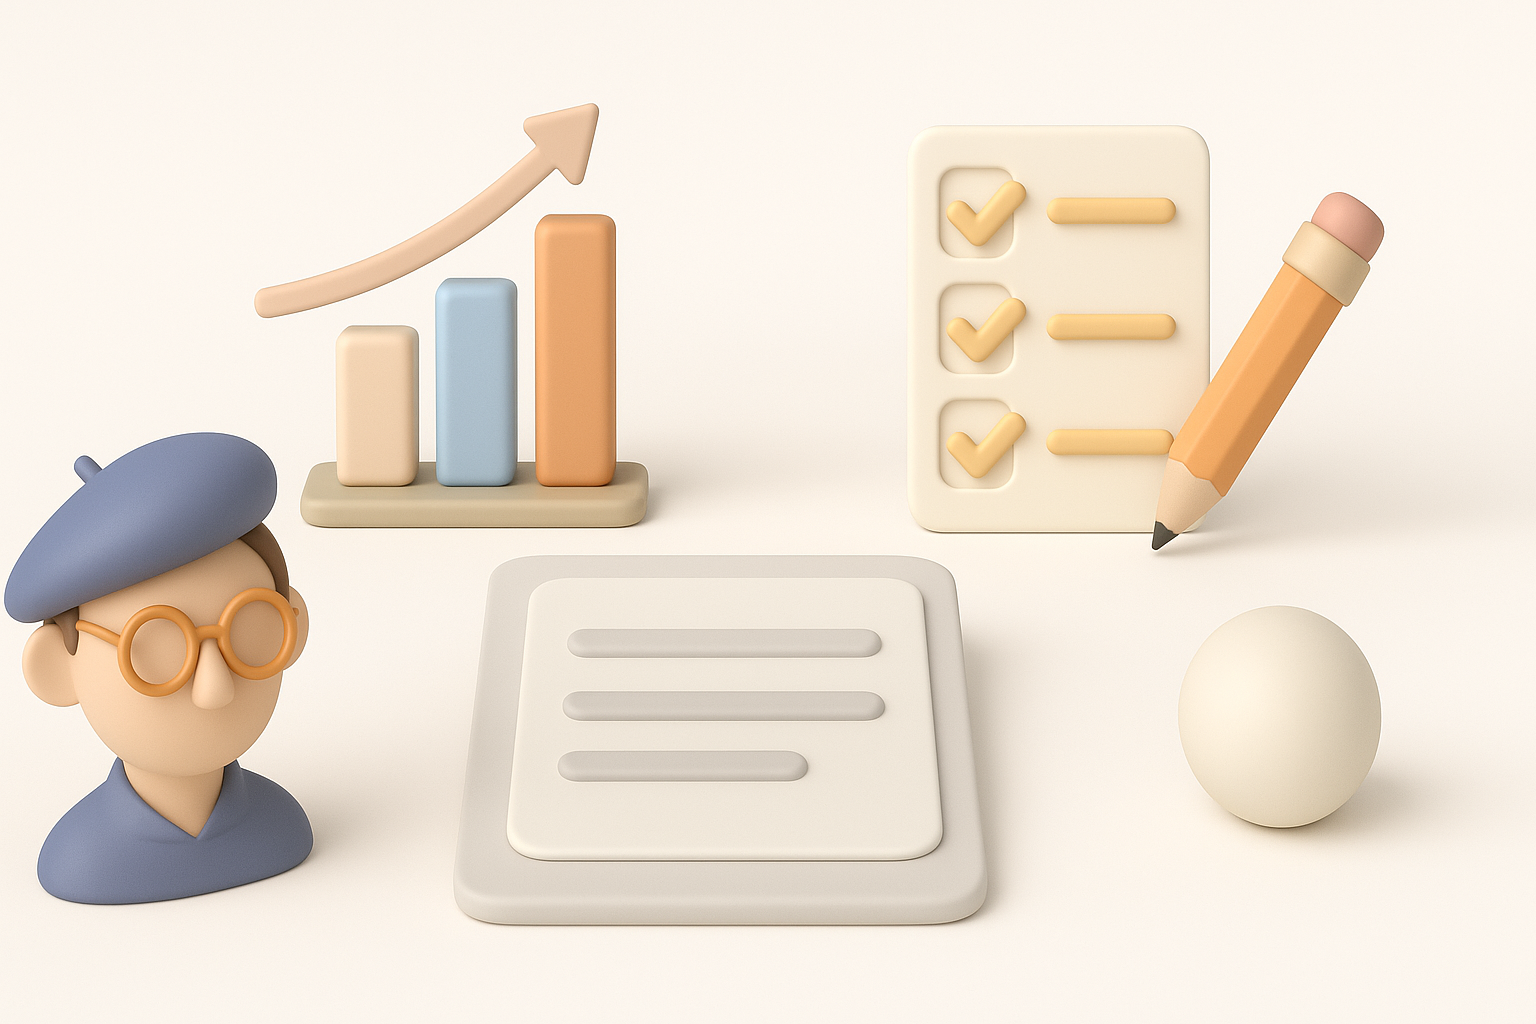
Key takeaways:
- Ghost of Tsushima assets require historical accuracy and nuanced detail.
- Strong reference gathering is as important as technical skill.
- AI-powered platforms can dramatically speed up blocking, segmentation, and retopology.
- Manual touch is still crucial for fine detail and polish.
- Optimization and export settings are critical for real-time engines.
- Expect to iterate—refinement is part of the process.
Executive Summary: Key Takeaways for 3D Artists
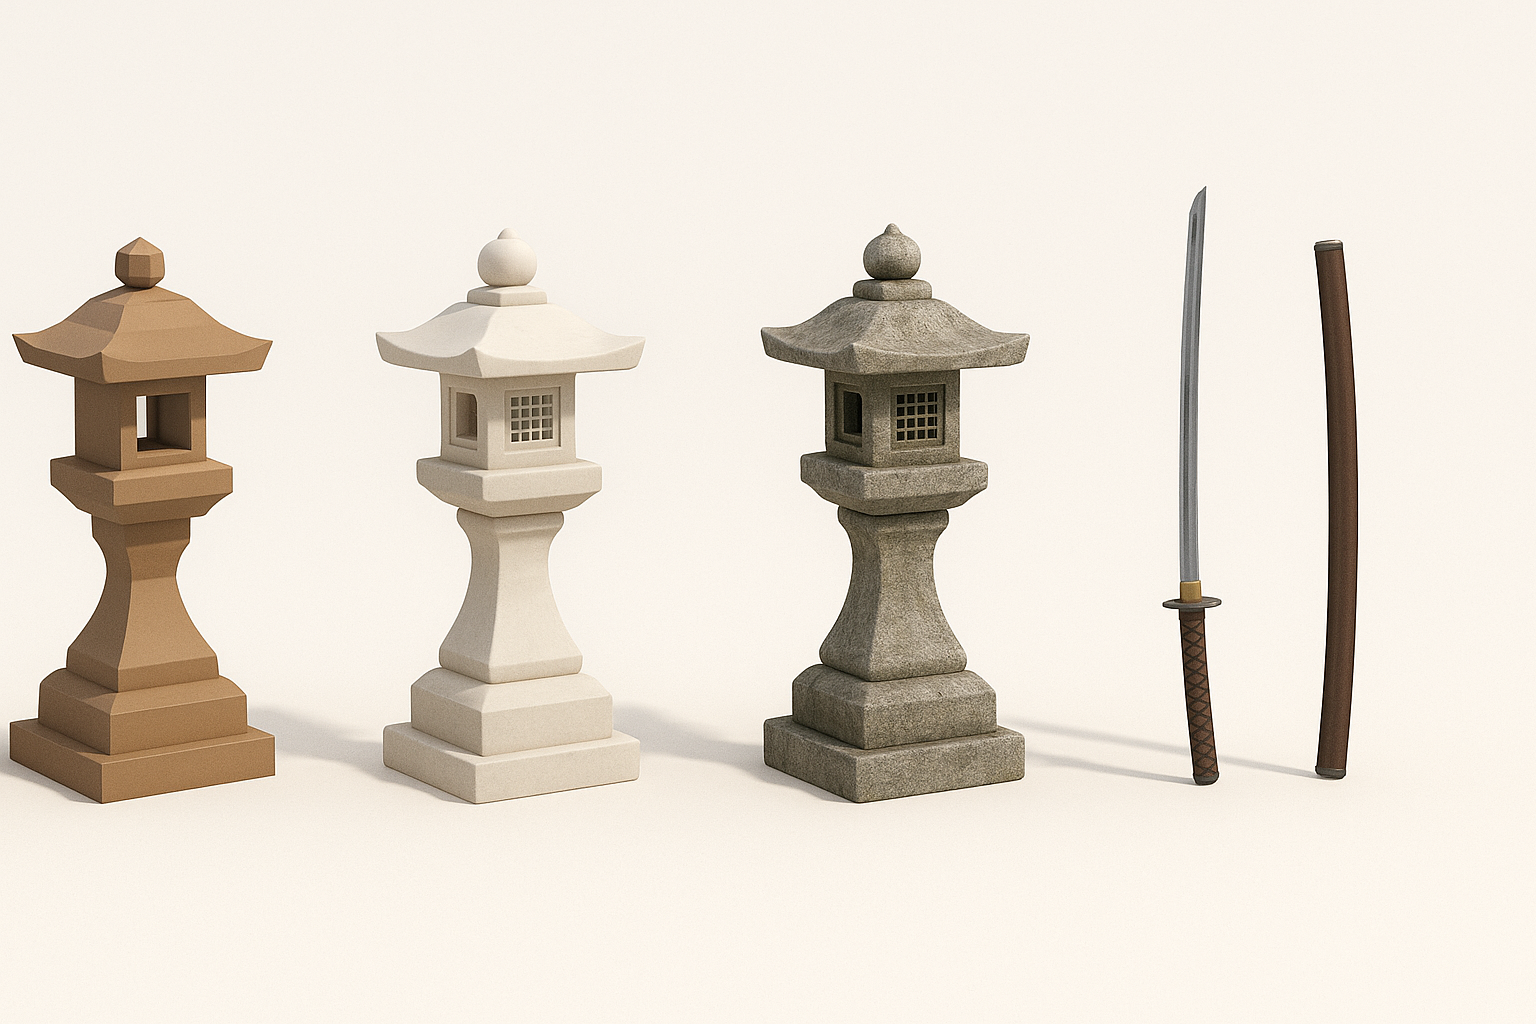
What makes Ghost of Tsushima models unique
Ghost of Tsushima models stand out for their blend of historical authenticity and stylized realism. The armor, clothing, and environments are rooted in feudal Japan, but with subtle exaggerations for visual impact. In my experience, achieving this balance means focusing on accurate forms and materials, while pushing certain shapes and textures to enhance storytelling.
Summary of recommended workflows
My recommended workflow starts with comprehensive reference gathering, followed by AI-assisted blocking and segmentation. I then refine details manually, use automated retopology and texturing where appropriate, and finish with careful optimization for game engines. This hybrid approach lets me hit quality targets efficiently, without sacrificing creative control.
Planning and Reference Gathering
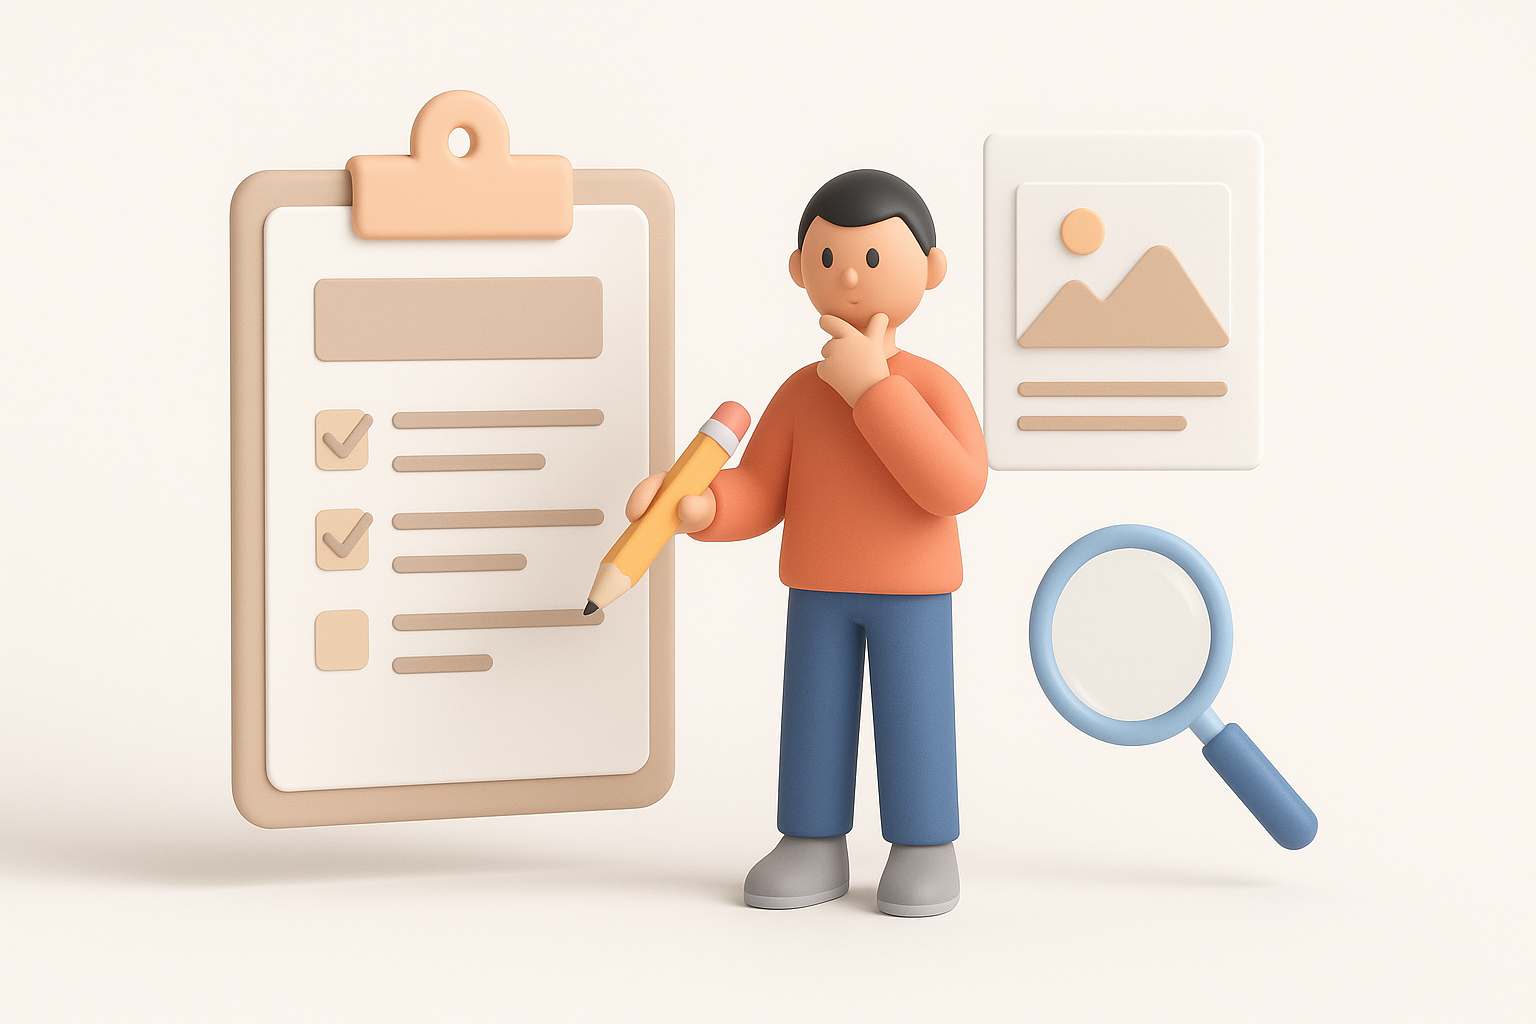
Sourcing high-quality references
I always start by collecting as many references as possible—screenshots, concept art, historical photos, and even movie stills. For Ghost of Tsushima, pay special attention to:
- Armor construction and layering
- Weapon design (katanas, bows)
- Fabric patterns and weathering
- Environmental elements (shrines, foliage, terrain)
Checklist:
- Use official art books and in-game photo mode
- Supplement with museum references for authenticity
- Organize images in a mood board for quick access
Analyzing character and environment details
Before modeling, I break down each asset into primary forms, secondary details, and material zones. For characters, I note the silhouette, armor segments, and fabric flow. For environments, I focus on modularity (e.g., reusable roof tiles, fence sections) and natural composition.
Pitfalls to avoid:
- Skipping the analysis phase—leads to inaccurate proportions
- Overlooking small details like stitching or dirt accumulation
Choosing the Right Tools for 3D Modeling
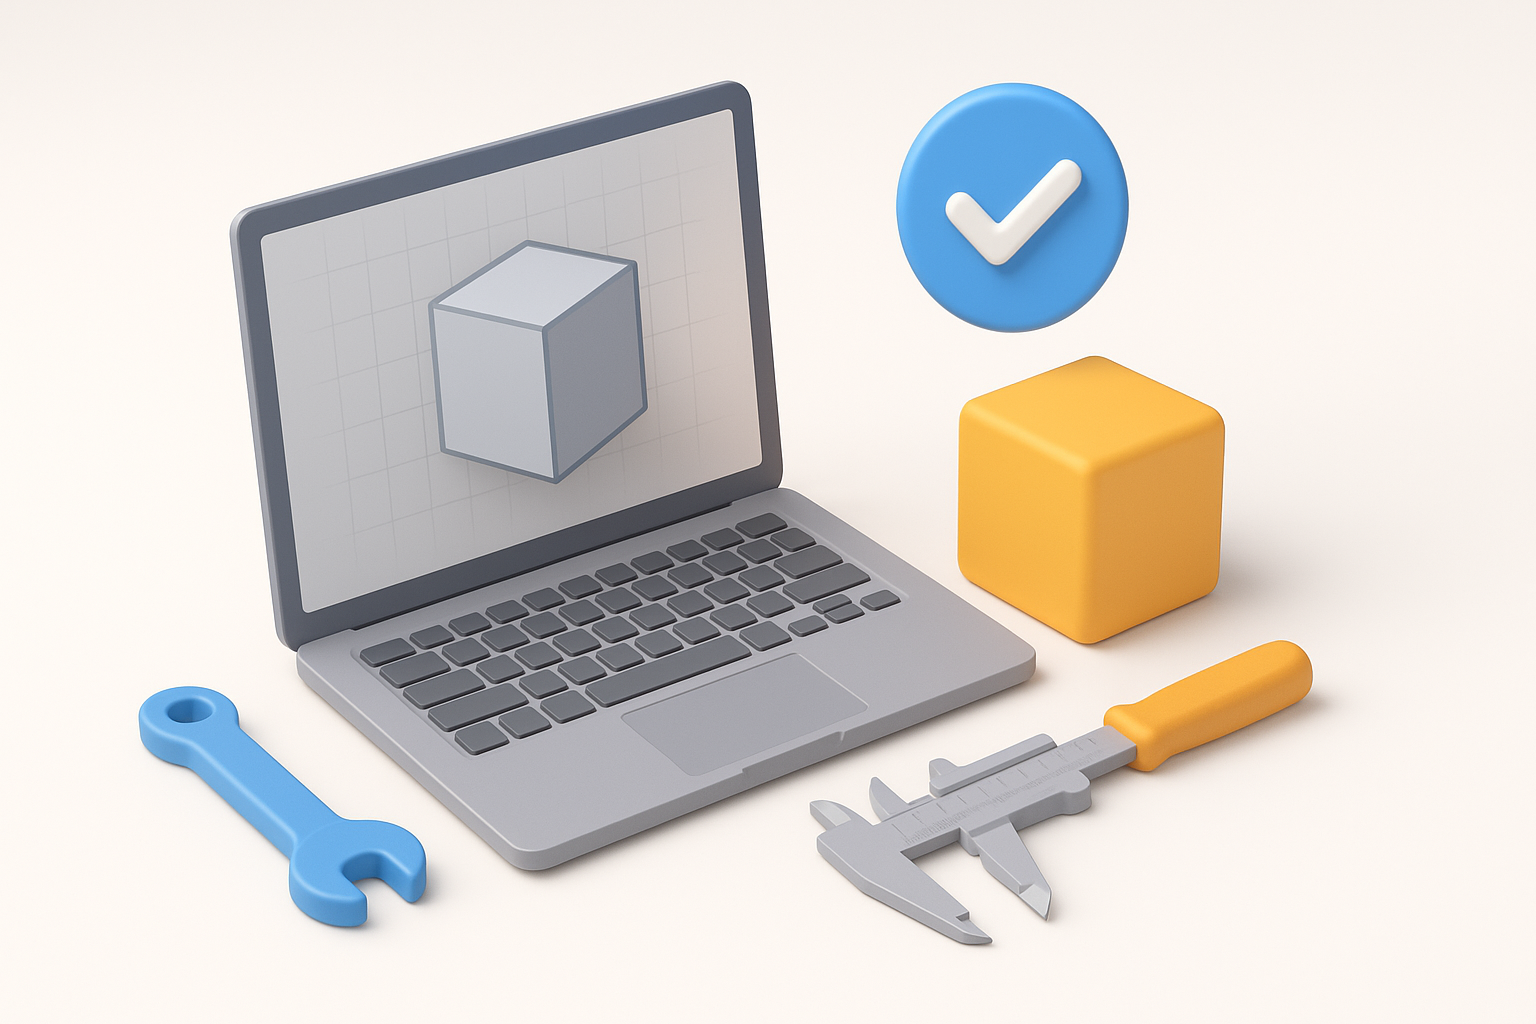
Why I use AI-powered platforms
AI-powered tools have become essential in my workflow. Platforms like Tripo AI can generate a solid base mesh from sketches or text, and handle segmentation and retopology with impressive speed. This allows me to focus more on creative decisions and less on repetitive technical steps.
When I rely on AI:
- Blocking out complex props or characters
- Rapid prototyping for client feedback
- Automated UV unwrapping and texturing
Comparing manual and AI-assisted workflows
Manual modeling still has its place—especially for unique, hero assets. AI tools excel at accelerating early stages and handling repetitive tasks, but I always do a manual pass for fine details and custom sculpting.
My approach:
- Start with AI for base mesh and segmentation
- Switch to manual sculpting for high-frequency details
- Use AI-assisted retopology and texturing to save time
Step-by-Step: My Process for Modeling Ghost of Tsushima Assets
Blocking out forms and proportions
I begin by roughing out the main shapes, either by hand or using AI-generated base meshes. For characters, I focus on overall silhouette and armor placement; for props, I block out primary volumes.
Steps:
- Import reference images into the viewport.
- Use AI to generate a quick base mesh, or model primitives manually.
- Adjust proportions to match reference.
Detailing, retopology, and texturing best practices
Once the base is set, I add secondary and tertiary details—creases, surface damage, and ornamentation. Automated retopology tools (like those in Tripo) help keep the mesh clean and animation-friendly.
Tips:
- Use sculpting brushes for organic wear and tear.
- Apply automated retopology, then check for edge flow.
- Generate or paint textures using smart material tools; tweak manually for hero assets.
Texturing, Rigging, and Animation Insights
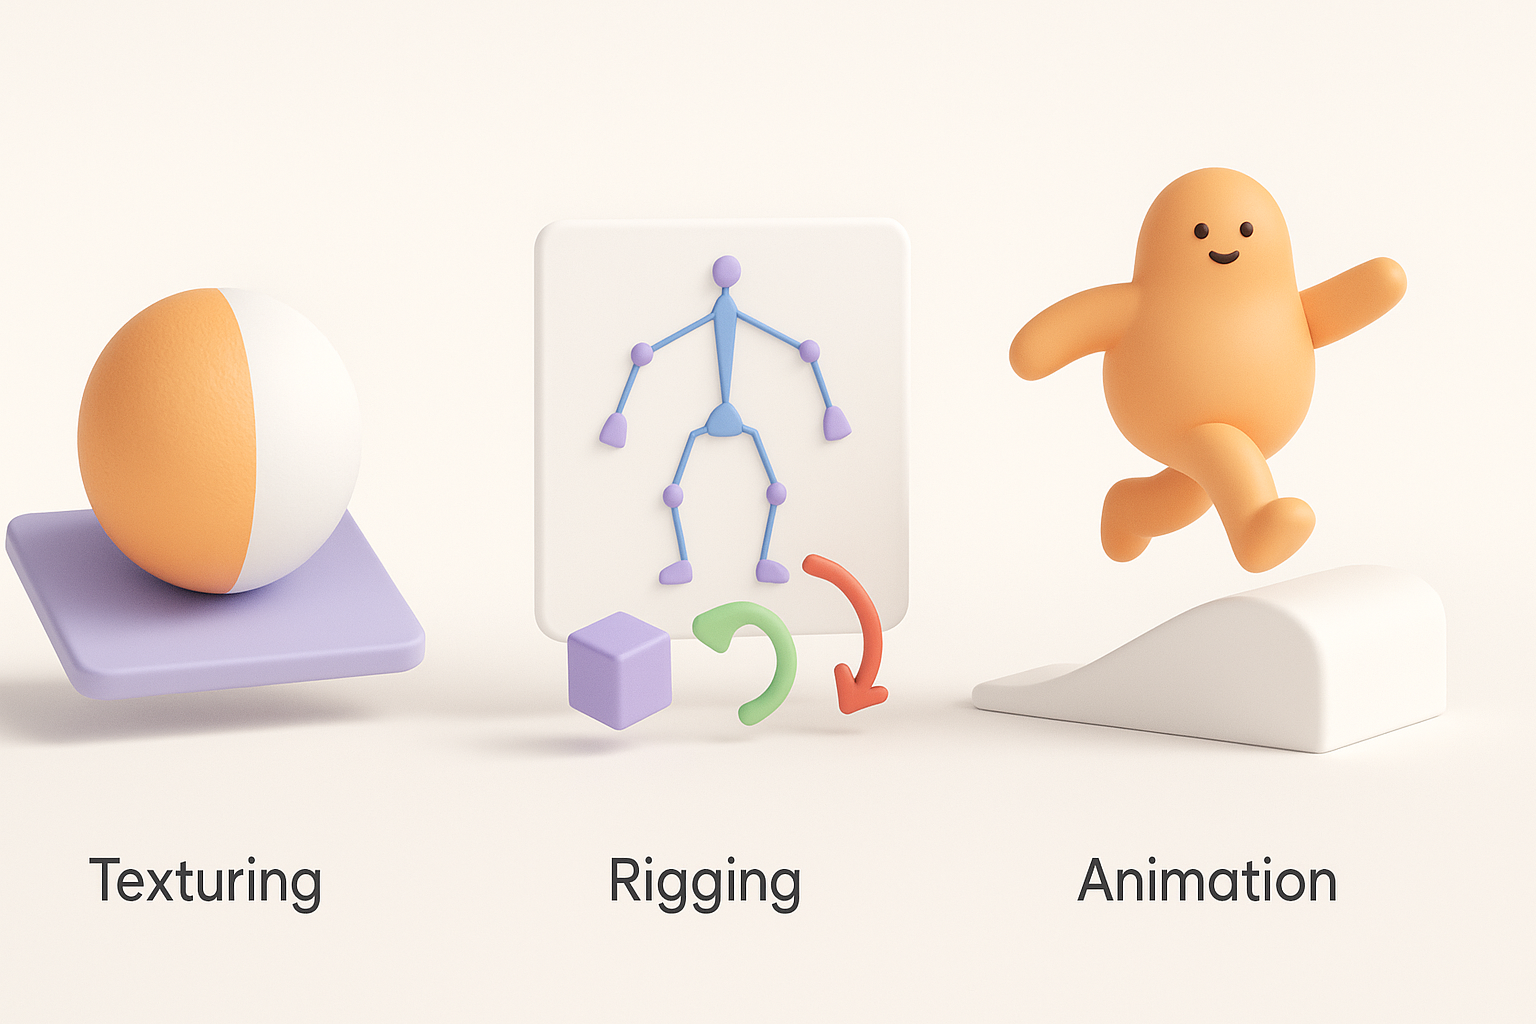
Efficient texturing workflows
For texturing, I rely on smart material libraries and AI-powered texture generation. This approach speeds up base texture creation, but I always hand-paint key areas for realism and storytelling.
Checklist:
- Use high-res scans for fabrics and metals
- Layer procedural dirt, scratches, and weathering
- Test textures under varied lighting conditions
Rigging and animation tips for game-ready assets
Rigging is streamlined by using auto-rigging features, but manual weight painting is often needed for complex armor or layered clothing. For animation, I focus on clean joint placement and test deformations early.
Pitfalls:
- Neglecting secondary motion (e.g., cloth, ribbons)
- Forgetting to test rigged assets in-engine
Exporting, Optimization, and Integration

Optimizing models for real-time engines
Game-ready assets must balance detail and performance. I use mesh decimation and texture baking to reduce polycount while preserving visual fidelity.
My steps:
- Bake high-detail normals onto low-poly meshes
- Limit texture sets and resolutions to engine requirements
- Check UV layouts for efficient packing
Export settings and integration tips
Exporting is straightforward but requires attention to naming conventions and scale. I use FBX or OBJ formats, ensuring correct axis orientation and material assignments.
Integration tips:
- Test imports in the target engine (e.g., Unreal or Unity)
- Verify material and animation compatibility
- Keep a checklist for LODs, collision, and naming
Lessons Learned and Expert Recommendations

Common challenges and how I overcome them
The biggest challenges are maintaining historical accuracy and balancing detail with performance. I’ve learned to iterate frequently, solicit feedback early, and rely on AI tools for speed—but always do a manual quality pass.
My solutions:
- Cross-reference multiple sources for accuracy
- Use AI for initial passes, manual for polish
- Regularly review assets in context (in-game or in-scene)
Best practices for future projects
- Always start with strong references and clear goals
- Use AI tools to accelerate, not replace, your creative input
- Optimize early and often—don’t leave it for the end
- Stay organized with naming, versioning, and documentation
By blending AI-powered efficiency with hands-on artistry, you can create Ghost of Tsushima-inspired 3D models that are both beautiful and production-ready.


