How I Create a Gachiakuta Riyo 3D Model: Workflow & Tips
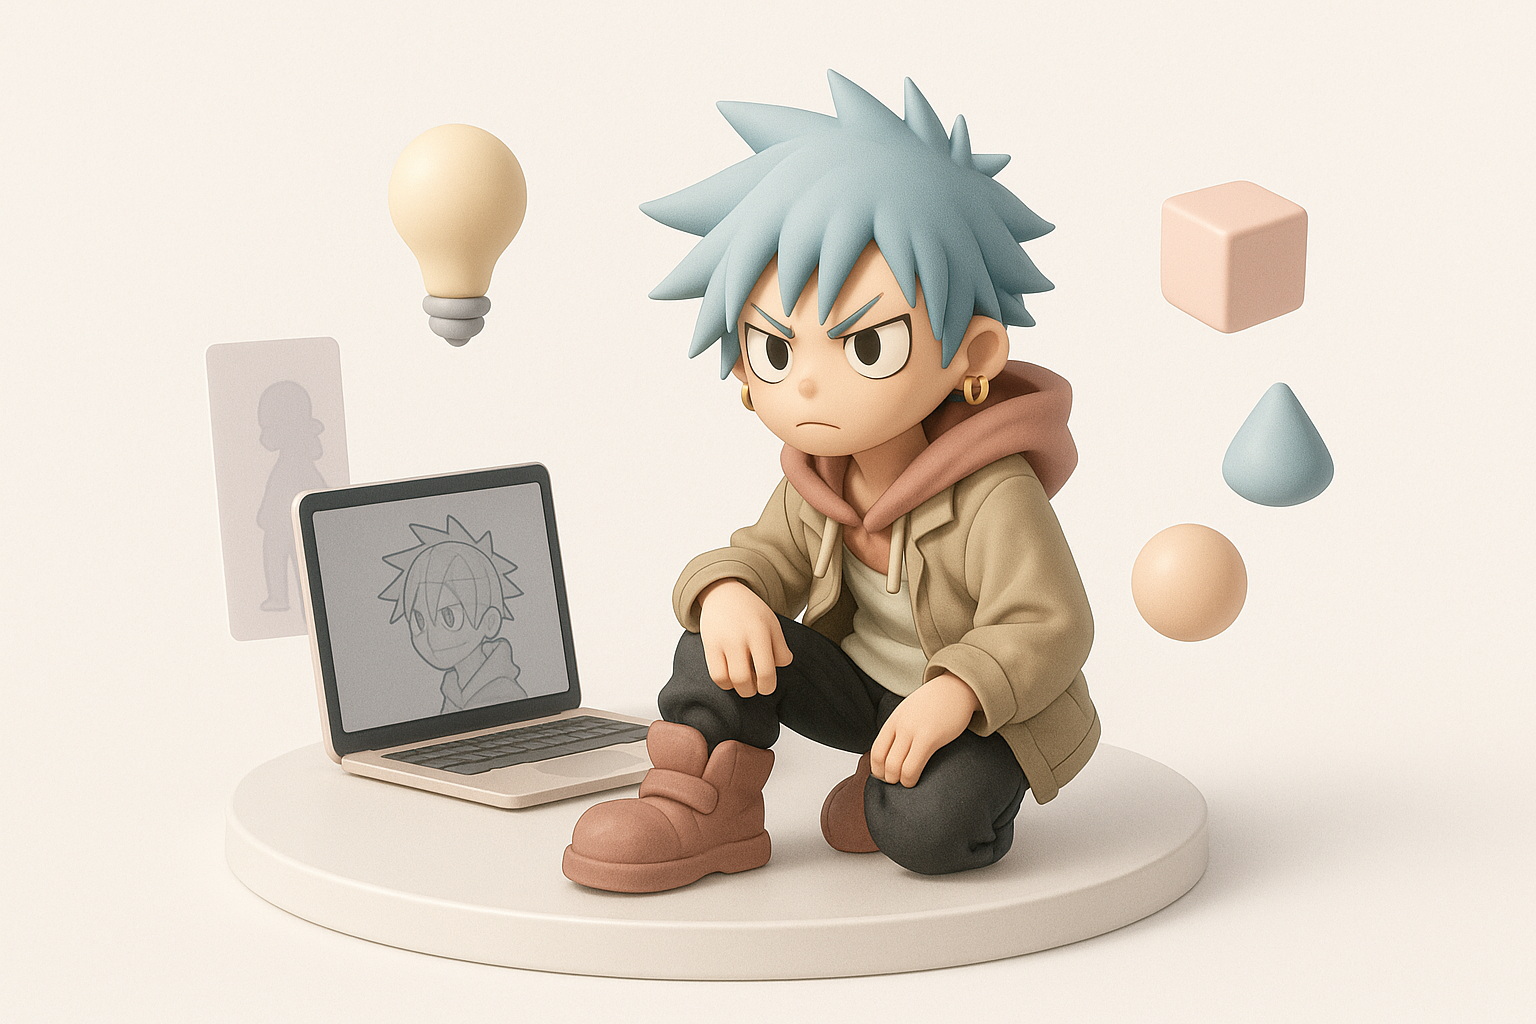
Creating a 3D model of Gachiakuta’s Riyo is a process that blends creative intuition with technical precision. In this article, I’ll walk you through my end-to-end workflow—from gathering references and blocking out the mesh, to texturing, rigging, and optimizing for production. I’ll share the specific steps I take, where I leverage AI tools like Tripo to speed up the process, and the pitfalls I’ve learned to avoid. Whether you’re a character artist, game developer, or just starting out in 3D, these insights will help you produce cleaner, more expressive models in less time.
Key takeaways:
- Start with thorough reference collection and design analysis for accuracy.
- Block out proportions before diving into details; iterate early and often.
- Use AI-powered tools for segmentation, retopology, and texture suggestions to save hours.
- Always optimize mesh and UVs for the intended platform (games, XR, animation).
- Rigging and deformation tests are essential for animation-ready characters.
- Balance automation with manual tweaks for best visual and technical results.
Understanding Gachiakuta Riyo’s Design and References
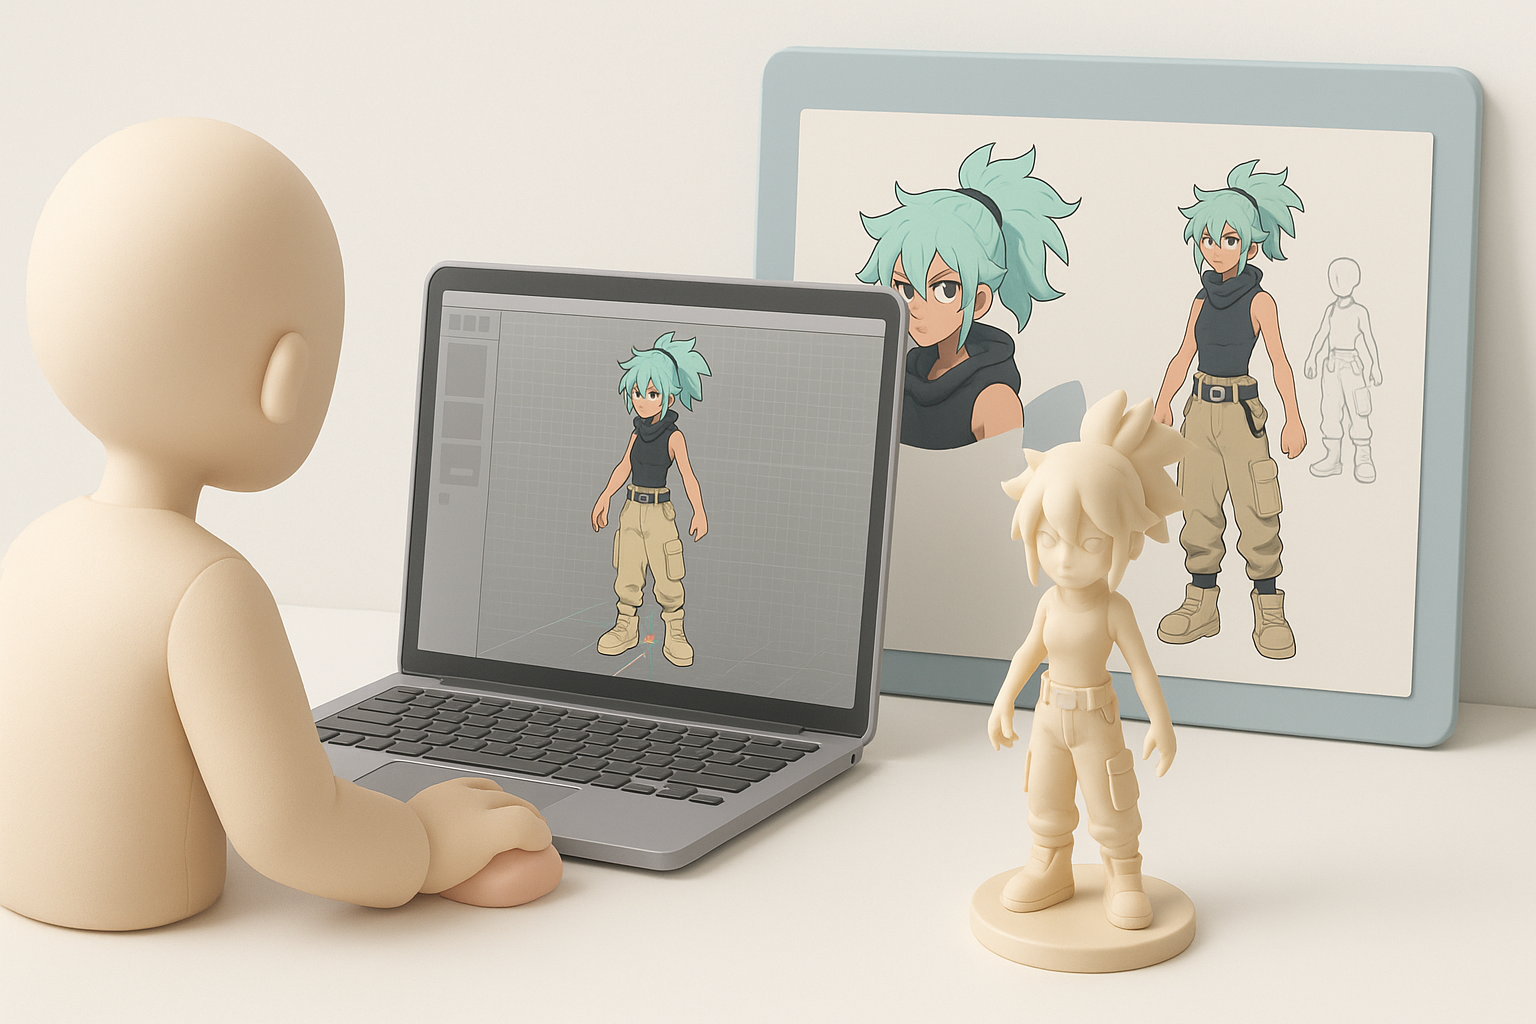
Collecting Reference Images and Art
My first step is always to gather as many references as possible. For Riyo, I look for:
- Official manga panels and colored artwork
- Fan illustrations (for alternate angles)
- Character sheets, if available
I organize these references into mood boards—one for overall silhouette, another for details like clothing, accessories, and facial expressions. This helps me stay consistent and spot design features that could be missed from a single angle.
Checklist:
- Gather front, side, and 3/4 views
- Collect close-ups of unique accessories or patterns
- Sort references into “must-have” (canonical) and “optional” (interpretative)
Analyzing Key Features for 3D Modeling
Before opening any 3D software, I break down Riyo’s design into primary forms and signature details. I pay special attention to:
- Proportions (head-to-body ratio, limb length)
- Stylized features (exaggerated eyes, hair shape)
- Distinctive clothing folds and accessories
Sketching over references helps me internalize shapes and plan topology flow. I note any asymmetry or unique details that need extra attention during modeling.
My Step-by-Step Workflow for 3D Modeling Riyo
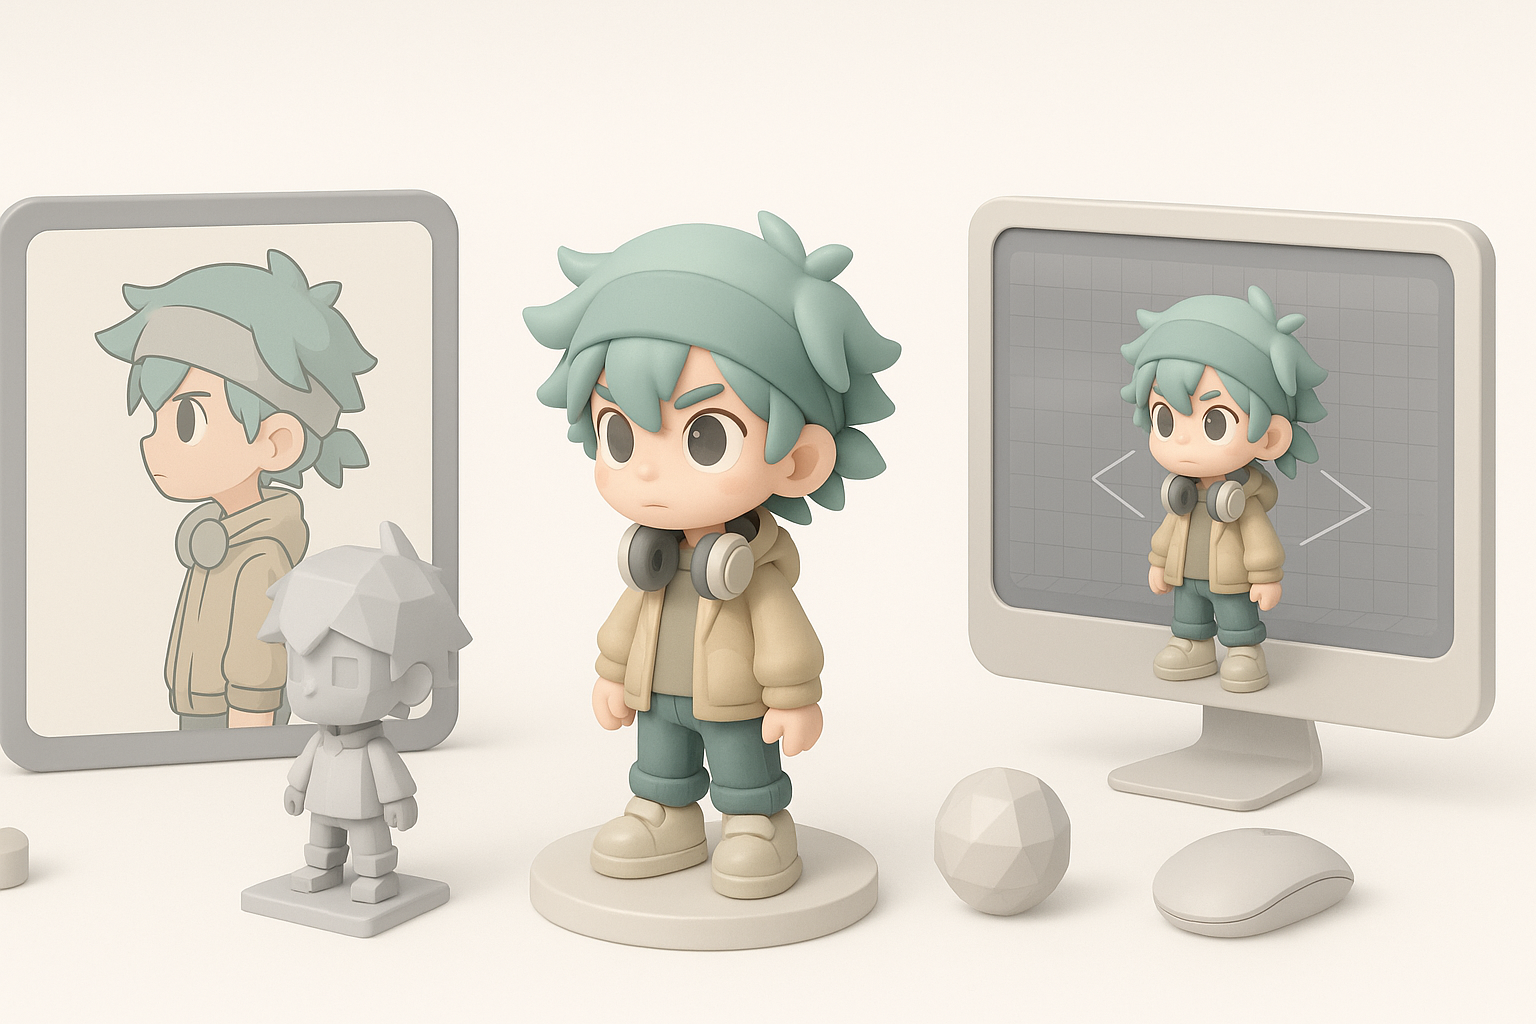
Blocking Out the Base Mesh
I start with a simple base mesh, either sculpted from scratch or generated using AI-assisted tools for faster segmentation. My focus is on silhouette and proportion, not details.
Steps:
- Rough out the body and head shapes using primitives.
- Adjust overall proportions to match references.
- Block in major clothing pieces as separate meshes.
I prefer to keep everything low-poly at this stage—easy to edit, and easier to iterate before committing to details.
Sculpting Details and Refining Proportions
Once the blockout feels right, I move to sculpting. I add volume to hair, define facial features, and layer in clothing folds. This is where Riyo’s personality emerges.
- I switch between symmetry and asymmetry modes, especially for facial expressions or unique accessories.
- I constantly compare my model to references, adjusting proportions as needed.
Practical tip: Save incremental versions—sometimes I need to roll back after experimenting with a new detail.
Texturing and Materials: Bringing Riyo to Life
UV Unwrapping and Texture Painting
Efficient UVs are crucial. I use auto-unwrapping in Tripo for quick results, then manually tweak islands for important areas like the face. Clean seams make texture painting smoother.
- I bake normal and ambient occlusion maps early to preview surface detail.
- For hand-painted looks, I export UV snapshots and paint in 2D, then refine in 3D.
Choosing Materials and Shaders
For stylized characters like Riyo, I use simple shaders with subtle ramped lighting. I avoid overly realistic materials—flat colors and soft gradients match the manga aesthetic.
- I test materials under different lighting setups to ensure consistency.
- For metallic accessories, I use a basic metallic-roughness shader, dialing in roughness for a brushed effect.
Pitfall: Overly complex shaders can break the look—keep it simple and readable.
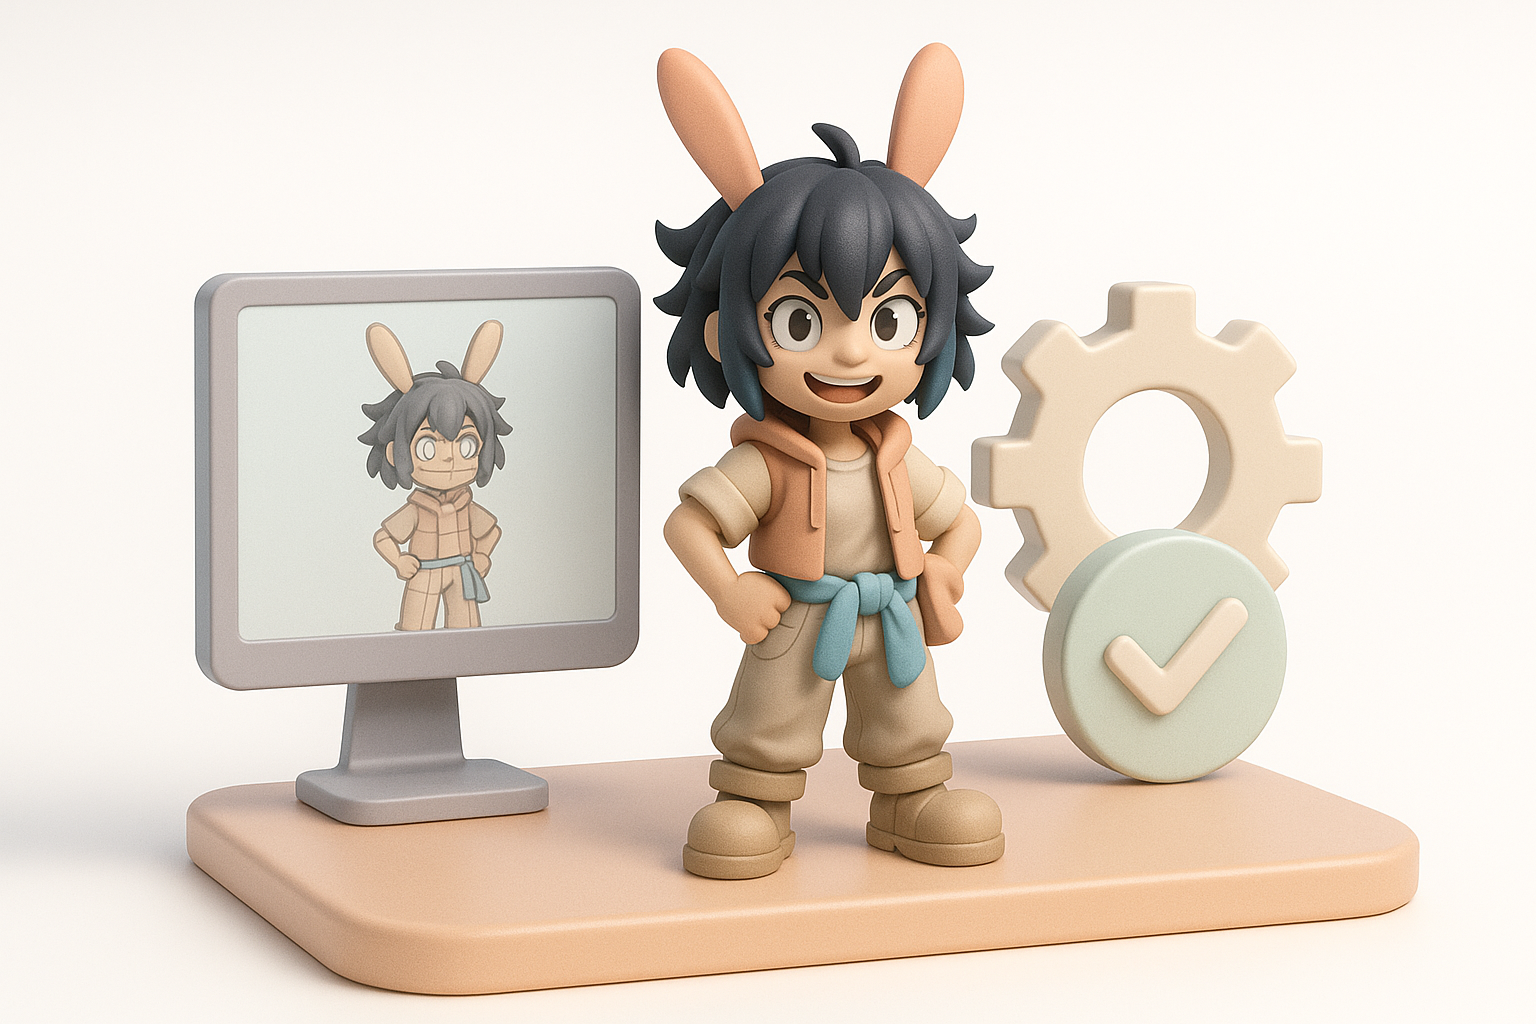
Rigging and Animation Preparation

Setting Up a Basic Rig
I build a straightforward skeleton: spine, arms, legs, and facial bones if needed. Tripo’s auto-rigging can be a huge time-saver, especially for humanoid characters.
Steps:
- Place joints based on anatomy and pose range.
- Bind mesh and test skin weights.
- Add simple control handles for posing.
Testing Deformations and Poses
I always test common poses—walk, crouch, arm raise—to check for mesh deformations. Facial rigging gets its own set of expressions (smile, frown, blink).
- I look for problematic deformations at elbows, knees, and shoulders.
- If anything breaks, I adjust weights or add helper bones.
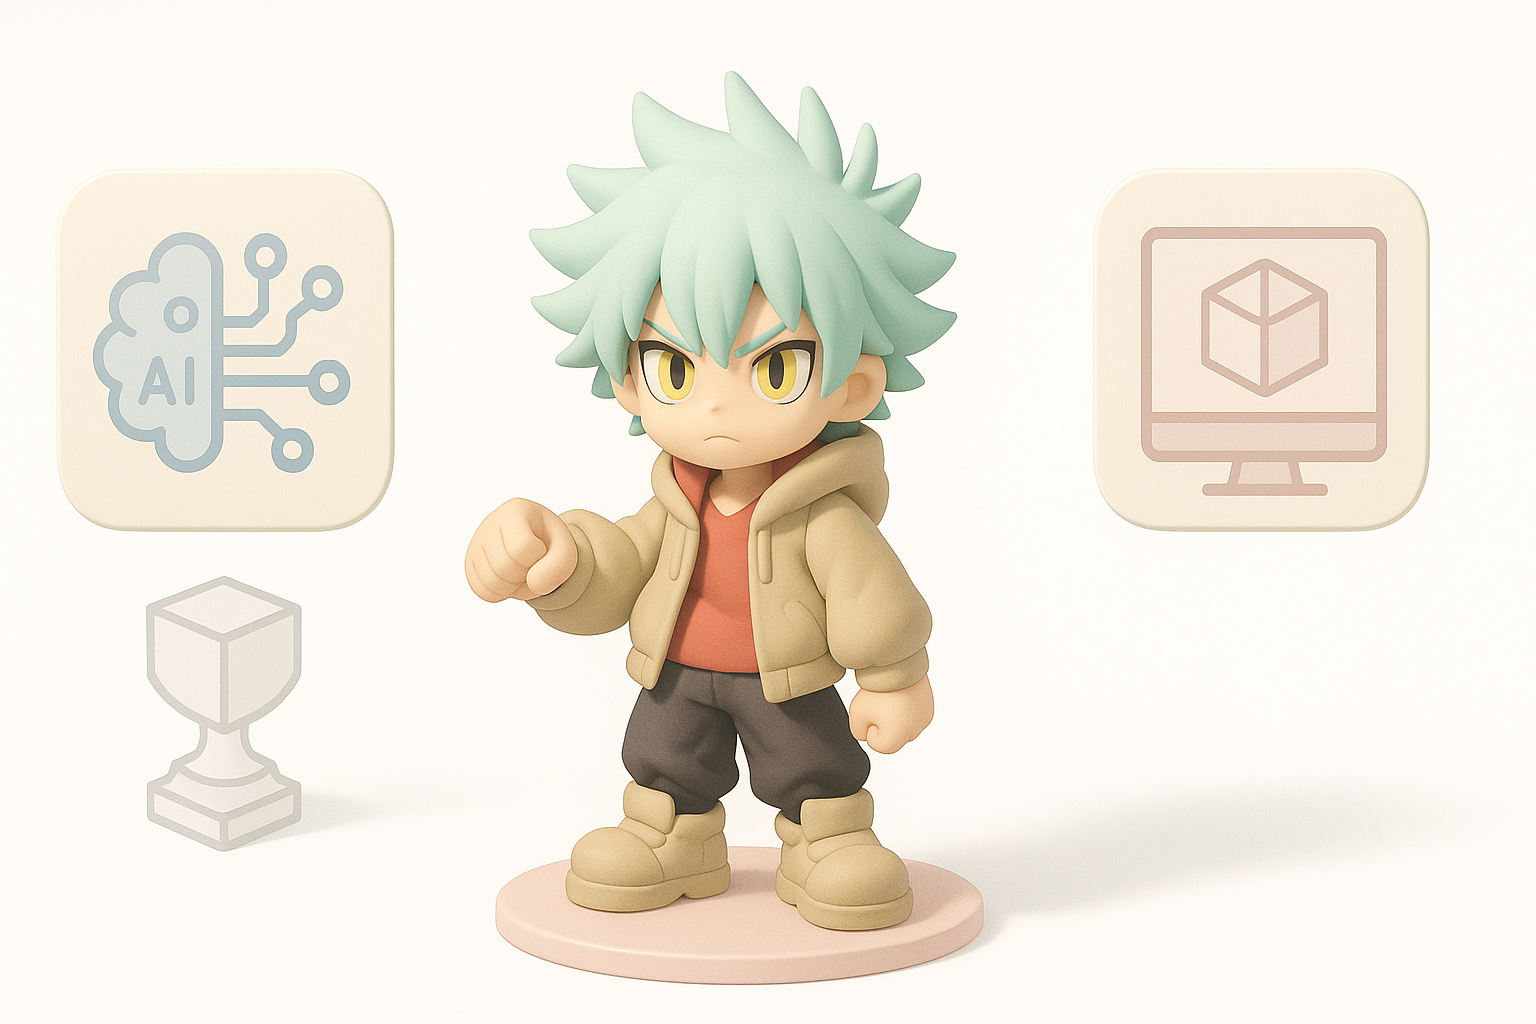
Production-Ready Output: Optimization and Export
Retopology and Mesh Cleanup
Once sculpting and rigging are done, I retopologize the model for animation and real-time use. Tripo’s retopology tools speed up this process, producing clean, quad-based meshes.
- I check for proper edge flow around joints and facial features.
- I remove any hidden or overlapping geometry.
Exporting for Games, XR, or Animation
I export in the format required by the target platform (FBX, GLB, etc.), making sure textures are packed and naming conventions are followed.
Checklist:
- Apply transforms and freeze scale
- Reduce texture size if targeting mobile/XR
- Test import in target engine (Unity, Unreal, etc.)
Best Practices and Lessons Learned
Common Pitfalls and How I Avoid Them
- Over-detailing early: I keep the blockout simple until proportions are locked.
- Ignoring topology: Clean edge flow saves headaches in rigging and animation.
- Forgetting scale: I always check real-world units before export.
Tips for Faster, Higher-Quality Results
- Use AI-powered segmentation and retopology to save time on repetitive tasks.
- Organize references and assets early—less backtracking later.
- Save often and use version control for major changes.
- Test in-engine as soon as possible to catch issues early.
Comparing AI-Powered and Manual 3D Workflows
When I Use AI Tools Like Tripo
I turn to AI tools for:
- Quick mesh segmentation and auto-texturing
- Fast retopology and UV unwrapping
- Generating base meshes from sketches or images
This frees me to focus on creative tweaks and polish.
Balancing Automation and Artistic Control
While automation accelerates many steps, I always review and refine outputs manually. AI tools handle the technical grunt work, but final adjustments—like facial expressions or unique stylization—still require hands-on artistry.
My approach: Let AI handle the repetitive parts, but never skip the manual pass for polish and personal touch.
By blending strong reference work, efficient workflows, and the right mix of automation and manual artistry, I can create production-ready 3D characters like Gachiakuta’s Riyo quickly and to a high standard.
