Creating a 3D Model of Cedric Price’s Fun Palace: Expert Workflow
When I set out to model Cedric Price’s Fun Palace in 3D, my goal is to balance historical accuracy, architectural intent, and efficient production. This article walks through my expert workflow—from gathering references to leveraging AI for rapid prototyping. Whether you’re an architect, 3D artist, or educator, you’ll find actionable steps for creating a production-ready model, optimizing for visualization, and collaborating effectively. The process is streamlined by mixing traditional techniques with AI-powered tools, letting me focus more on design and less on technical bottlenecks.
Key takeaways

- Start with thorough research and clear scope definition to avoid costly revisions.
- Block out major volumes before diving into details; modular thinking is essential.
- Use AI-powered tools like Tripo to accelerate base mesh creation and texturing.
- Clean geometry, segmentation, and retopology are critical for flexibility and performance.
- Prepare assets for real-time and visualization by optimizing polycount and UVs.
- Export in standard formats and set up feedback loops for collaborative improvement.
Understanding the Fun Palace: Concept and Design
Cedric Price’s Vision and Architectural Significance
Cedric Price’s Fun Palace was envisioned as a flexible, ever-changing space for public interaction, learning, and play. The project, though never built, is an icon of radical architecture—emphasizing adaptability, modularity, and user-driven configuration. In my experience, capturing this spirit in 3D requires focusing on transformable elements and open frameworks rather than fixed forms.
When modeling, I prioritize features that communicate the “kit of parts” philosophy. The Fun Palace’s significance lies in its influence on interactive architecture, so I always aim to let the model reflect this dynamic quality.
Key Features to Capture in a 3D Model
To do justice to the Fun Palace, I make sure to include:
- Exposed structural frameworks (trusses, columns)
- Modular floors, walls, and platforms
- Crane systems and movable components
- Transparent or open façades
- Circulation elements: stairs, lifts, walkways
Tip: I keep a checklist of must-have features to guide my modeling and avoid missing key architectural cues.
Gathering References and Planning the 3D Model
Sourcing Drawings, Photos, and Sketches
My first step is building a comprehensive reference library. I source:
- Original architectural drawings (plans, sections, elevations)
- Sketches from Cedric Price’s archives
- Any available photographs or reconstructions
- Academic articles and books for context
I organize these references in a dedicated folder and use them as image planes in my 3D software. This keeps proportions and details accurate.
Defining Scope and Level of Detail
Before modeling, I define the project’s scope: Is this for a real-time engine, a rendered animation, or a physical model? I decide:
- Which parts will be fully detailed
- Where I can use proxies or lower detail
- The target polycount and texture resolution
Practical tip: Over-modeling wastes time. I focus detail where viewers will notice it and simplify elsewhere.
Step-by-Step Workflow: Building the Fun Palace in 3D
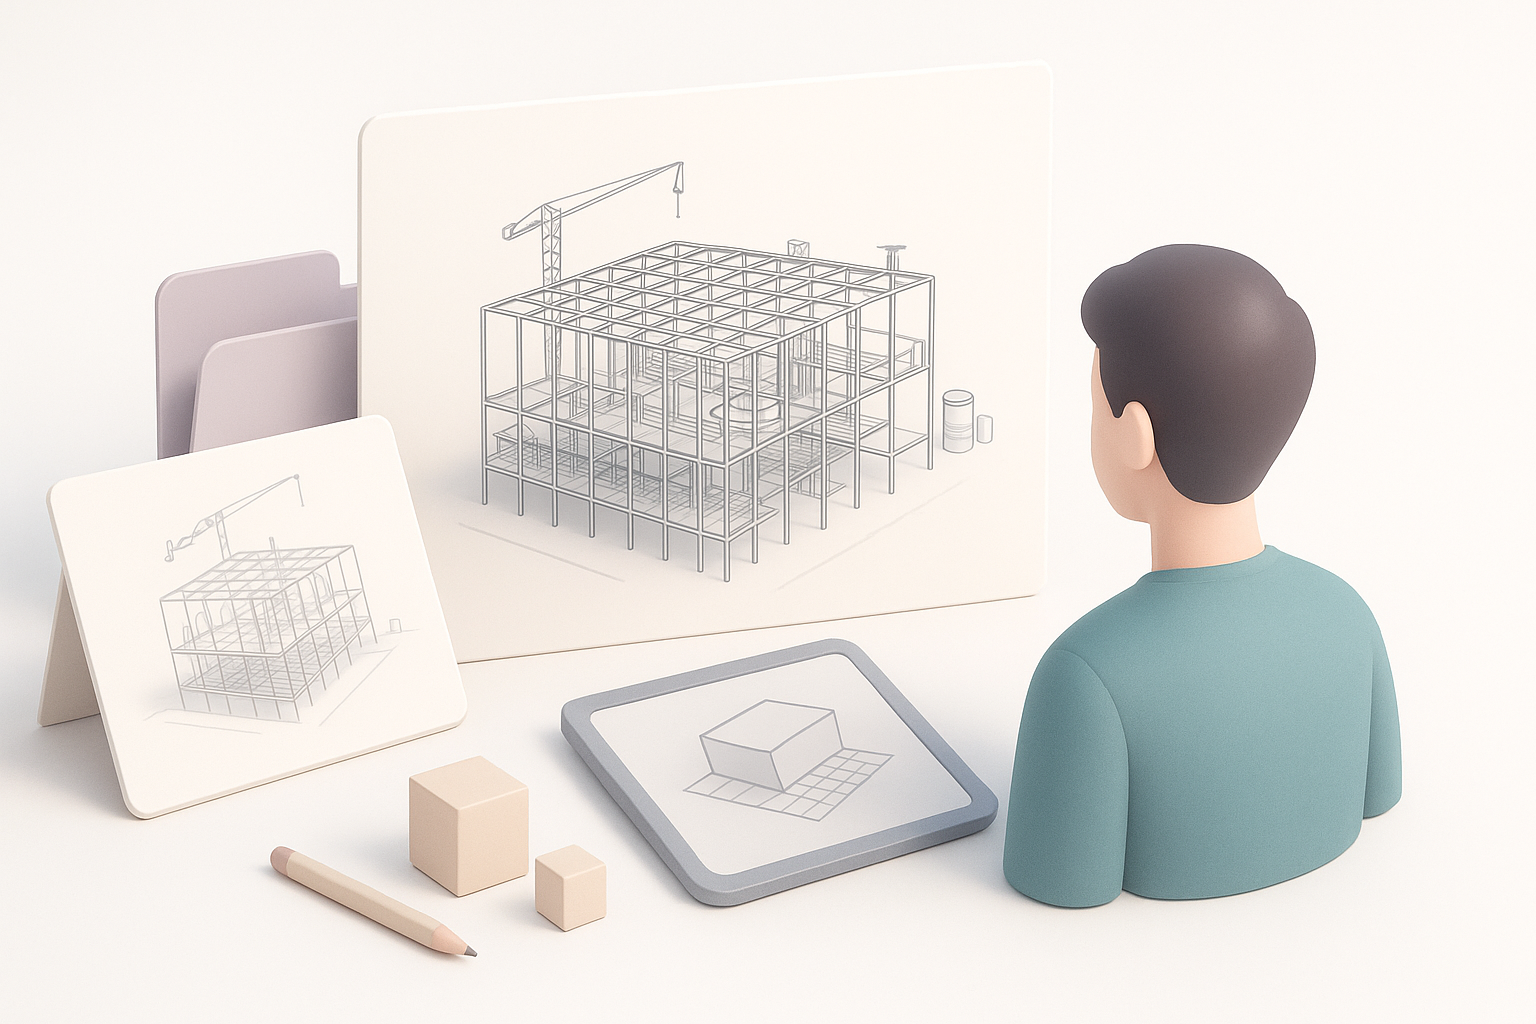
Blocking Out the Structure and Main Volumes
I always start by blocking out the primary forms using simple geometry—boxes for platforms, cylinders for columns, and planes for walls. This lets me quickly check the overall proportions and layout.
My blocking process:
- Set up reference images as background planes
- Rough out the main frameworks and floors
- Adjust scale and alignment before adding detail
Iterating at this stage is much faster than later on.
Adding Details: Modular Elements and Textures
Once the structure feels right, I add the modular elements—cranes, stairs, and movable walls. I frequently use instancing for repeating parts, which keeps the scene manageable.
For texturing, I use procedural materials or smart UV mapping. If I need quick, consistent base textures, I’ll generate them with Tripo and tweak as necessary.
Checklist:
- Modular elements grouped and named clearly
- Consistent scale and alignment for all parts
- Textures mapped efficiently to avoid stretching
Best Practices for Efficient 3D Modeling
Segmentation, Retopology, and Clean Geometry
In my workflow, I segment the model logically—structure, platforms, machinery—so edits are localized and exports are easier. Clean geometry is non-negotiable: I keep quads where possible, avoid n-gons, and retopologize complex shapes.
Pitfalls to avoid:
- Overlapping geometry (leads to rendering issues)
- Unnecessary subdivisions (hurts performance)
- Messy UVs (cause texture artifacts)
Optimizing for Real-Time and Visualization
If the model is destined for real-time use (e.g., VR/AR, games), I aggressively optimize:
- Bake details into normal maps where possible
- Merge static meshes and use LODs for large elements
- Keep texture sizes consistent and reasonable
For visualization, I might allow higher polycounts but still value efficiency—especially when rendering animations or sharing with collaborators.
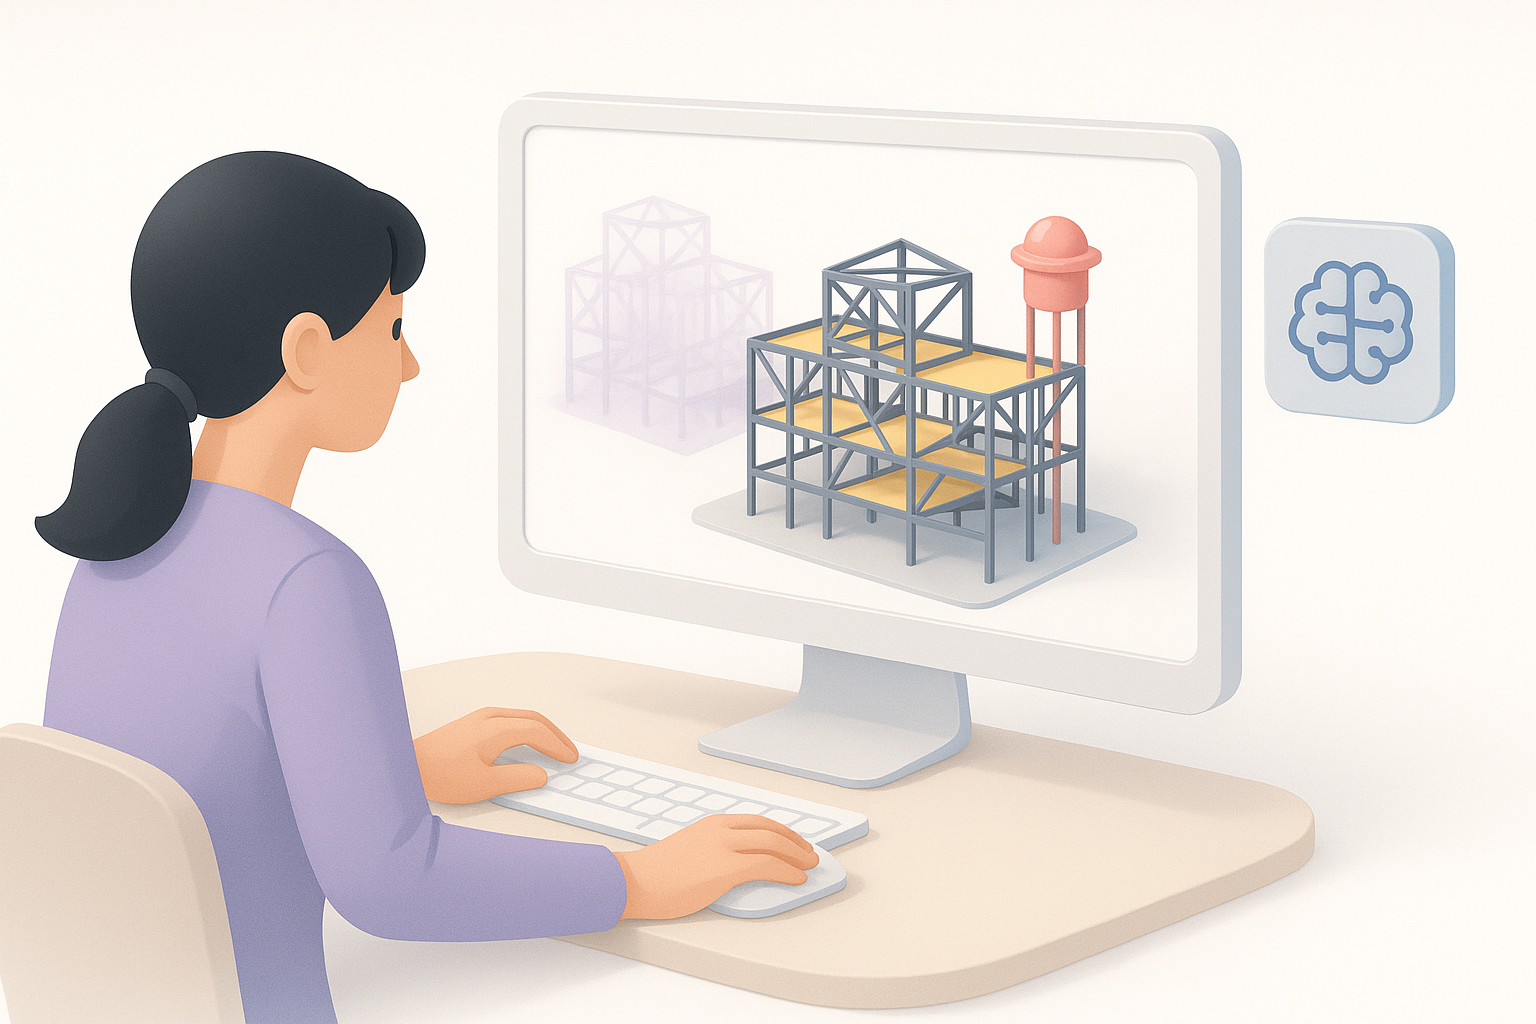
Leveraging AI Tools for Faster Results

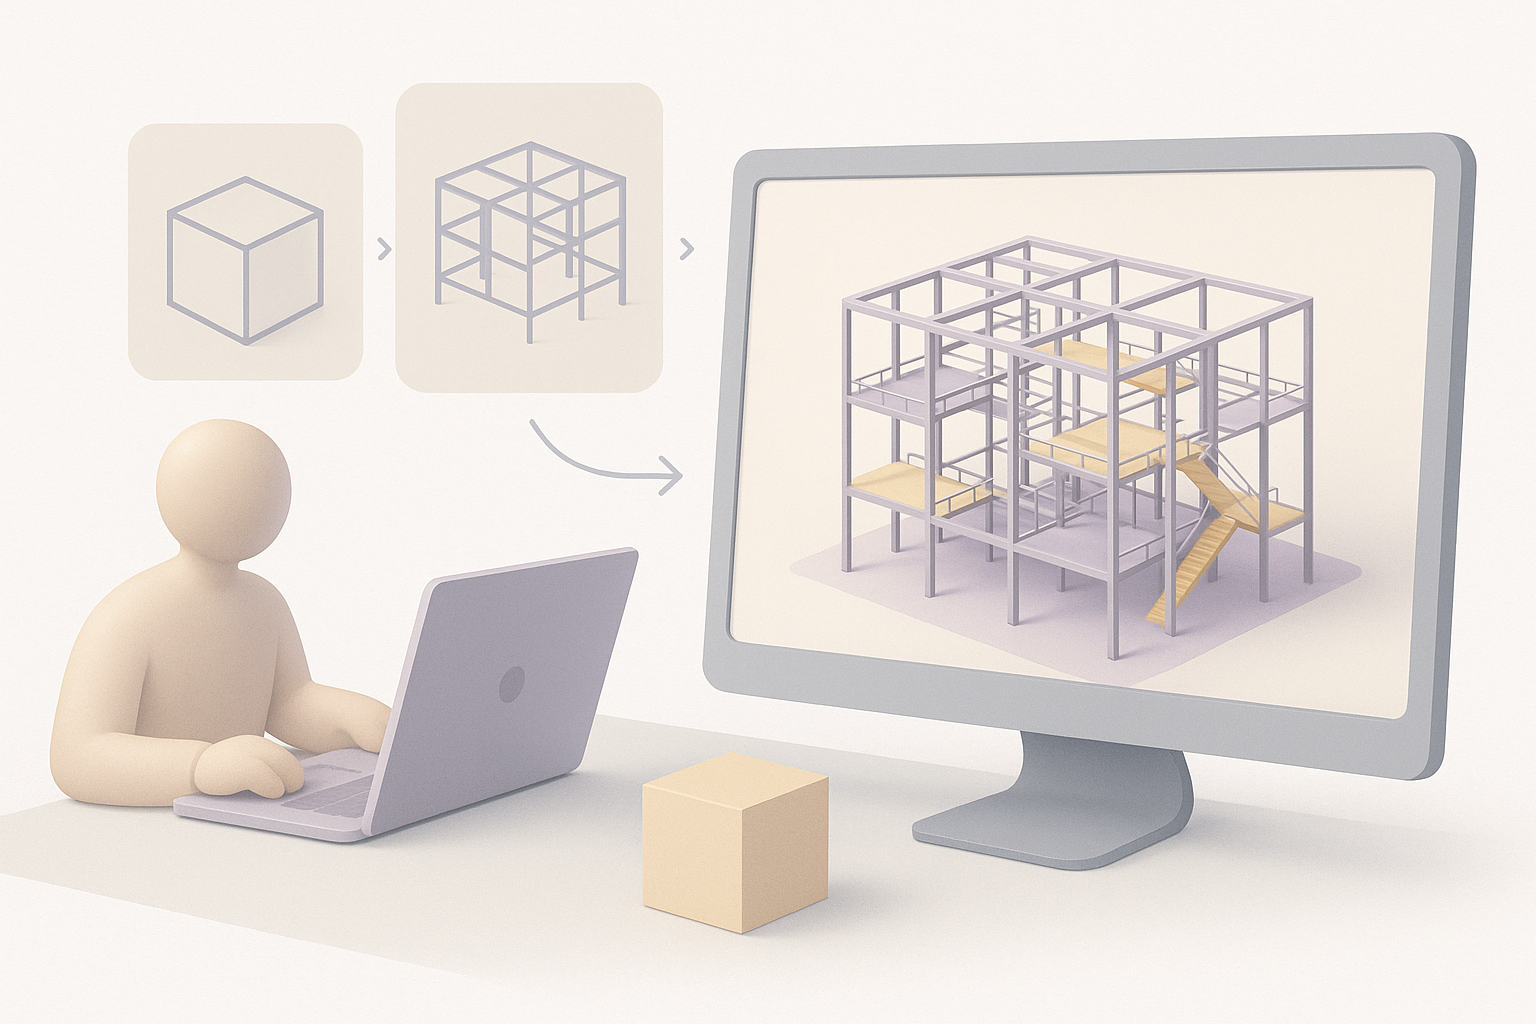
How I Use Tripo for Rapid 3D Generation
I use Tripo to quickly generate base meshes from reference images or text prompts. This is especially useful for repetitive or complex modular elements. For instance, I’ll input a sketch or description of a crane, get a production-ready mesh, and drop it into my main scene.
My workflow with Tripo:
- Upload sketches or reference images
- Generate base meshes for key components
- Use built-in texturing to get a consistent look
Integrating AI Outputs with Manual Refinement
AI-generated outputs are a starting point, not the end. I always:
- Inspect and clean up geometry (fixing any artifacts)
- Retopologize if needed for animation or optimization
- Manually tweak materials and UVs to match the overall aesthetic
Tip: AI tools save hours, but final polish and integration still require a human touch.
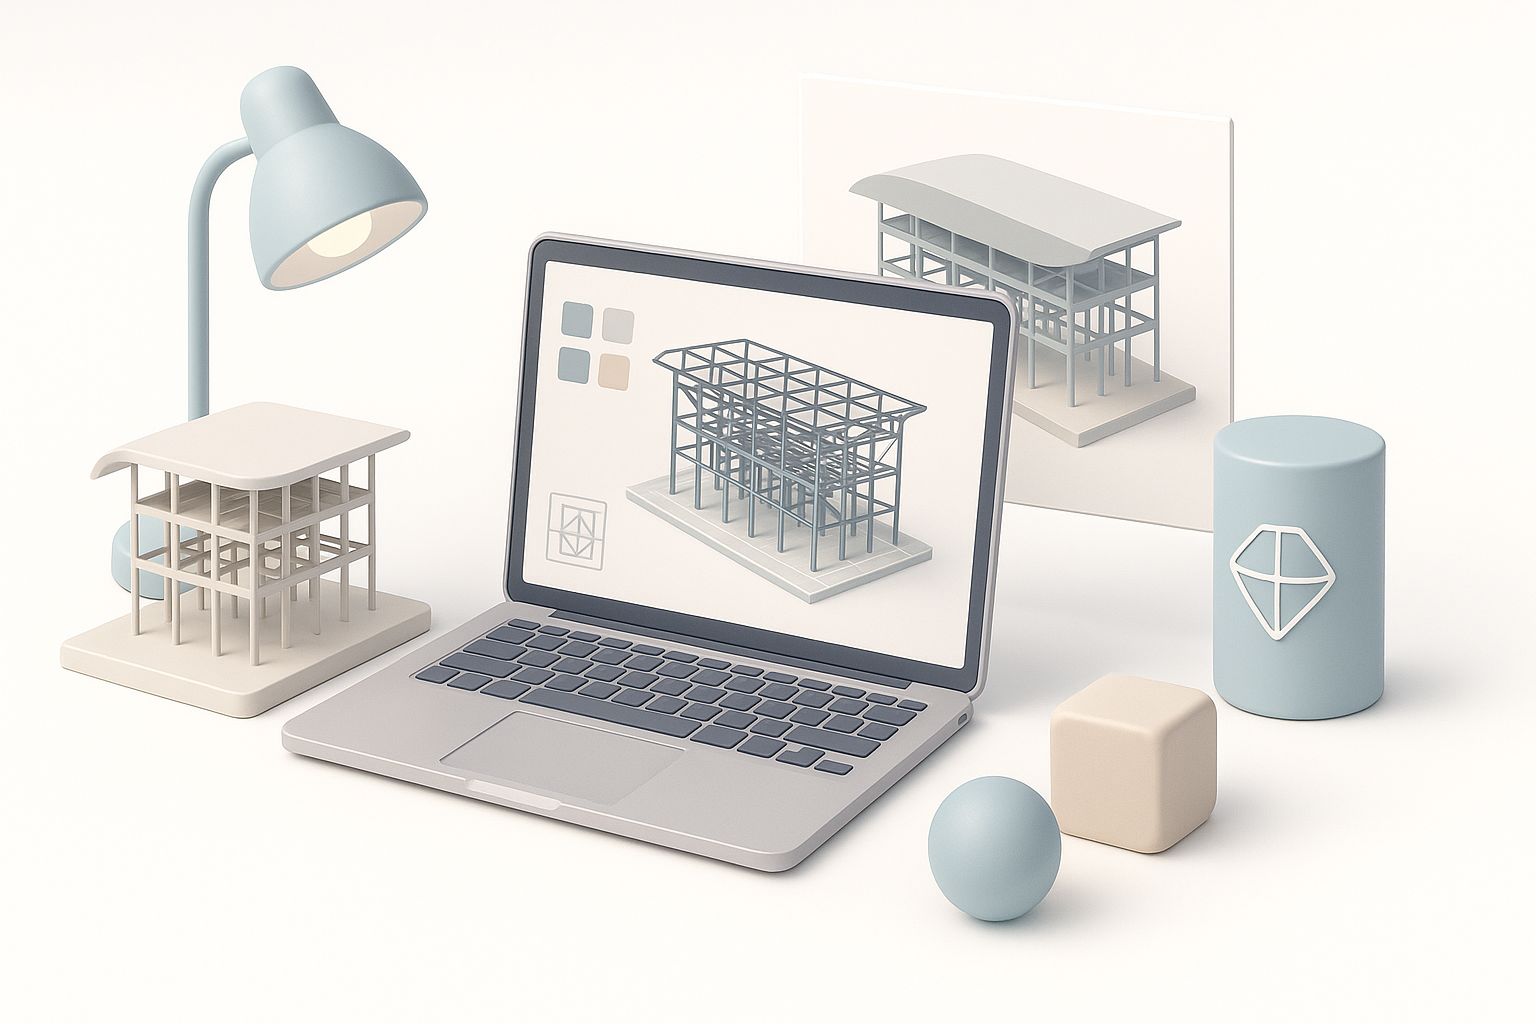
Exporting, Sharing, and Presenting the Model
File Formats and Presentation Techniques
I export models in standard formats—FBX, OBJ, or GLTF—depending on the target platform. For presentations, I set up simple turntable animations or real-time viewers, and prepare annotated screenshots.
Checklist:
- All assets named and grouped logically
- Textures packed with correct paths
- Test imports in target software before sharing
Tips for Collaboration and Feedback
When working with teams, I:
- Share models via cloud platforms with clear versioning
- Provide a README with instructions and notes
- Ask for feedback early, especially on scale and modularity
Practical advice: Frequent, small updates and open communication prevent major rework later.
By following this workflow, I’m able to create accurate, flexible 3D representations of Cedric Price’s Fun Palace—balancing creative intent with production realities, and leveraging AI where it makes the biggest impact.


