Creating and Using a Fuji Kiseki 3D Model: Expert Workflow
As someone who regularly creates stylized 3D models for games and XR, I’ve found the Fuji Kiseki character both challenging and rewarding to reproduce. In this guide, I’ll walk through my end-to-end workflow for generating, optimizing, and deploying a Fuji Kiseki 3D model using AI-powered tools like Tripo. Whether you’re a game developer, animator, or digital artist, you’ll get practical insights, best practices, and a few hard-earned lessons that can save you hours and elevate your results.
Key takeaways
- Start with strong references and clear goals—planning is crucial for stylized characters.
- Tripo AI accelerates modeling, texturing, and rigging, but manual tweaks are still essential for quality.
- Optimizing topology and materials ensures models are production-ready for games, XR, or film.
- Rigging and export settings should match your target platform’s requirements.
- Troubleshooting is part of the process—anticipate common issues with AI-generated assets.
Overview of Fuji Kiseki 3D Models
What Makes Fuji Kiseki Unique in 3D Modeling
Fuji Kiseki stands out due to her distinct stylized proportions, expressive face, and detailed costume elements. In my experience, capturing her personality in 3D requires close attention to silhouette, facial features, and accessory accuracy. The balance between cartoonish charm and believable anatomy is key—overdoing either can break the character’s appeal.
Pitfalls to avoid:
- Over-simplifying facial shapes
- Ignoring secondary costume details (like ribbons or jewelry)
- Using generic body bases without adjusting proportions
Common Use Cases and Applications
I’ve built Fuji Kiseki models for a range of projects—real-time games, AR filters, and short films. Her recognizable design makes her ideal for fan projects, animation tests, and as a benchmark for stylized character pipelines.
Common applications:
- Game avatars and NPCs
- Animation and cinematics
- XR/VR experiences
- Collectible 3D prints
My Step-by-Step Process for Generating a Fuji Kiseki 3D Model
Gathering References and Planning the Model
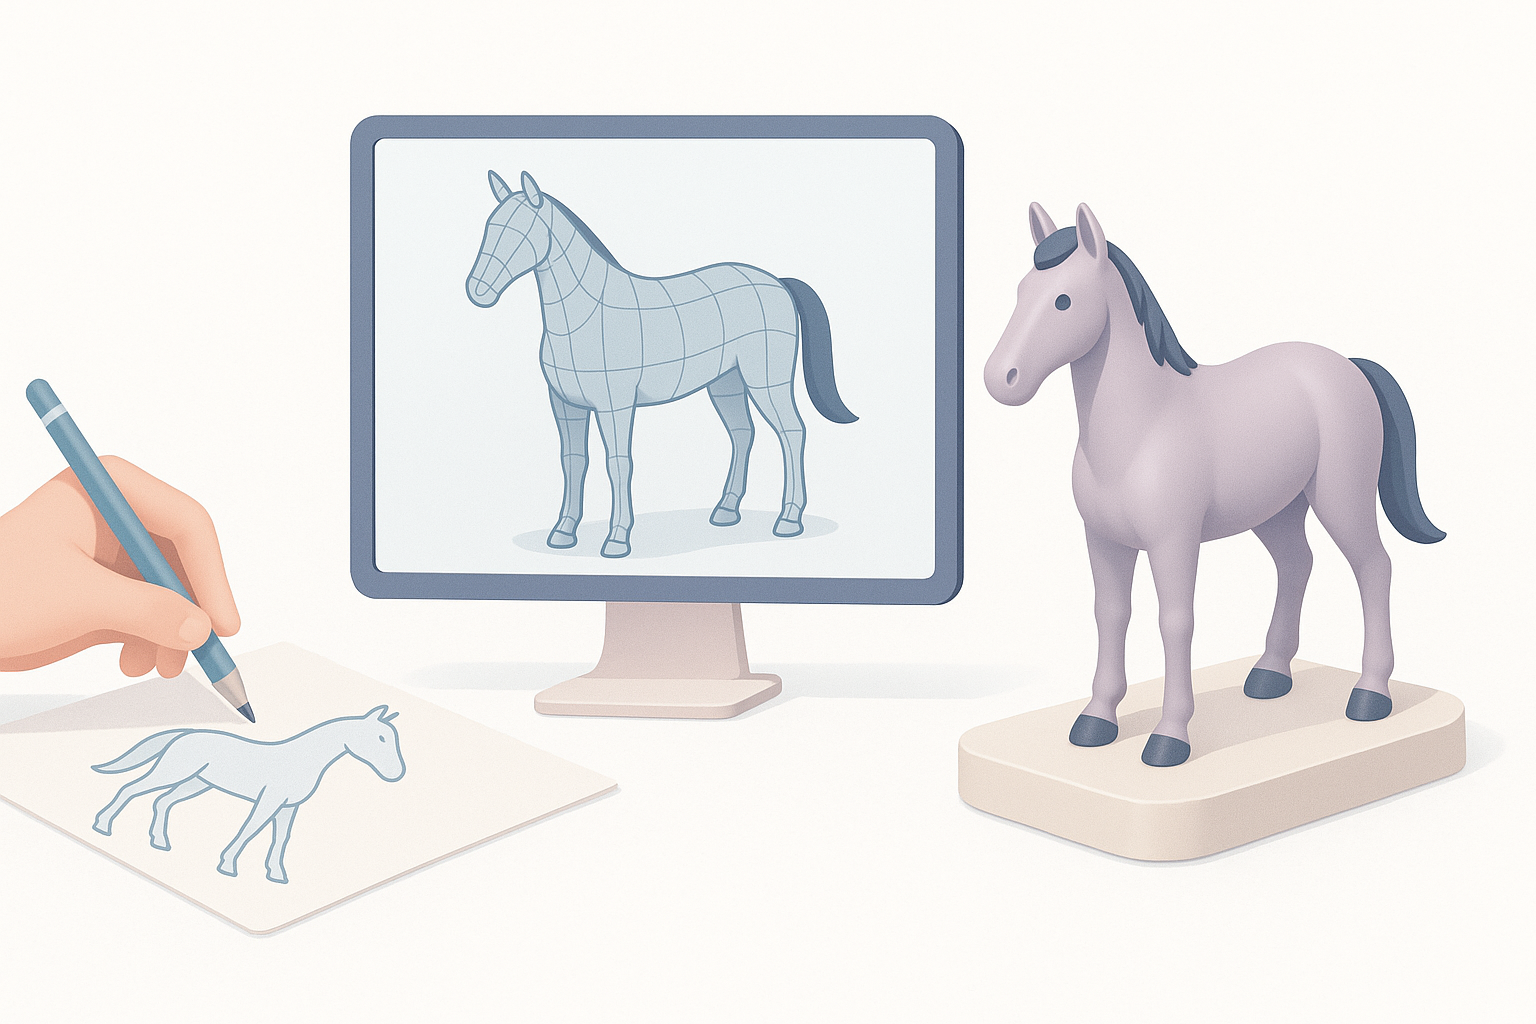
The first step in my workflow is assembling comprehensive reference material. I gather official art, screenshots, and fan interpretations for multiple angles. I also analyze pose sheets or animation clips to understand her range of motion.
My planning checklist:
- Front, side, and ¾ reference images
- Close-ups of face, hands, and costume details
- Notes on color palette and material types
Having a clear plan helps me define what’s essential before I touch any 3D software.
Using AI Tools for Efficient Model Creation
With references ready, I use Tripo AI to generate a base mesh from text prompts and sketches. I describe the character’s features, upload key images, and let the tool draft an initial model. This jumpstarts the process, saving hours on blockout and proportioning.
My workflow with AI tools:
- Input clear, descriptive prompts (e.g., “stylized anime girl with unique headband and boots”)
- Review auto-generated mesh for accuracy and fix any glaring issues manually
- Use built-in segmentation to separate body, hair, and clothing for easier editing
Tip: Always check the AI output for anatomical quirks or mesh artifacts—manual cleanup is usually needed.
Optimizing and Texturing the Model
Retopology and Mesh Cleanup Techniques
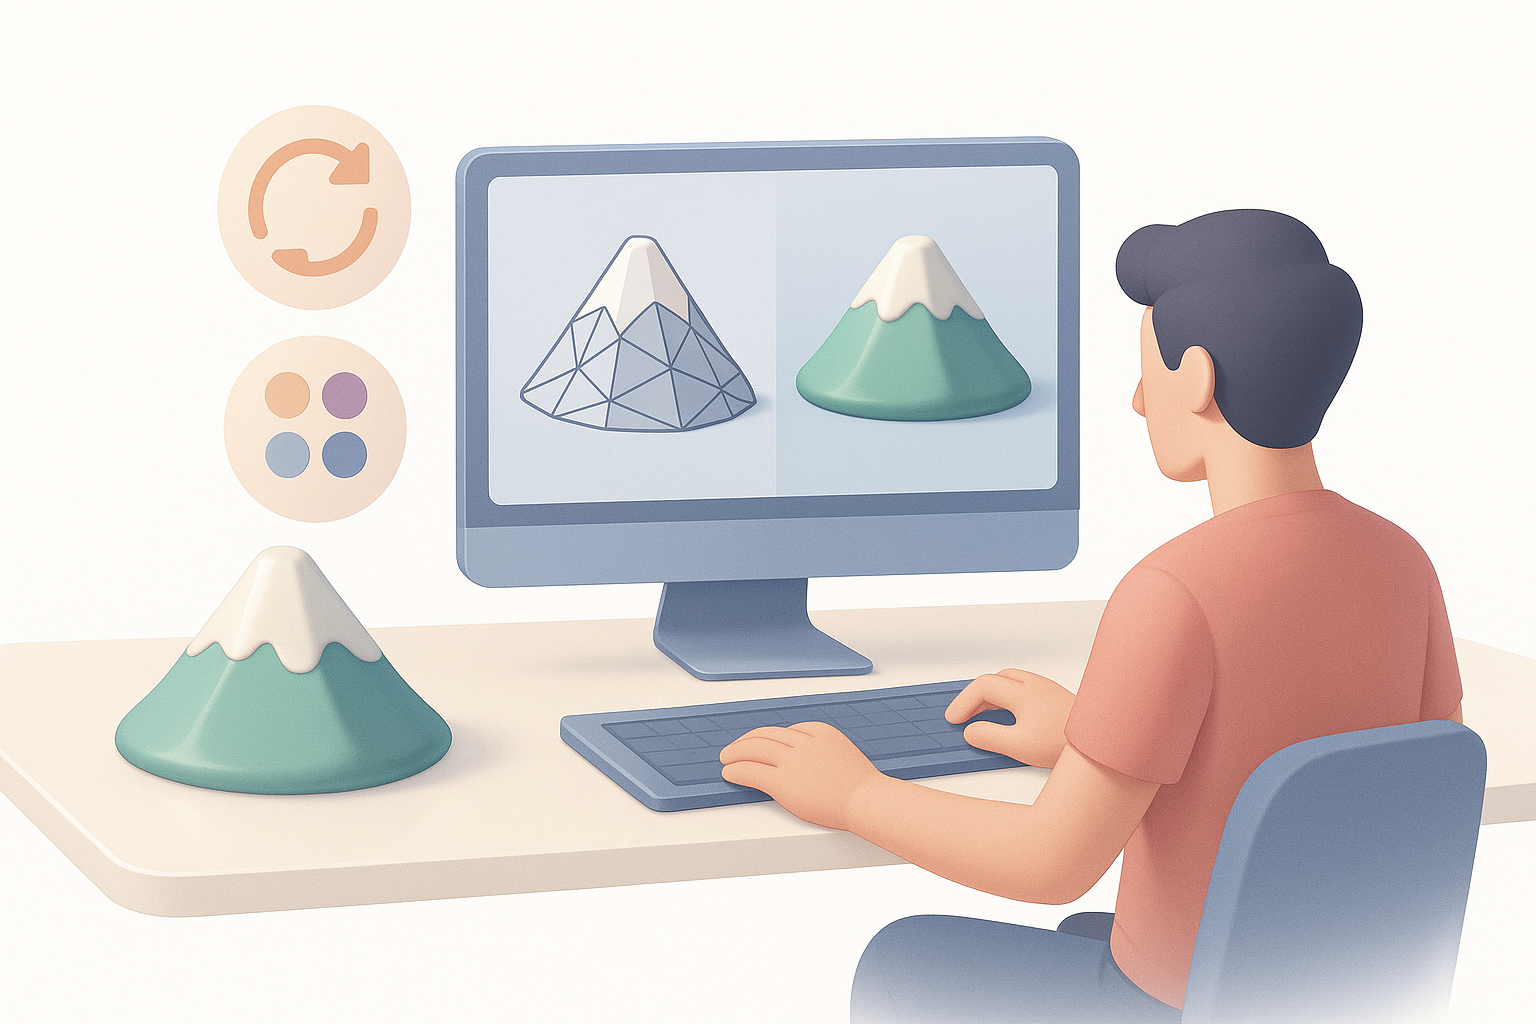
AI-generated meshes are rarely production-ready out of the box. I use Tripo’s retopology tools to create clean, animation-friendly topology. If needed, I manually adjust edge loops around the face and joints for better deformation.
My mesh cleanup steps:
- Run auto-retopology, then inspect for poles and n-gons
- Manually optimize loops around eyes, mouth, and elbows
- Merge overlapping verts and delete stray faces
A clean mesh is crucial for smooth animation and efficient rendering.
Texturing Best Practices and Material Setup
For texturing, I bake ambient occlusion and normals, then use Tripo’s smart texturing to lay down base colors and materials. I fine-tune UVs to minimize stretching, especially on the face and accessories.
My texturing workflow:
- Bake and inspect AO, normal, and curvature maps
- Use smart fill for base colors, then hand-paint details (like eyes and insignia)
- Assign materials for skin, fabric, metal, and hair, adjusting roughness and specular as needed
Tip: Preview textures under multiple lighting setups to catch issues early.
Rigging, Animation, and Exporting
Rigging for Animation: What I’ve Learned
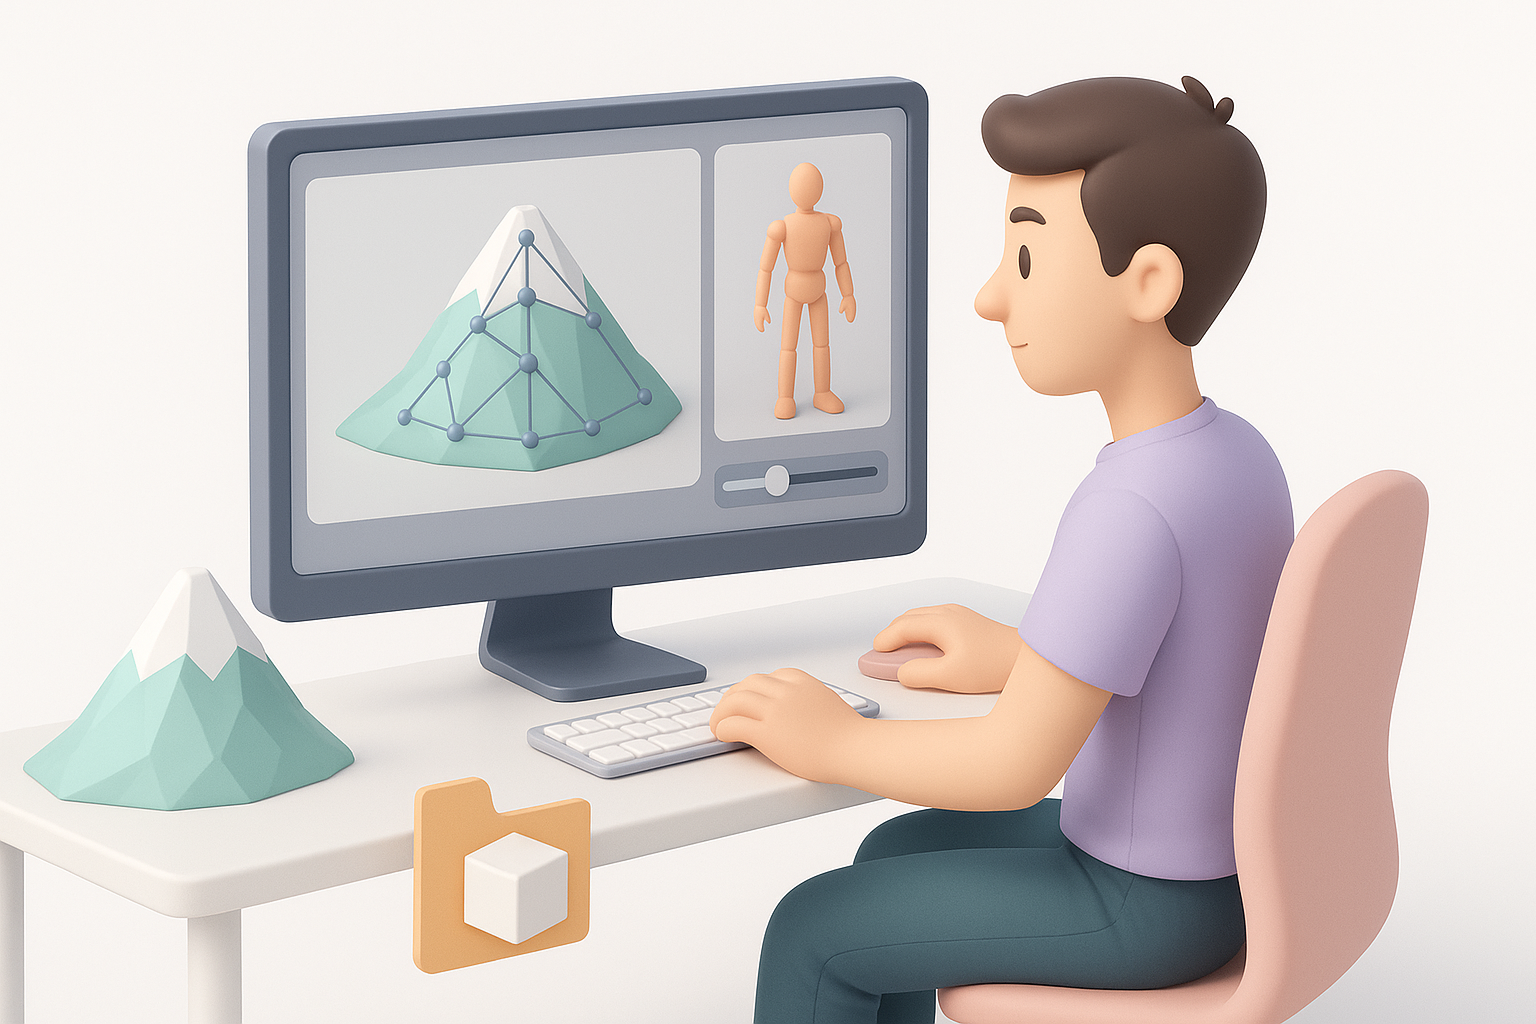
Rigging stylized characters can be tricky, especially with exaggerated proportions. I use Tripo’s auto-rigging as a base, then manually tweak weight paints and joint placements. Special attention goes to the face and skirt, which often need extra bones or corrective shapes.
My rigging checklist:
- Place joints to match the character’s anatomy, not just the mesh
- Test deformations with extreme poses
- Add blendshapes for facial expressions if needed
Export Settings for Games, XR, and Film
Export requirements differ by platform. For games, I keep textures compressed and limit polycount. For XR, I optimize for real-time performance. For film, I use higher-res textures and export FBX with blendshapes.
Export tips:
- Use FBX for most engines; GLTF for web/XR
- Pack textures efficiently (use 2K maps for games, 4K for film)
- Test imports in your target engine before final delivery
Comparing AI-Powered and Traditional 3D Workflows
Advantages of AI-Driven Creation
AI tools like Tripo dramatically reduce the time spent on base modeling, retopology, and texturing. I can go from concept to a usable asset in hours, not days. This lets me iterate quickly and focus on creative refinement.
Where AI shines:
- Rapid prototyping and blockout
- Auto-segmentation and retopology
- Quick generation of textured assets
When to Use Alternative Methods
Despite the speed, there are times when traditional modeling is better—especially for highly customized meshes, ultra-clean topology, or when I need full control over every vertex. For hero assets or technical rigs, I often combine AI outputs with manual sculpting and retopology.
Situations for manual methods:
- Film-quality close-ups
- Complex mechanical or organic rigs
- When AI output needs heavy customization
Tips, Troubleshooting, and Lessons Learned
Common Challenges and How I Solve Them
Frequent issues I encounter:
- Mesh artifacts (e.g., overlapping faces, stray verts)
- Texture seams or stretching
- Rigging errors on stylized joints
My fixes:
- Manual mesh cleanup in a 3D editor
- Re-baking or adjusting UVs
- Adding extra bones or corrective shapes for problem areas
My Top Tips for High-Quality Results
- Always start with strong references and a clear plan.
- Use AI tools for speed, but don’t skip manual cleanup and polish.
- Regularly test your model in the target environment to catch issues early.
- Keep your mesh organized—layered files and named materials save time later.
- Don’t be afraid to iterate; small tweaks often make the biggest difference.
By following these steps and best practices, I consistently achieve high-quality Fuji Kiseki 3D models ready for any production pipeline. With the right balance of AI automation and hands-on refinement, you can too.


