Creating and Using Fortnite 3D Models: Expert Workflow Guide
As someone who creates and integrates 3D models for games like Fortnite, I know the value of a streamlined, reliable workflow. In this guide, I’ll break down my process for building Fortnite-style assets—from initial concept to in-game integration—using AI-powered tools and practical techniques. Whether you’re a game developer, artist, or XR creator, these insights will help you produce optimized, production-ready models quickly and efficiently. I’ll share my go-to steps, common pitfalls, and how I leverage platforms like Tripo AI to stay focused on creativity, not technical headaches.
Key takeaways
- AI-powered 3D tools dramatically speed up model creation and iteration.
- Fortnite-style models have unique visual and technical requirements.
- Efficient workflows rely on smart segmentation, retopology, and clean topology.
- Proper texturing, rigging, and animation are essential for game-ready assets.
- Export settings and optimization are critical for seamless engine integration.
- Troubleshooting and performance tweaks ensure models run smoothly in-game.
Understanding Fortnite 3D Models
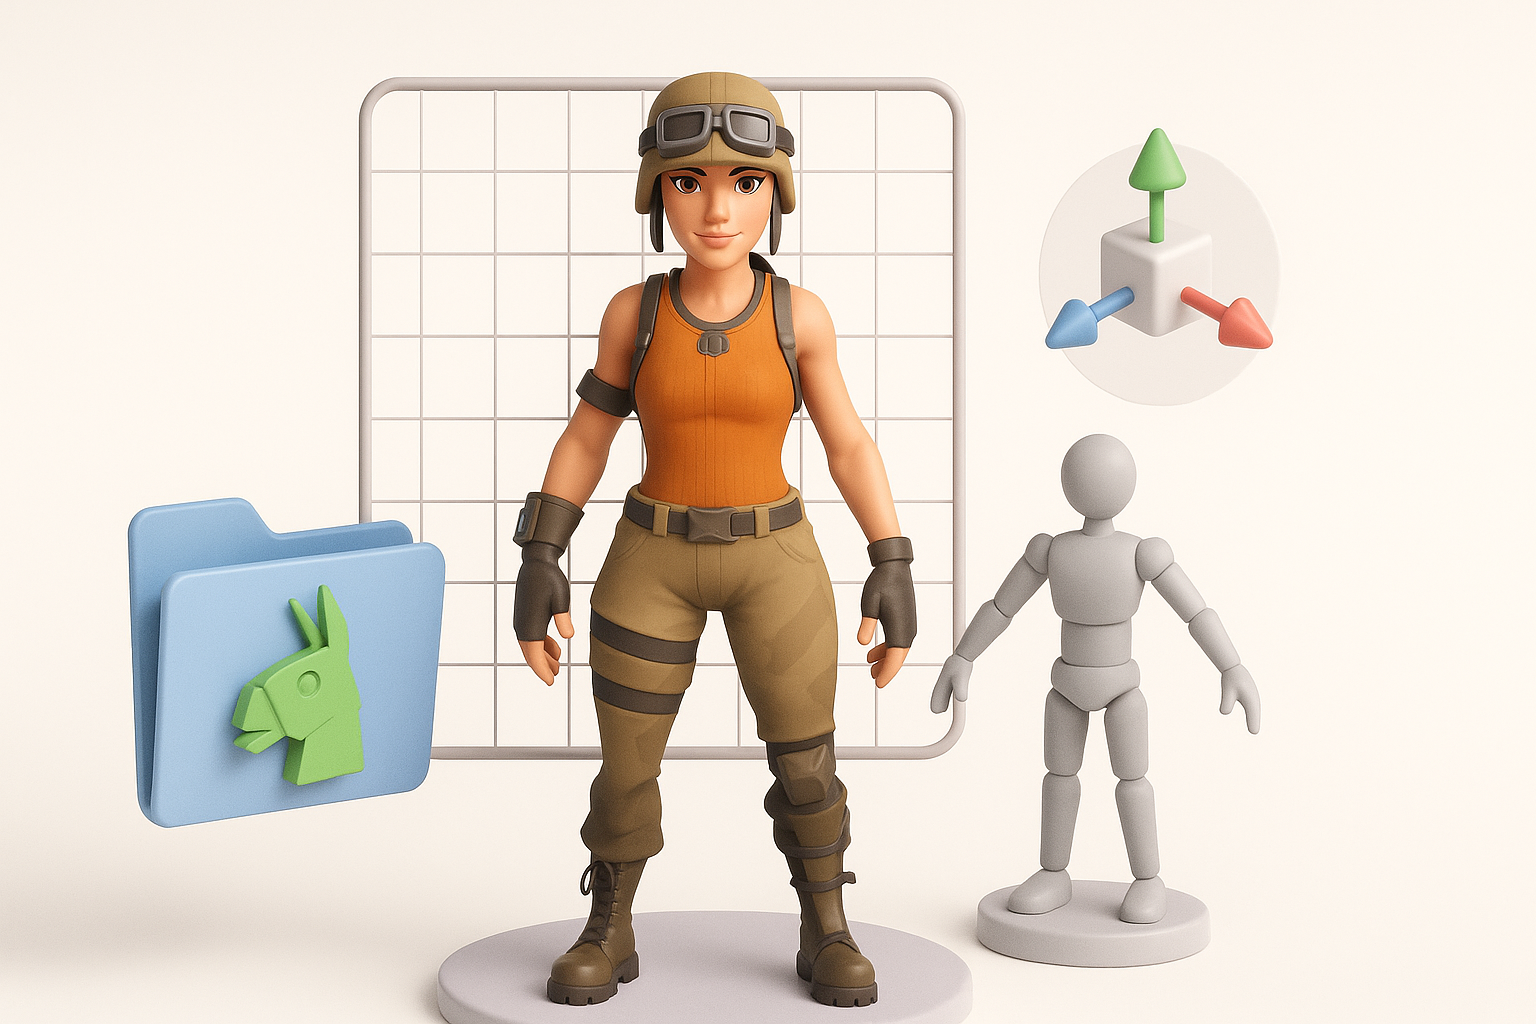
What Makes a Fortnite 3D Model Unique
Fortnite’s visual style is instantly recognizable: stylized, bold shapes, clean topology, and vibrant, hand-painted textures. In my experience, these models balance visual appeal with technical efficiency—polygon counts are optimized for performance, and materials are designed for clarity at a distance.
Key characteristics:
- Exaggerated proportions and expressive silhouettes
- Low to mid-poly meshes with efficient UV layouts
- Textures that emphasize color blocking and clear detail
Common Use Cases in Games and XR
I use Fortnite-style models not just for in-game characters and props, but also for XR experiences, machinima, and virtual events. Their stylized look translates well across platforms, and their optimized structure makes them ideal for real-time applications.
Typical use cases include:
- Playable characters and NPCs
- Weapons, vehicles, and environmental props
- Avatars for XR and social platforms
How I Create Fortnite-Style 3D Models
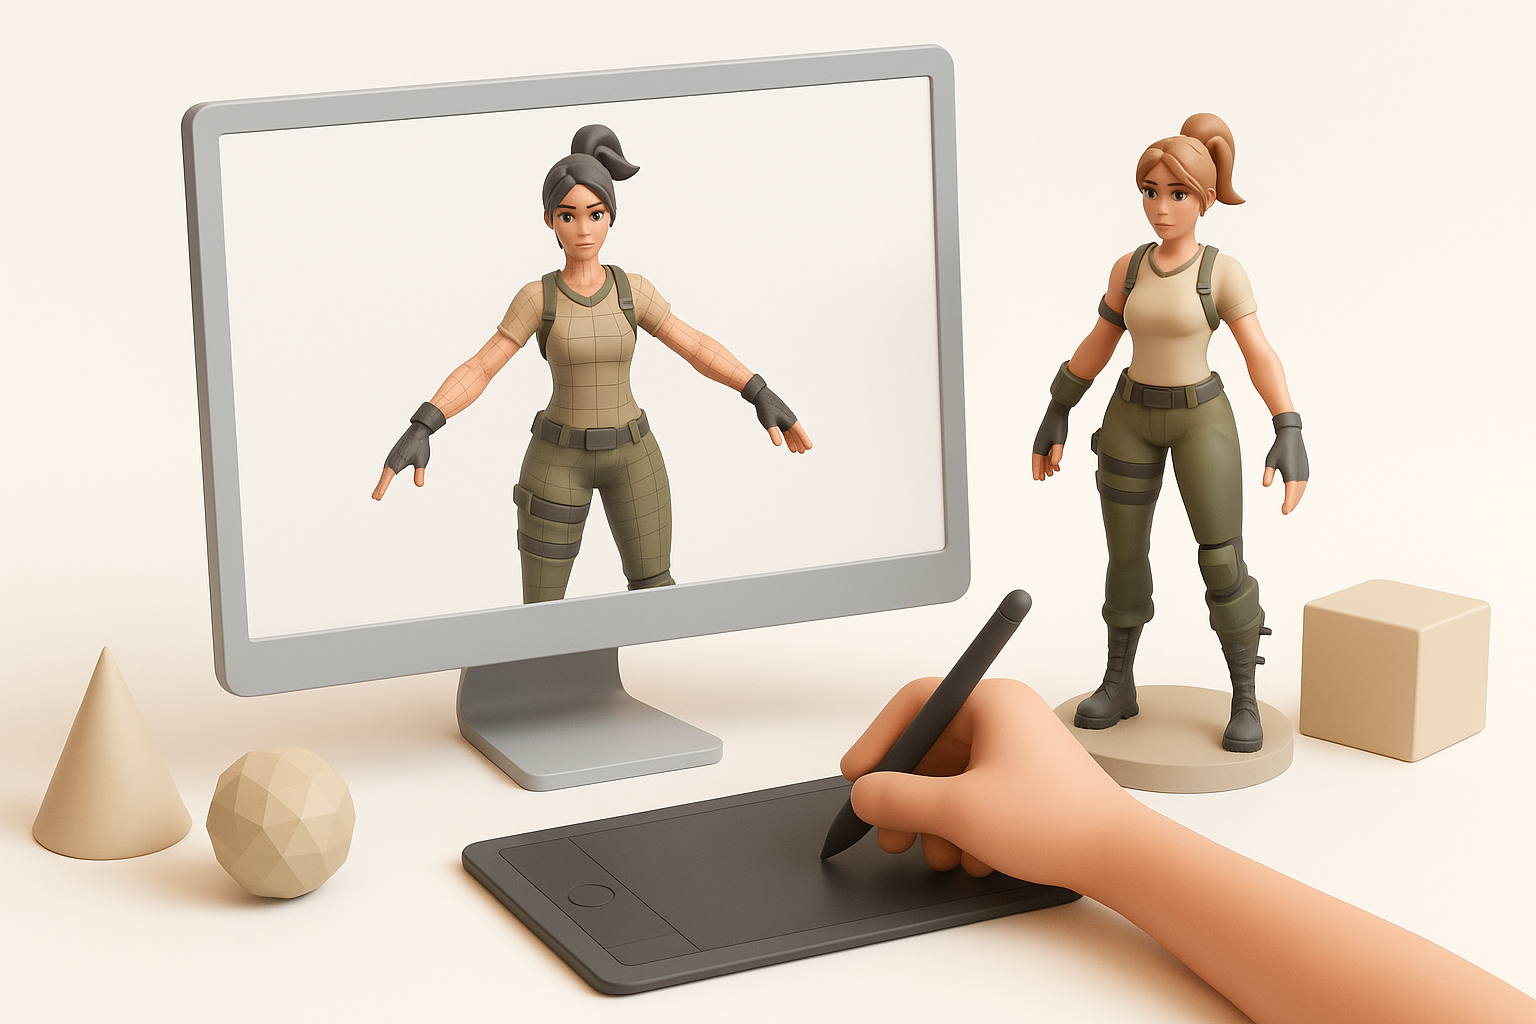
Step-by-Step Workflow with AI Tools
My workflow starts with a clear concept—either a text prompt, reference image, or sketch. Using Tripo AI, I generate the base mesh and iterate until the form matches my vision. The built-in segmentation and retopology features save me hours compared to manual modeling.
My workflow:
- Input prompt (text, sketch, or image) into Tripo AI.
- Review and adjust the generated mesh for silhouette and proportions.
- Use segmentation tools to define material zones.
- Apply auto-retopology for clean, animation-friendly topology.
- Export for further refinement if needed.
Best Practices for Efficient Production
Efficiency comes from knowing when to automate and when to fine-tune. I always check the output mesh for unnecessary geometry and overlapping UVs. Keeping a library of reusable base meshes and materials also speeds up repetitive tasks.
Tips:
- Set clear visual targets before starting.
- Use AI for rapid prototyping; manual sculpting for final tweaks.
- Save versions at key milestones to avoid backtracking.
- Review meshes in a neutral pose and lighting.
Texturing, Rigging, and Animating Fortnite Models
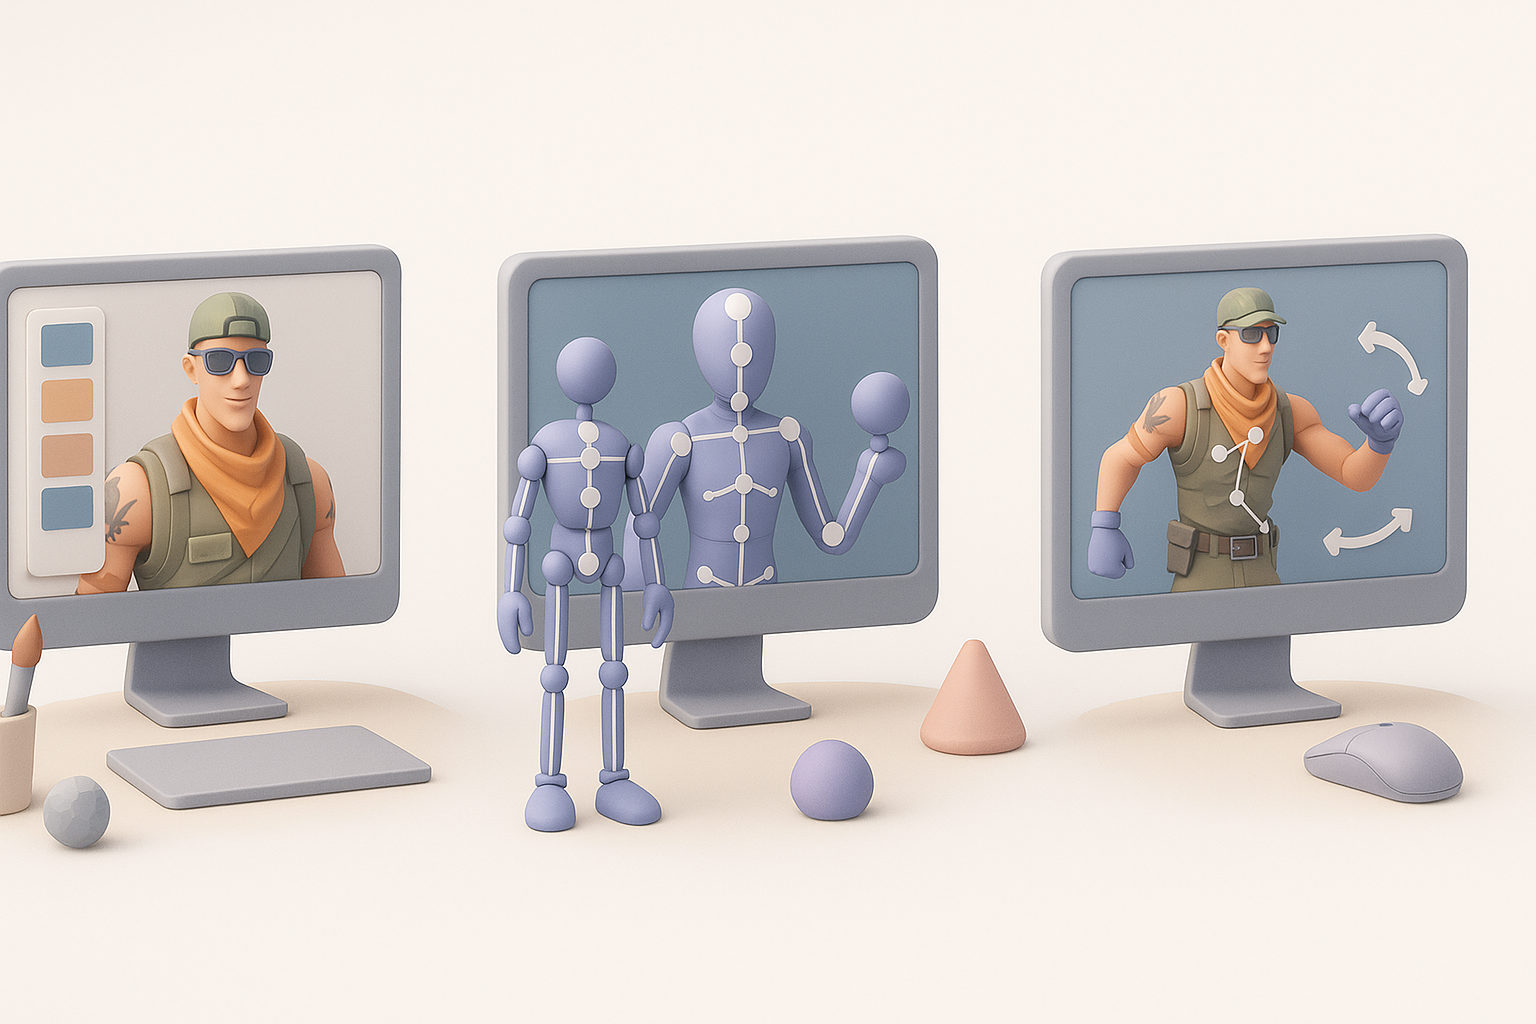
My Approach to Texturing and Materials
For Fortnite models, I focus on hand-painted or stylized textures. I often start with AI-generated base textures, then refine them in tools like Substance Painter or Photoshop to match the required aesthetic. Consistent color palettes and material IDs are crucial for a cohesive look.
Checklist:
- Bake normal and ambient occlusion maps for depth.
- Hand-paint highlights and shadows for stylized effect.
- Keep texture resolution consistent (usually 1–2K for characters).
Rigging and Animation Tips for Game-Ready Assets
Rigging must support Fortnite’s expressive animations. I use auto-rigging features in Tripo AI, then manually adjust bones and weights for clean deformation. Animation cycles are tested in-engine to ensure smooth transitions and responsiveness.
Pitfalls to avoid:
- Overcomplicating the skeleton—stick to proven bone structures.
- Ignoring joint placement; elbows and knees must deform cleanly.
- Skipping weight painting—uneven weights cause visual glitches.
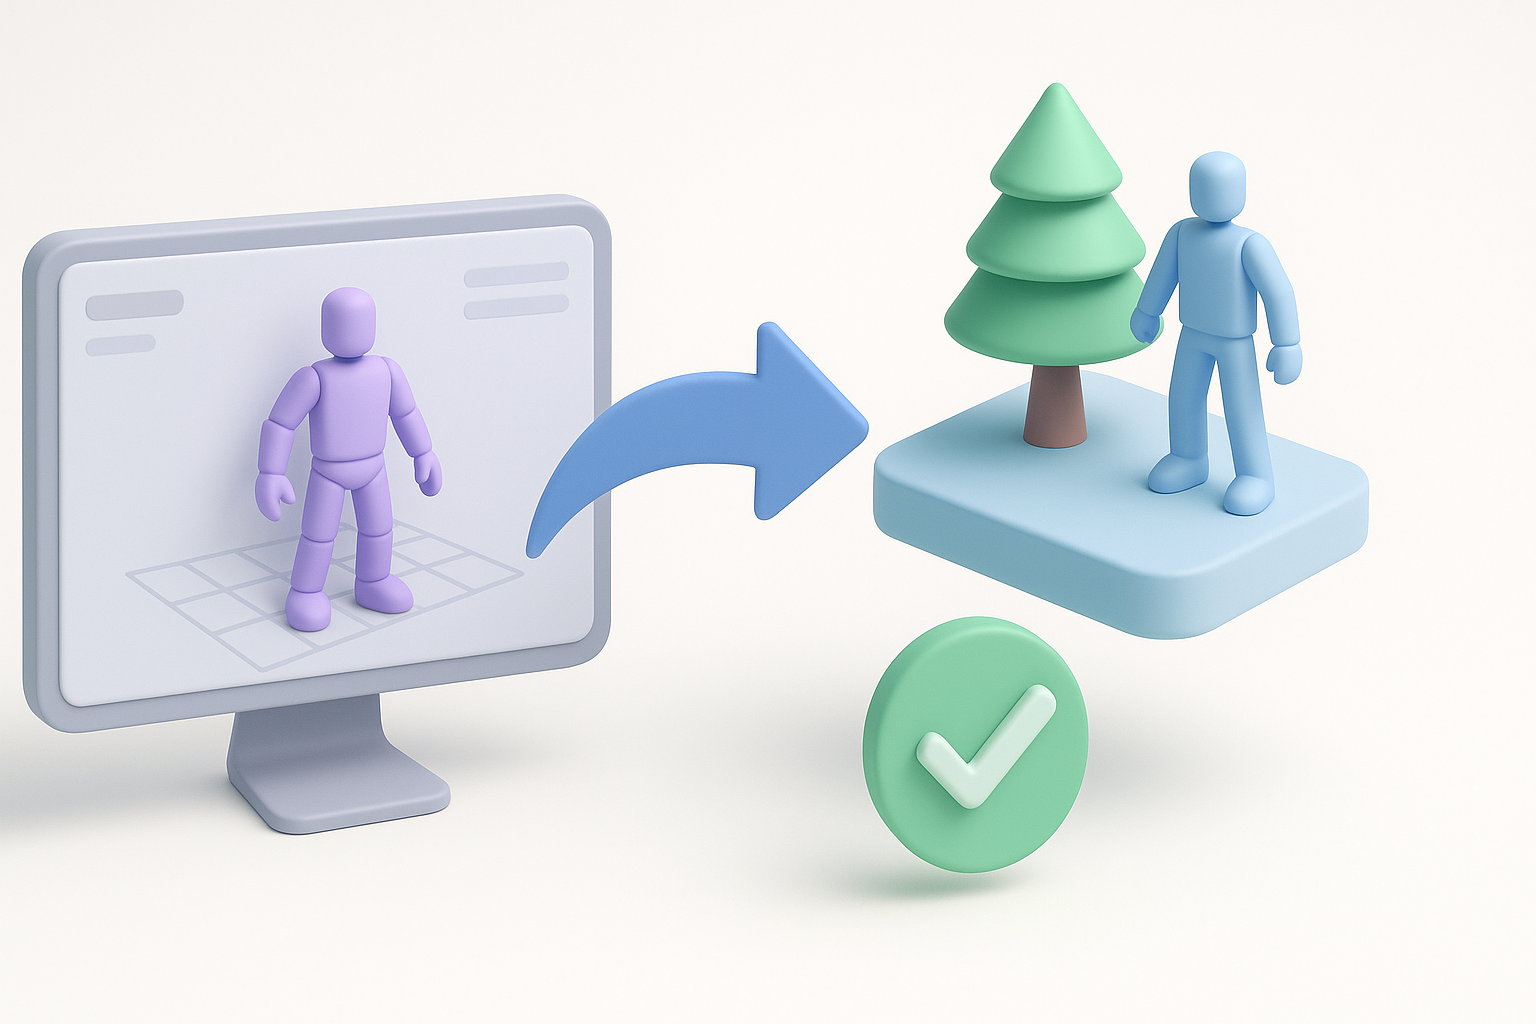
Exporting and Integrating Models into Fortnite Projects
Export Settings and File Formats I Use
Exporting is where I double-check everything: scale, orientation, and file format. For Fortnite and similar engines, I typically use FBX with embedded textures and standard axis alignment. I always test exports in a blank scene before full integration.
Recommended settings:
- FBX format, Y-up axis, units in centimeters
- Embed or pack textures when possible
- Apply transforms and freeze scale before export
Integrating Models into Game Engines
Importing into Unreal Engine (or similar) is straightforward if the model is prepped correctly. I set up materials, check collision meshes, and assign animations. Any issues with scale or normals are fixed at this stage.
Integration steps:
- Import FBX into the engine asset browser.
- Assign materials and check texture mapping.
- Set up skeleton and test animation clips.
- Run performance checks in a test map.
Comparing AI Tools and Traditional Methods

Advantages of AI-Powered 3D Creation
AI tools like Tripo AI have transformed my workflow. They cut down modeling and retopology time from hours to minutes, allowing me to focus on creative decisions. Rapid iteration is a major advantage, especially for prototyping and asset libraries.
Benefits I see:
- Speed: From concept to mesh in seconds
- Consistency: Auto-retopology ensures clean topology
- Accessibility: Lowers the barrier for non-technical artists
When I Choose Alternative Methods
There are times when I revert to traditional sculpting or manual modeling—especially for hero assets or when extreme control is needed. AI tools are best for rapid production and iteration; manual methods excel for custom, high-detail work.
When I go manual:
- Unique, highly detailed characters
- Complex mechanical rigs
- Assets that require custom UV layouts or advanced shaders
Troubleshooting and Optimization
Common Issues and How I Fix Them
Common problems include flipped normals, overlapping UVs, and deformation artifacts. I always run a checklist before final export and use mesh analysis tools to catch issues early.
How I fix typical issues:
- Flip normals in the modeling tool if shading looks wrong.
- Repack UVs if there’s stretching or overlap.
- Adjust weights and bones for smooth deformations.
Optimizing Models for Performance
Performance is non-negotiable for Fortnite-style assets. I keep polycounts in check and use texture atlases where possible. LODs (levels of detail) are set up for larger assets to maintain frame rates.
Optimization tips:
- Target 10–15k tris for main characters, lower for props.
- Compress textures without losing clarity.
- Test in-engine for draw calls and real-time performance.
By following these steps and leveraging AI-powered tools, I can create Fortnite-ready 3D models efficiently—without sacrificing quality or game performance.


