Creating Fallout 76 3D Models: Workflow, Tips, and Tools
Creating Fallout 76–style 3D models requires balancing visual authenticity, technical requirements, and efficient workflows. In my experience, leveraging AI-powered tools like Tripo has transformed how I approach asset creation—speeding up concept-to-completion and letting me focus on creative decisions. This article breaks down my full process, the practical tools I use, and the lessons I’ve learned for producing game-ready Fallout 76 models, whether you’re a solo creator or part of a larger team.
Key takeaways
- Fallout 76 models require a blend of stylized realism and technical optimization.
- AI-driven platforms like Tripo can drastically reduce manual work and iteration time.
- Consistent topology, optimized textures, and proper scale are critical for in-game performance.
- Always validate compatibility with the Fallout 76 engine and pipeline.
- Common pitfalls include over-detailing and inefficient UV layouts—test early and often.
Overview of Fallout 76 3D Model Creation
What Makes Fallout 76 Models Unique
Fallout 76 assets blend retro-futuristic design with post-apocalyptic wear and tear. In my workflow, this means focusing on believable damage, layered materials, and props that feel lived-in. Models need to look great up close but also read well at a distance and in various lighting.
- Visual storytelling: Every prop tells a story—scratches, rust, and improvised repairs matter.
- Consistent style: Matching the game’s art direction is key; I reference in-game assets and concept art frequently.
- Scale and proportion: Fallout assets are slightly exaggerated for readability, so I adjust proportions accordingly.
Common Use Cases and Applications
Most of my Fallout 76 models are used for:
- Environment props: Furniture, machinery, signage, and clutter objects.
- Wearables: Armor pieces, backpacks, or clothing for characters.
- World-building: Custom set dressing for mods or machinima.
Whether for modding, fan art, or original game content, the workflow remains similar—adapted to the asset’s purpose and technical constraints.
Step-by-Step Workflow for Fallout 76 3D Models
Concept to Completion: My Process
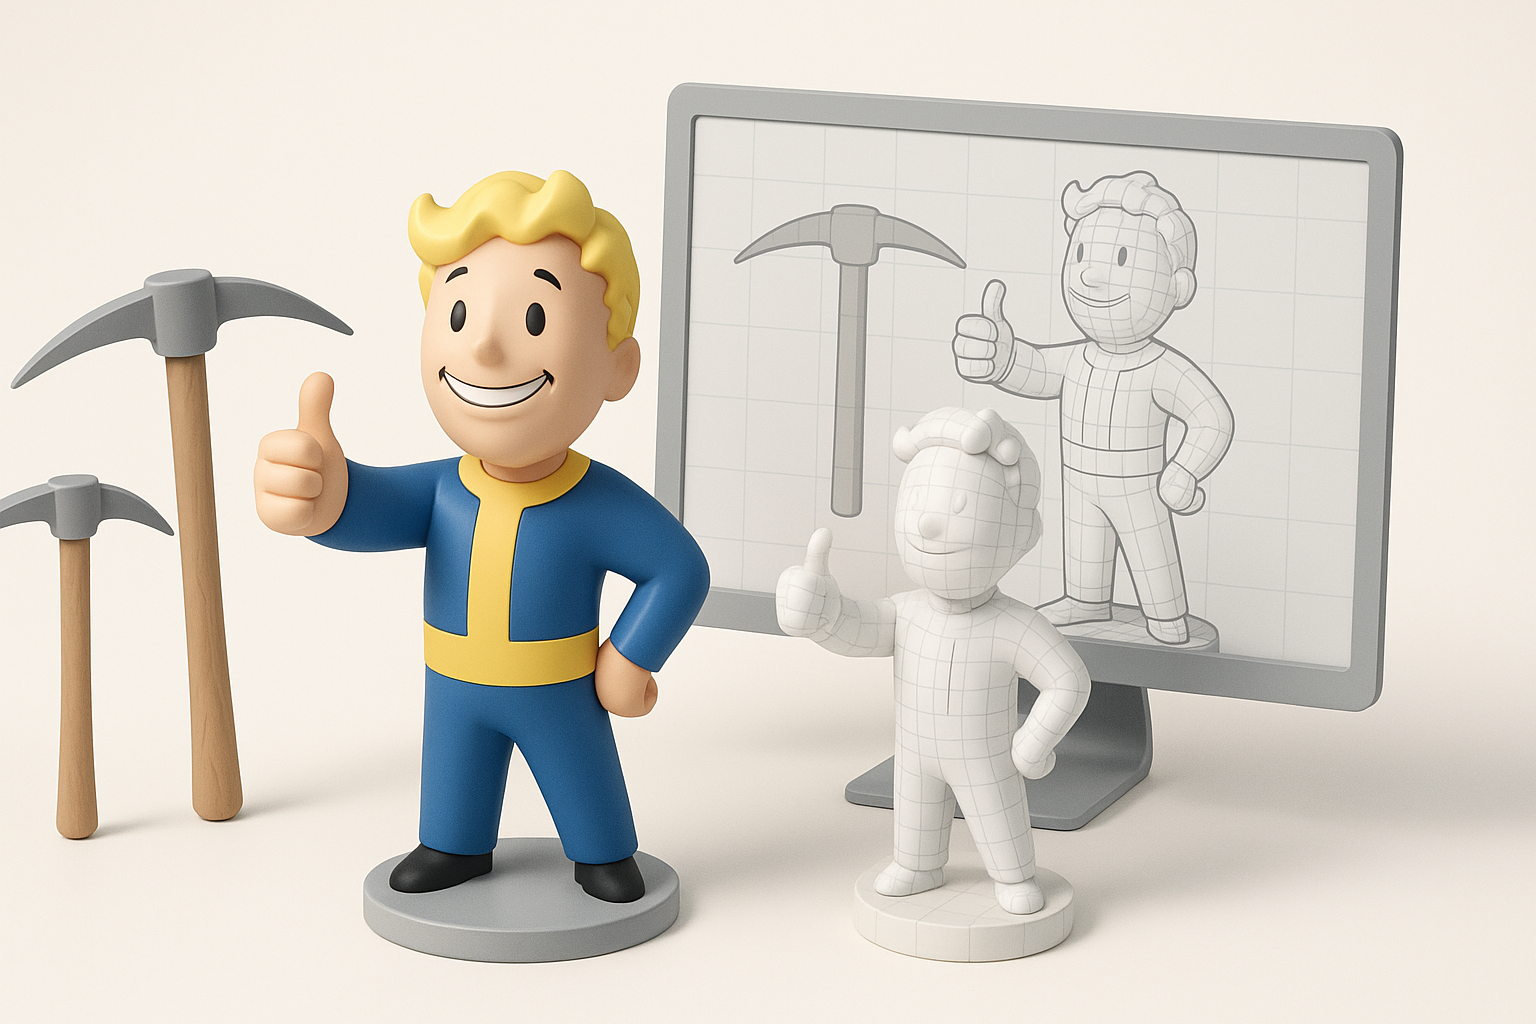
- Reference gathering: I collect screenshots, concept art, and lore references to nail the Fallout look.
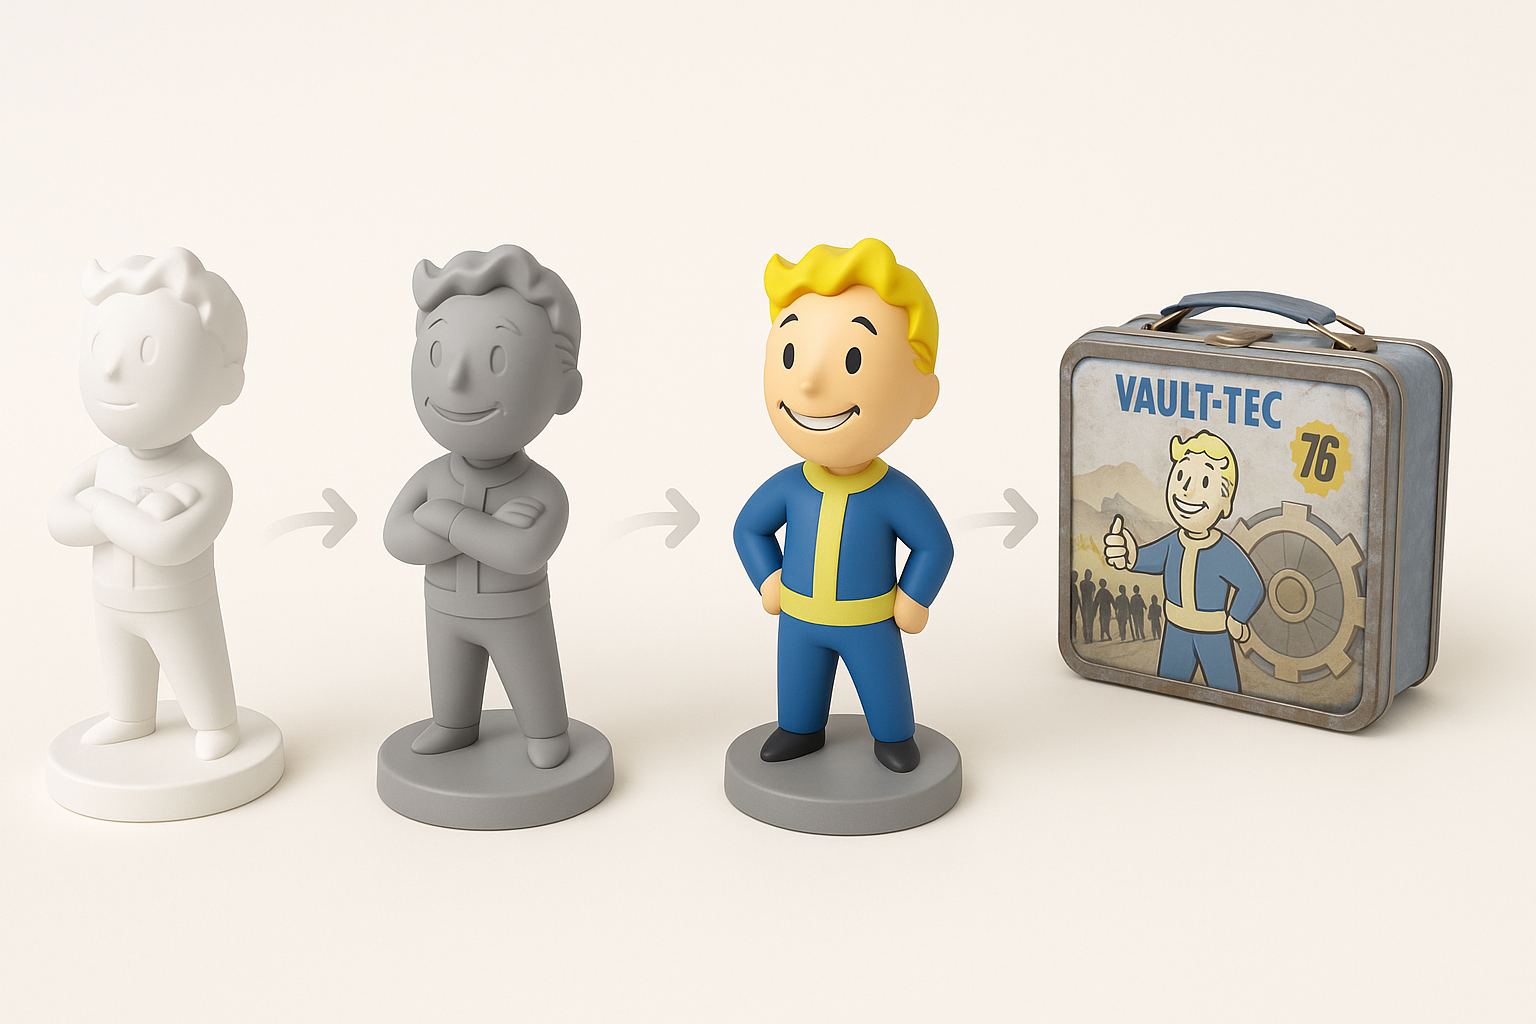
- Blockout: I start with simple shapes to establish scale and silhouette.
- Detailing: Here, I add surface details, damage, and unique features. I often use sculpting for organic wear.
- Retopology: For game assets, I retopologize to ensure clean, efficient geometry.
- UV unwrapping: I lay out UVs with minimal seams and efficient space usage.
- Texturing: I create hand-painted or PBR textures, focusing on wear and material variety.
- Export and test: I bring the model into the game or test environment to check scale, shading, and performance.
Checklist:
- Gather at least 5–10 reference images.
- Always block out before detailing.
- Test in-game early to catch scale or shading issues.
Essential Tools and Platforms I Use
- Tripo AI: For rapid prototyping, segmentation, retopology, and texturing. I often start with a text or sketch prompt, then refine the output.
- 3D modeling suites: For manual tweaks, sculpting, and UV work.
- Texture painting tools: For custom wear and material effects.
- Game engine importers: To preview and validate assets in Fallout 76’s pipeline.
Tip: I use Tripo for the heavy lifting, then polish in traditional tools for final tweaks and custom details.
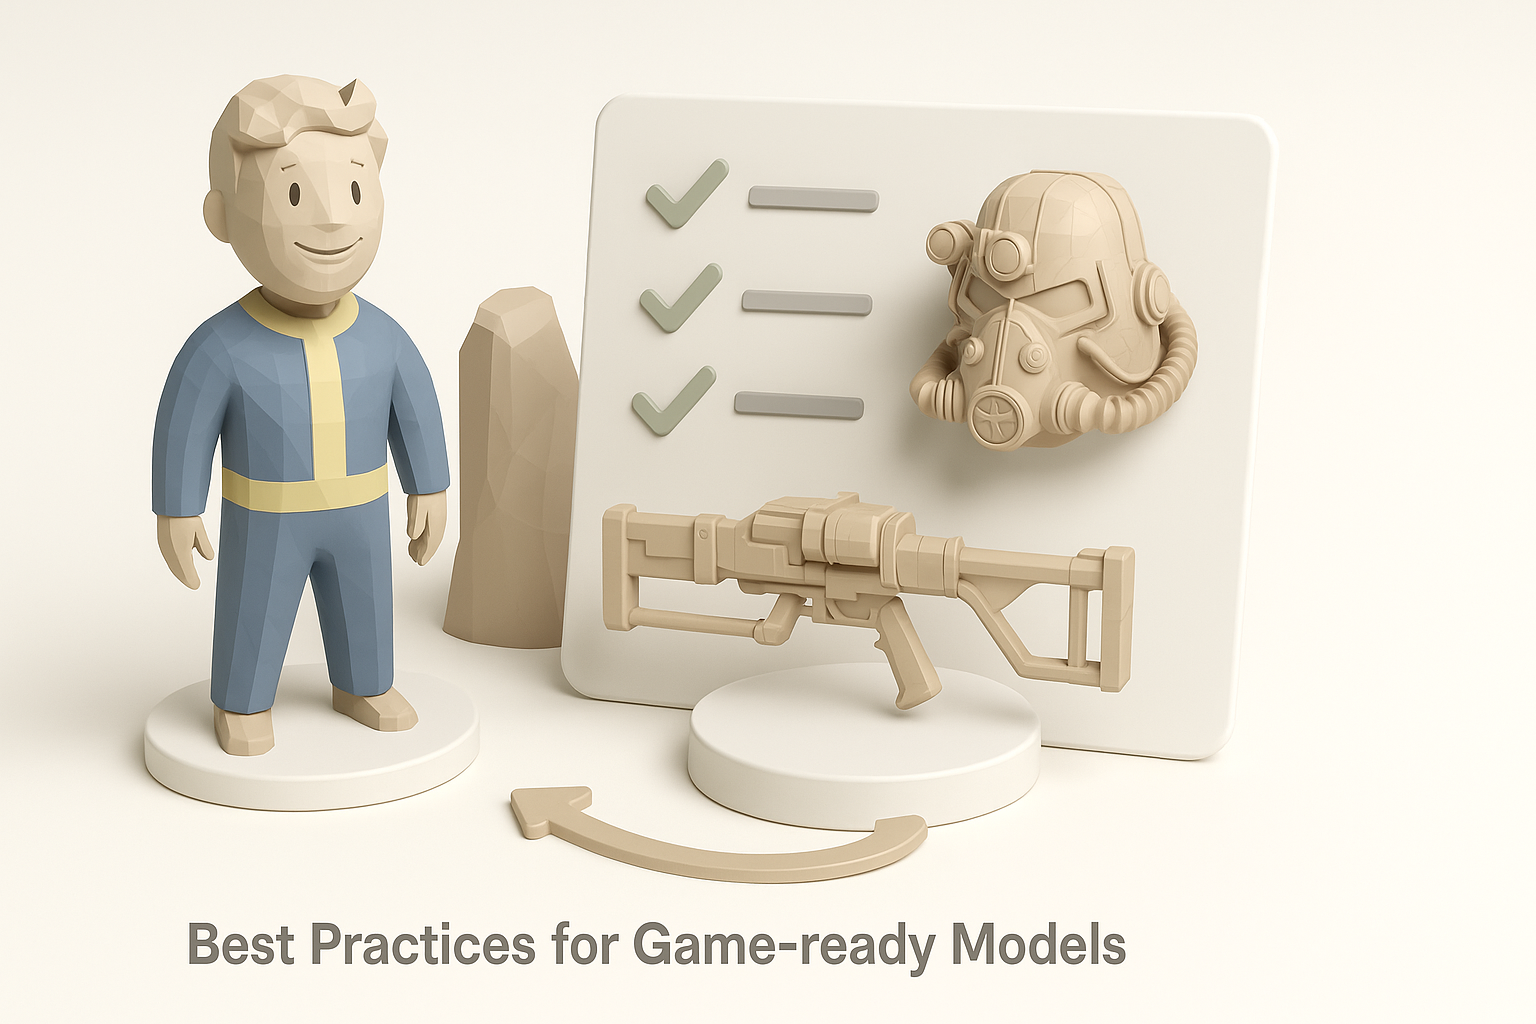
Best Practices for Game-Ready Fallout 76 Models
Optimizing Topology and Textures
Efficient topology is non-negotiable for game assets. I aim for the lowest polycount that maintains silhouette and detail. For Fallout 76, normal maps and baked details do most of the heavy lifting.
- Keep edge loops clean: Especially around deformation zones.
- Limit texture resolution: Most props use 1K or 2K maps; I only go higher for hero assets.
- Atlas textures: Where possible, I pack multiple props into a single texture to save draw calls.
Quick checklist:
- Remove hidden faces (e.g., bottoms of props).
- Check for ngons and stray verts.
- Bake AO and normal maps for added depth.
Ensuring Compatibility and Performance
Fallout 76’s engine has specific requirements. I always:
- Match scale: Use game units and test in-engine.
- Follow naming conventions: For materials and mesh parts.
- Export in compatible formats: Typically FBX or OBJ, with triangulated meshes.
- Test for performance: Check frame rate impact with multiple instances.
Pitfall: Forgetting to triangulate meshes can cause shading errors in-game—always triangulate before export.
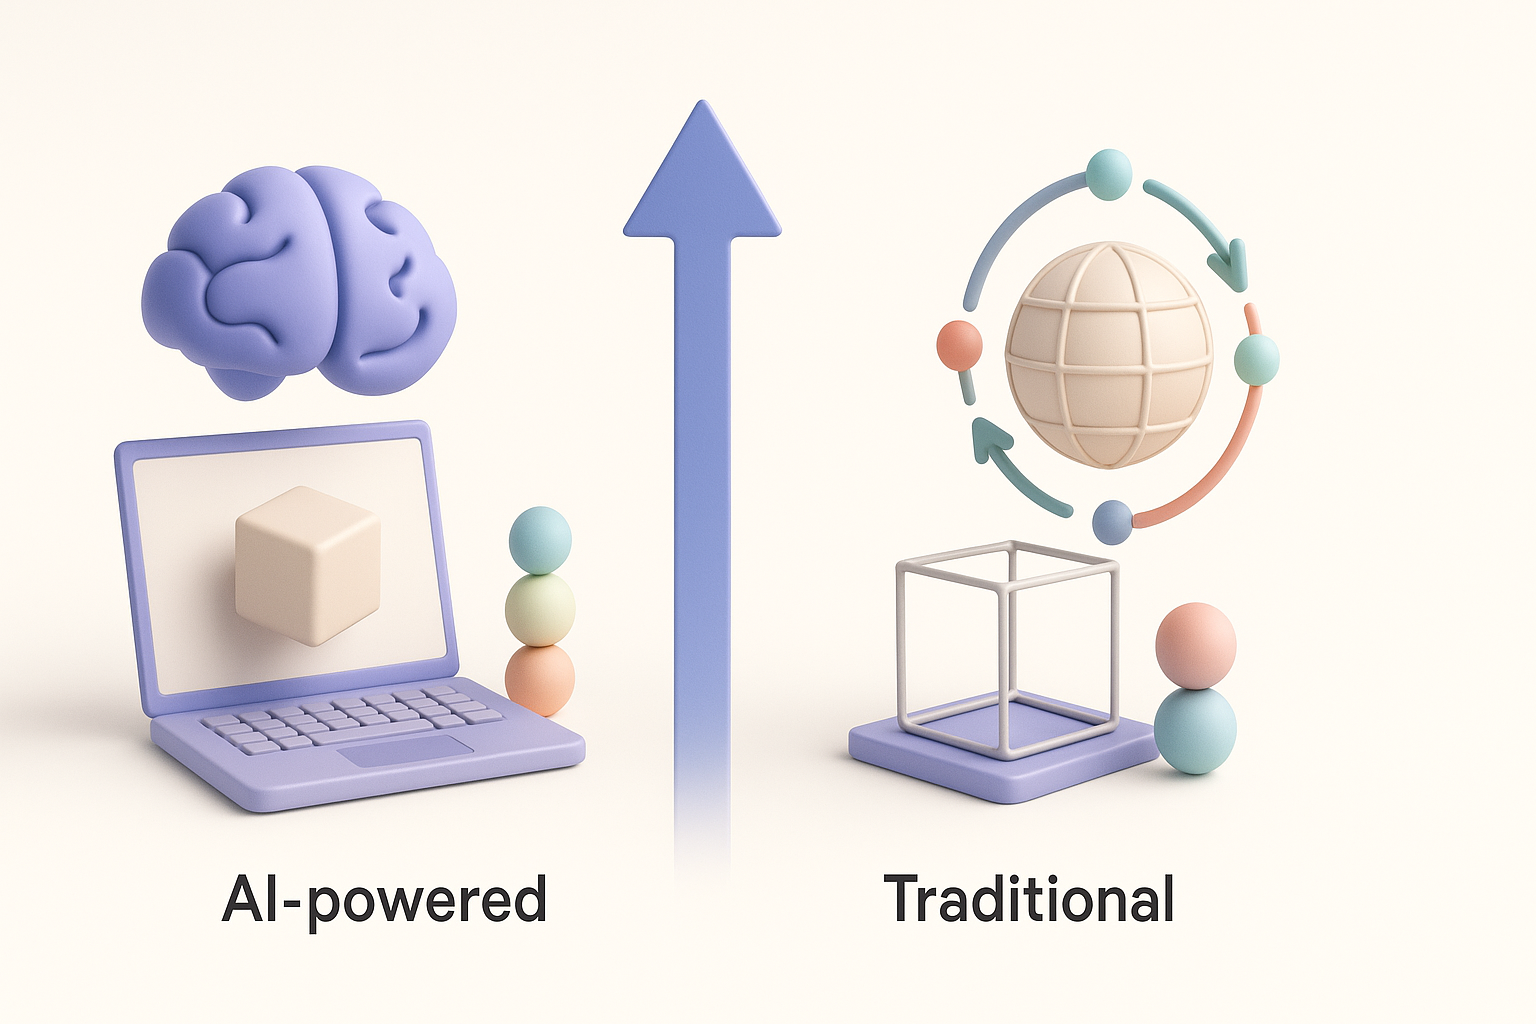
Comparing AI-Powered and Traditional 3D Workflows
Benefits of AI-Driven Tools Like Tripo
AI tools have changed how I work:
- Speed: I can generate a base mesh, auto-retopologize, and texture in minutes.
- Iteration: Rapidly test variations without redoing manual work.
- Accessibility: Great for quick mockups or when under tight deadlines.
For Fallout 76 props, I often use AI for blockouts and retopology, then fine-tune details manually to match the game’s stylized wear.
When to Use Alternative Methods
While AI tools are powerful, I still rely on manual workflows when:
- Precision is required: Hero assets or unique props need hand-crafted detail.
- Custom UVs or complex rigs: AI outputs sometimes need manual adjustment for complex requirements.
- Engine-specific quirks: Some exports need manual setup to avoid compatibility issues.
Tip: Use AI for speed, but don’t skip manual QA—especially for portfolio pieces or published content.
Tips, Challenges, and Lessons Learned
Common Pitfalls and How I Avoid Them
- Over-detailing: It’s easy to add too much geometry or texture detail. I always check wireframes and texture budgets.
- Ignoring scale: Early blockout in engine prevents late-stage surprises.
- UV stretching: I check UVs with a checker pattern before texturing.
How I avoid them:
- Regular in-game testing.
- Peer review or feedback from other artists.
- Using templates for common props.
My Favorite Shortcuts and Efficiency Hacks
- Batch processing: I use Tripo to generate multiple variations, then pick the best to refine.
- Smart materials: Reusable materials speed up texturing for common surfaces (metal, rust, plastic).
- Reference libraries: I keep a categorized folder of Fallout assets for quick inspiration and scale checks.
Mini-checklist:
- Use AI for first pass, manual for polish.
- Always keep a backup of the blockout stage.
- Automate repetitive tasks where possible.
By combining AI-driven platforms like Tripo with hands-on refinement, I’ve streamlined my Fallout 76 3D model workflow—delivering game-ready assets efficiently without sacrificing quality or style.


