How to Create a Fall Guys 3D Model: Expert Workflow & Tips
Creating a Fall Guys 3D model is a rewarding process that combines stylized design, efficient workflows, and smart use of modern tools. In my experience, leveraging AI-powered platforms like Tripo can dramatically speed up production while ensuring quality, especially for game-ready assets. This guide is for artists and developers looking to build, texture, and rig stylized characters efficiently—whether for games, animation, or prototyping. I’ll walk through my proven workflow, highlight common pitfalls, and share practical tips for both traditional and AI-assisted approaches.
Key takeaways

- Stylized character modeling requires careful attention to proportions and references.
- AI-powered tools like Tripo streamline segmentation, retopology, texturing, and rigging.
- Blocking, refining, and detailing are best done iteratively with feedback loops.
- Automated texturing accelerates the process but manual tweaks ensure authenticity.
- Export settings and integration testing are crucial for game engine compatibility.
- Avoid common pitfalls with mini-checklists and workflow optimizations.
Understanding the Fall Guys Character Design
Key features and proportions
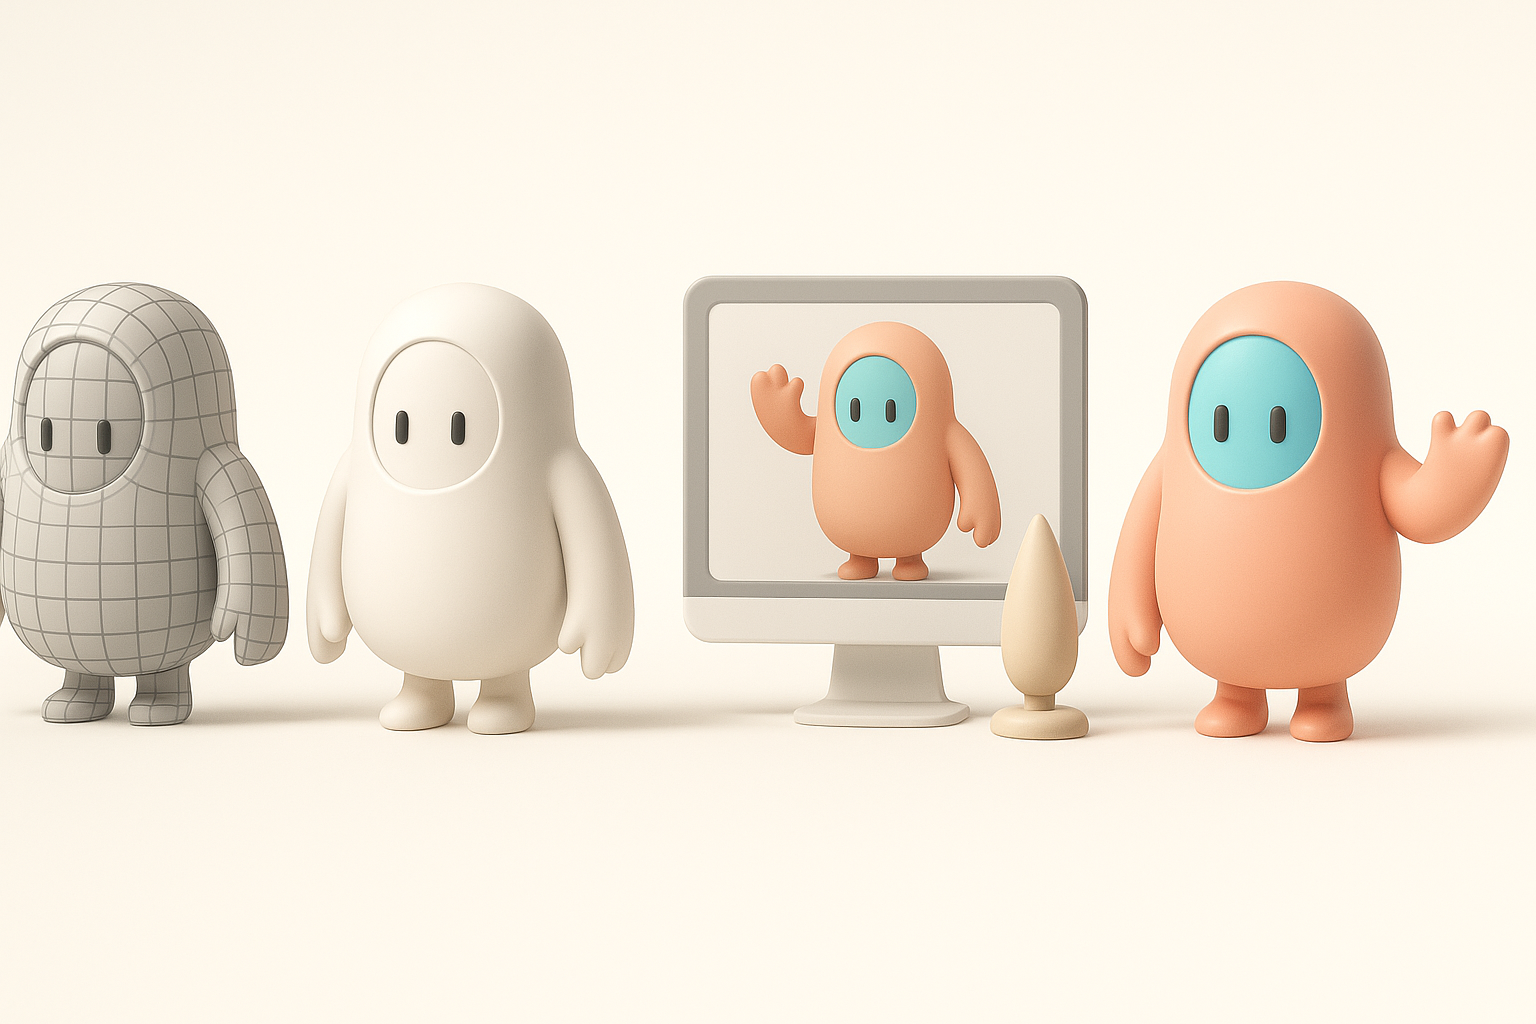
Fall Guys characters are defined by their bean-shaped bodies, stubby limbs, and simple, expressive faces. I always start by analyzing their proportions: the torso is short and wide, arms and legs are cylindrical, and the head merges seamlessly with the body. Keeping these ratios consistent is critical for an authentic look.
Checklist for proportions:
- Torso: squat and rounded, ~1.5x wider than tall
- Limbs: short, thick cylinders
- Face: minimal, with large eyes and small mouth
Reference gathering and analysis
I collect official game art, screenshots, and fan renderings to build a reference board. This helps me nail the character’s silhouette and details. I recommend organizing references by pose, costume, and expression for easy access during modeling.
Reference tips:
- Use orthographic views for accuracy
- Identify key costume elements if designing variants
- Note lighting and color style for later texturing
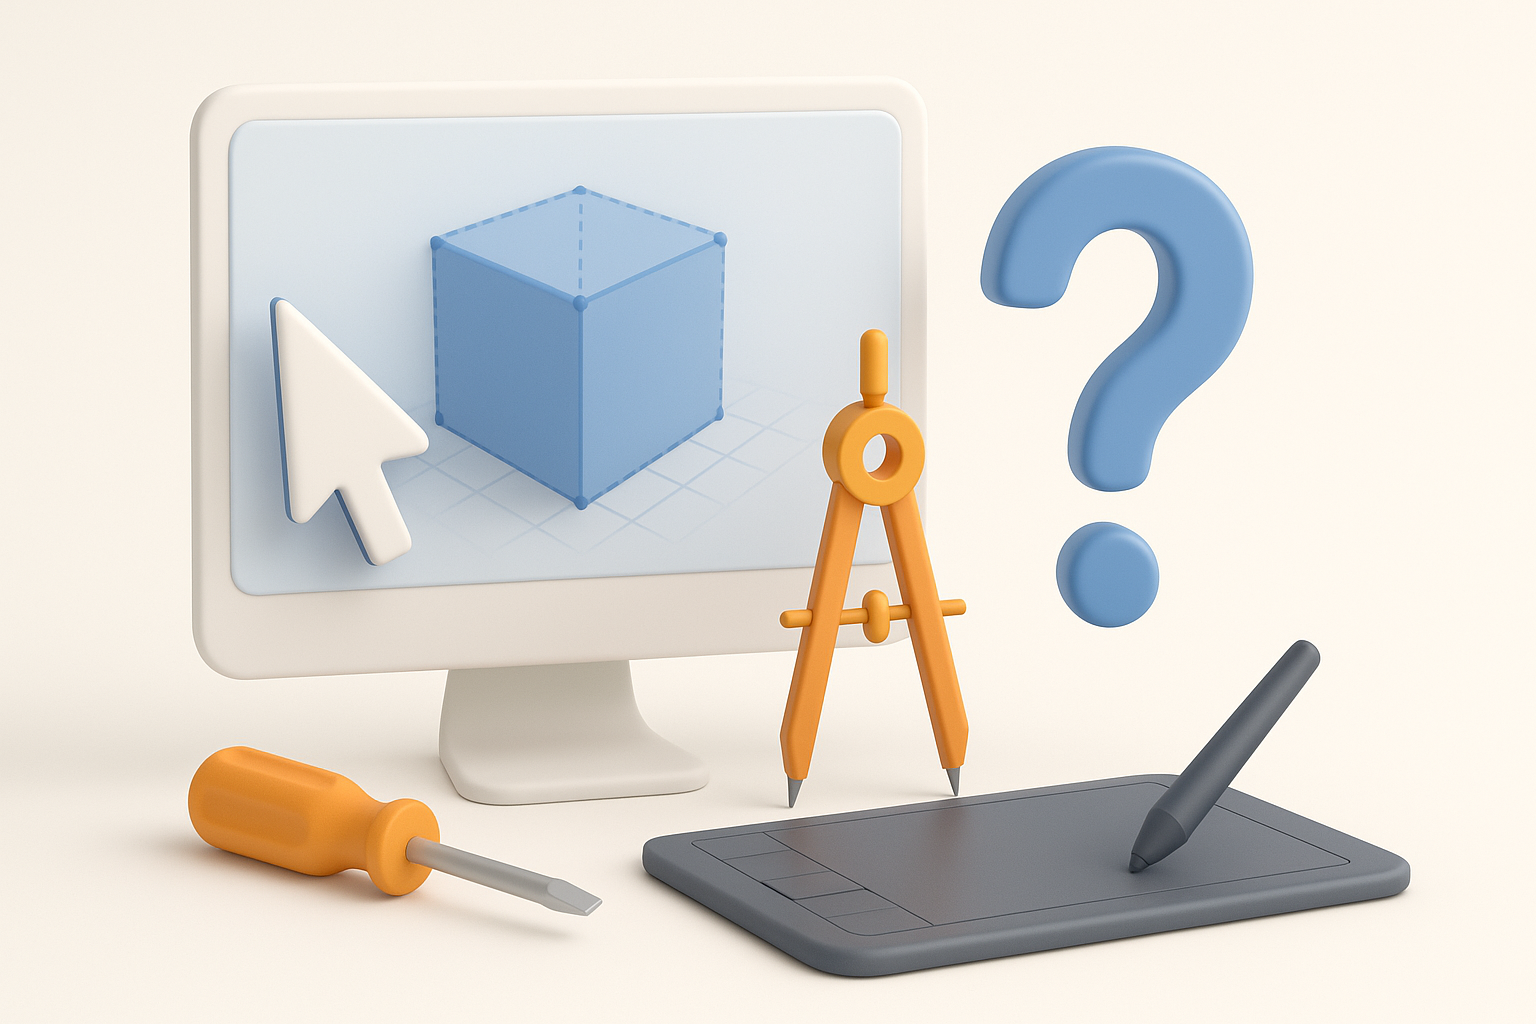
Choosing the Right Tools for 3D Modeling
Why I use AI-powered platforms
AI-driven platforms like Tripo accelerate base mesh creation, segmentation, and texturing. In my workflow, I input sketches or descriptions and let the AI generate a solid starting point—saving hours on manual blocking and UV mapping. This is especially useful for stylized characters with repetitive forms.
Comparing traditional and AI-assisted workflows
Traditional modeling involves sculpting, manual retopology, and hand-painted textures. While this offers full control, it’s time-consuming. AI-assisted workflows automate tedious steps, allowing me to focus on creative decisions and refinements.
Workflow comparison:
- Traditional: Full control, slower, more iterative
- AI-assisted: Fast base mesh, automated segmentation, quick texturing, manual polish as needed
Step-by-Step: Building a Fall Guys 3D Model
Blocking out the base mesh
I start by blocking out the bean shape using simple primitives (sphere, cylinder). With Tripo, I can generate a base mesh from a sketch or description, then adjust proportions directly in the editor.
Blocking steps:
- Create base body (bean shape)
- Add cylindrical arms and legs
- Merge shapes for seamless silhouette
Refining shapes and adding details
Once the base mesh is set, I refine edges, define limb joints, and add facial features. For costumes, I layer geometry or use Tripo’s intelligent segmentation to separate parts for easy texturing.
Detailing tips:
- Keep geometry simple for stylized look
- Use edge loops for facial features
- Segment costume elements for efficient texturing
Texturing and Materials: Bringing the Model to Life
Best practices for stylized textures
Stylized assets benefit from bold colors, clear shapes, and minimal gradients. I use flat color palettes and hand-paint simple highlights/shadows. AI tools often generate base textures, which I tweak for authenticity.
Texture checklist:
- Flat, vibrant colors
- Minimal noise/detail
- Consistent lighting direction
Automated vs manual texturing approaches
Automated texturing (via Tripo) speeds up the process, especially for repetitive elements. However, I always review and manually adjust textures for key areas like the face and costume, ensuring personality and polish.
Pitfalls to avoid:
- Over-reliance on auto-texture: always check seams and details
- Inconsistent color palettes: match game style
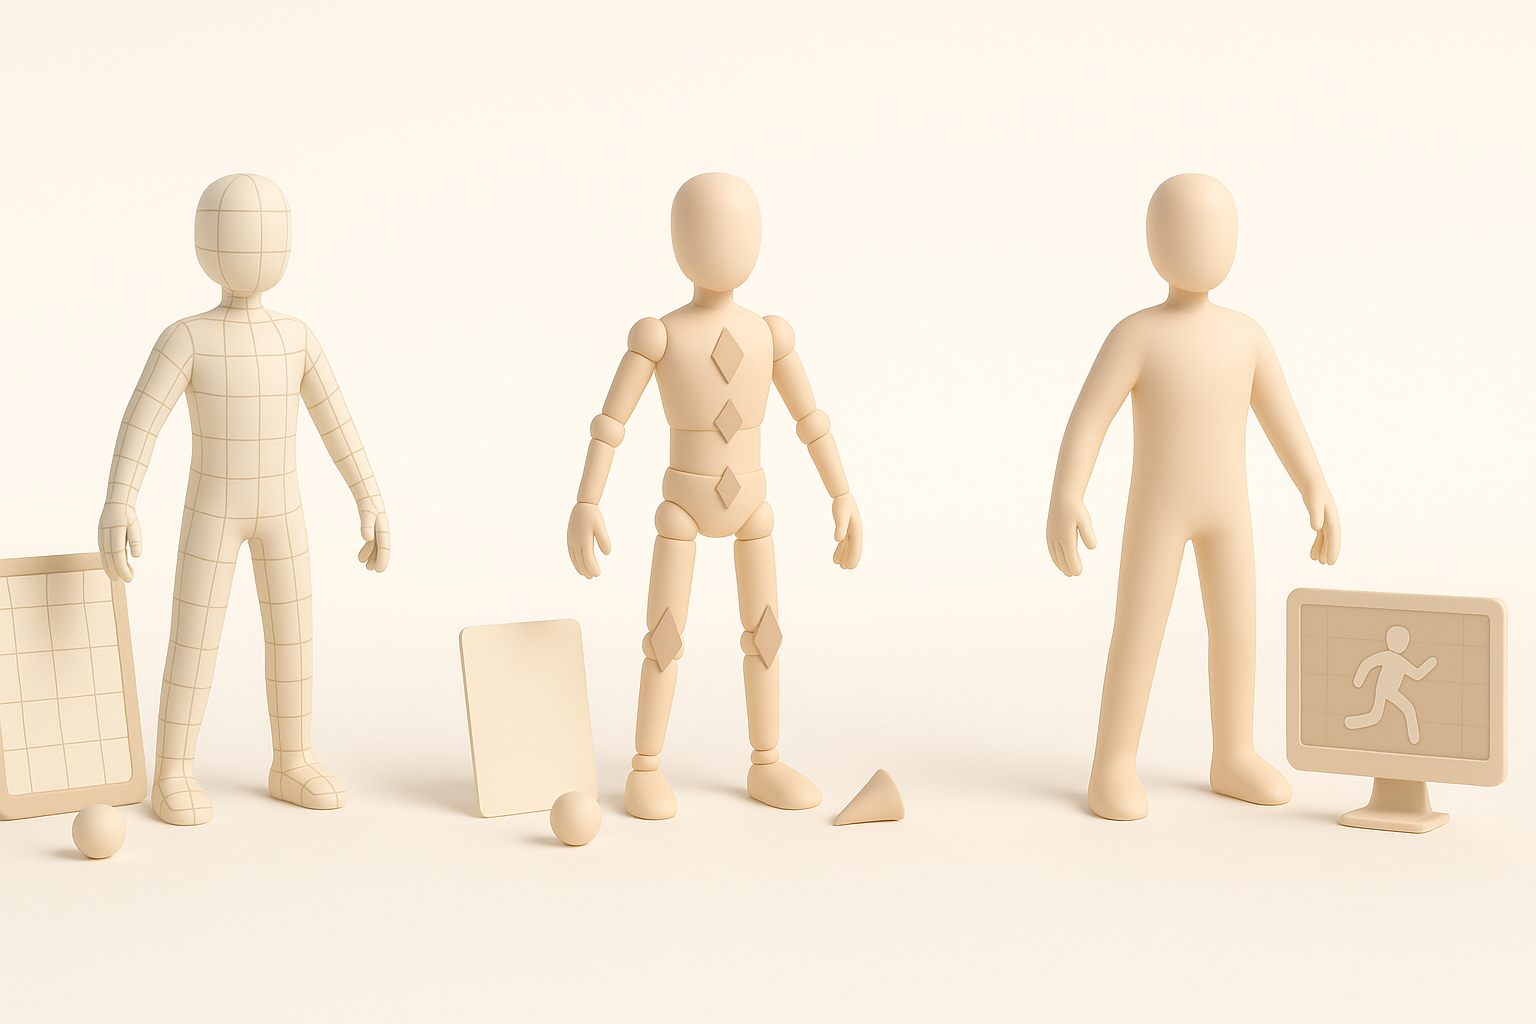
Retopology, Rigging, and Animation Prep

Optimizing topology for games
Good topology ensures smooth deformation and performance. I use Tripo’s automated retopology, then manually check edge loops around joints and face. For game assets, I keep polycount low and avoid unnecessary detail.
Retopology tips:
- Clean edge loops at elbows, knees, and mouth
- Minimize triangles and n-gons
- Test deformation with basic poses
Setting up basic rigging and poses
Rigging is simplified by the character’s basic form. I use auto-rigging tools for skeleton setup, then adjust weights for natural movement. Setting up a few key poses (idle, jump, run) helps test skinning and animation readiness.
Rigging checklist:
- Place bones at limb centers
- Test with simple animations
- Adjust weights for smooth bending
Exporting and Integrating Your Model

Export settings for popular engines
Exporting for game engines (Unity, Unreal) requires correct formats and scale. I use FBX or GLTF, check axis orientation, and ensure textures are properly linked.
Export steps:
- Apply transforms and freeze scale
- Export as FBX/GLTF
- Include texture maps in export folder
Testing and troubleshooting integration
After export, I import into the engine and check for issues: normals, materials, and rig compatibility. Common problems include flipped normals or missing textures—so I always test and iterate.
Troubleshooting tips:
- Check for missing textures/materials
- Verify rig and animation playback
- Adjust scale if character appears too large/small
Lessons Learned and Expert Tips
Common pitfalls and how I avoid them
I’ve seen common mistakes: overcomplicating geometry, neglecting reference accuracy, and skipping integration tests. I avoid these by sticking to checklists, reviewing references, and testing early.
Pitfalls to watch for:
- Overly dense meshes
- Inaccurate proportions
- Ignoring export settings
Speeding up workflow with AI tools
AI tools like Tripo have transformed my workflow, letting me focus on creative tasks. I use them for base mesh, segmentation, and texturing, then spend my time refining and polishing. This balance delivers both speed and quality.
Speed tips:
- Use AI for repetitive tasks
- Reserve manual work for key details
- Iterate quickly with feedback loops
By following this workflow, I consistently create stylized, production-ready Fall Guys models efficiently. Whether you’re a solo artist or part of a team, leveraging modern tools and proven techniques will help you deliver high-quality assets for games and beyond.
