Creating and Using F1 24 3D Models: Expert Workflow & Tips
скачать 3d модели для chicken gun
As someone who’s worked extensively with 3D models for games and XR, I know how challenging it can be to create accurate, production-ready F1 24 car models quickly. With the right AI-powered tools and a streamlined workflow, I consistently generate, optimize, and animate detailed F1 24 3D assets for real-time and cinematic use. This article is for artists, developers, and teams who want to deliver high-quality F1 24 models efficiently—whether for games, simulation, or XR experiences. Below, I’ll share my proven workflow, best practices, and lessons learned along the way.
Key takeaways
- AI-driven 3D tools now enable rapid, high-fidelity F1 24 model generation from text, images, or sketches.
- Segmentation, retopology, and texturing are critical for realism and performance.
- Production-ready models require attention to file formats, polygon count, and UV layouts.
- Rigging and animation should be planned early for seamless integration.
- Avoid common pitfalls like over-reliance on automation or skipping manual checks.
- Tripo AI has become a core part of my workflow for fast, iterative model creation.
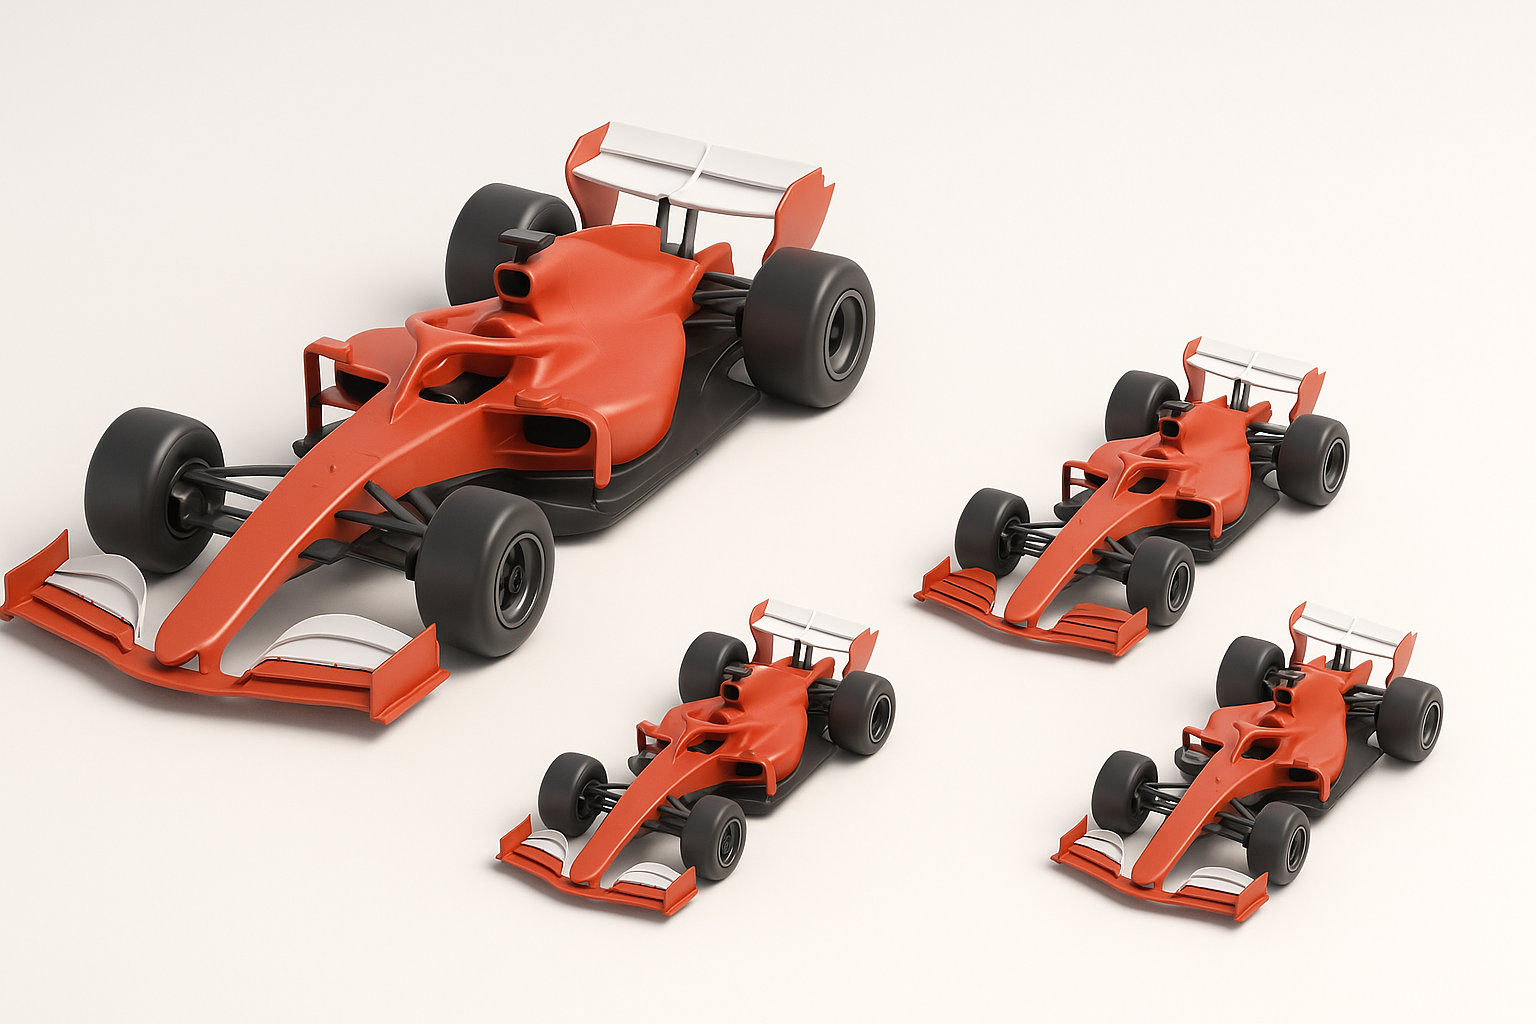
Overview of F1 24 3D Models
What Makes F1 24 Models Unique
F1 24 cars have distinctive shapes, detailed aerodynamic components, and complex surface finishes. What sets these models apart is the need for both visual accuracy (sponsorship decals, unique bodywork) and functional geometry (for simulation or animation). In my experience, small inaccuracies—like incorrect wing profiles or missing textures—stand out immediately to fans and players.
Common Use Cases in Games and XR
I’ve delivered F1 24 models for various purposes:
- Real-time racing games: Prioritize optimized topology and LODs.
- Simulation/XR: Require precise dimensions and interactive elements.
- Cinematic rendering: Focus on high-res textures and physically accurate materials.
Knowing the end use informs every modeling decision, from polygon count to texture resolution.
My Workflow for Generating F1 24 3D Models
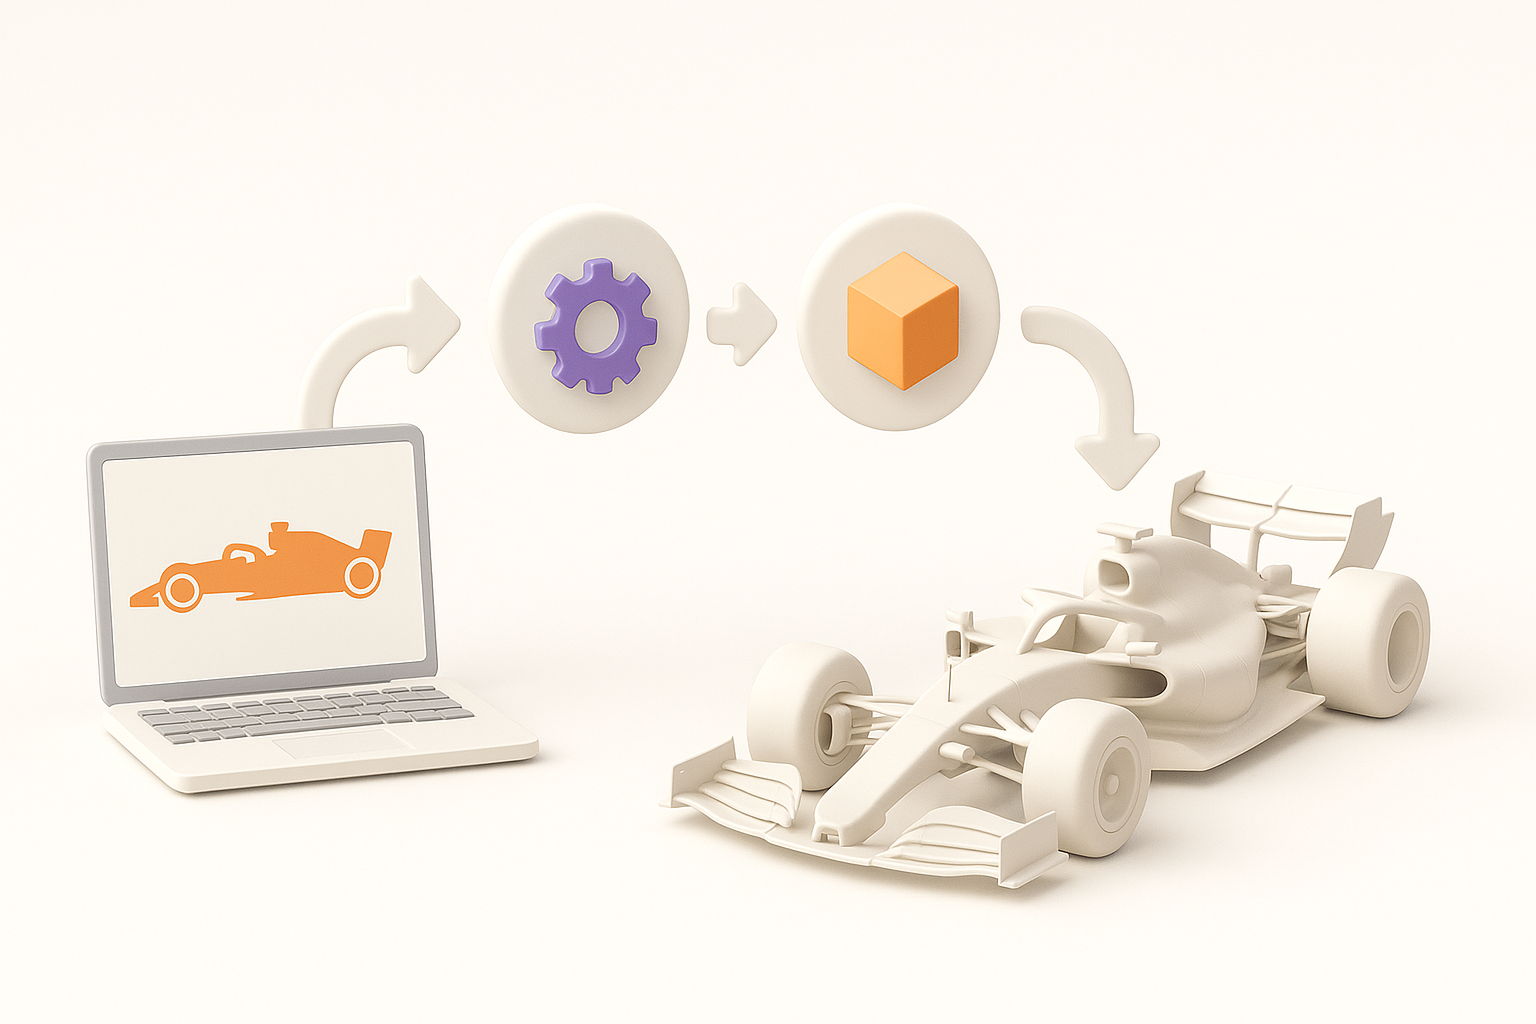
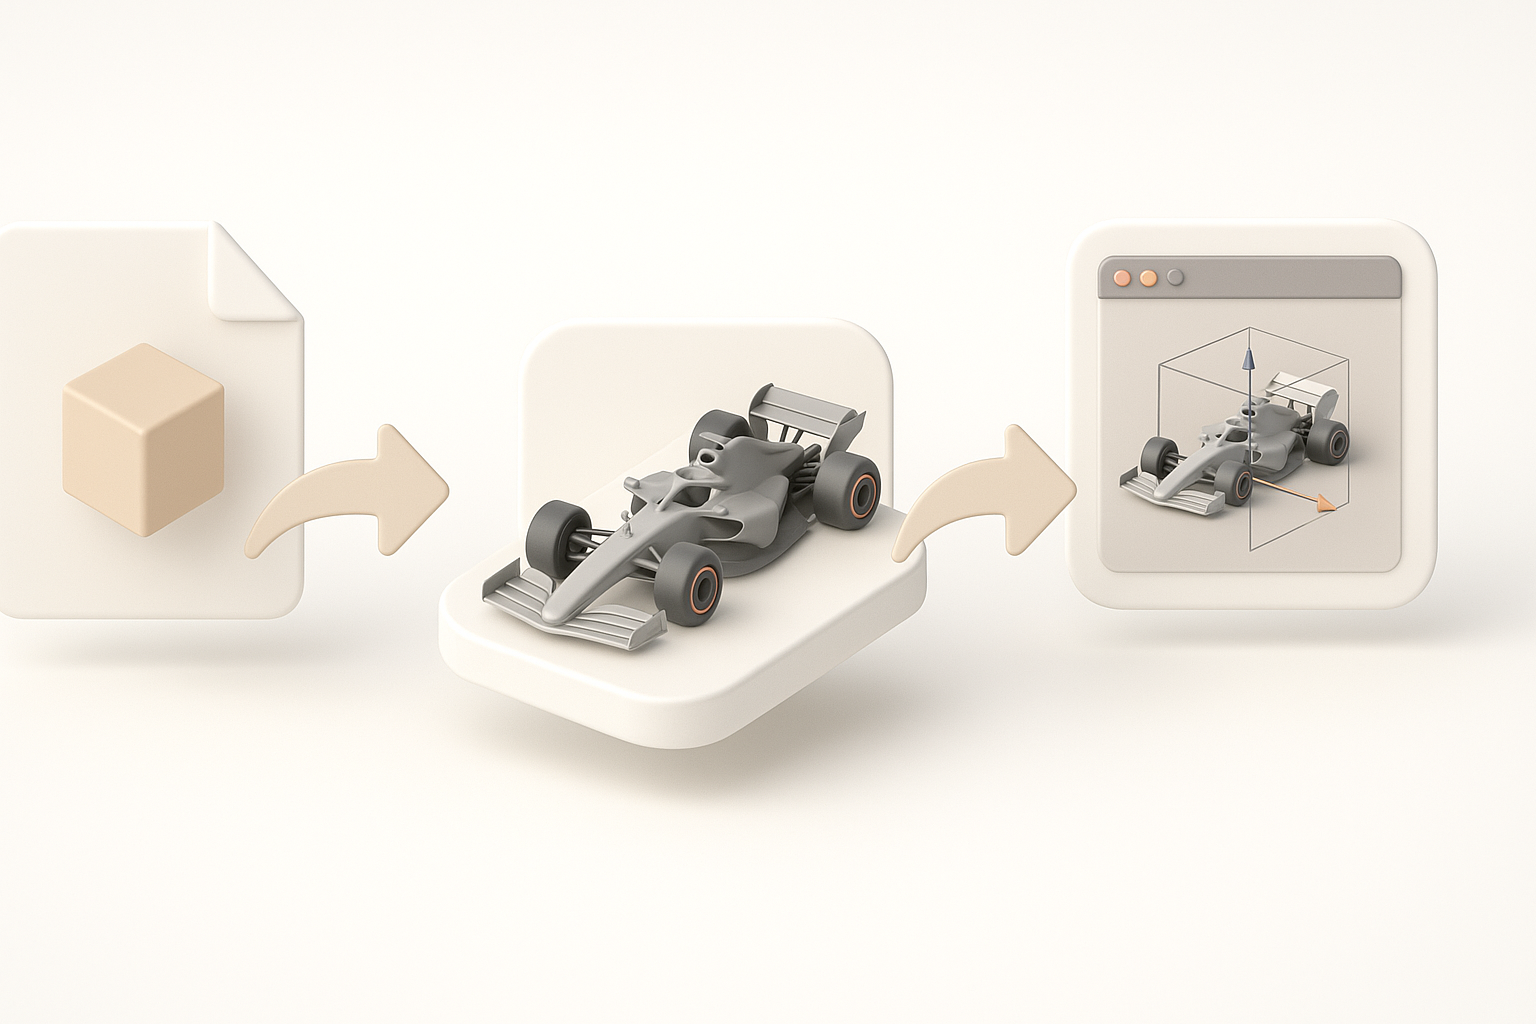
Text-to-3D and Image-to-3D Approaches
My current workflow leverages AI platforms like Tripo AI:
- Text prompt: I describe the F1 24 car, specifying details like livery, year, and pose.
- Image/sketch input: When possible, I feed in reference photos or hand-drawn sketches for more control.
- Model generation: The tool outputs a base mesh, which I review for overall shape and proportion.
By iterating prompts or adjusting input images, I quickly converge on a solid base model—far faster than manual box modeling.
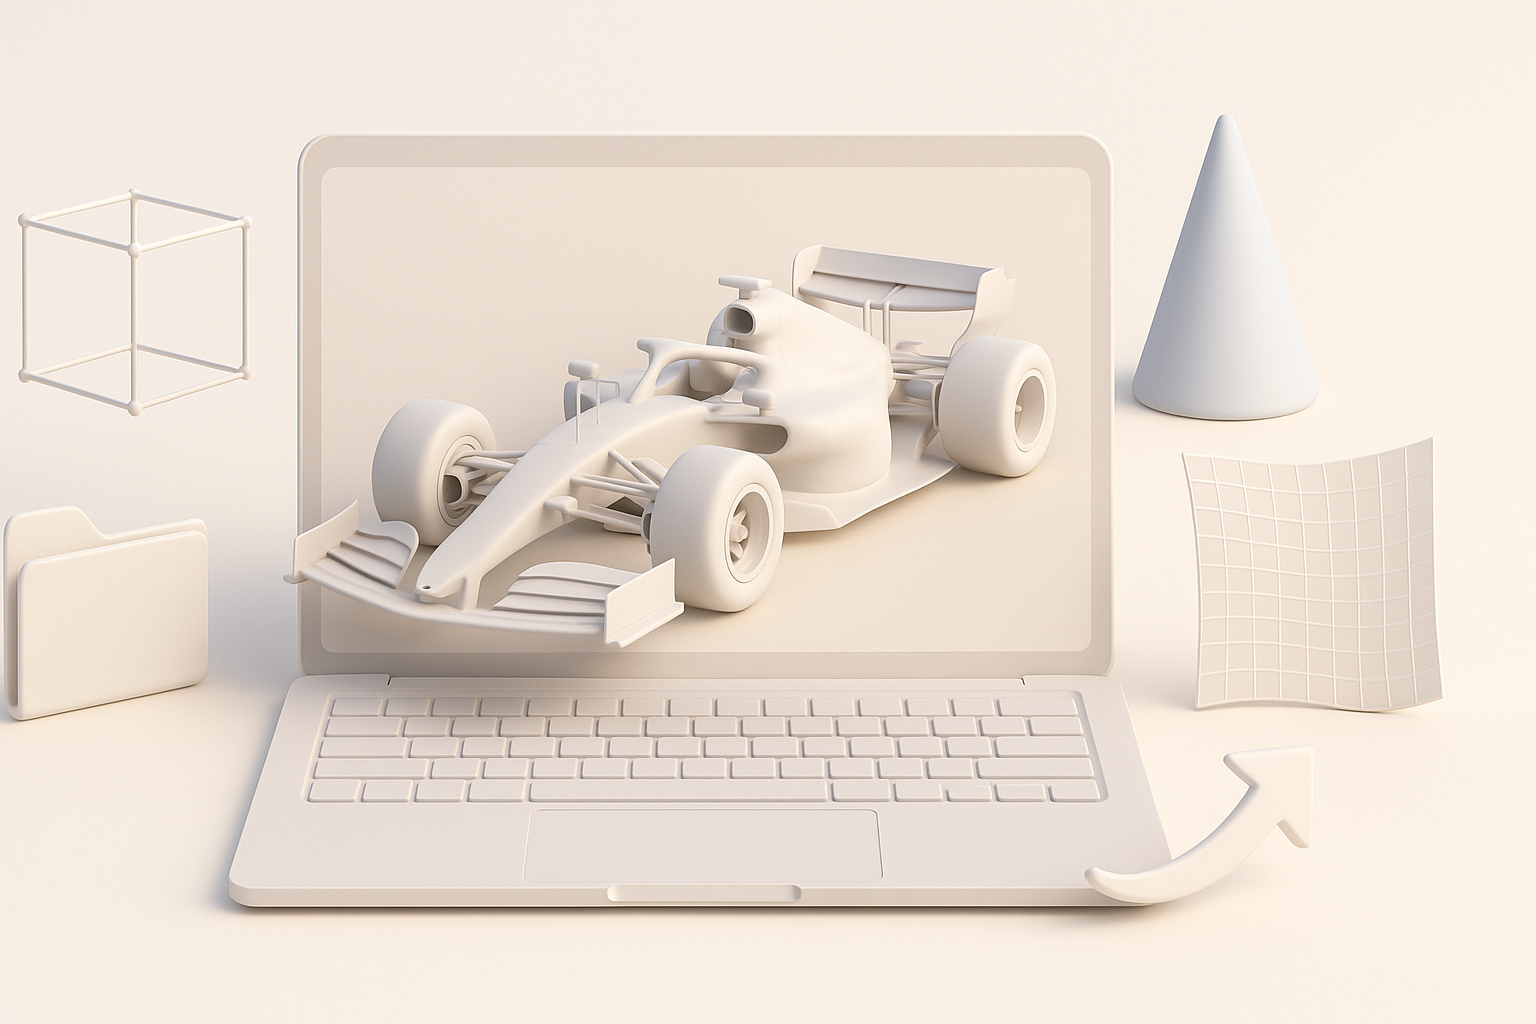
Optimizing for Production-Ready Results
After generation, I focus on:
- Topology: Cleaning up mesh flow, reducing unnecessary polygons.
- UV mapping: Ensuring efficient, distortion-free layouts for texturing.
- Scale and orientation: Matching the asset to project standards.
Tripo AI’s built-in retopology and segmentation features save me hours compared to manual cleanup.
Best Practices for F1 24 3D Model Creation
Segmentation, Retopology, and Texturing Tips
- Segmentation: I always separate body, wheels, wings, and interior for easier texturing and animation.
- Retopology: I use automated tools but check edge flow around key features (e.g., air intakes, wheel arches).
- Texturing: Baking normal and ambient occlusion maps adds realism. I use PBR textures for paint, carbon fiber, and decals.
Mini-checklist:
- Are all parts logically segmented?
- Is the poly count balanced for your target platform?
- Are UV seams hidden in less-visible areas?
Ensuring Accuracy and Realism
I double-check:
- Proportions against blueprints or side-by-side references.
- Material assignments—chrome, rubber, carbon fiber must look right under different lighting.
- Sponsor decals—crisp, high-res, and placed accurately.
Small details—like tire tread or cockpit elements—make a big difference in perceived quality.
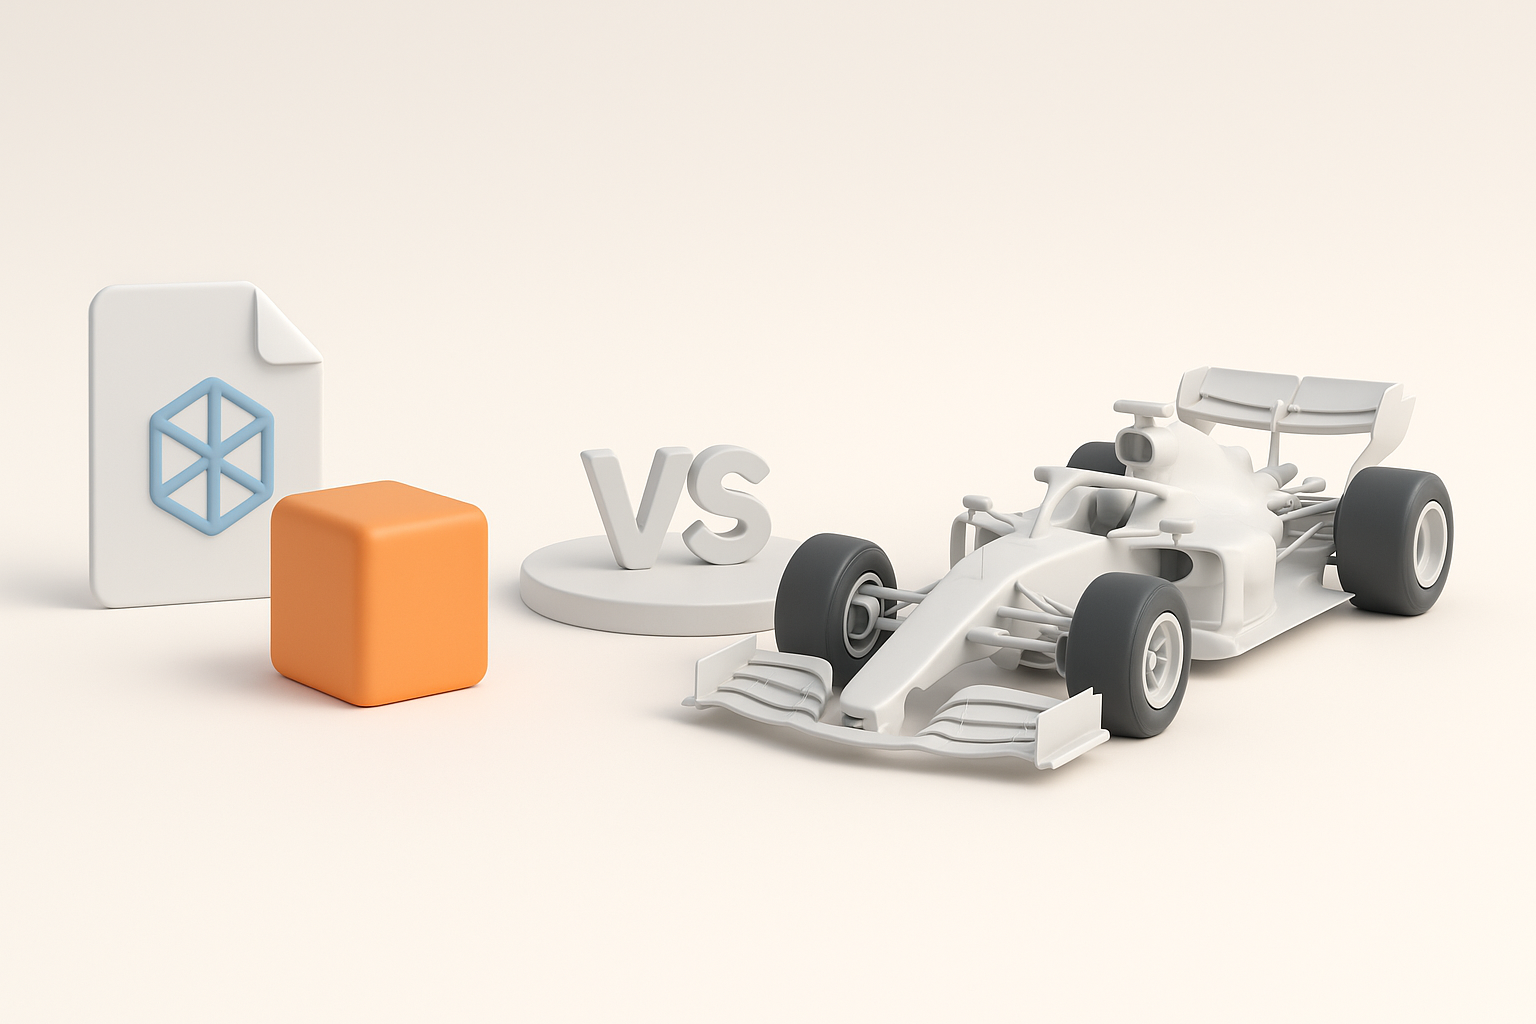
Comparing Tools and Methods for F1 24 3D Models
AI-Powered Platforms vs. Traditional Modeling
AI tools like Tripo AI have transformed my workflow. I can generate a base model in seconds, then refine as needed. Traditional box or poly modeling is still valuable for ultra-specific details or when AI outputs need heavy correction.
When I prefer AI:
- Tight deadlines
- Early prototyping
- Iterating multiple variants
When I use manual methods:
- Custom modifications
- Highly stylized or non-standard cars
When to Use Alternative Methods
I sometimes fall back on photogrammetry or sculpting if:
- The model requires unique damage or wear.
- The AI-generated mesh has artifacts too complex to fix quickly.
Hybrid workflows—AI for base, manual for polish—often yield the best results.
Exporting, Integrating, and Animating F1 24 3D Models

Export Settings and File Formats
For most projects, I export as:
- FBX: Best for animation and game engines.
- OBJ: For static assets or further editing.
- GLTF: For web or XR deployment.
I always check:
- Correct scale (meters, centimeters)
- Axis orientation (Z-up vs. Y-up)
- Embedded textures and materials
Rigging and Animation Essentials
Rigging F1 24 cars is straightforward if the model is well-segmented:
- Wheels: Separate meshes for rotation.
- Suspension: Simple bone chains for basic movement.
- Cockpit elements: Optional for advanced interaction.
I use basic animation rigs for wheel spin and steering, and keep hierarchy clean for easy integration in engines like Unity or Unreal.
Lessons Learned and Expert Recommendations
Common Pitfalls and How I Avoid Them
- Assuming AI output is final: I always inspect and refine meshes before use.
- Ignoring UVs: Bad UVs lead to texture stretching—always unwrap and check.
- Overlooking scale/orientation: Misaligned models cause headaches during integration.
My Top Tips for Efficient 3D Model Creation
- Use AI tools for rapid iteration, but don’t skip manual QA.
- Save incremental versions—sometimes earlier generations have better geometry.
- Build a reference library of F1 car blueprints and textures.
- Leverage platform-native features (like Tripo AI’s retopology) to save time.
With the right workflow and attention to detail, you can create F1 24 3D models that are both visually stunning and technically robust—ready for any game, XR, or cinematic project.


