Creating and Optimizing a Realistic Eyeball 3D Model
Creating a realistic eyeball 3D model is a valuable skill for artists working in games, film, XR, and visualization. In my experience, nailing the anatomy, texturing, and shading is crucial for believable characters. AI-powered tools can dramatically speed up the process, but understanding traditional workflows helps you get the most from automation. This guide walks you through both manual and AI-assisted approaches, with practical tips for production-ready results.
Key takeaways
- Realistic eyeball models require attention to anatomical detail and lifelike texturing.
- Blocking out shapes and refining geometry are foundational steps.
- High-quality iris and sclera textures, plus careful shading, create realism.
- AI platforms like Tripo can accelerate prototyping and integrate with custom workflows.
- Retopology and UV mapping are essential for efficient, production-ready assets.
- Choose manual or AI-assisted approaches based on project needs and deadlines.
Overview of Eyeball 3D Modeling
Common uses for 3D eyeball models
Eyeball models are essential for character rigs in games, animation, medical visualization, and AR/VR applications. I’ve used them for everything from hero characters to background NPCs and anatomical studies. Their quality can make or break a close-up shot or immersive experience.
Typical uses:
- Character animation and rigging
- Medical and educational visualization
- XR avatars and digital humans
- Product and advertising renders
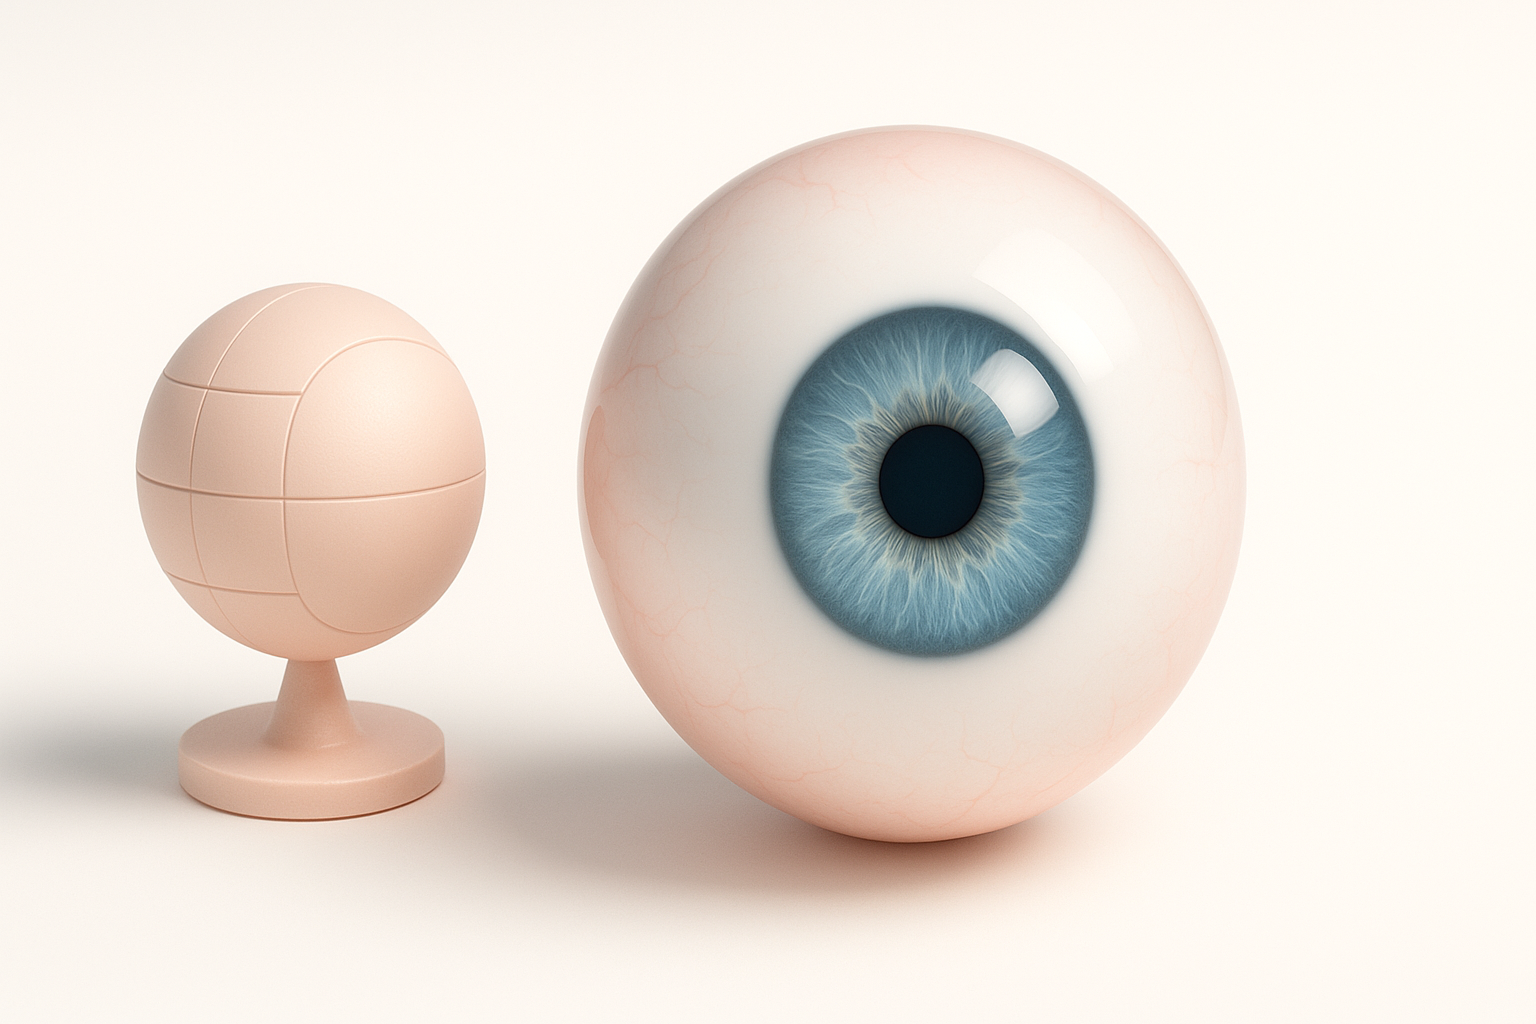
Key features of realistic eyeball geometry
A convincing eyeball model goes beyond a simple sphere. I always include:
- A slightly convex cornea for refraction
- A separate iris and pupil geometry for depth
- Subtle asymmetry and sclera bulge
Checklist for geometry:
- Cornea: Convex, transparent, with thickness
- Iris: Slightly recessed, detailed edge
- Sclera: Not perfectly round, subtle veins
- Pupil: Hole or dark surface, sometimes geometry for dilation
Step-by-Step Eyeball 3D Model Creation Workflow
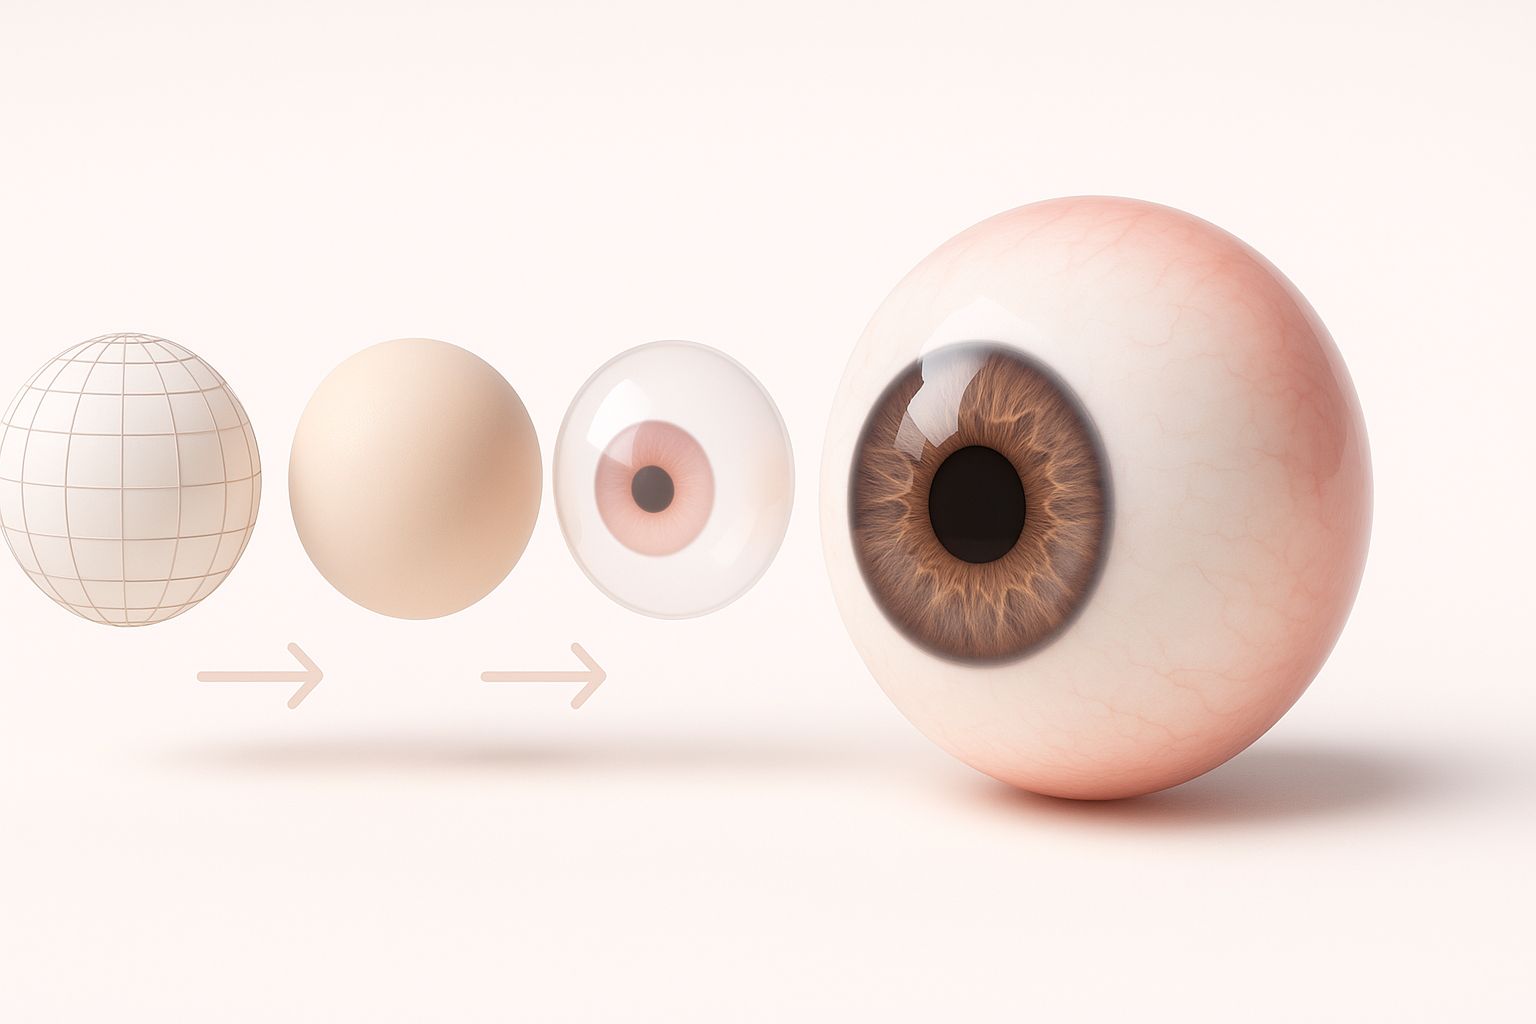
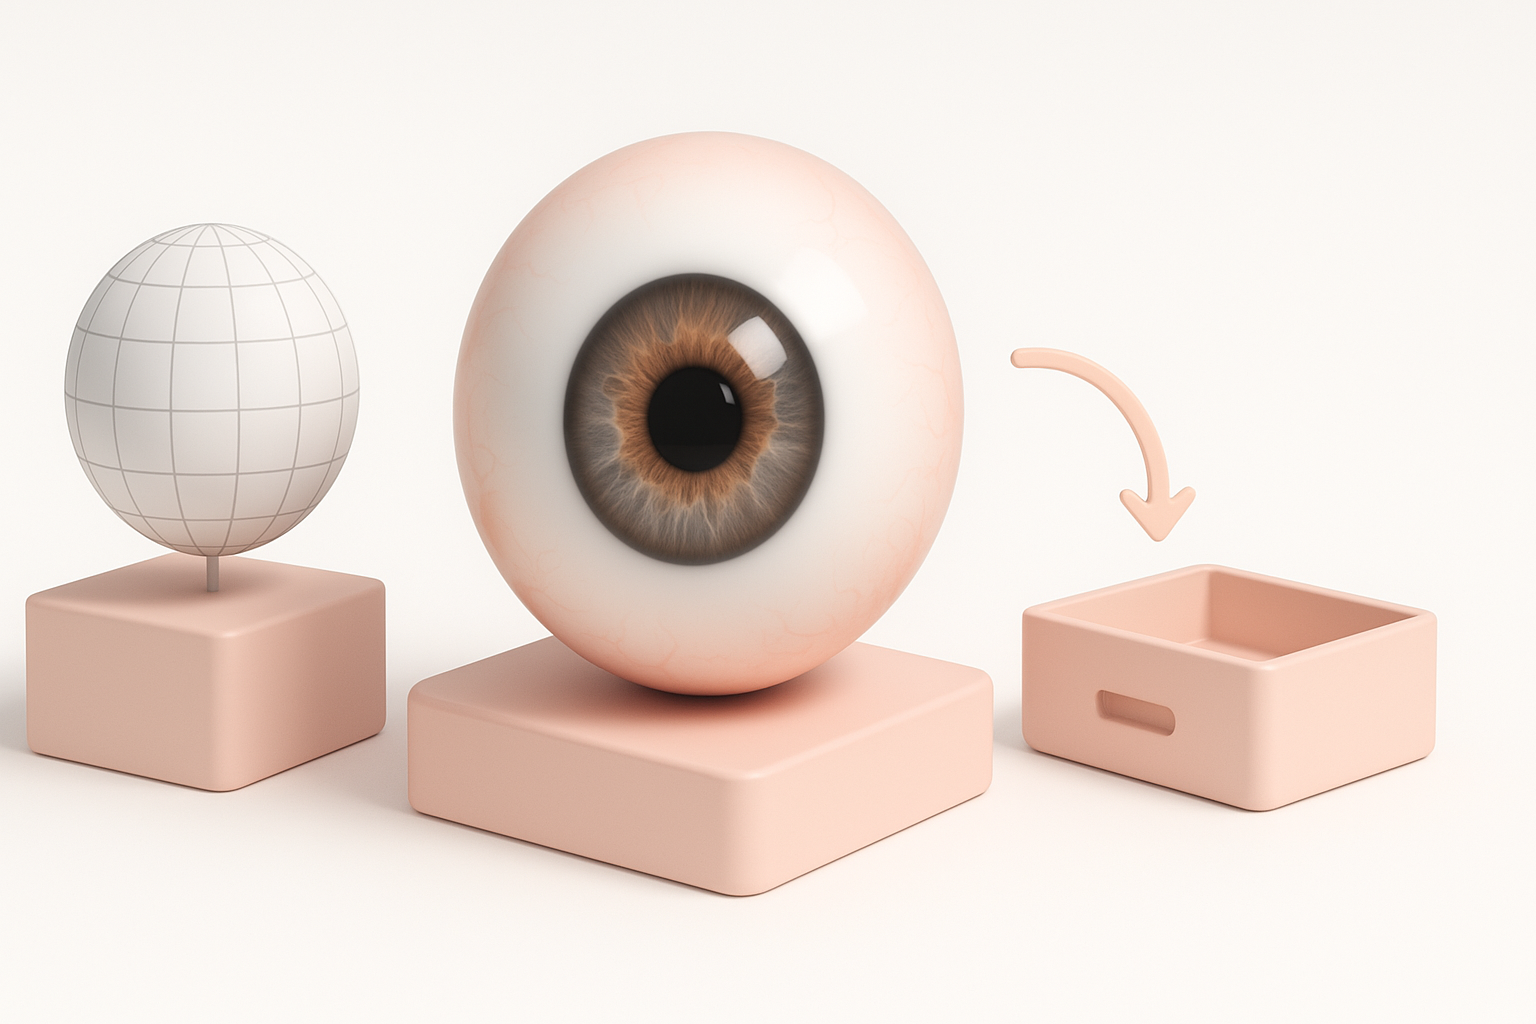
Blocking out the basic shape
I start with a UV sphere or quad sphere, keeping topology clean for later detail. The eye is roughly 24mm in diameter, so I keep real-world scale in mind.
Blocking steps:
- Create a sphere for the main eyeball.
- Add a second, convex sphere (cornea) overlapping the front.
- Mark the iris and pupil area with edge loops.
Tips:
- Use reference images for proportions.
- Avoid too many polygons early—subdivide later as needed.
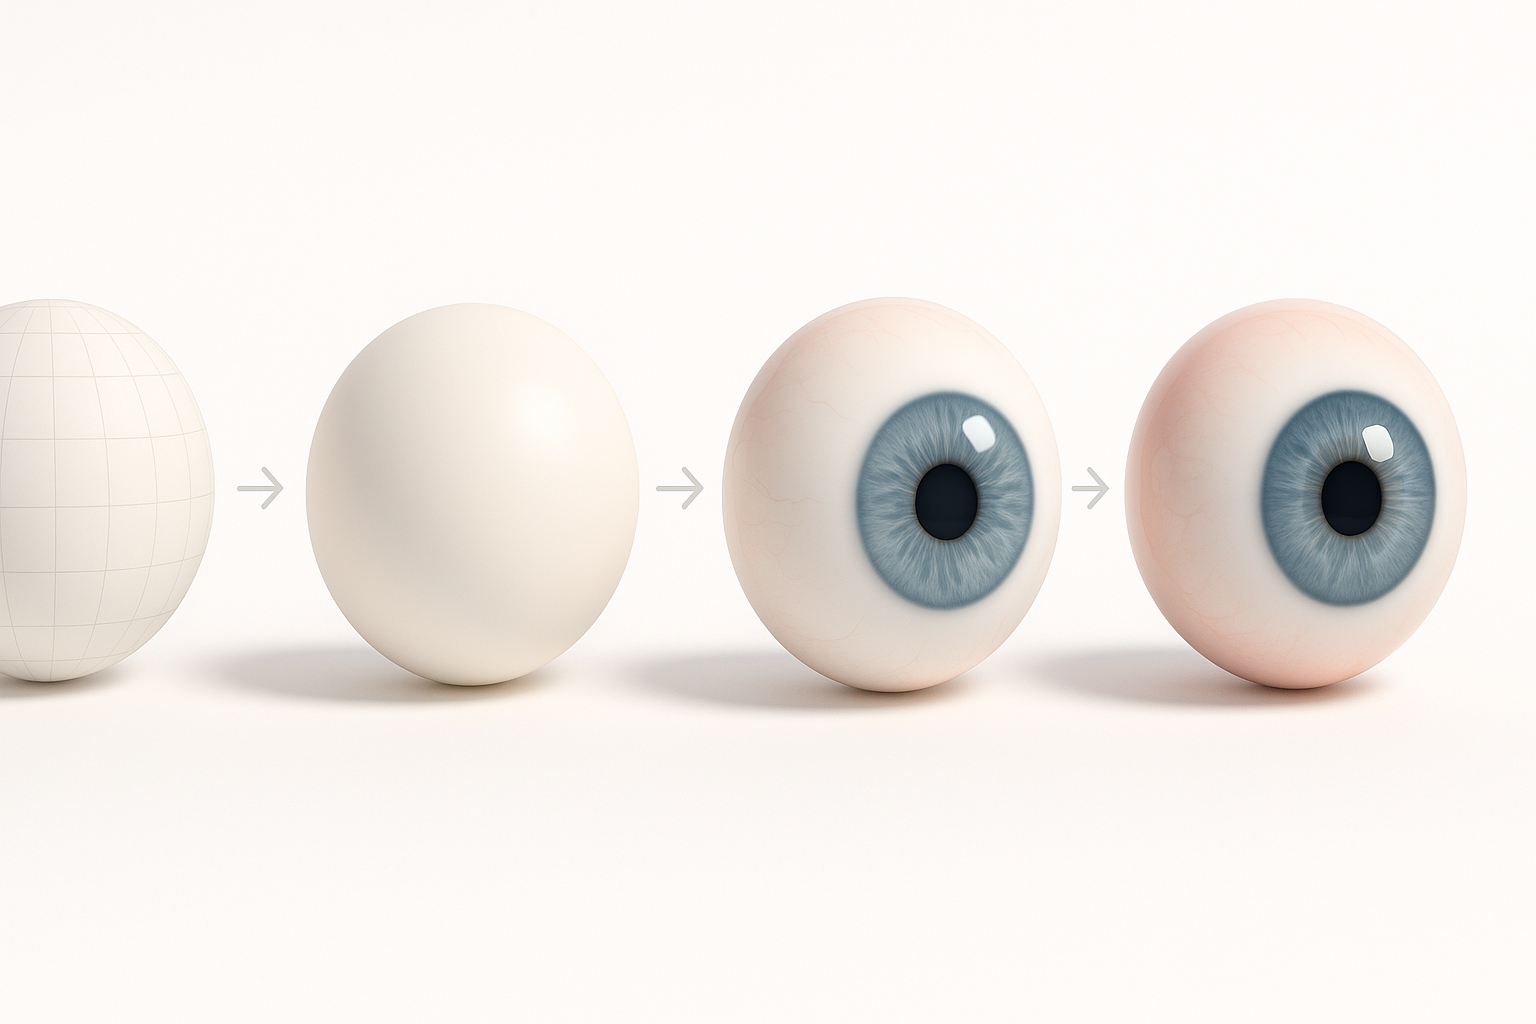
Adding anatomical details and refinement
Once the base is in place, I refine the sclera and iris. I often use sculpting tools to add a subtle bulge and asymmetry, which breaks the “perfect sphere” look.
Refinement steps:
- Sculpt the corneal bulge and flatten the back slightly.
- Add geometry for the iris ring and pupil.
- Model a slight meniscus at the eyelid edge for realism.
Pitfalls:
- Over-smoothing the eye can make it look artificial.
- Forgetting real-world scale can cause problems in rigging.
Texturing and Shading Techniques
Best practices for iris and sclera textures
Texturing is where realism comes alive. I either hand-paint textures or use high-res scans. For the iris, radial detail and subtle color variation are key.
Iris texture tips:
- Use high-res, radial patterns.
- Add subtle color variation and noise.
- Paint or overlay fine lines radiating from the pupil.
Sclera texture tips:
- Use off-white, not pure white.
- Subtle veins and yellow/red tint at the corners.
- AO (ambient occlusion) maps for depth.
Tips for achieving lifelike reflections
Proper shading and reflection make the eye look wet and alive. I use a transparent, glossy cornea with a sharp highlight and subtle refraction.
Reflection checklist:
- Cornea: Glass or clear coat shader with IOR ~1.38
- Subtle bump/normal map for tear film
- Place catchlights (HDRI or area lights) to add life
Pitfalls:
- Overly strong reflections can look cartoonish.
- Flat, uniform highlights look fake—vary them slightly.
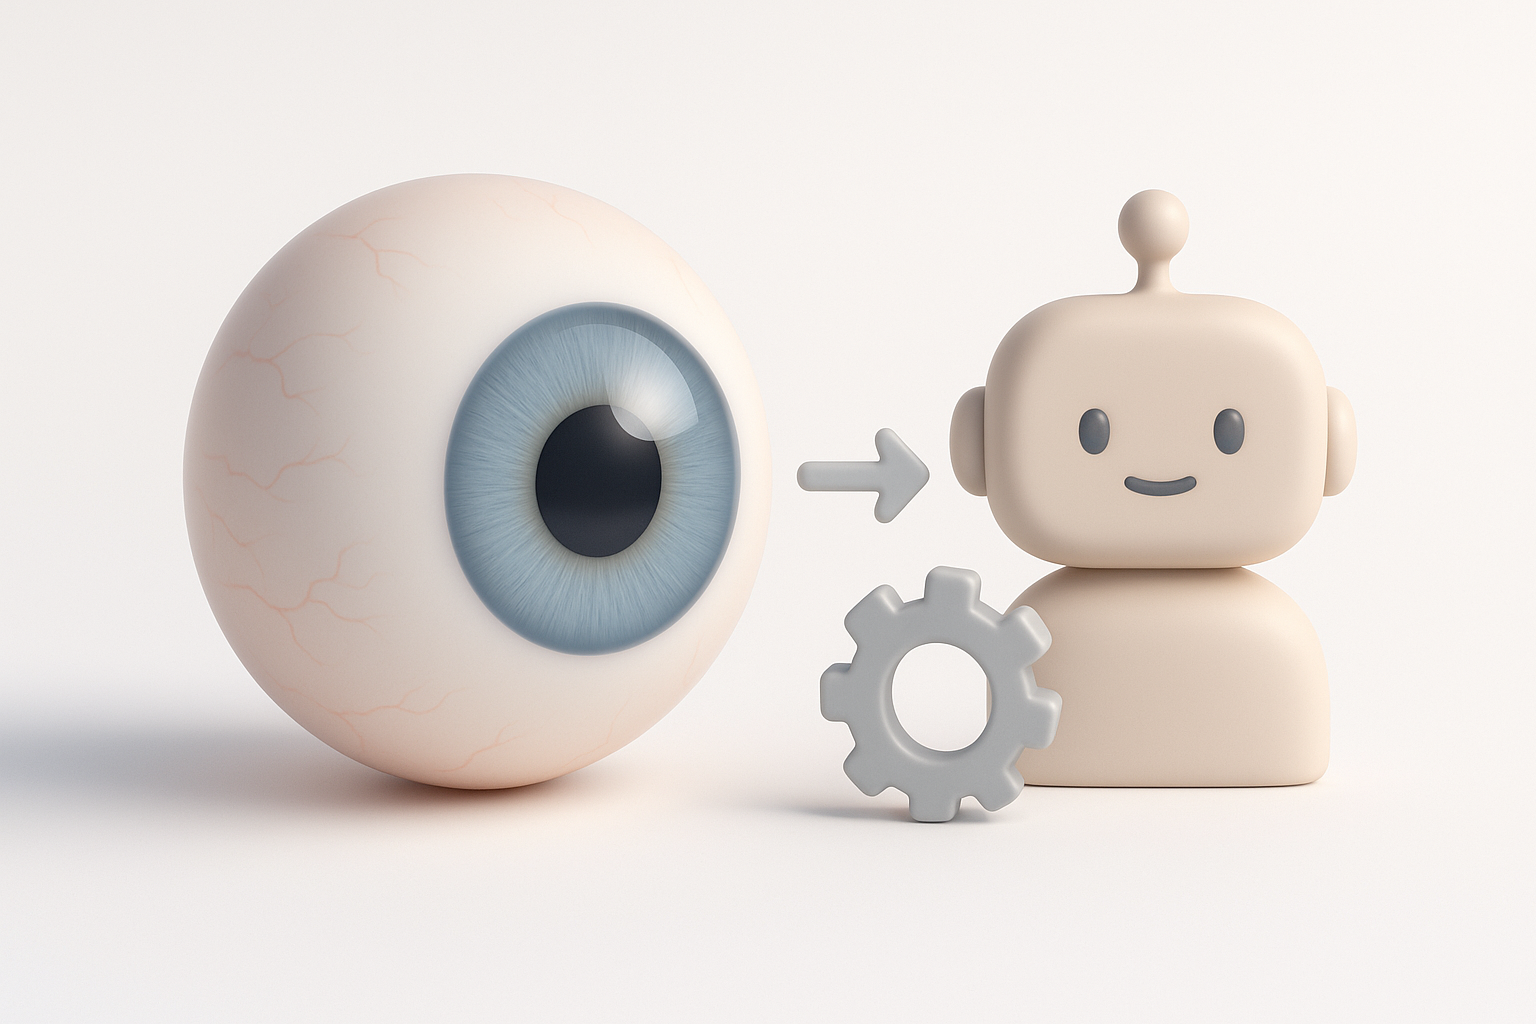
Automating Eyeball Modeling with AI Tools
Using AI-powered platforms for rapid prototyping
AI tools like Tripo can generate base eyeball models and textures in seconds from text prompts or sketches. I often use these for quick iterations or as a starting point, then refine manually.
Workflow:
- Input a text description or reference image into the AI tool.
- Review the generated model and textures.
- Export for further refinement in your DCC (e.g., Blender, Maya).
Practical tip:
Use AI-generated assets for rapid prototyping or to break creative blocks, then customize for your unique style.
Integrating AI-generated models into custom pipelines
Integrating AI models is straightforward if you plan ahead. I always check topology, UVs, and texture formats before bringing assets into my main scene.
Integration steps:
- Inspect geometry for clean topology.
- Verify UV mapping and texture resolution.
- Retopologize or re-UV as needed for your pipeline.
Pitfall:
AI outputs may need manual cleanup for high-end production—always review for artifacts or non-manifold geometry.
Optimization and Export for Production
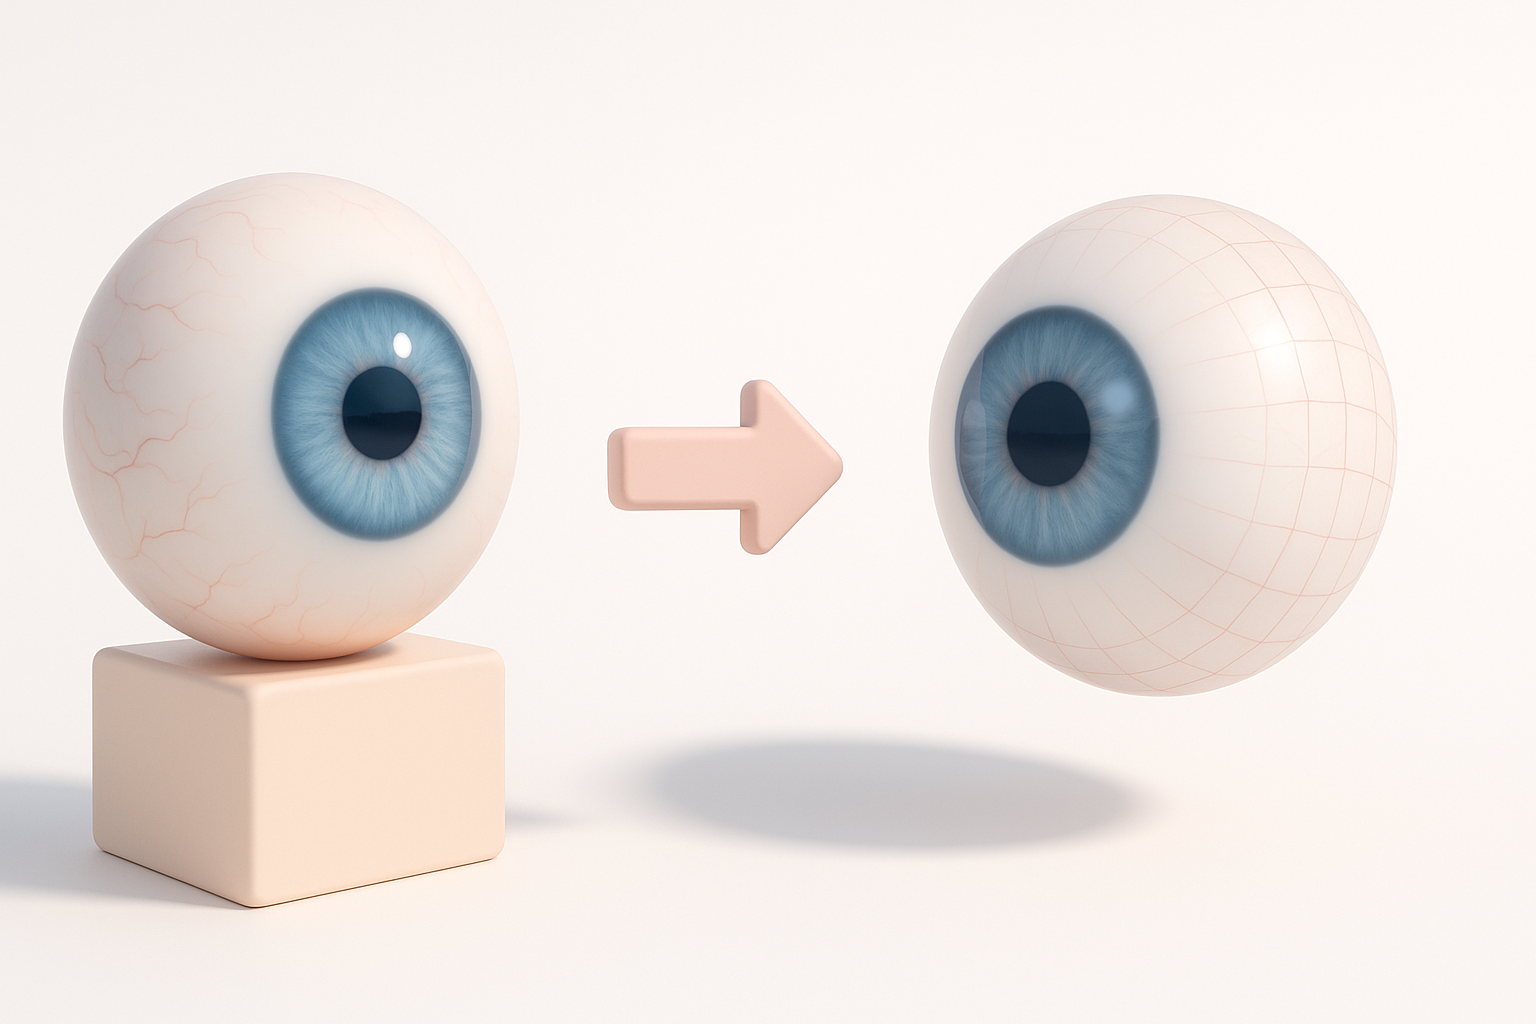
Retopology and UV mapping essentials
For animation or real-time use, clean topology and efficient UVs are non-negotiable. I retopologize dense meshes and lay out UVs to maximize texture detail on the iris.
Optimization steps:
- Retopologize for quad-based, animation-friendly geometry.
- Create UV seams around the iris and back of the eye.
- Pack UVs to prioritize iris and cornea detail.
Tips:
- Use automated retopology tools for speed, but check results.
- Avoid stretching in the iris and cornea UVs.
Export settings for games, film, and XR
Export settings depend on the target platform. I optimize texture size and mesh detail for games, while film/XR may allow higher-res assets.
Export checklist:
- Choose FBX or glTF for most pipelines.
- Bake normal and AO maps.
- Export at real-world scale (e.g., meters or centimeters).
- Test import in the target engine (Unreal, Unity, etc.).
Pitfall:
Forgetting to embed textures or mismatched axis conventions can cause issues at import.
Comparing Manual and AI-Assisted Approaches
Pros and cons of traditional vs. AI workflows
Manual workflow:
- Pros: Full creative control, production-proven, customizable.
- Cons: Time-consuming, requires expertise.
AI-assisted workflow:
- Pros: Rapid prototyping, lowers skill barrier, great for iteration.
- Cons: May need cleanup, less control over fine details.
In my experience, combining both yields the best results—AI for speed, manual for polish.
When to choose each method in practice
- Use manual modeling when you need custom, hero assets or have strict technical requirements.
- Use AI-assisted modeling for quick concepts, background assets, or when deadlines are tight.
My approach:
I often start with AI-generated bases, then refine manually for high-visibility or animation-critical assets. For large projects, this hybrid method saves time without sacrificing quality.
