Creating a Realistic V8 Engine 3D Model: Expert Workflow
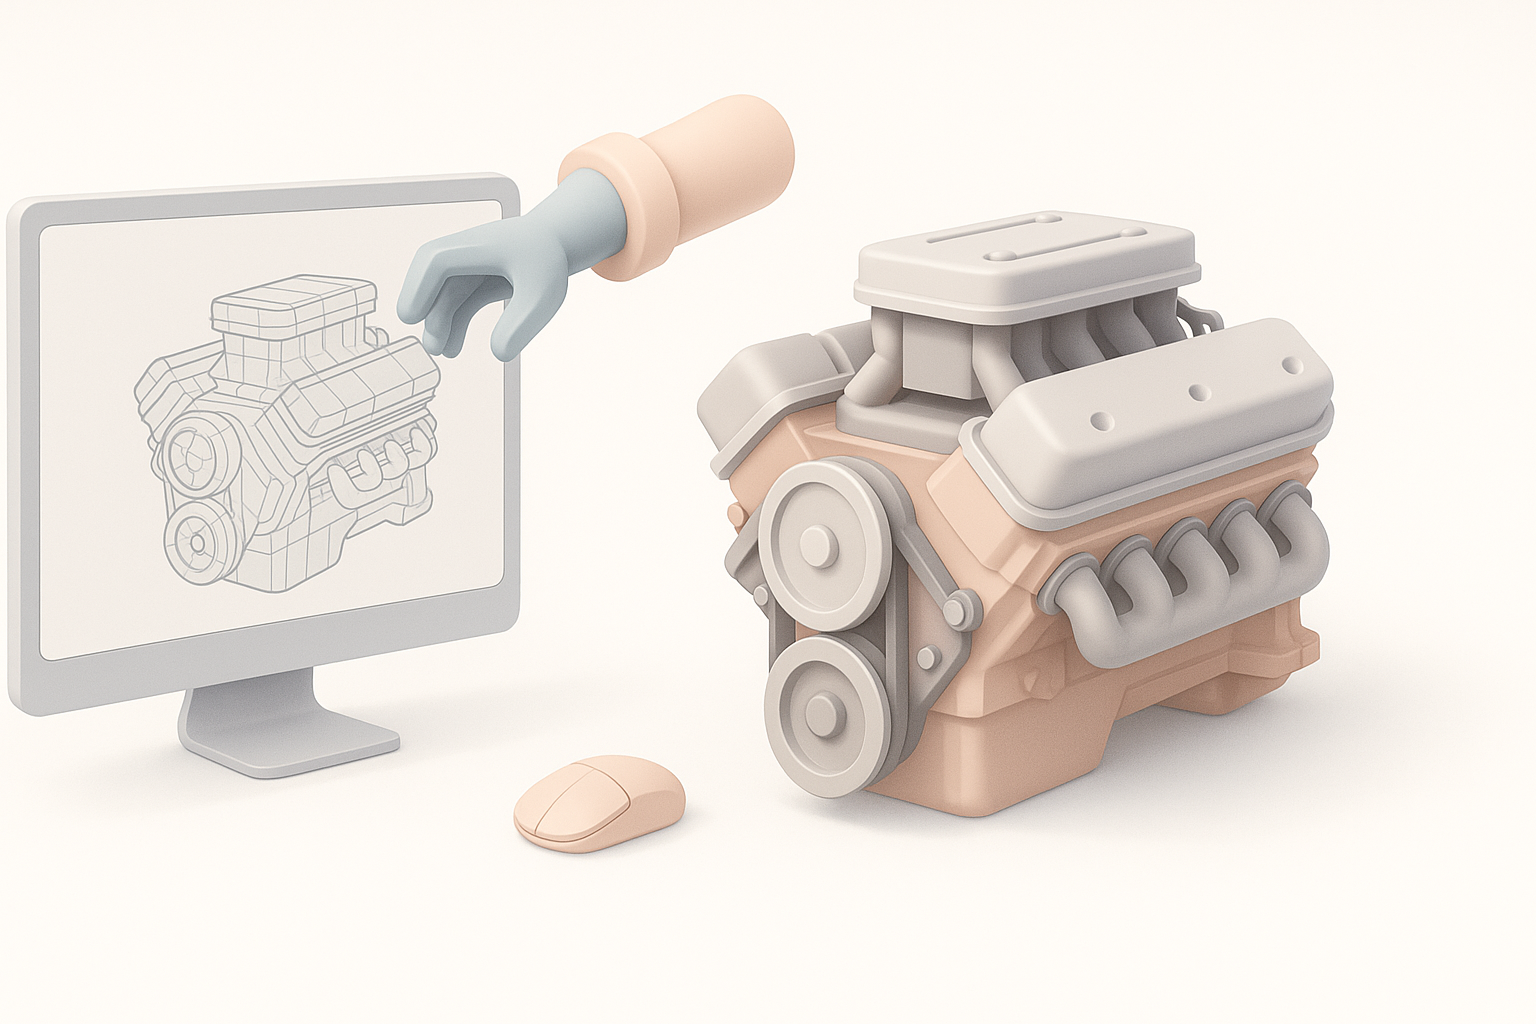
Building a production-ready V8 engine 3D model requires a structured workflow, clear reference materials, and the right mix of manual skill and AI-powered tools. In my experience, the biggest gains come from planning topology early, leveraging intelligent segmentation, and focusing on texturing for realism. This article covers my end-to-end approach—from initial blocking to export—optimized for creators in games, film, and XR. If you want faster iteration and higher quality without technical bottlenecks, these techniques will help.
Key takeaways
- Reference gathering and topology planning are crucial for accuracy.
- Blocking out major components before detailing saves time and reduces errors.
- Smart UV mapping and material selection drive realism.
- AI-powered segmentation and texturing accelerate workflow without sacrificing quality.
- Retopology and export settings must match target platforms for optimal performance.
- Choose manual or AI-assisted workflows based on project scope and deadlines.
Overview: V8 Engine 3D Modeling Essentials
Key characteristics of V8 engine models
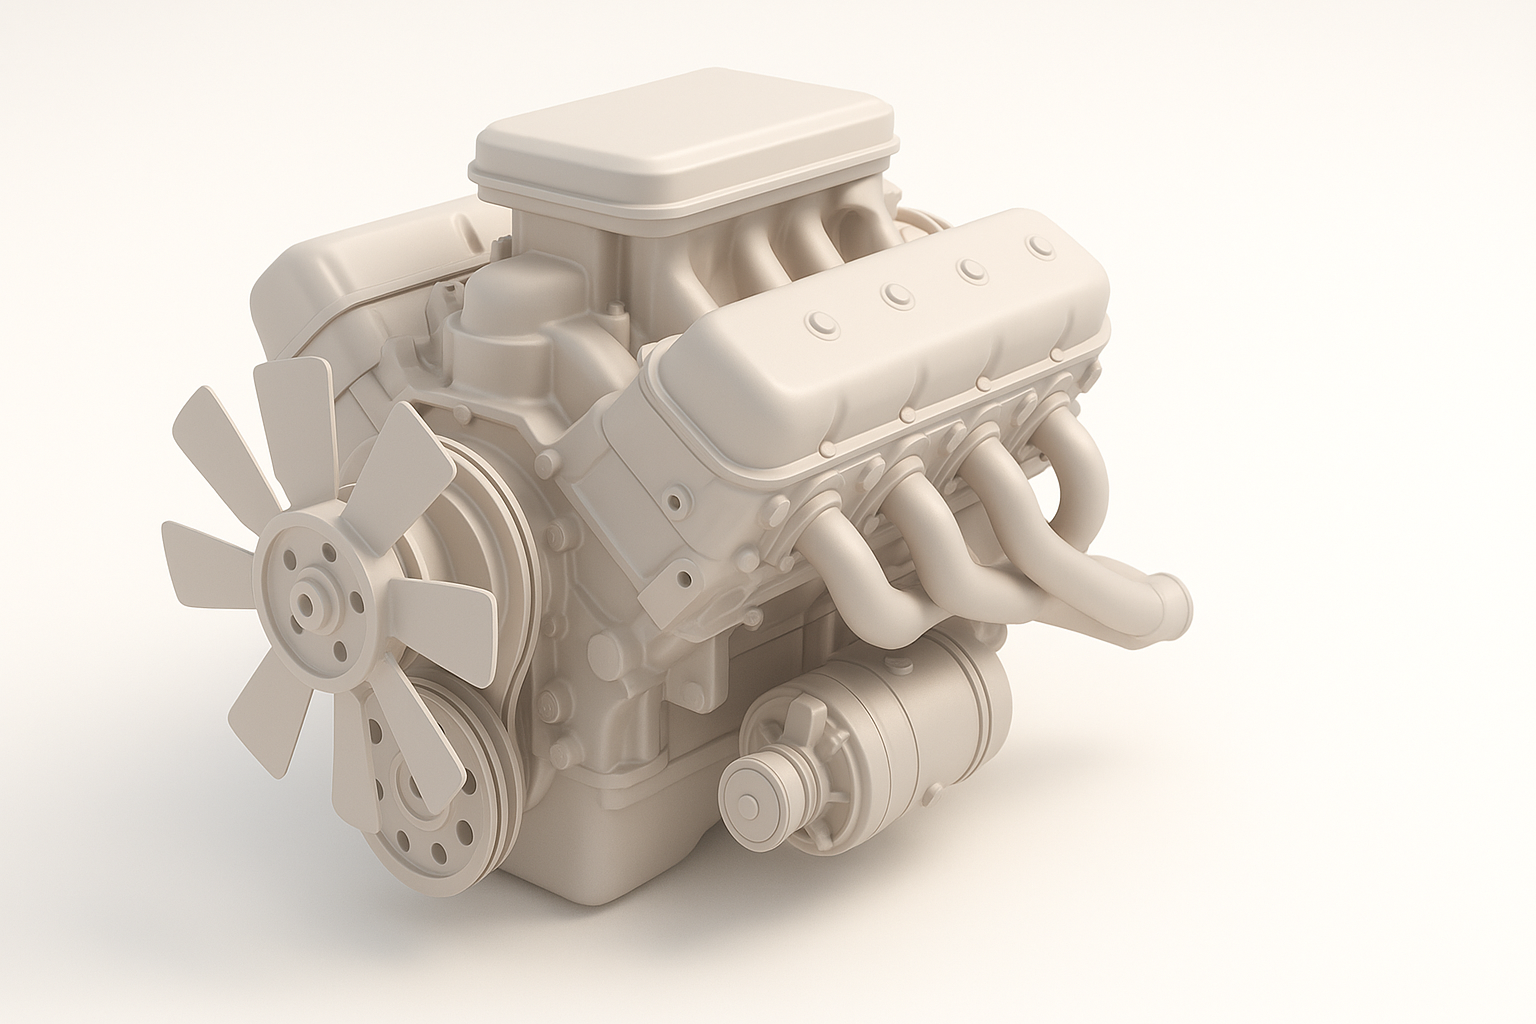
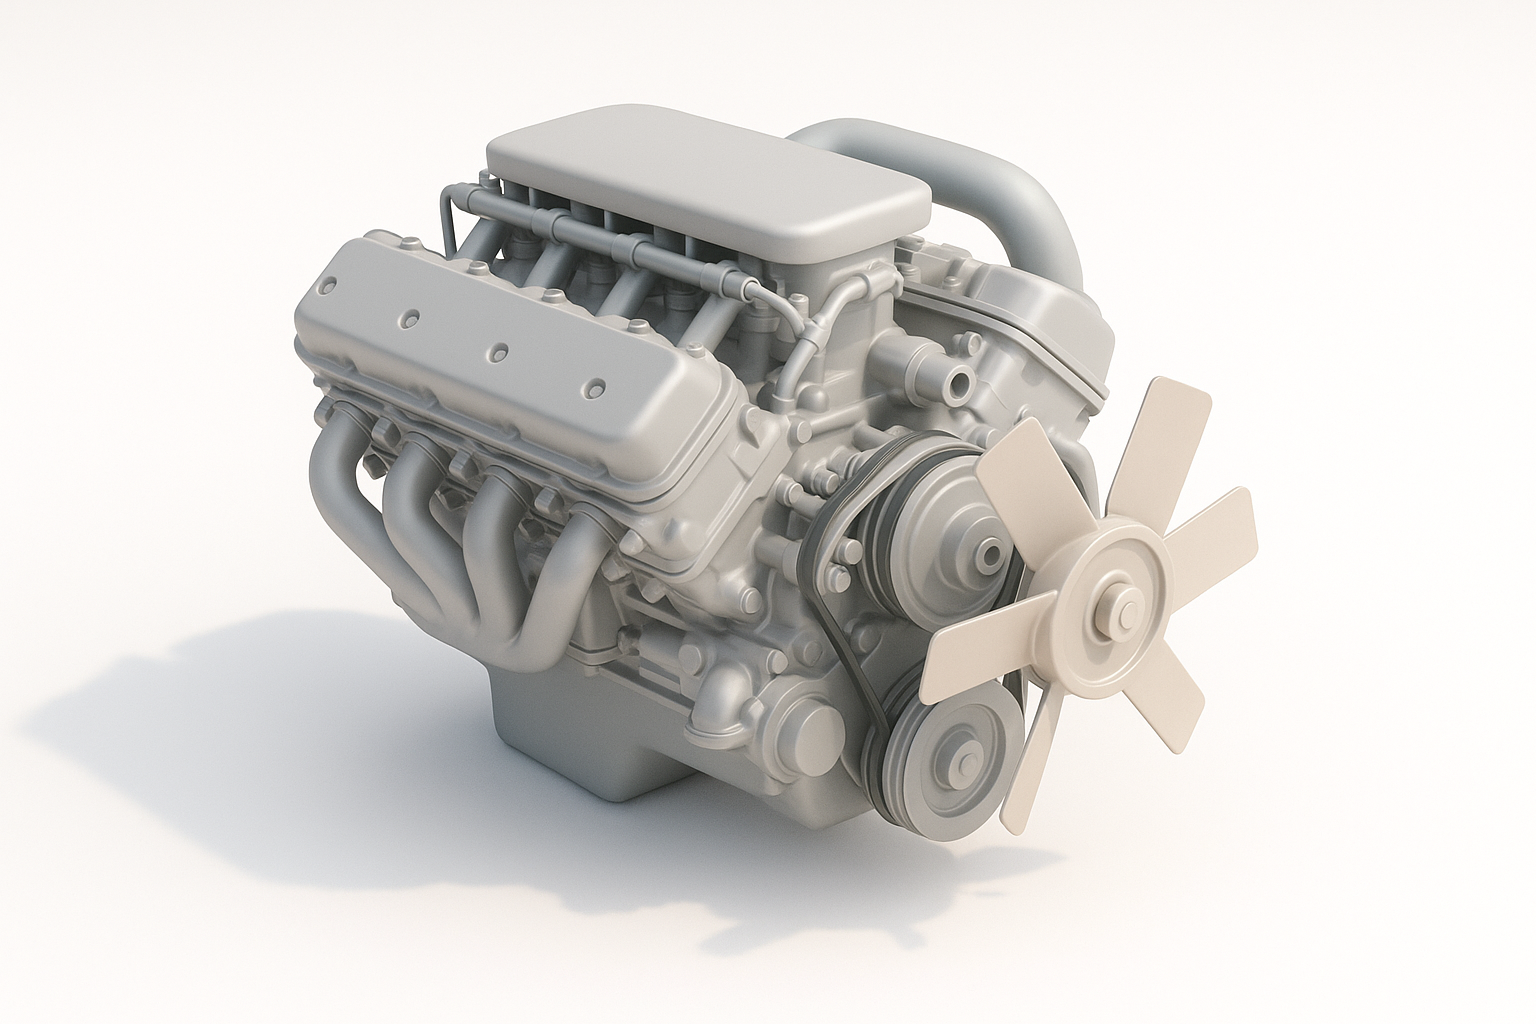
V8 engines are defined by their eight cylinders arranged in a "V" configuration. Accurate modeling means capturing the block, cylinder heads, intake manifold, exhaust, and ancillary parts like belts and wiring. I always focus on proportions, mechanical connections, and distinctive surface details.
- Checklist: Cylinder layout, block shape, manifold details, accessory components, mounting points.
- Pitfall: Overlooking small but visible parts (hoses, bolts) can break realism.
Common use cases in games, film, and XR
I've built V8 engine models for racing games, cinematic close-ups, and interactive XR demos. Each use case has different requirements: games need optimized geometry, film demands high detail, and XR favors modularity.
- Tip: Define your target platform and fidelity early.
- Pitfall: Over-modeling for real-time applications increases render times and memory usage.
My Step-by-Step Workflow for Modeling a V8 Engine
Gathering references and planning topology
I start with high-res photos, technical diagrams, and exploded views. Planning topology is essential—especially for parts that need animation or deformation.
- Steps:
- Collect at least three reference angles.
- Sketch rough topology flow for main components.
- Identify areas needing clean edge loops (e.g., cylinder heads).
- Pitfall: Jumping into modeling without a topology plan often leads to messy geometry.
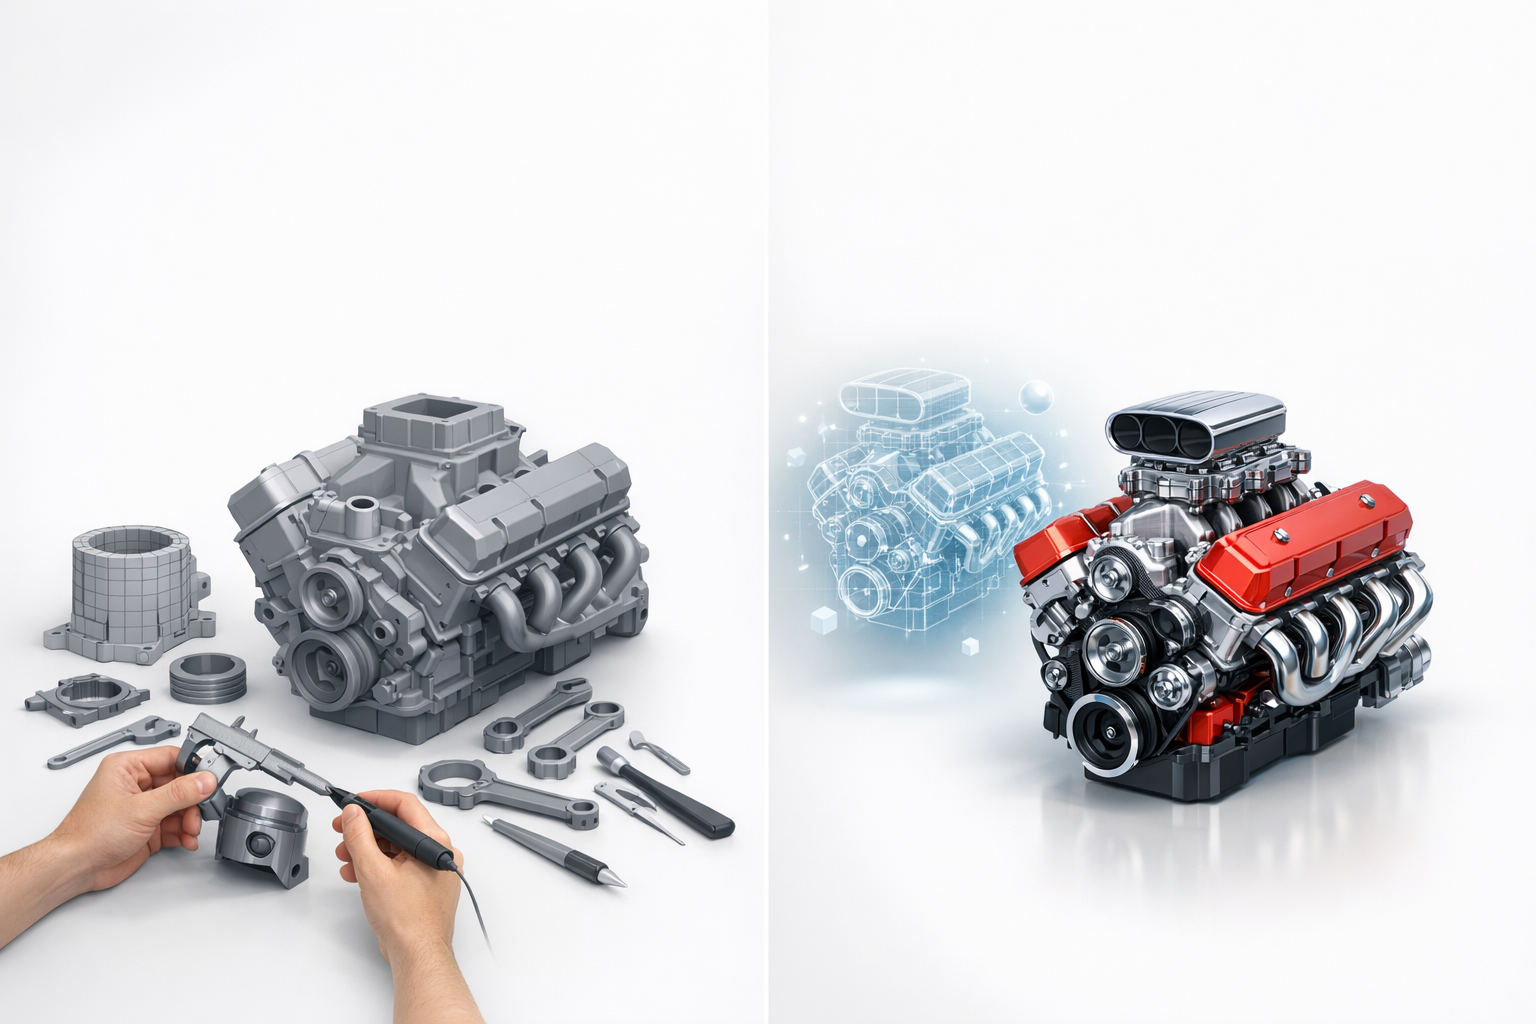
Blocking out the main engine components
I block out the engine block, cylinder heads, and manifolds with simple primitives. This lets me check proportions before committing to fine details.
- Steps:
- Use cubes/cylinders for initial shapes.
- Adjust scale and placement to match references.
- Merge or separate meshes as needed for later detailing.
- Tip: Keep block meshes non-destructive for easy iteration.
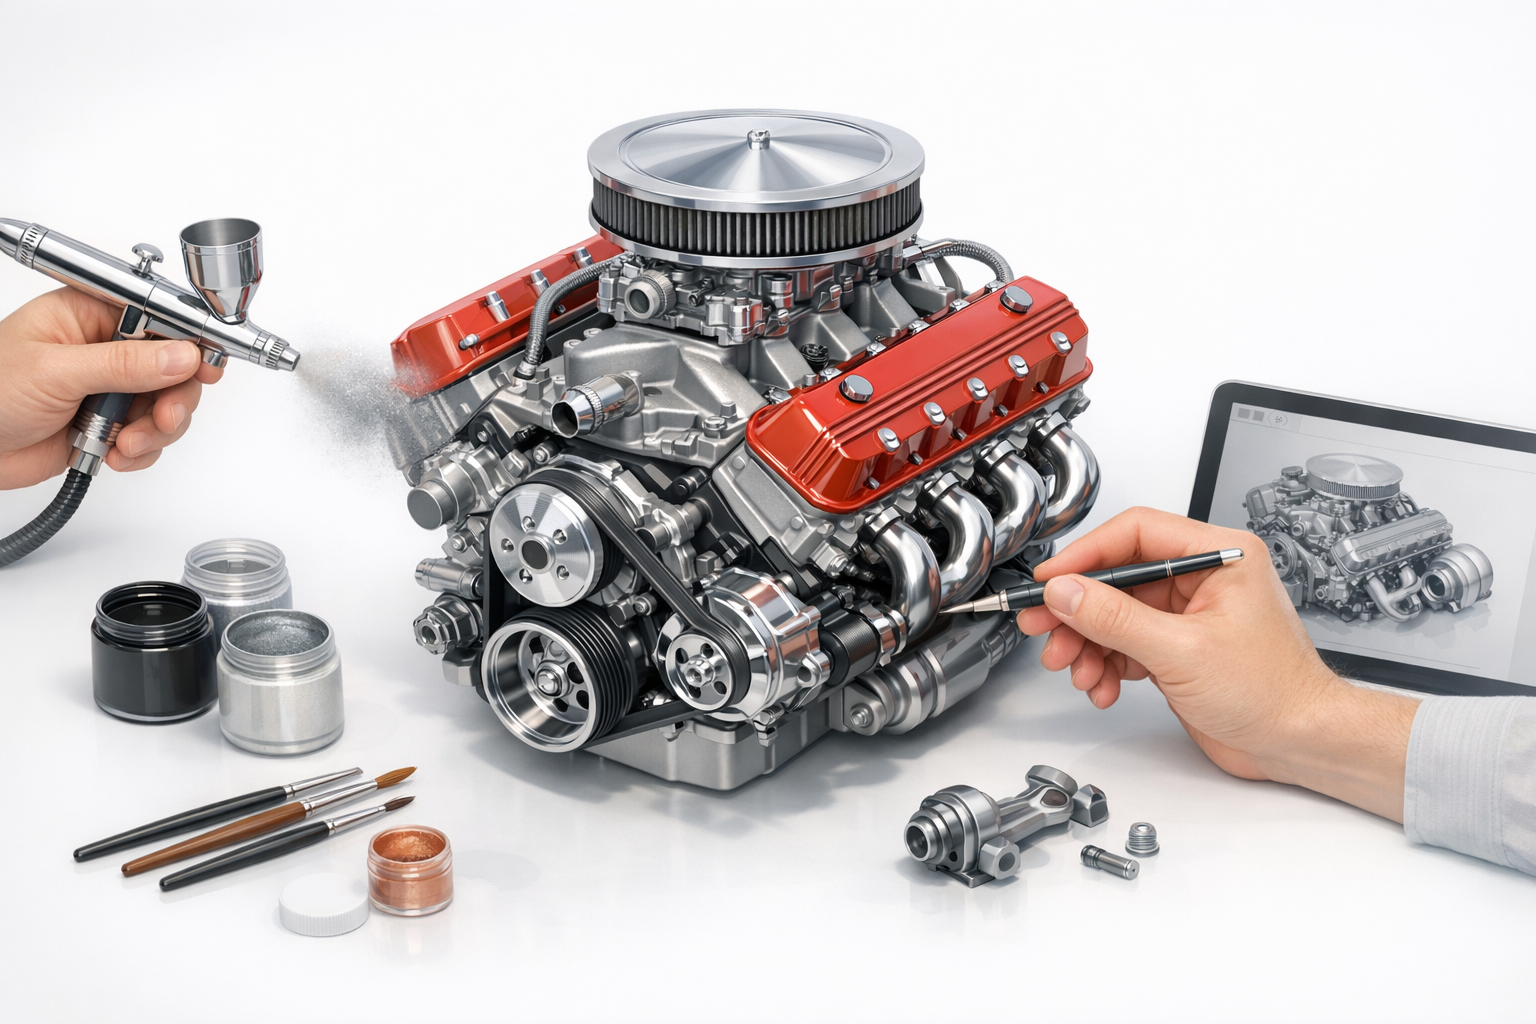
Texturing and Detailing: Bringing the V8 Engine to Life
Best practices for UV mapping and material selection
UV mapping is critical for clean textures. I unwrap each component separately, ensuring minimal distortion and logical seams. For materials, I use layered shaders—metal, paint, rubber, and plastic.
- Checklist:
- Unwrap each part individually.
- Place seams where they’re less visible.
- Test material previews early.
- Pitfall: Overlapping UVs can cause texture artifacts.
Adding realistic wear, decals, and surface details
Realism comes from subtle wear, grime, and manufacturer decals. I paint wear into roughness and metallic maps, and use decals for logos or part numbers.
- Steps:
- Add edge wear and oil stains to roughness maps.
- Layer decals using projection or texture overlays.
- Bake surface details (bolts, welds) into normal maps.
- Tip: Use reference photos for authentic wear patterns.
Optimizing and Exporting for Production
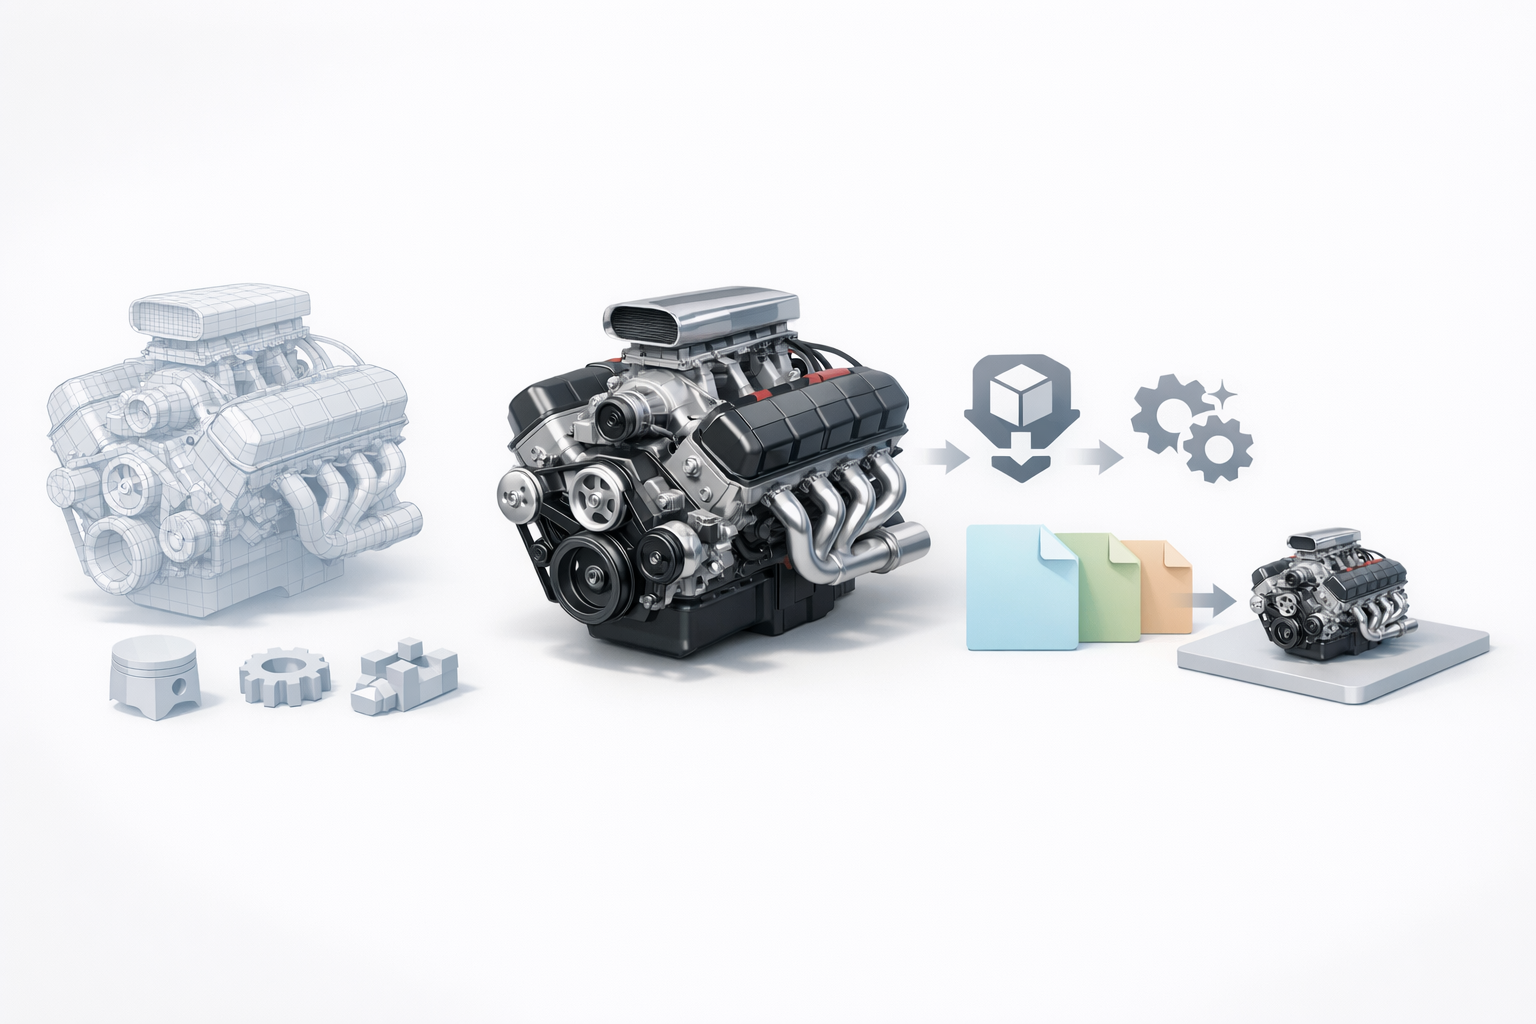
Retopology and polygon count management
Retopology ensures models are efficient and animation-ready. I use automatic tools for large surfaces, but manually retopologize complex parts like manifolds.
- Checklist:
- Target poly count based on platform (e.g., <50k for games).
- Check for non-manifold geometry.
- Optimize edge loops for deformation.
- Pitfall: Neglecting retopology leads to performance issues and shading artifacts.
Export settings for different platforms
Exporting requires matching settings to the target engine or renderer. I set scale, axis orientation, and embed textures for portability.
- Steps:
- Export FBX or GLTF with correct axis alignment.
- Include only necessary maps (diffuse, normal, roughness).
- Test import in target platform.
- Tip: Always check mesh and texture integrity after export.
AI-Powered Tools and Tips for Efficient 3D Engine Modeling
How I leverage AI-driven segmentation and texturing
AI segmentation speeds up isolating engine parts for separate texturing. I use AI tools to auto-group mesh sections and generate base textures, then refine manually.
- Steps:
- Run AI segmentation to split block, heads, and accessories.
- Apply AI-generated base textures for metals and plastics.
- Edit maps for custom wear and branding.
- Tip: Use AI as a starting point, not a final solution.
Integrating AI tools into traditional workflows
I integrate AI tools at the blocking and texturing stages, then switch to manual for fine detail and retopology. This hybrid approach saves hours on large models.
- Checklist:
- AI for segmentation and initial materials.
- Manual refinement for UVs and surface detail.
- AI-assisted retopology for simple parts.
- Pitfall: Over-reliance on AI can produce generic results—always personalize key details.
Comparing Manual and AI-Assisted V8 Engine Modeling
Time savings and quality differences
AI-assisted workflows drastically reduce blocking and texturing time—sometimes by 60–80%. Manual modeling still wins for custom details and complex topology.
- Tip: Use AI for rapid prototyping and manual for hero assets.
- Pitfall: Relying solely on AI may miss nuanced details critical for close-up shots.
When to choose each approach
I choose AI-assisted workflows for tight deadlines, large asset batches, or early concepting. Manual methods are best for flagship models or when precision is paramount.
- Checklist:
- AI for speed and batch production.
- Manual for high-fidelity, custom assets.
- Hybrid for most real-world projects.
In summary: Building a realistic V8 engine 3D model is fastest and most effective when combining solid reference gathering, smart blocking, careful texturing, and AI-powered tools. Always tailor your workflow to the target platform and asset importance—balance speed and quality for best results.


