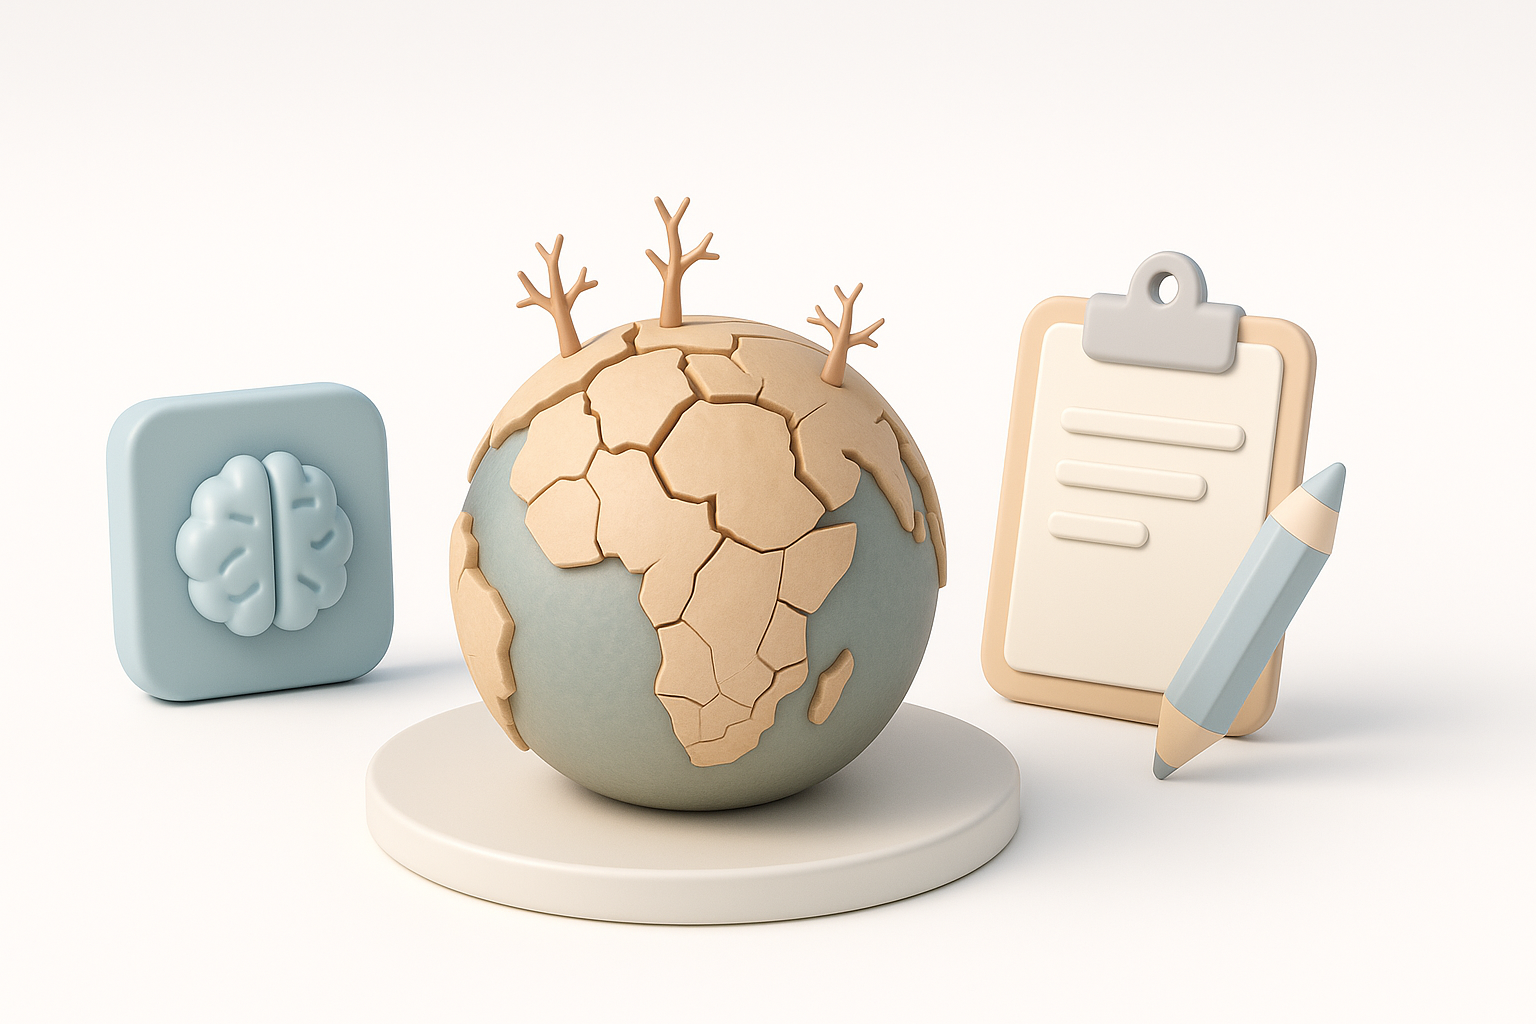
Creating an Earth Without Water 3D Model: My Workflow & Insights
Visualizing Earth stripped of its oceans is a fascinating 3D challenge that pushes both technical and creative boundaries. In this article, I’ll break down my entire workflow for building a production-ready “Earth Without Water” model—from research and references to AI-powered modeling, texturing, and export. This guide is for 3D artists, game developers, and anyone interested in leveraging modern tools to tackle complex, data-driven worldbuilding. My main takeaways: robust research, AI acceleration, and careful manual finishing are all essential for realistic, usable results.
Key takeaways:
- Start with solid scientific references for accuracy
- Use AI-powered modeling tools to accelerate base mesh creation
- Manual refinement is crucial for realism and geological believability
- Optimize geometry early for production-readiness
- Texturing makes or breaks the illusion—prioritize geological detail
- Export settings should match your end-use (games, film, XR)
Executive Summary: Visualizing a Waterless Earth in 3D
Key takeaways from my modeling process
- Accurate references drive believability—don’t skip the research.
- AI tools drastically reduce base modeling time but require manual polish.
- Geological features like trenches and mountain ranges need extra attention for realism.
- Export settings and retopology are critical for downstream usability.
Why this concept matters for 3D creators
Modeling a waterless Earth is more than a technical exercise—it’s a chance to blend science, imagination, and technical skill. For 3D creators, it’s a unique test of environmental modeling, data translation, and visual storytelling. The workflow and insights here apply to any data-driven, large-scale environment project.
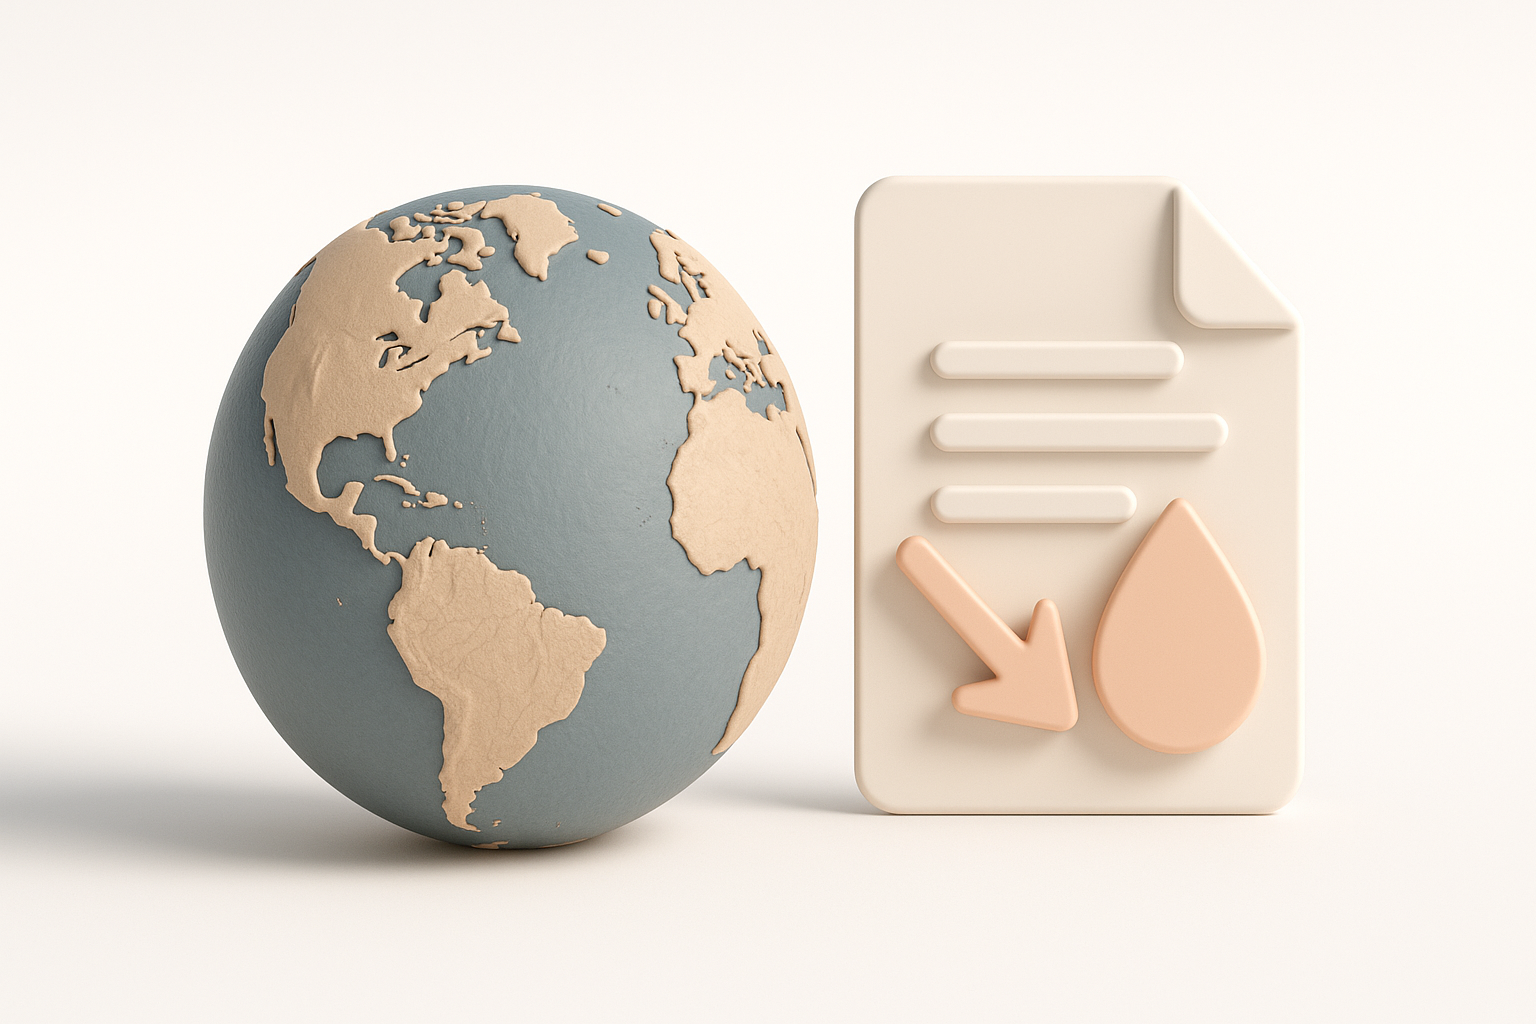
Conceptualizing Earth Without Water: Research & References

Gathering scientific data and visual references
I always begin with research. For this project, I collected:
- Topographic maps (NASA, USGS)
- Bathymetric charts (ocean floor data)
- Scientific visualizations of a “dried” Earth
Checklist:
- Prioritize high-resolution, global datasets
- Look for cross-sections and geological diagrams
- Use satellite imagery for reference, but remember it includes water
Translating real-world information into 3D concepts
The biggest challenge is turning 2D data into a 3D concept. I:
- Overlay bathymetric data on topographic maps to “merge” land and ocean floors
- Sketch rough outlines of continents with exposed seabeds
- Identify key features (e.g., Mariana Trench, Mid-Atlantic Ridge) to emphasize
Pitfall: Don’t just erase the oceans—consider erosion, sediment, and how landforms might actually appear.
Step-by-Step Workflow: Building the Base Model
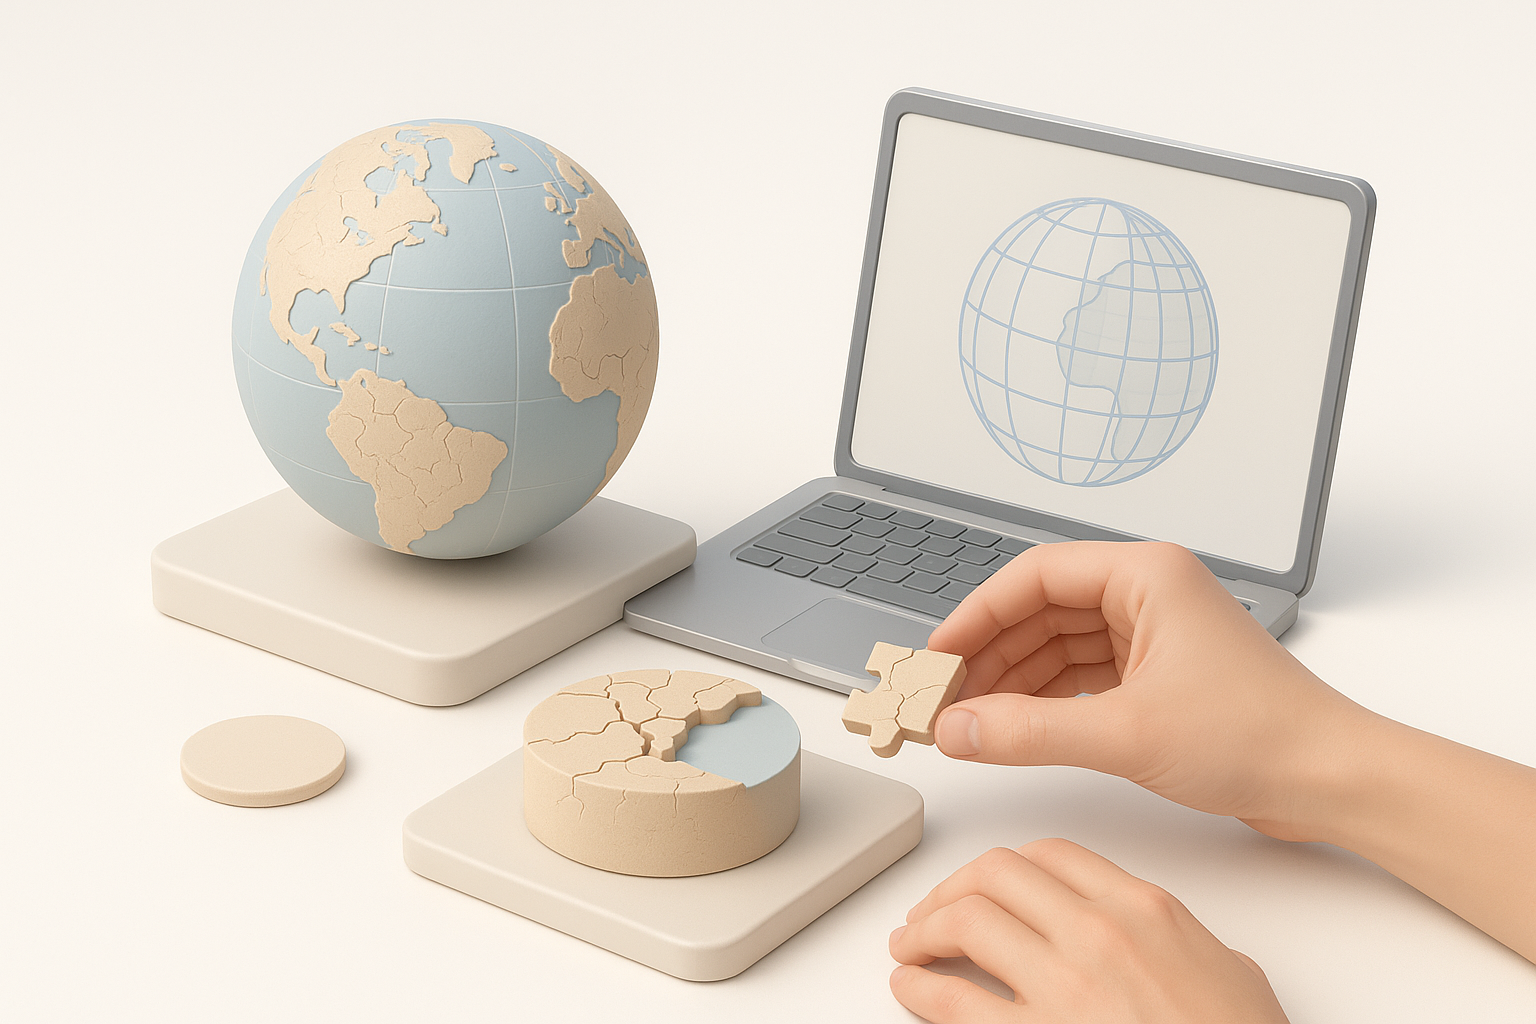
Blocking out the landmasses and topology
I start in my 3D suite by:
- Importing a sphere as the base
- Using displacement maps from scientific data to define major landmasses and seafloor features
- Blocking out exaggerated versions of key geological features for clarity
Tip: Keep the base mesh simple—detail comes later.
Refining details using AI-powered 3D tools
Here’s where AI tools like Tripo speed things up:
- I feed my sketches or annotated maps into the AI tool to generate a rough 3D mesh
- Use intelligent segmentation to separate continents, ridges, and trenches
- Quickly retopologize for clean geometry
Mini-checklist:
- Verify AI output against references
- Don’t hesitate to manually tweak problematic areas
Texturing and Enhancing Realism
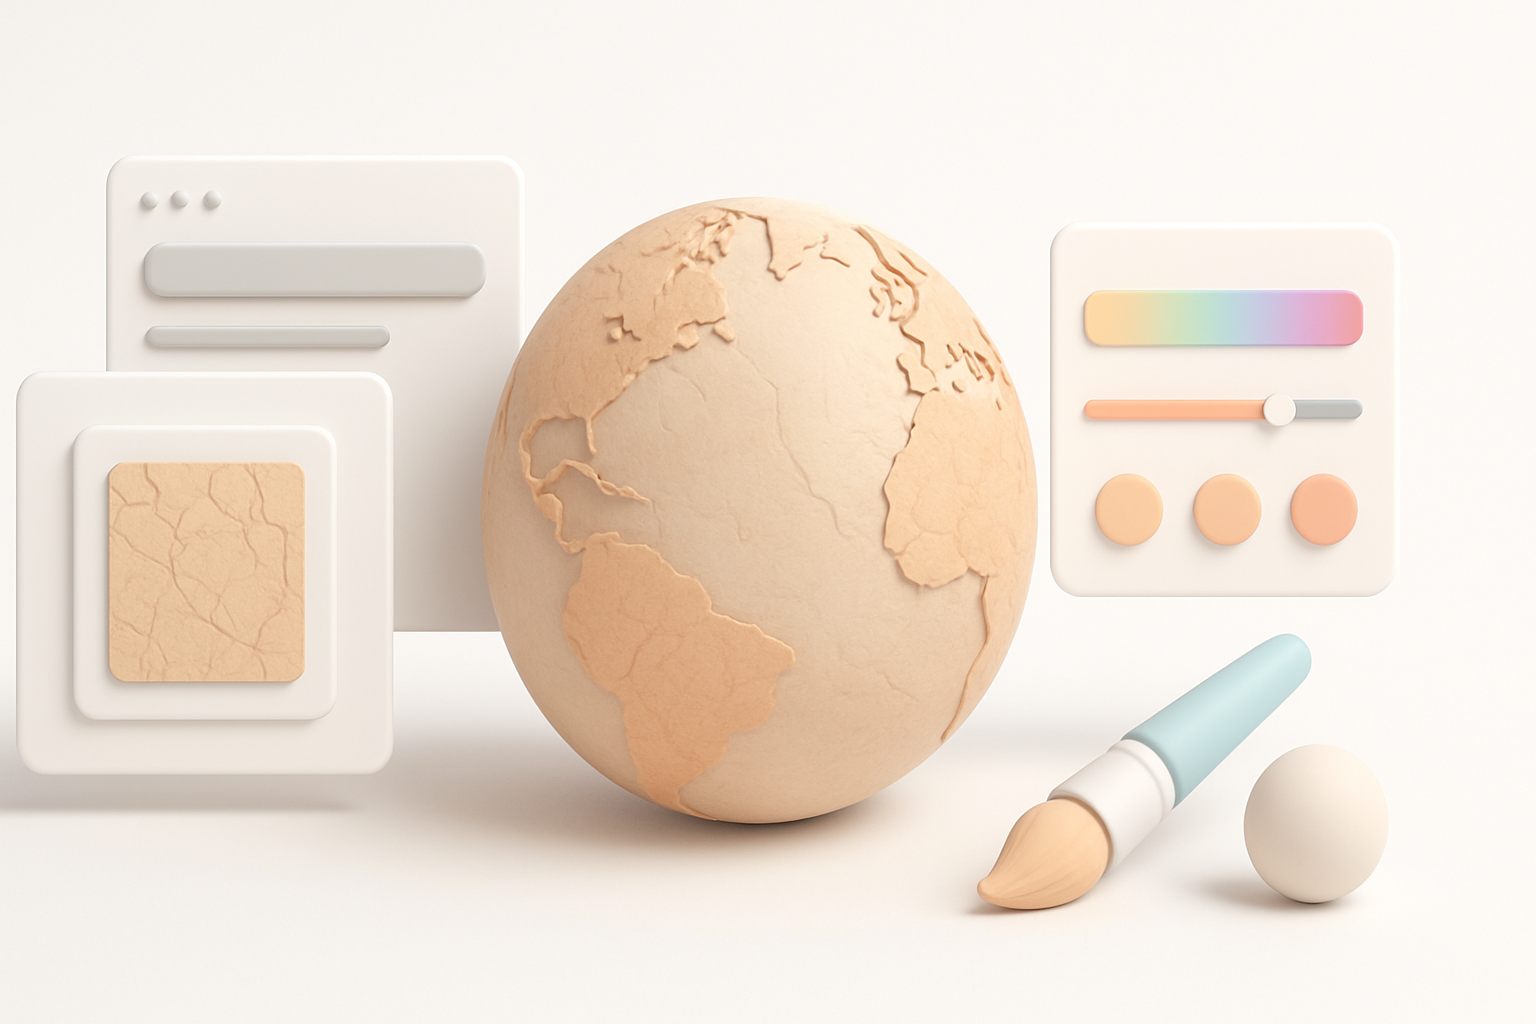
Approaches for realistic surface textures
Texturing is where the illusion comes alive. My process:
- Bake ambient occlusion and curvature maps for depth
- Use satellite imagery for color base, but hand-paint exposed seafloor
- Layer in procedural textures for sediment, rock, and tectonic scars
Tip: Use height and normal maps to emphasize surface variation.
Tips for emphasizing geological features
- Highlight dramatic changes at former shorelines
- Add subtle color variation to indicate mineral deposits or ancient riverbeds
- Use masks to blend between land and ex-seafloor materials
Pitfall: Avoid overly smooth transitions—real geology is rough.
Best Practices: Retopology, Optimization, and Export
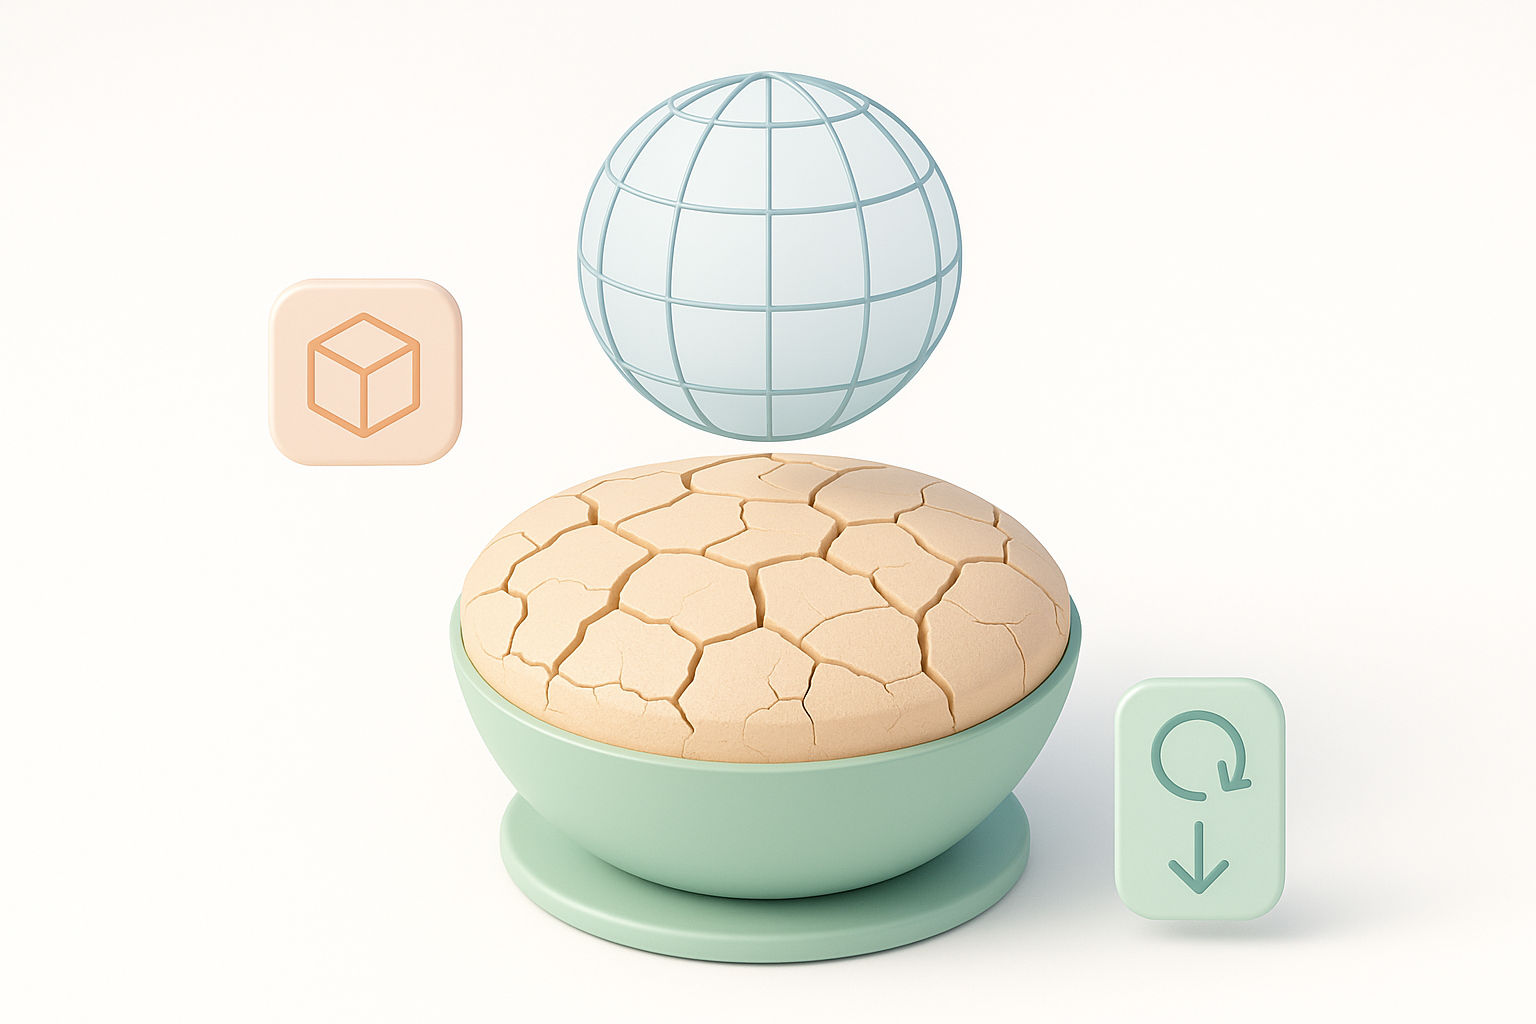
Ensuring production-ready geometry
For a model to be usable in games, film, or XR, I:
- Retopologize to maintain detail while reducing polycount
- Use quad-based topology for easier animation and editing
- Run automated checks for non-manifold edges and flipped normals
Checklist:
- Keep UVs clean and non-overlapping
- Bake maps at the highest needed resolution, then downsample as required
Export settings for various applications
- For games: Export as FBX or glTF, limit texture sizes to 2–4K
- For film: Higher polycount and 8K+ textures are fine
- For XR: Aggressively optimize geometry and textures for real-time performance
Tip: Always test imports in your target engine before final delivery.
Comparing AI Tools and Manual Techniques
Where AI accelerates the workflow
AI-powered modeling tools shine at:
- Rapid base mesh generation from references or sketches
- Automated segmentation and initial retopology
- Quick iteration on concept variations
What I’ve found: This saves hours, especially when working with complex, data-driven forms.
When manual adjustments are essential
No AI tool replaces the need for:
- Fine-tuning geological accuracy
- Artistic decisions about emphasis and realism
- Fixing edge cases in topology or UVs
Pitfall: Relying solely on AI can introduce subtle errors—always review outputs.
What I’ve Learned: Challenges and Creative Opportunities

Unexpected hurdles in the process
- Finding high-quality, unified bathymetric/topographic data is time-consuming.
- AI-generated meshes sometimes misinterpret ambiguous areas (e.g., continental shelves).
- Balancing realism with visual clarity is a constant challenge.
Creative insights for future projects
- Combining scientific accuracy with artistic license yields the most compelling results.
- AI tools free up time for creative iteration rather than technical grunt work.
- This workflow adapts well to other “what if” worldbuilding scenarios—Mars with oceans, alternate Earths, etc.
Final tip: Stay curious, and don’t be afraid to experiment with both data and artistic interpretation. That’s where the most interesting 3D work happens.


