Creating and Optimizing Ear 3D Models: Expert Workflow
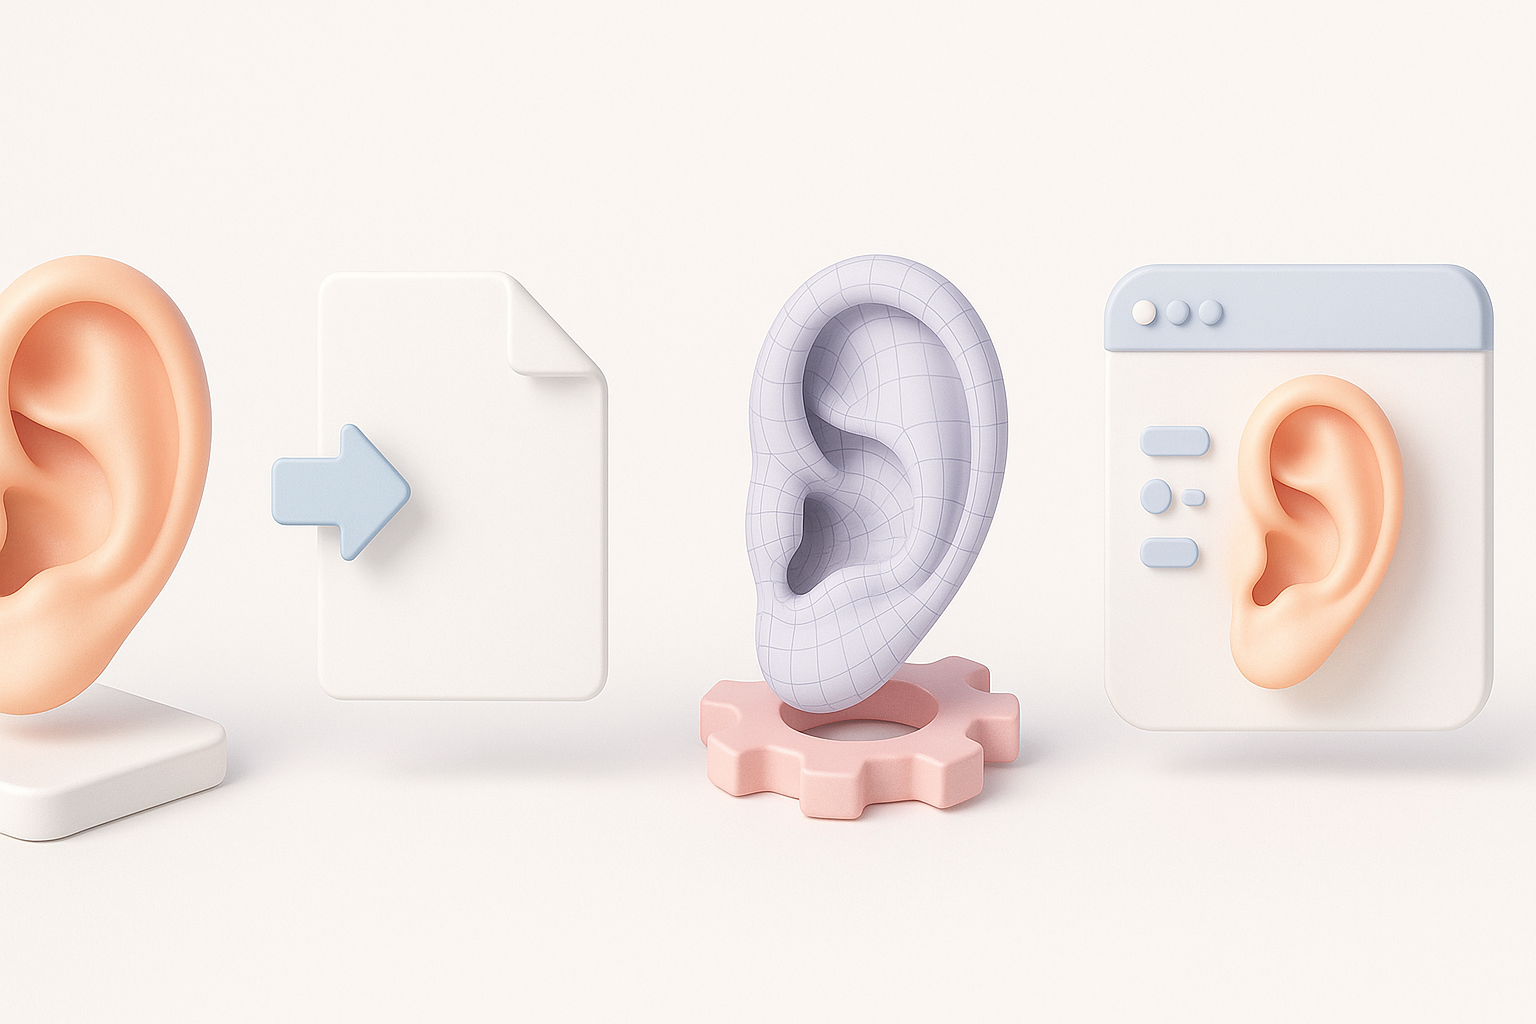
Creating production-ready 3D ear models used to be a tedious, technical process, but with the right mix of AI-powered tools and traditional skills, I can now deliver high-quality results much faster. Whether you’re working in games, film, or XR, the workflow you choose—text, image, or manual sculpting—matters for both speed and fidelity. In this article, I’ll break down my proven approach to ear modeling, share practical tips for segmentation, retopology, and texturing, and show how I integrate AI tools like Tripo into my pipeline for seamless asset delivery.
Key takeaways:
- AI-driven workflows dramatically speed up ear modeling, especially for concepting and base mesh generation.
- Reference gathering and segmentation are critical for anatomical accuracy.
- Retopology and texturing require careful attention to detail, even with automation.
- Rigging ears for animation presents unique challenges—anticipate deformation issues.
- Exporting and optimization steps differ by target platform (games, film, XR).
- Seamless pipeline integration is possible with the right export settings and asset management.
Executive Summary and Key Takeaways
What I’ve learned from ear 3D modeling projects
From years of character and prop modeling, I’ve found that ears are deceptively complex: small anatomical details make a big difference in realism. Rushing the reference and segmentation steps often leads to results that look “off” in close-ups or animation. Leveraging AI tools for the initial base mesh can save hours, but manual refinement is still essential for high-end work.
Essential tips for fast, high-quality results
- Collect multiple high-res references from different angles.
- Use AI tools for quick base mesh generation, then refine manually.
- Prioritize clean topology around the helix, antihelix, and tragus for good deformation.
- Bake and paint high-resolution textures, paying attention to subtle color variation.
- Test rigged ears in extreme poses to catch deformation issues early.
Choosing the Right Approach for Ear 3D Modeling
Text, image, and sketch-based workflows
In my workflow, I choose the input method based on project needs:
- Text prompts: Great for fast concepting or when art direction is loose.
- Image/sketch input: Best for matching specific reference or client sketches.
AI platforms like Tripo make it easy to switch between these modes—sometimes I’ll start with a text description, then refine with a photo or a hand-drawn sketch.
When to use AI-powered tools versus manual sculpting
I use AI-driven generation for:
- Quick iteration and base mesh creation.
- Projects with tight deadlines or low budgets.
I switch to manual sculpting when:
- High anatomical accuracy is required.
- The model will be seen up close or needs custom details.
Tip: Always plan for a hybrid workflow—let AI handle the repetitive base work, then bring in your sculpting skills for polish.
Step-by-Step Process: From Concept to Production-Ready Ear Model
Initial concept and reference gathering
- Collect multiple reference images: front, side, and 3/4 views.
- If possible, take your own photos or scans for unique ear shapes.
- Decide on the input method: text prompt, image, or sketch.
Checklist:
- Gather anatomical diagrams for tricky areas.
- Note lighting conditions for texturing later.
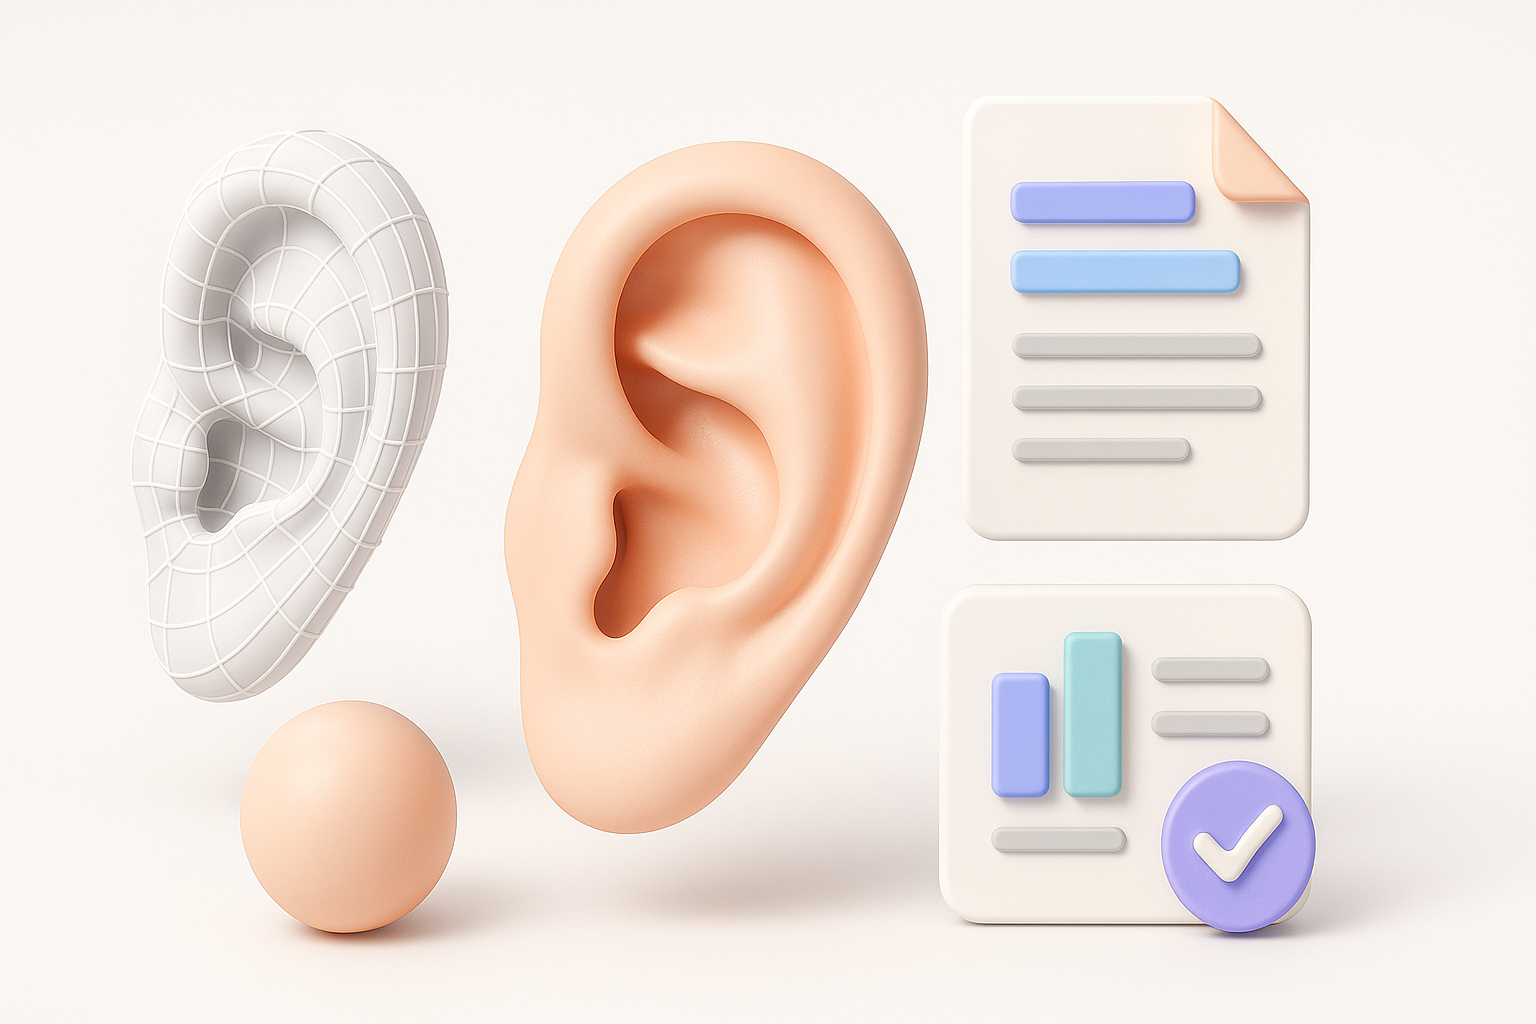
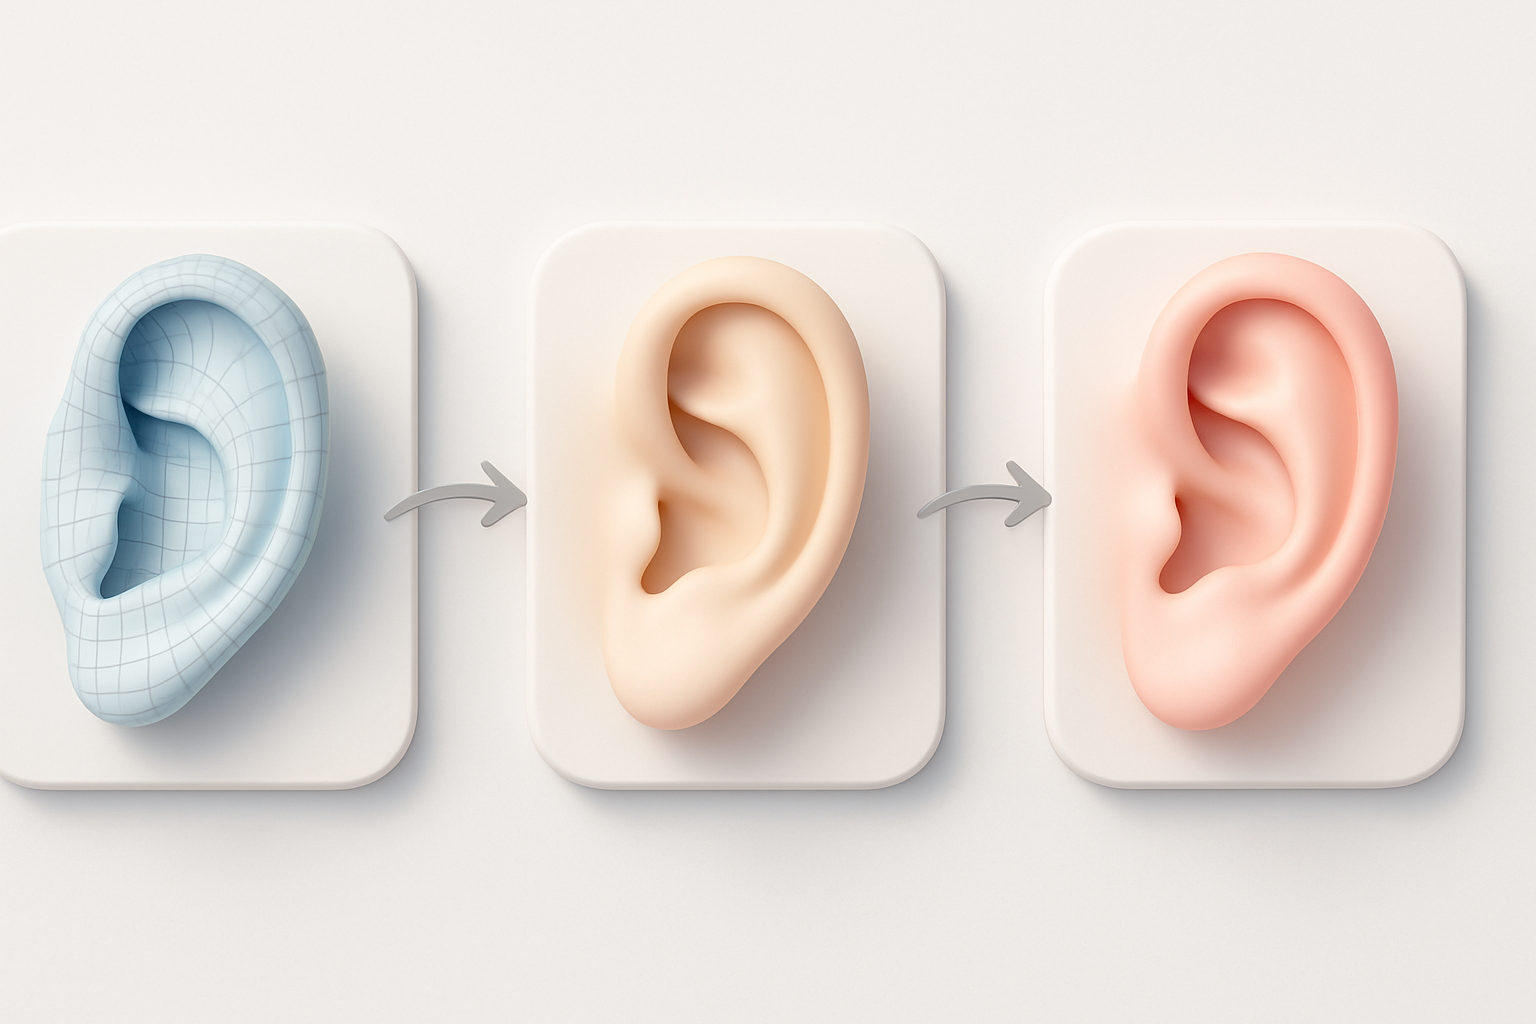
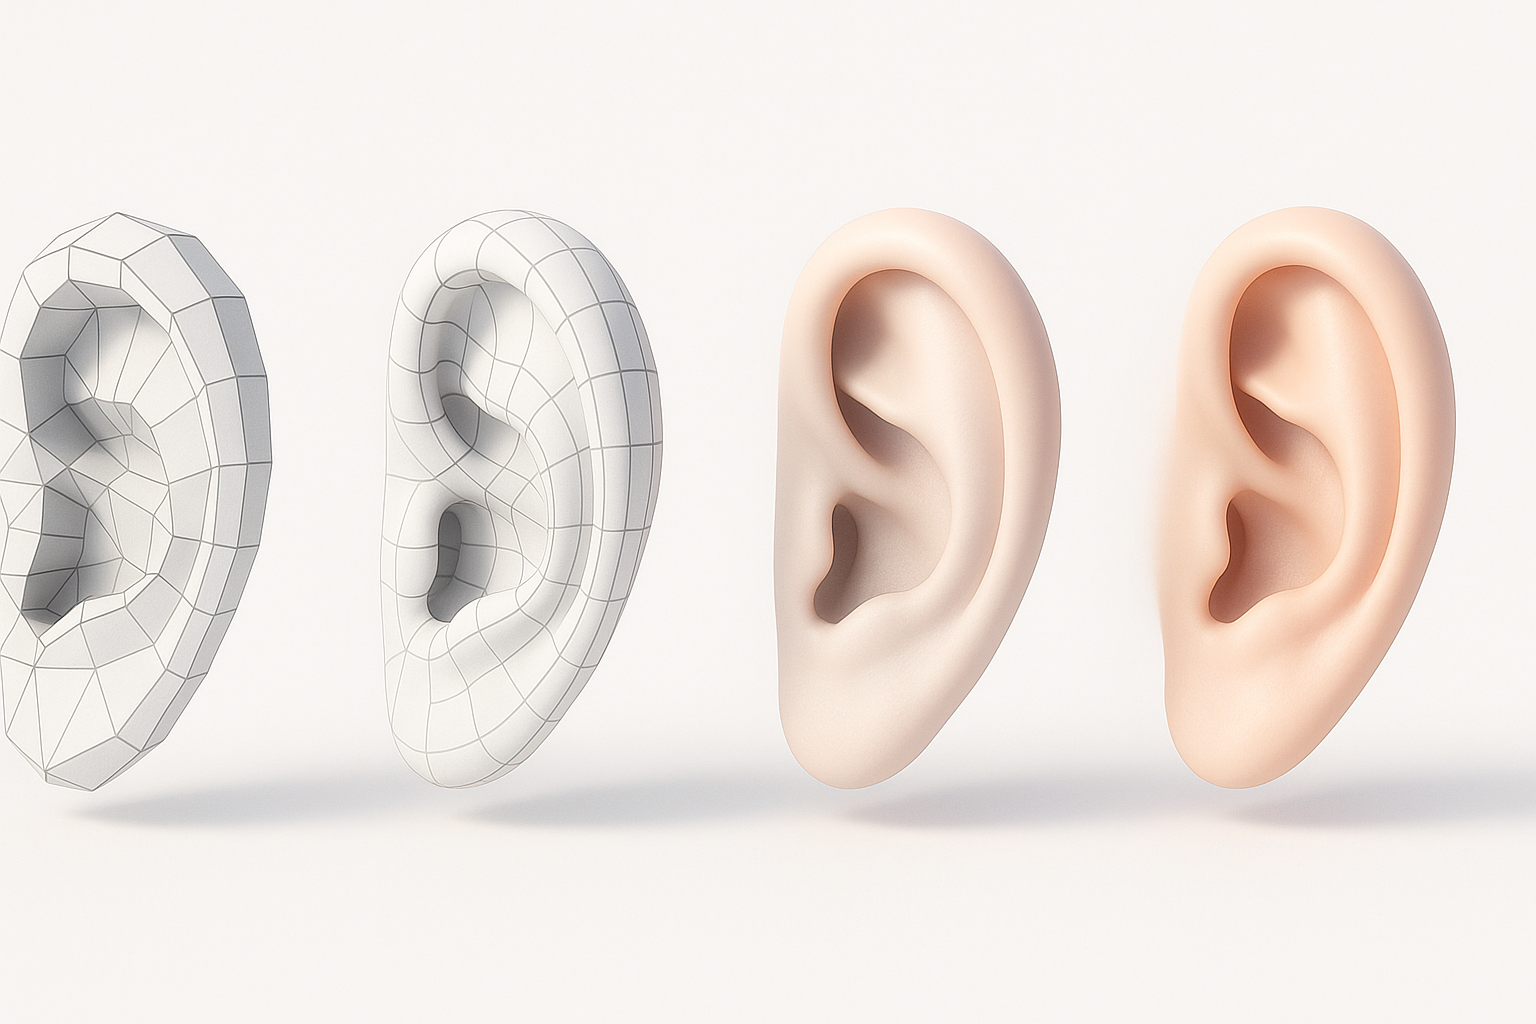
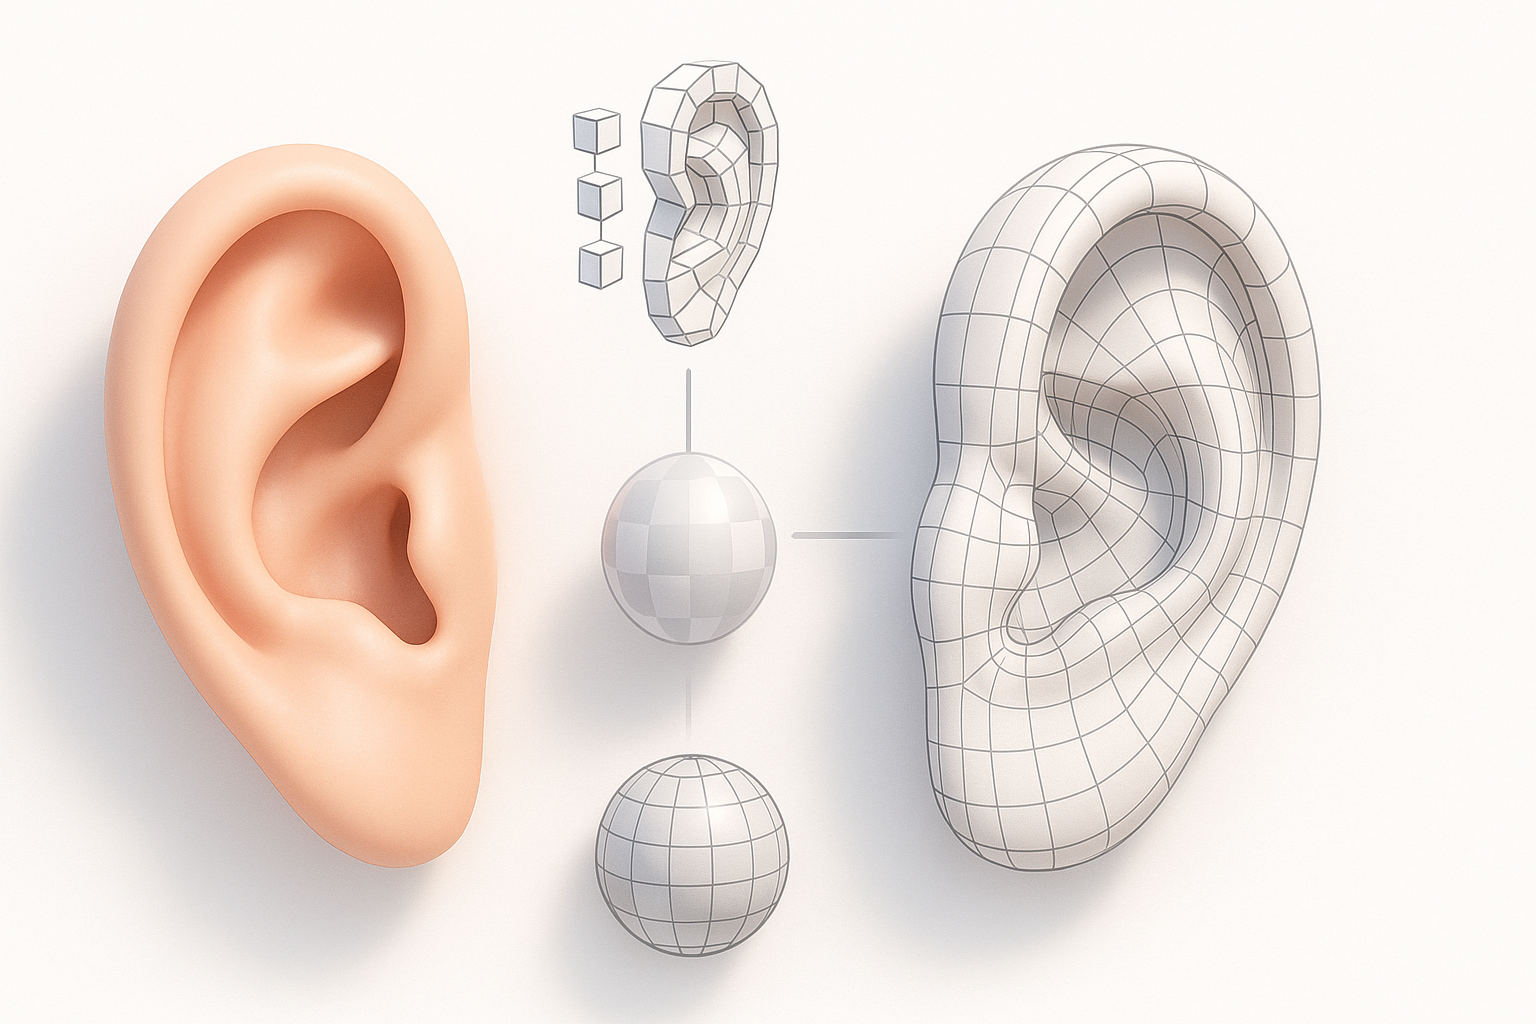
Segmentation, retopology, and texturing best practices
- Use Tripo’s segmentation tools to isolate the ear from head scans or images.
- For retopology, focus on edge loops around the ear canal and folds—this ensures clean deformation.
- Texture in high resolution (at least 2K for close-ups), using baked AO and subsurface scattering maps for realism.
Pitfalls to avoid:
- Over-reliance on auto-retopology—always check for stretching or pinching.
- Ignoring subtle color changes in texturing can make ears look flat or fake.
Rigging and Animation for Ear Models

How I rig ears for character animation
I typically add extra joints or blend shapes to handle secondary motion (e.g., wiggling, squash/stretch). For stylized characters, I exaggerate these controls; for realism, I keep them subtle.
Steps:
- Weight-paint carefully around the lobe and helix.
- Test with extreme facial expressions or head turns.
Common challenges and solutions
- Deformation artifacts: Fix with corrective blend shapes or adjust topology.
- Ear separation from head: Ensure vertex normals and UV seams are clean.
Tip: Always preview animations in the target engine or renderer to catch issues early.
Comparing AI-Driven and Traditional Ear Modeling Methods
Speed, quality, and workflow differences
- AI-driven: Saves hours on base mesh and UVs, but may need manual cleanup.
- Traditional: Offers full control but is time-consuming.
In practice, I blend both: AI for speed, manual for detail.
Integrating AI tools into my pipeline
I import AI-generated models into my DCC (e.g., Blender, Maya), then:
- Refine sculpting and topology.
- Re-bake textures if needed.
- Test in-engine for scale and orientation.
Tip: Keep a library of your best AI-generated base meshes for future reuse.
Exporting, Optimization, and Integration Tips
Preparing ear models for games, film, and XR
- For games: Optimize polycount, bake normals, and create LODs.
- For film: Use higher-res meshes, focus on displacement/detail maps.
- For XR: Prioritize lightweight assets and efficient UVs.
Checklist:
- Check asset scale and orientation.
- Export in the correct format (FBX, OBJ, GLTF).
- Test in the target application before final delivery.
My strategies for seamless asset integration
- Consistently name and organize files.
- Use standardized material and texture naming conventions.
- Document any custom rig controls or blend shapes for animators.
Pitfall: Forgetting to freeze transforms or apply scale can cause issues on import—always double-check before exporting.
By combining AI-powered tools with traditional skills, I can deliver high-quality, production-ready ear models efficiently across a range of industries and platforms. The key is to leverage automation where it counts, but never skip the manual checks and refinements that make the difference between “good enough” and truly professional results.


