Creating a Rigged 3D Model of Dutch van der Linde: My Workflow
When I set out to create a fully rigged 3D model of Dutch van der Linde, my priorities are speed, accuracy, and production-readiness. This guide walks through my practical workflow—from reference gathering and modeling, to texturing, rigging, and final export—while highlighting how AI-powered tools like Tripo streamline the process. If you’re a game artist, animator, or designer looking for actionable steps and expert tips, you’ll find clear guidance here for both manual and AI-assisted methods. My approach focuses on minimizing technical friction so you can spend more time on creative decisions.
Key takeaways:
- Reference quality and analysis are crucial for character accuracy.
- Blocking out a solid base mesh saves time later.
- Smart texturing and material setup impacts realism and performance.
- Clean rigging and weight painting are essential for animation.
- AI tools like Tripo can accelerate modeling and rigging without sacrificing quality.
- Export settings must match your target engine for seamless integration.
Executive Summary and Key Takeaways
What to Expect from This Guide
In this workflow, I break down each stage of creating a rigged 3D Dutch van der Linde—from initial planning to final export. My focus is on practical, repeatable steps, with an emphasis on leveraging AI tools where they make sense. Whether you’re working solo or in a studio pipeline, these methods are designed for efficiency and consistent results.
Essential Tools and Techniques
I rely on a mix of industry-standard 3D software and AI-powered platforms like Tripo. Key stages include:
- Reference gathering and analysis
- Mesh blocking and sculpting
- Advanced texturing workflows
- Rigging and weight painting
- Export and engine integration
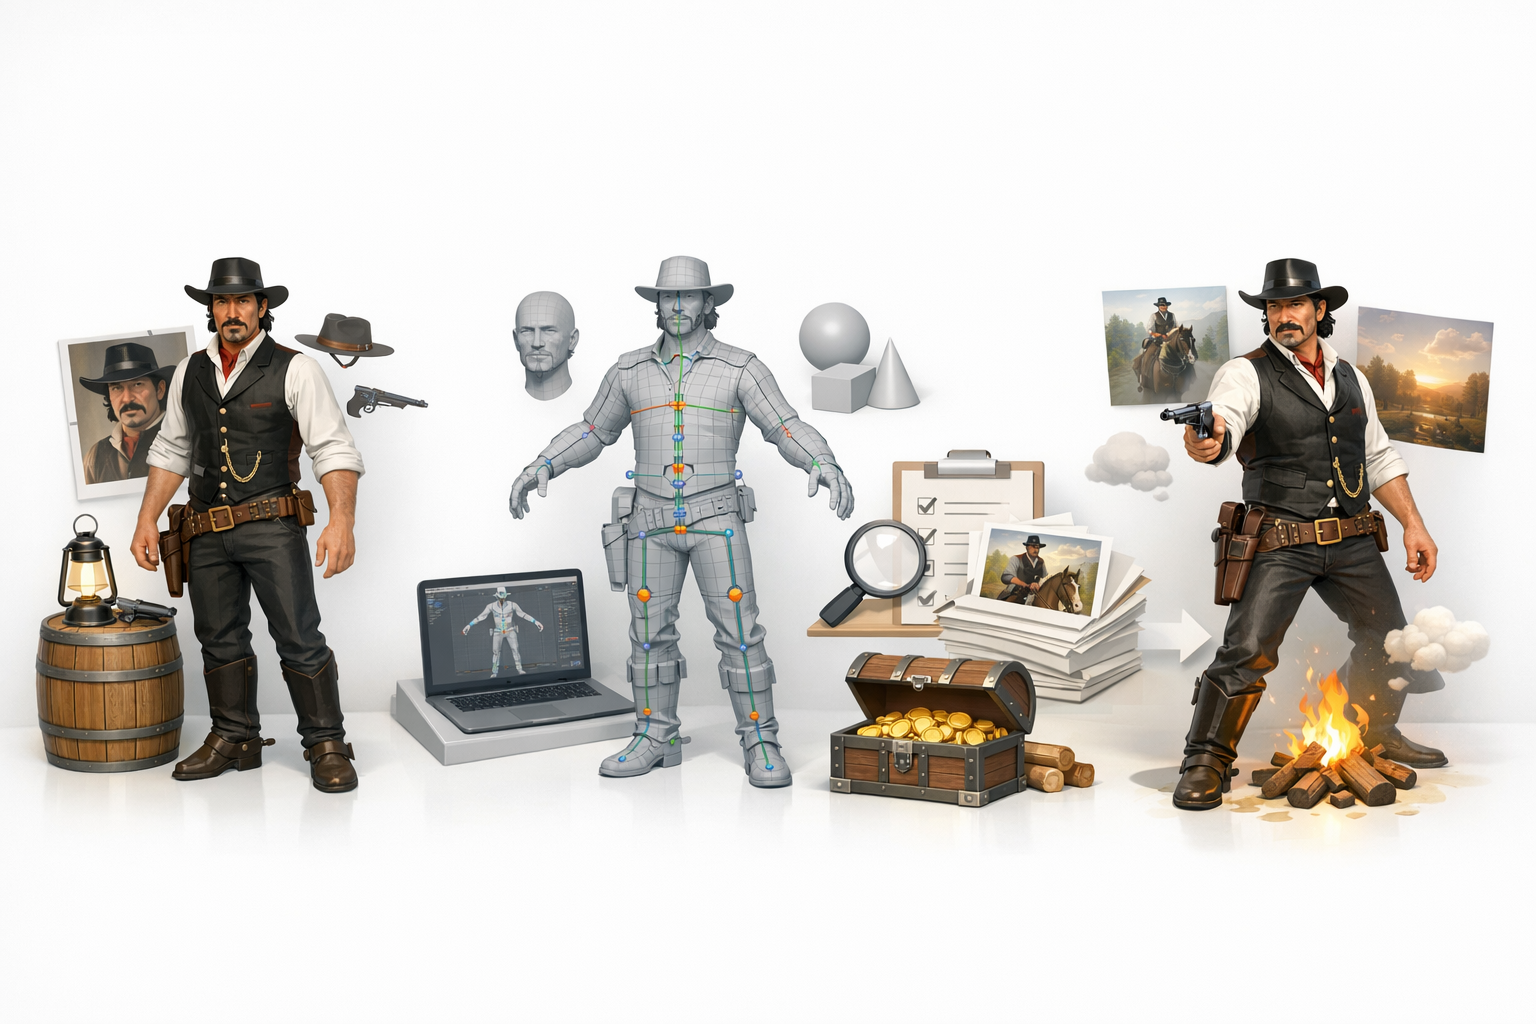
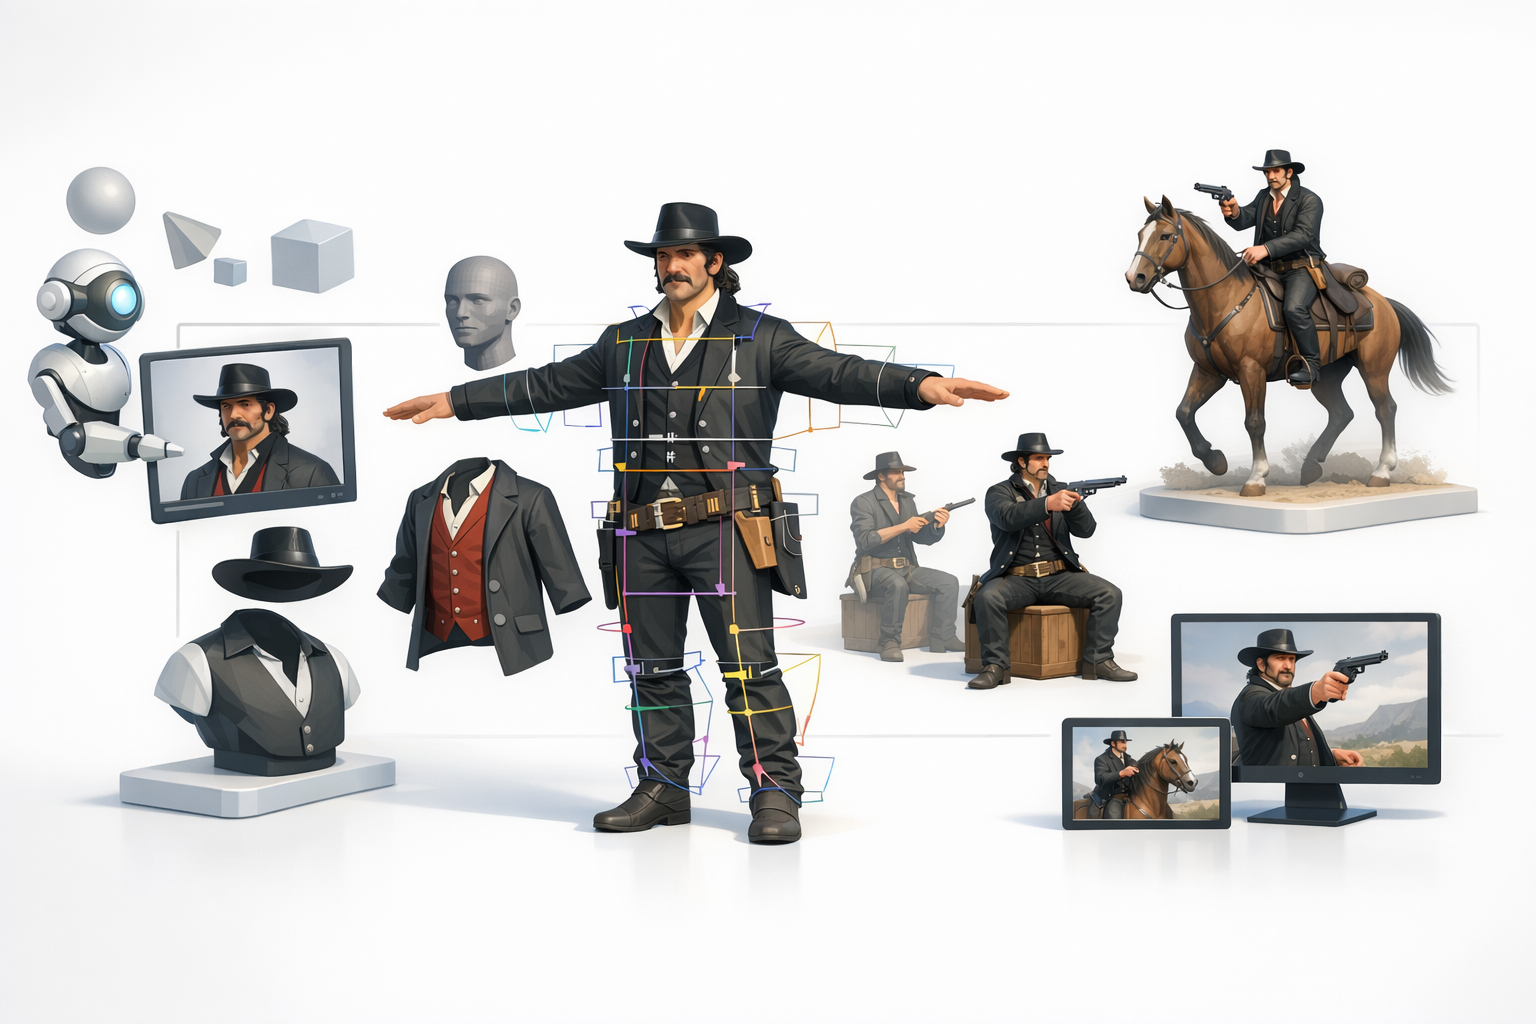
Planning and Reference Gathering
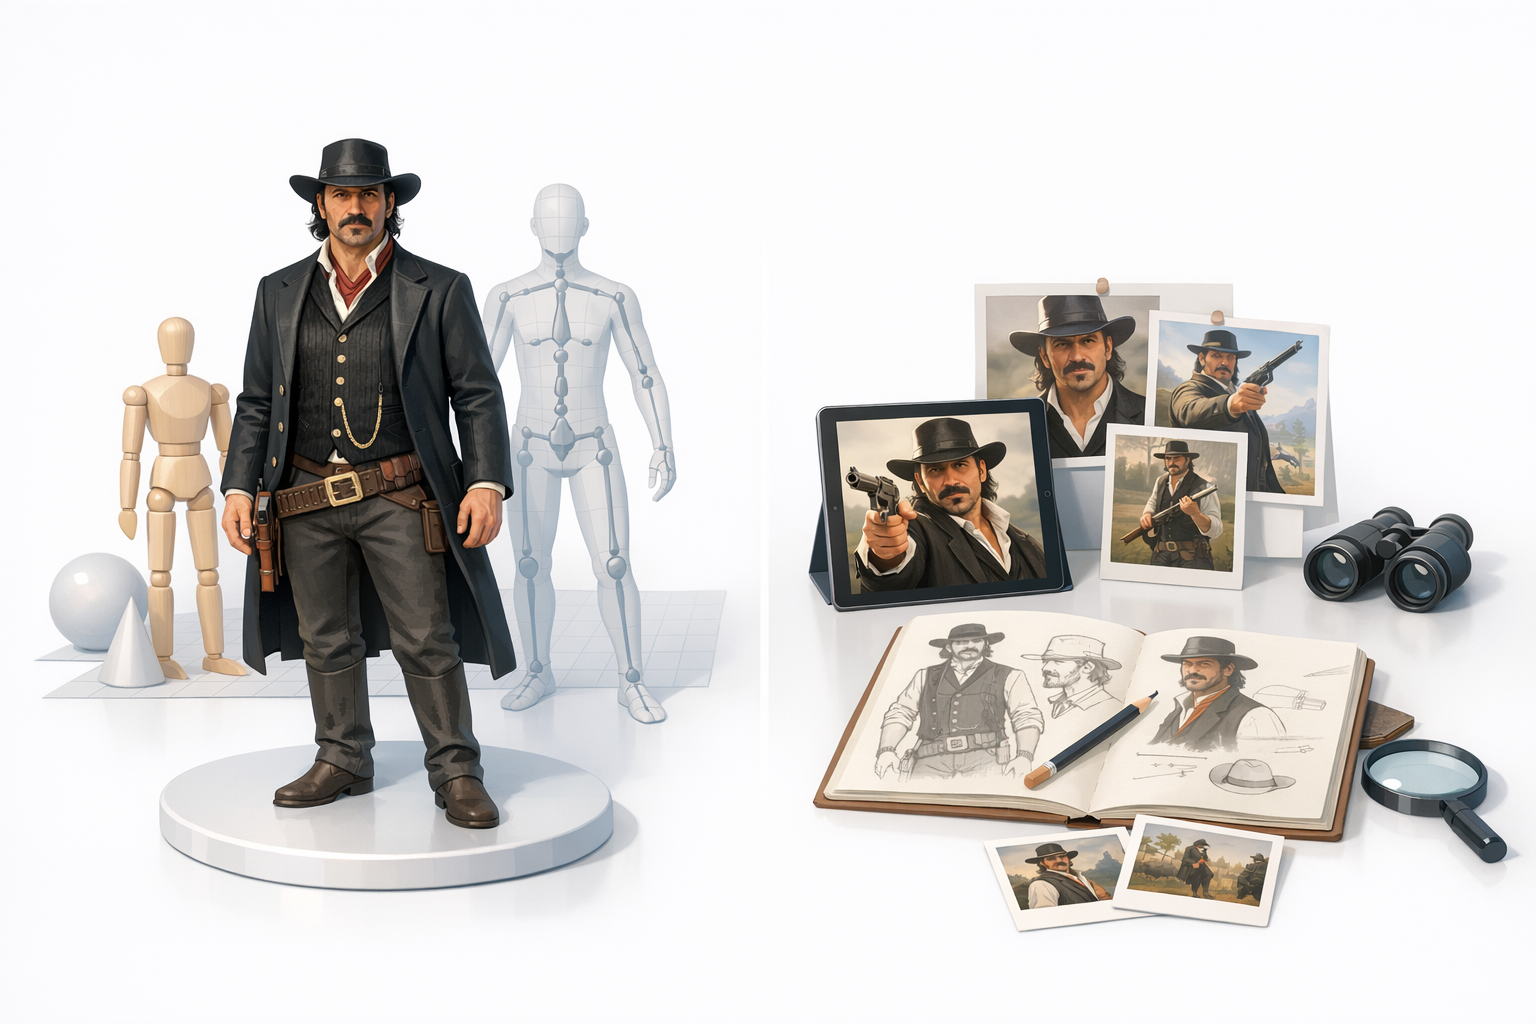
Collecting High-Quality References
Accurate references are the backbone of character modeling. I start by sourcing high-resolution images: front, side, and three-quarter views, plus close-ups of clothing, accessories, and facial features. Screenshots from games, promo art, and fan renders are useful, but I prioritize official materials for authenticity.
Checklist:
- Multiple angles (front, side, back)
- Close-ups of face, hands, clothing details
- Lighting-consistent images
Analyzing Character Details and Proportions
Before modeling, I map out proportions—height, limb length, facial structure—using image overlays or manual measurements. I note distinctive features: Dutch’s mustache, hat, layered clothing, and posture. This analysis guides both the base mesh and later detailing.
Pitfalls to avoid:
- Skipping proportion checks (leads to stylization errors)
- Overlooking accessory placement
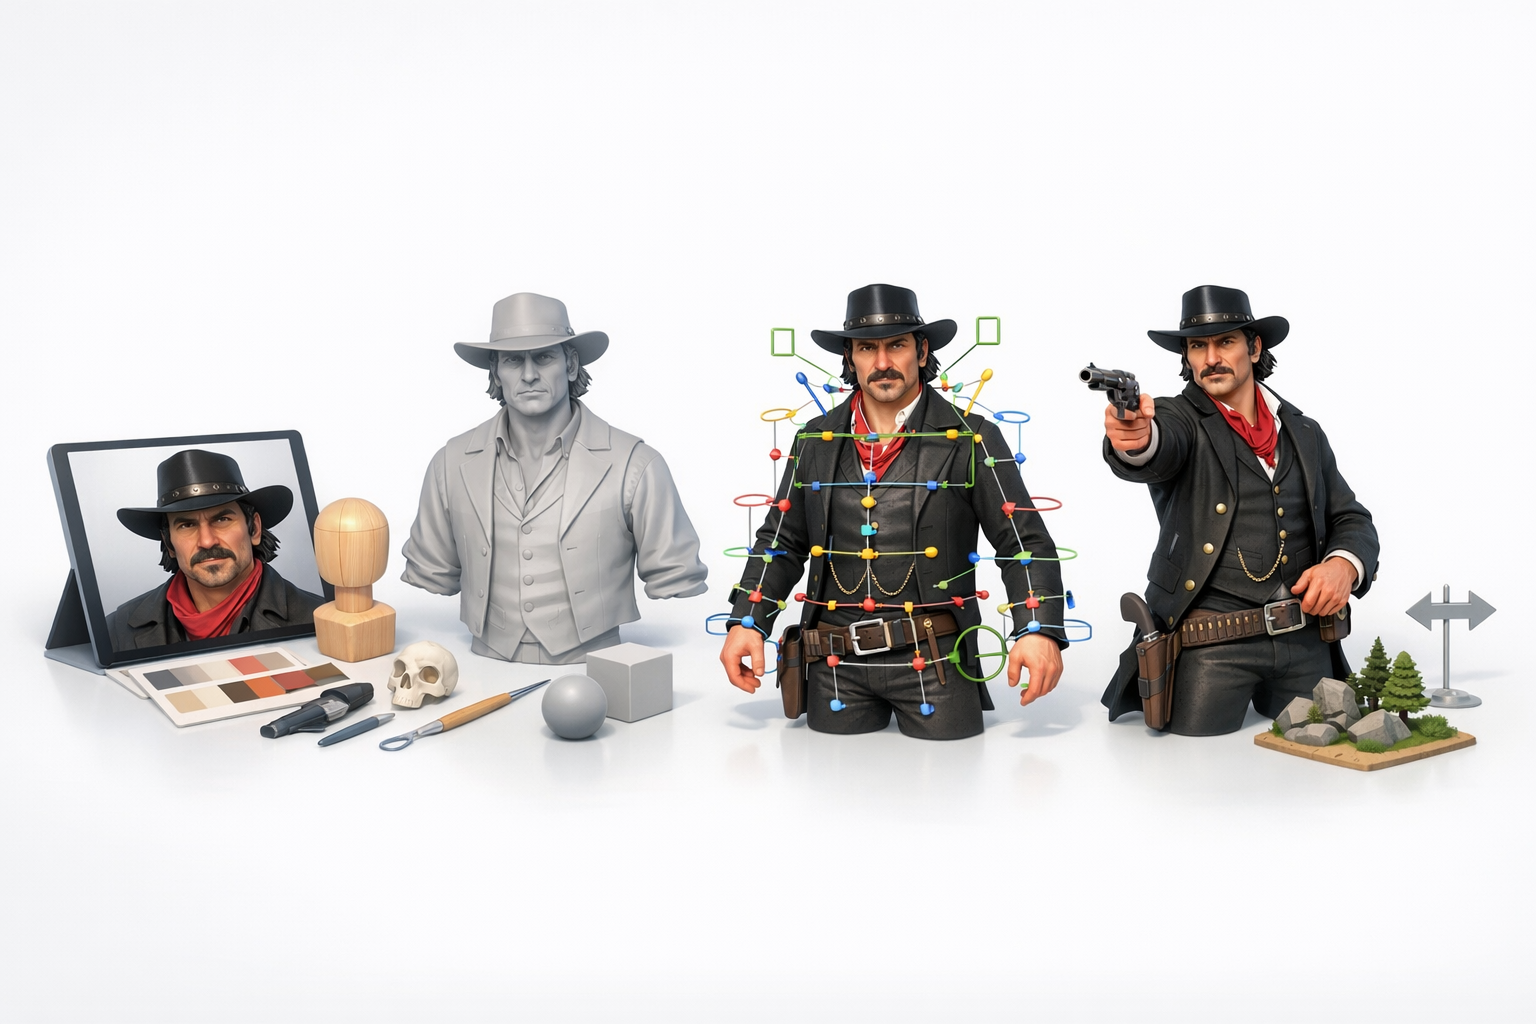
Modeling Dutch van der Linde: Step-by-Step
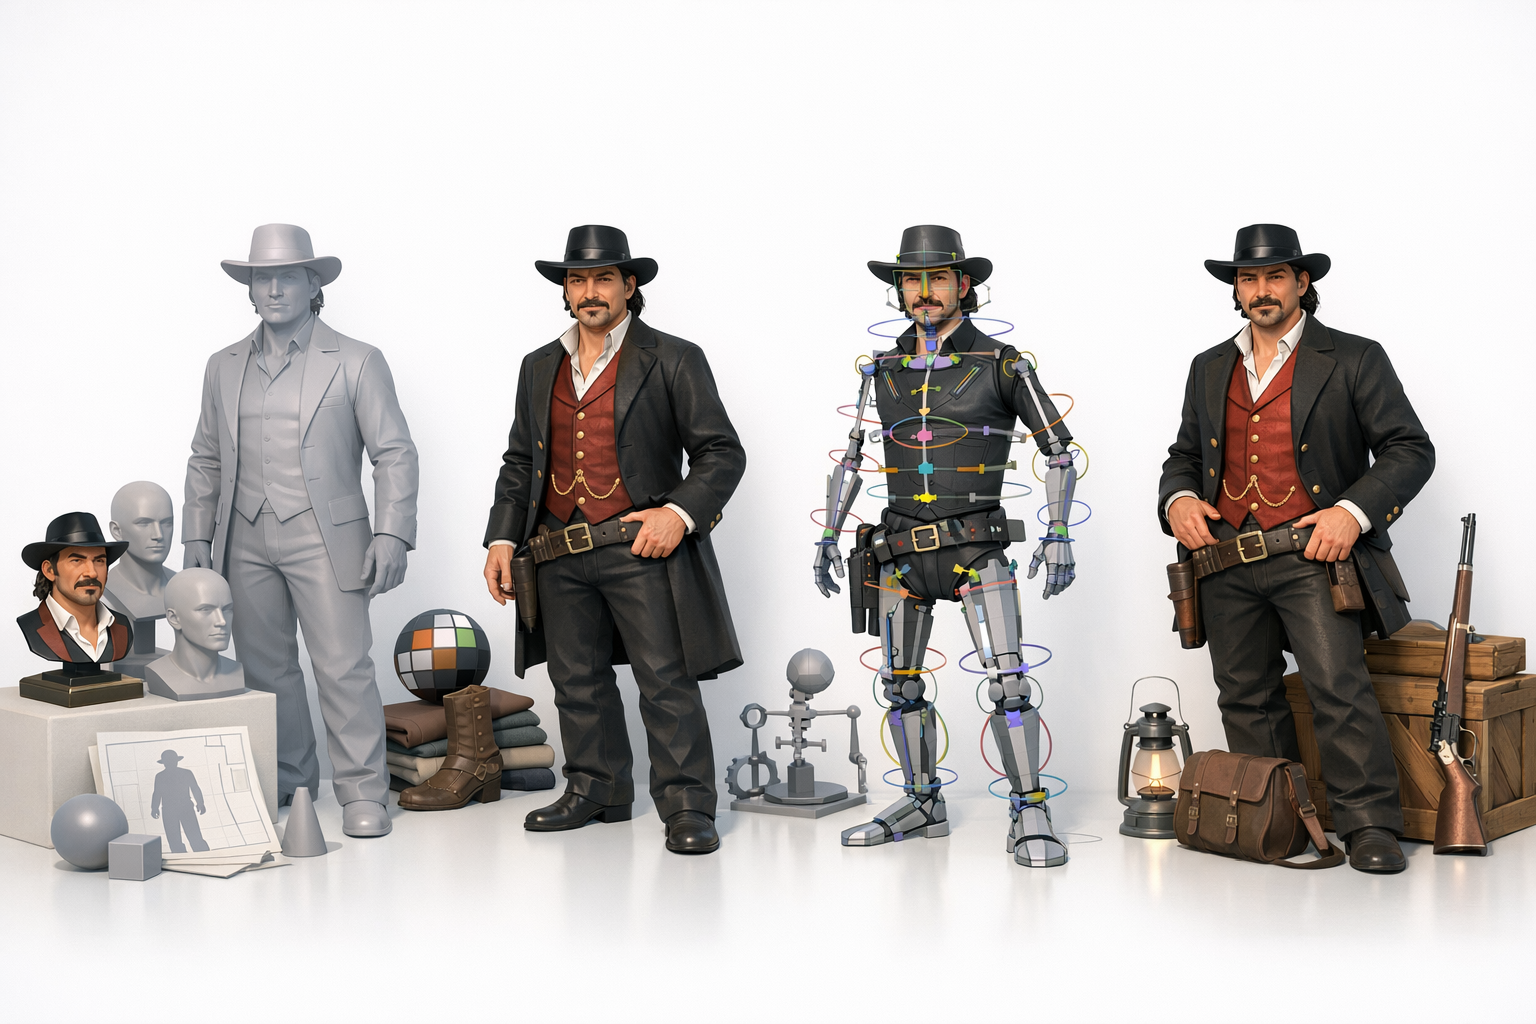
Blocking Out the Base Mesh
I begin with a low-poly base mesh, focusing on silhouette and proportions. In Tripo, I input reference images and descriptive prompts to generate a rough model, then refine manually. For manual workflows, I use basic primitives and sculpting tools to establish form.
Steps:
- Set up reference planes in viewport
- Block out head, torso, limbs as separate objects
- Adjust proportions to match reference overlays
Adding Character-Specific Details
Once the base mesh is solid, I add clothing, facial hair, and accessories. Layering geometry for coats, vests, and hats is crucial—don’t merge too early. I sculpt folds and wrinkles, and use symmetry tools for facial features.
Tips:
- Work from big shapes to small details
- Keep accessories as separate meshes for easier rigging
Texturing and Material Creation
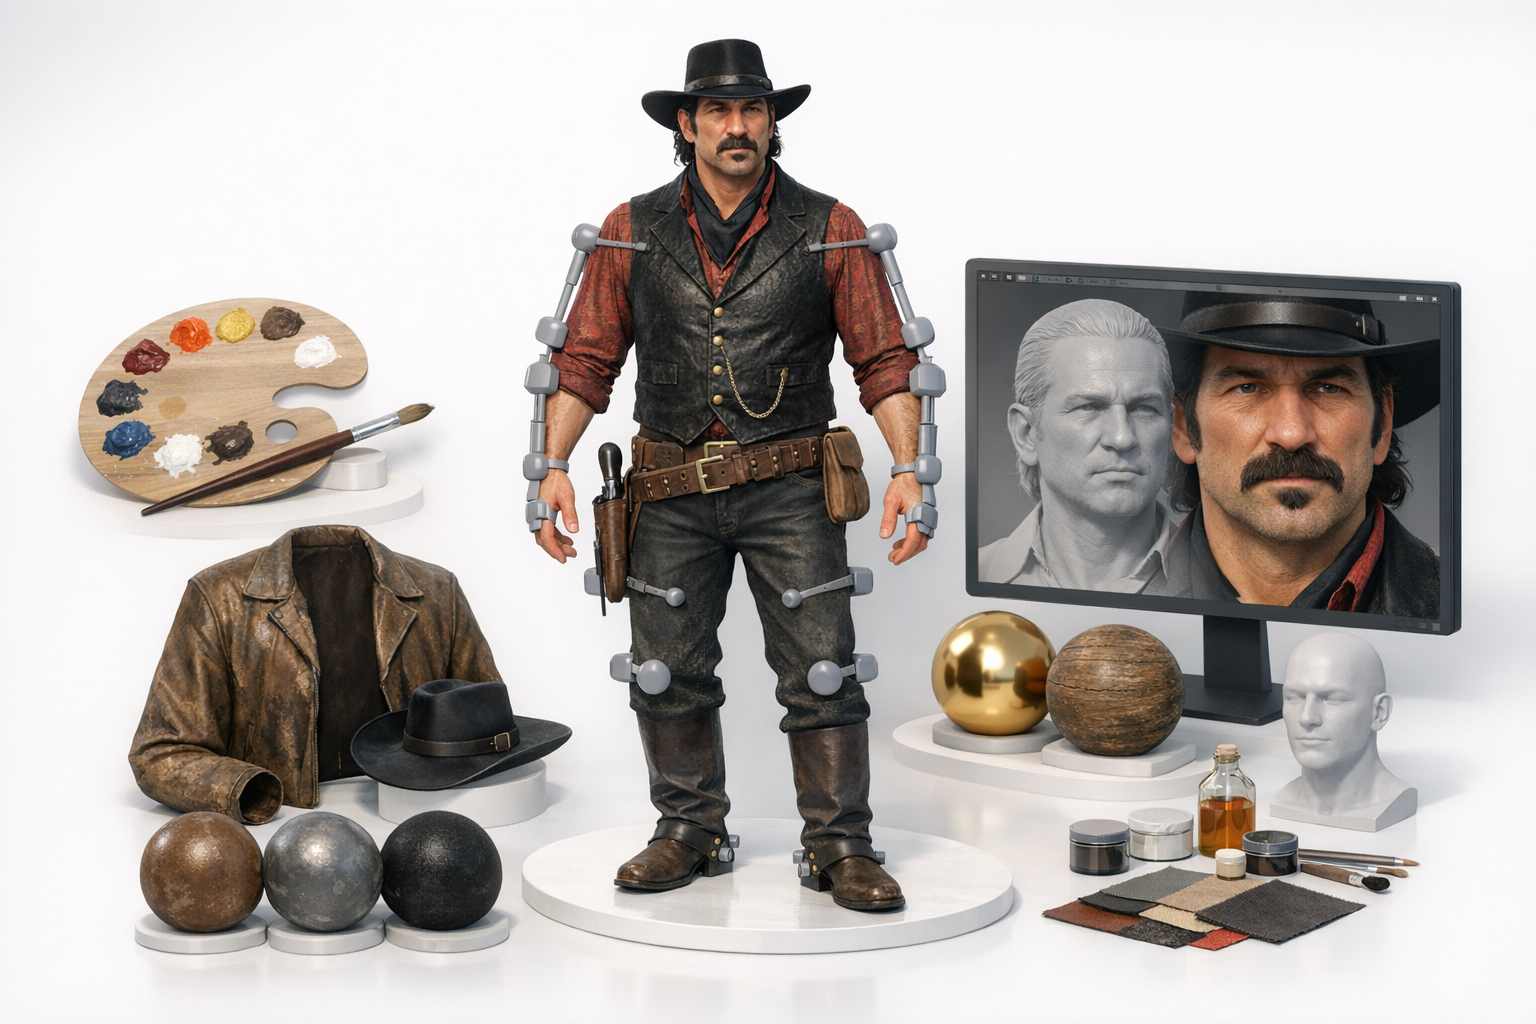
Best Practices for Realistic Texturing
I unwrap UVs carefully, minimizing distortion in key areas like the face and hands. For Dutch, I use photo-sourced textures for skin and clothing, then hand-paint details for scars, dirt, and wear. Tripo’s auto-texturing helps speed up base maps, but I always tweak manually for realism.
Mini-checklist:
- Clean UV layout (avoid stretching)
- Reference-driven color palette
- Layer dirt, wear, and micro-details
Optimizing Materials for Production
I set up physically-based materials with proper albedo, roughness, and normal maps. For game engines, I keep texture resolution balanced—2K for hero assets, 1K for secondary parts. I test materials under different lighting to ensure consistency.
Pitfalls:
- Overly shiny or matte materials
- Texture size mismatches
Rigging the Model for Animation
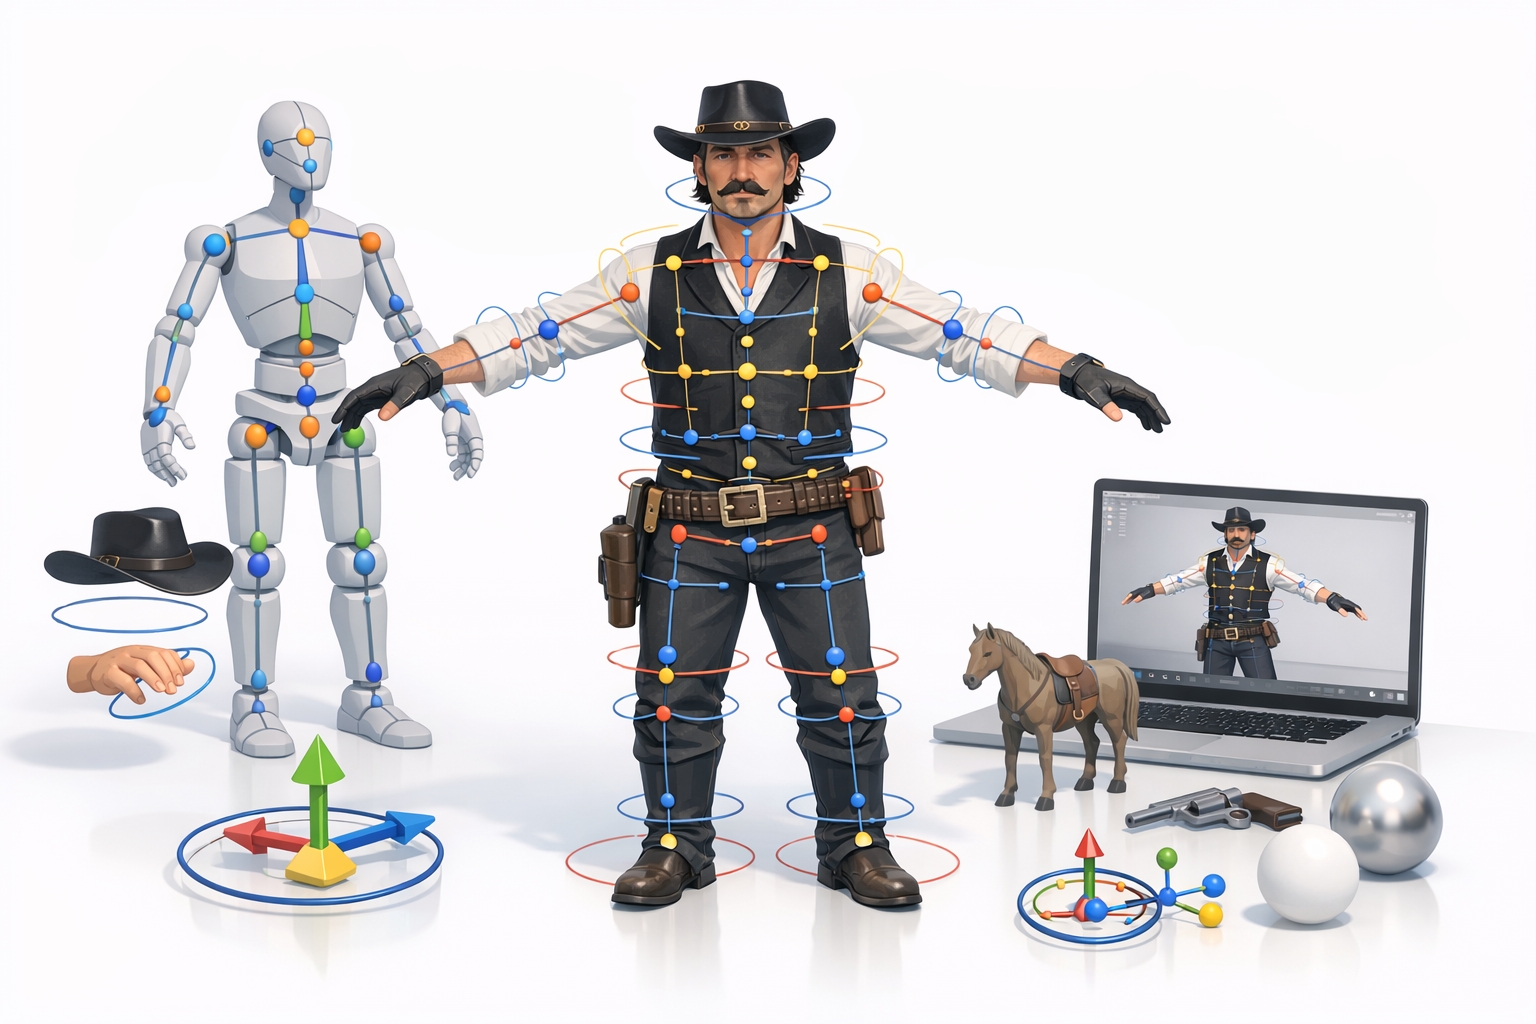
Setting Up a Clean Rig
I use a standard biped skeleton, matching joint placement to Dutch’s anatomy. In Tripo, auto-rigging generates a usable skeleton, which I refine for custom poses. Manual rigging involves careful naming and hierarchy setup.
Steps:
- Align joints to mesh in T-pose
- Check symmetry and bone orientation
- Add IK/FK controls for arms and legs
Weight Painting and Deformation Tips
Weight painting is where most animation problems start. I use gradient brushes for smooth skinning, focusing on shoulders, elbows, and knees. Tripo’s auto-weighting is a good starting point, but I always manually adjust for clean deformations.
Tips:
- Test with extreme poses early
- Avoid abrupt weight transitions
Using AI-Powered Tools for Efficiency
Integrating Tripo AI into My Workflow
Tripo streamlines mesh generation, segmentation, texturing, and rigging. I typically use it to block out the base mesh and auto-rig, then refine details and weights manually. It’s especially useful for quick iterations and prototyping.
Practical uses:
- Generate base mesh from text/image prompts
- Auto-segment and retopologize for clean geometry
- Accelerate texturing and rigging setup
Comparing Manual and AI-Assisted Methods
Manual workflows offer maximum control, but are time-consuming. AI-assisted methods reduce repetitive tasks and let me focus on creative tweaks. I combine both: AI for speed, manual edits for polish.
Pitfalls:
- Blindly trusting AI outputs (always review and tweak)
- Over-reliance on auto-textures
Exporting and Preparing for Game Engines
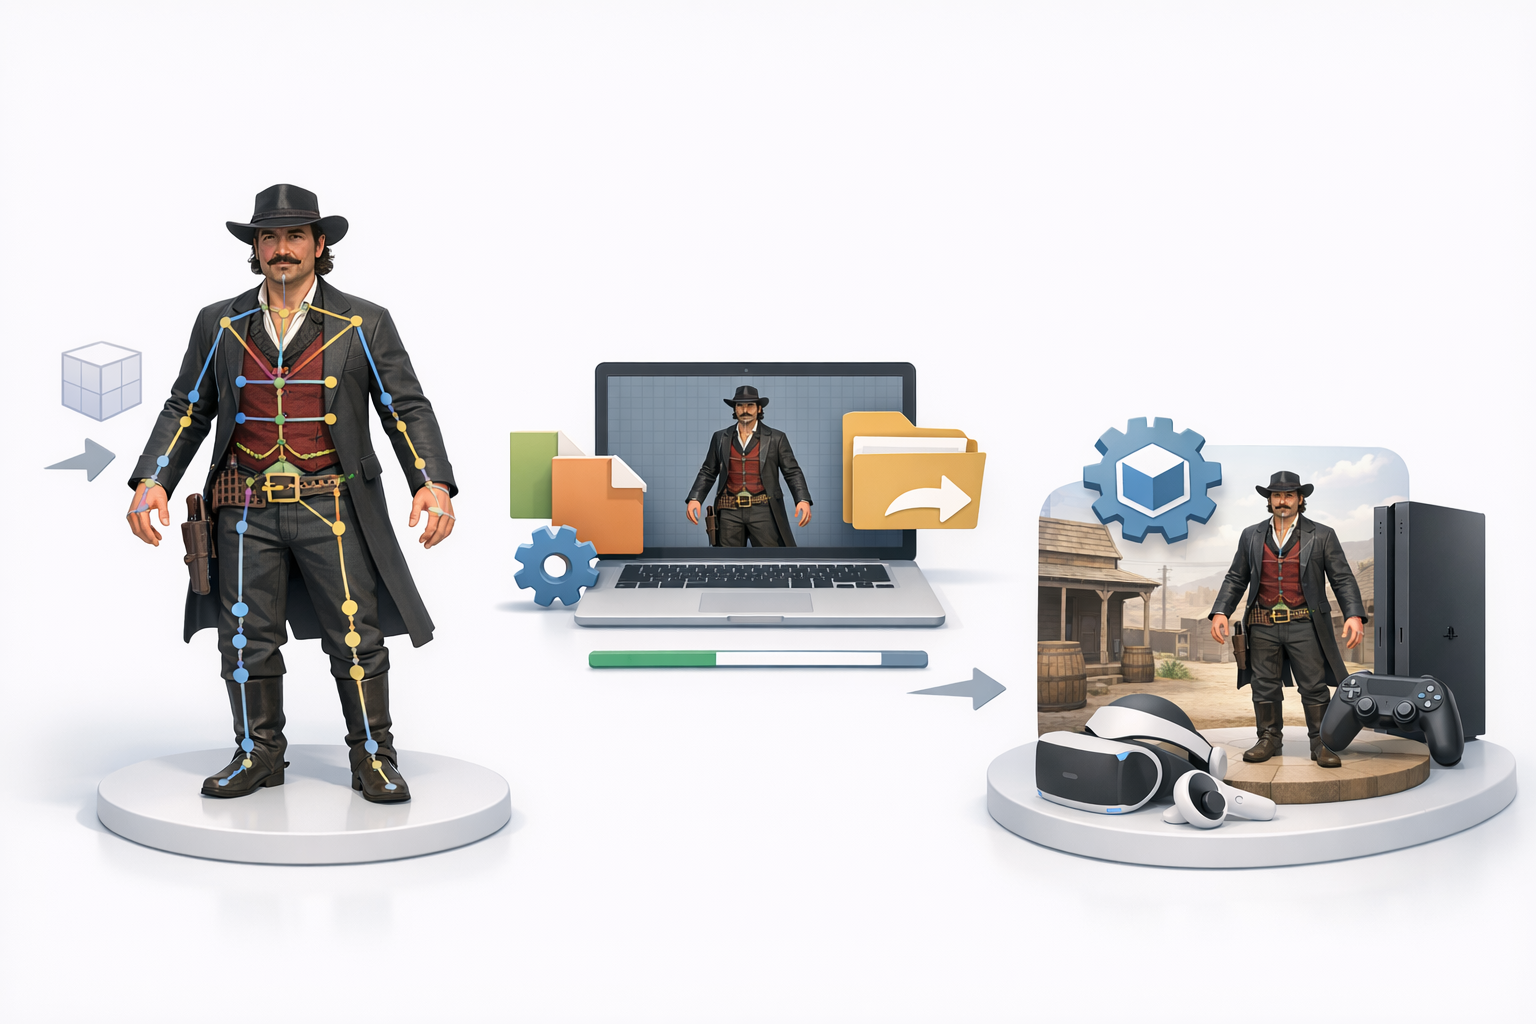
Export Settings and File Formats
I export in FBX or GLTF, depending on target engine. Key settings: triangulate meshes, embed textures, and bake animation if needed. I double-check scale and orientation to avoid import errors.
Checklist:
- FBX/GLTF with embedded textures
- Correct axis orientation (Y-up vs. Z-up)
- Animation baked or separate as needed
Testing the Rig in Real-Time Environments
I import the model into the game engine and run test animations—walk, idle, facial expressions. I look for deformation issues and material artifacts. Real-time preview is essential for catching problems before final delivery.
Tips:
- Test under multiple lighting setups
- Check for mesh clipping and joint errors
Lessons Learned and Expert Tips
Common Pitfalls and How I Avoid Them
- Reference errors: Always cross-check sources and proportions.
- Over-complicating topology: Keep geometry clean and manageable.
- Ignoring rig hierarchy: Proper naming and parenting prevent animation bugs.
- Rushing weight painting: Test early and often.
My Recommendations for Consistent Results
- Use AI tools for speed, manual edits for quality.
- Build a solid base mesh—detail comes later.
- Layer materials and textures for realism.
- Export and test in-engine before finalizing.
- Maintain a documented workflow for repeatability.
If you follow this workflow, you’ll produce a rigged 3D Dutch van der Linde model ready for animation and game integration—with minimal headaches and maximum creative control.


