Dress to Impress: Creating Stunning 3D Fashion Models
Creating high-quality 3D dress models is now faster and more accessible than ever, thanks to AI-powered workflows. In my experience, the key to standout results is a blend of clear concepting, the right toolset, and production-aware techniques. Whether you’re designing for games, XR, animation, or digital fashion, efficient processes and best practices can help you achieve impressive, production-ready assets without the usual technical headaches. Here’s how I approach 3D dress modeling for both speed and quality.
Key takeaways:
- Start with strong references and clear silhouette planning.
- Use AI-driven platforms for rapid prototyping and iteration.
- Prioritize clean topology and smart segmentation for downstream use.
- Pay close attention to texturing and fabric realism.
- Optimize for target platforms (games, XR, animation) from the start.
- Present and export models with professional polish for team or client review.
Executive Summary: Key Steps to 3D Fashion Modeling Success

What I’ve learned from real-world 3D dress projects
Having worked on multiple 3D dress projects for games and digital fashion, I’ve found that success hinges on a balance between creativity and technical discipline. Rushing into modeling without a plan leads to wasted time and rework. Leveraging AI platforms can dramatically cut down on repetitive tasks, but a human eye is still essential for details and style.
Top takeaways for efficient, impressive results
- Always gather a robust set of references before starting.
- Use quick sketches or block-outs to define the garment’s flow.
- Let AI handle initial mesh and texture generation, but refine manually.
- Keep topology and UVs clean for easy edits and compatibility.
- Test your model in the target engine or viewer early to catch issues.
Conceptualizing Your 3D Dress Model
Gathering references and inspiration
I always begin by collecting visual references—fashion photos, fabric swatches, and even runway videos. This helps anchor my design and provides texture/material cues. Pinterest boards and mood collages are great for this step.
Checklist:
- Save 10–20 images covering silhouette, fabric, and details.
- Note color palettes and style influences.
- Look for real-world garment construction references.
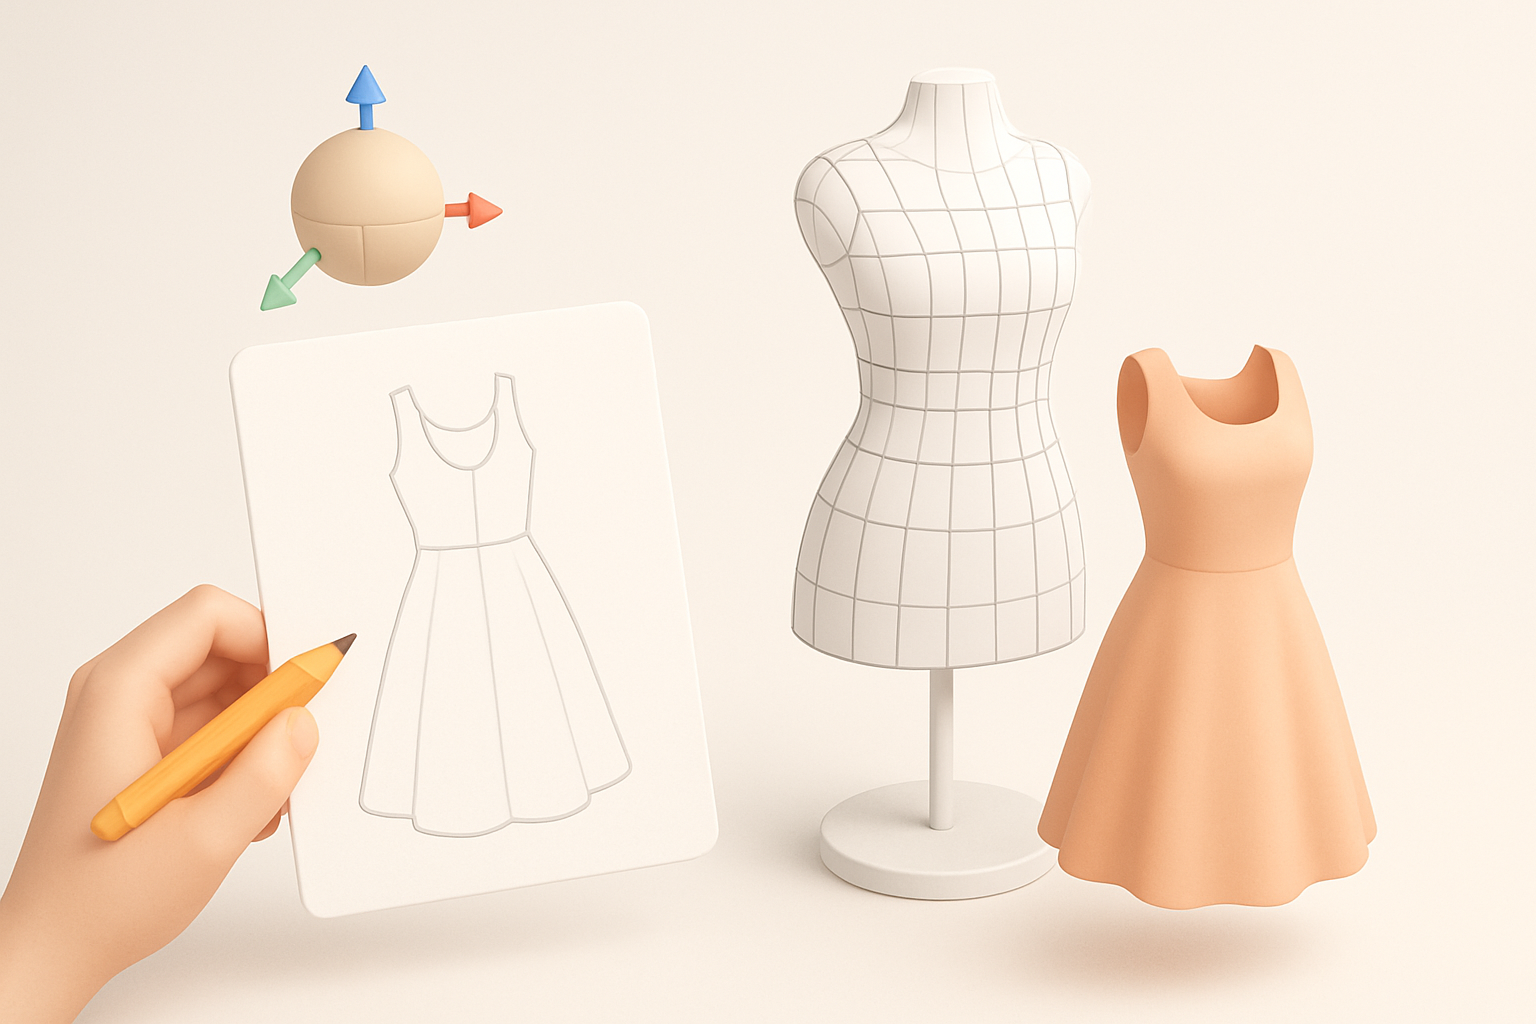
Sketching and planning the garment’s silhouette
Before touching any 3D tools, I sketch rough silhouettes on paper or digitally. This helps me nail proportions and flow. Even a simple front/side sketch can prevent proportion errors later.
Tips:
- Focus on the garment’s outline and key folds.
- Annotate areas for unique details or construction notes.
- Don’t overwork sketches; clarity is more important than artistry.
Choosing the Right Tools and Platforms

Why I use AI-powered platforms for rapid prototyping
For the initial mesh and texture, I now rely on AI-driven tools like Tripo AI. They let me generate a solid base model from a sketch or text description in seconds. This frees up time for creative refinement and reduces manual retopology and segmentation work.
Benefits:
- Fast turnaround from concept to base mesh.
- Built-in segmentation and retopology save hours.
- Easy iteration—just tweak the prompt or input to explore variations.
Comparing traditional and AI-driven workflows
Traditional modeling (box modeling, sculpting, manual UVs) is still valuable for full control, but it’s time-consuming. In my workflow, I often combine both: start with AI for speed, then refine in my preferred 3D software.
Pitfalls to avoid:
- Don’t skip manual checks—AI outputs often need cleanup.
- Watch for topology or UV issues that might not be obvious at first glance.
Step-by-Step Workflow: From Idea to 3D Dress
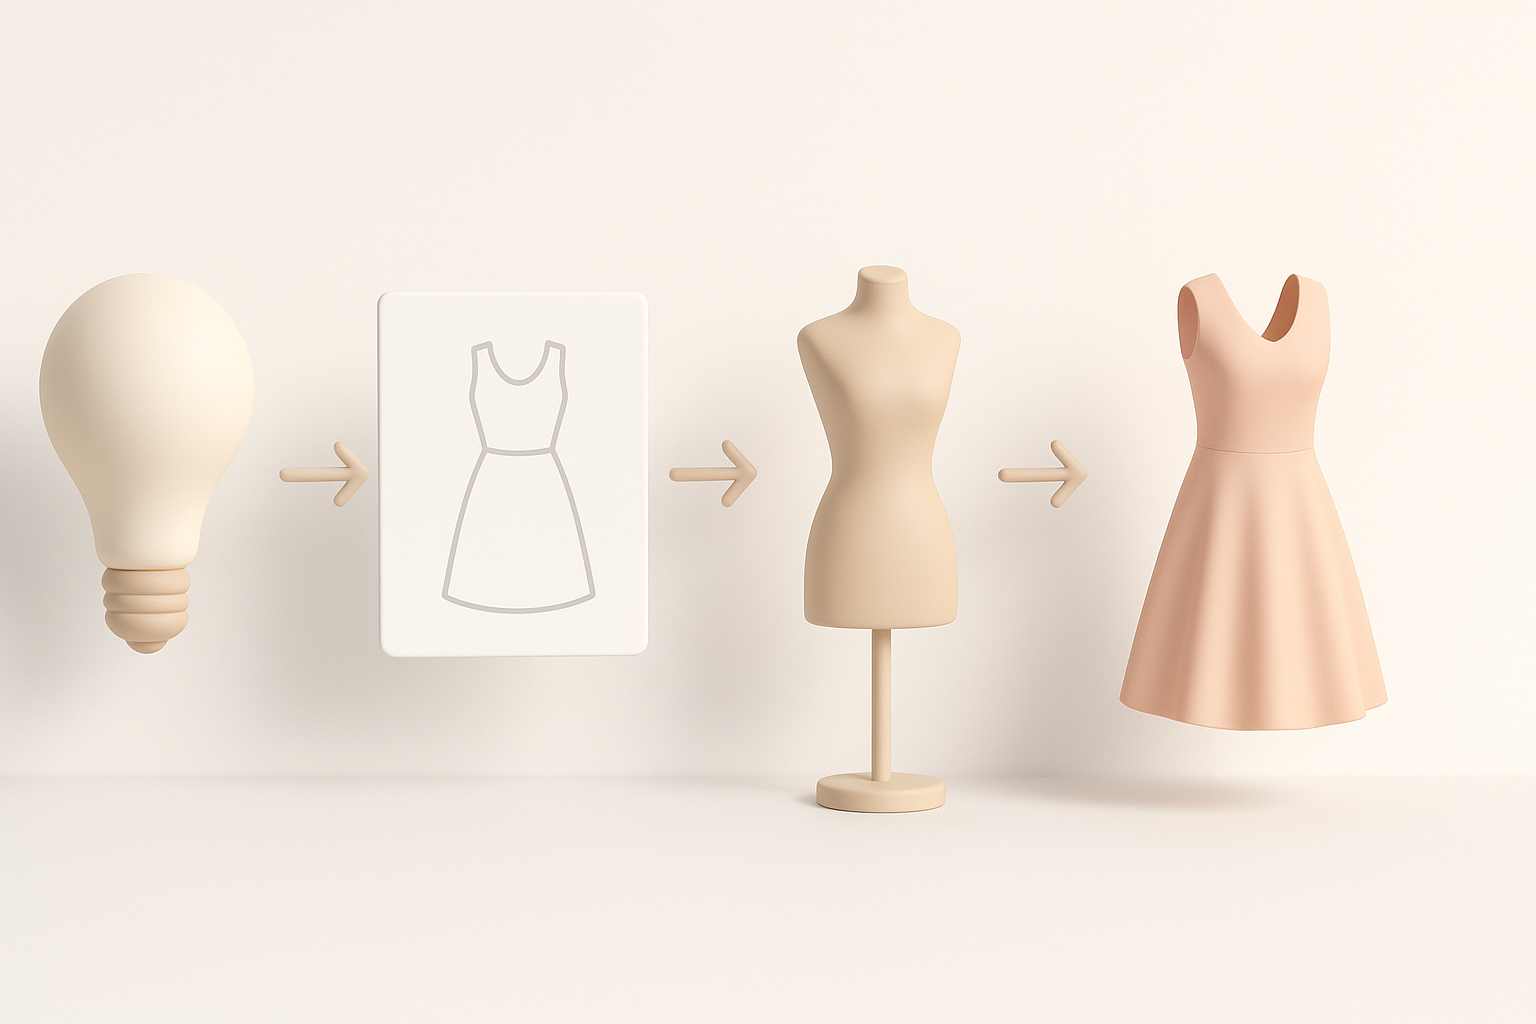
Modeling the base mesh and garment details
I usually start by generating a base mesh using an AI platform from my sketch or reference. Then, I import the mesh into a 3D package for cleanup and detail sculpting—adding folds, seams, and volume where needed.
Steps:
- Generate base mesh via AI input (text, image, or sketch).
- Import to 3D software (e.g., Blender, Maya).
- Refine geometry: adjust proportions, add thickness, sculpt folds.
- Separate garment from mannequin if needed.
Applying textures, materials, and realistic fabrics
Texturing is where the model comes alive. I use AI-generated base textures, then polish them in a dedicated painter (like Substance Painter). Pay special attention to fabric type—silk, wool, leather all behave differently under light.
Tips:
- Use high-res fabric scans or PBR materials for realism.
- Tweak normal and roughness maps for believable cloth effects.
- Preview materials under different lighting setups.
Best Practices for Production-Ready 3D Fashion Assets
Retopology, segmentation, and optimization tips
Clean topology is essential for animation and real-time use. I rely on AI platforms with built-in retopology, then manually check edge flow and polycount. Segmentation (separating sleeves, bodice, etc.) helps with rigging and material assignment.
Checklist:
- Keep polycount balanced for target platform.
- Ensure edge loops follow garment flow for natural deformations.
- Name and organize mesh parts logically.
Ensuring compatibility for games, XR, and animation
I always test my models in the target engine or viewer early. For games/XR, optimize for performance: bake normal maps, reduce draw calls, and use efficient textures. For animation, check that the mesh deforms naturally with basic rigs.
Pitfalls:
- Overly dense meshes slow down real-time engines.
- Poor UVs lead to texture stretching or seams.
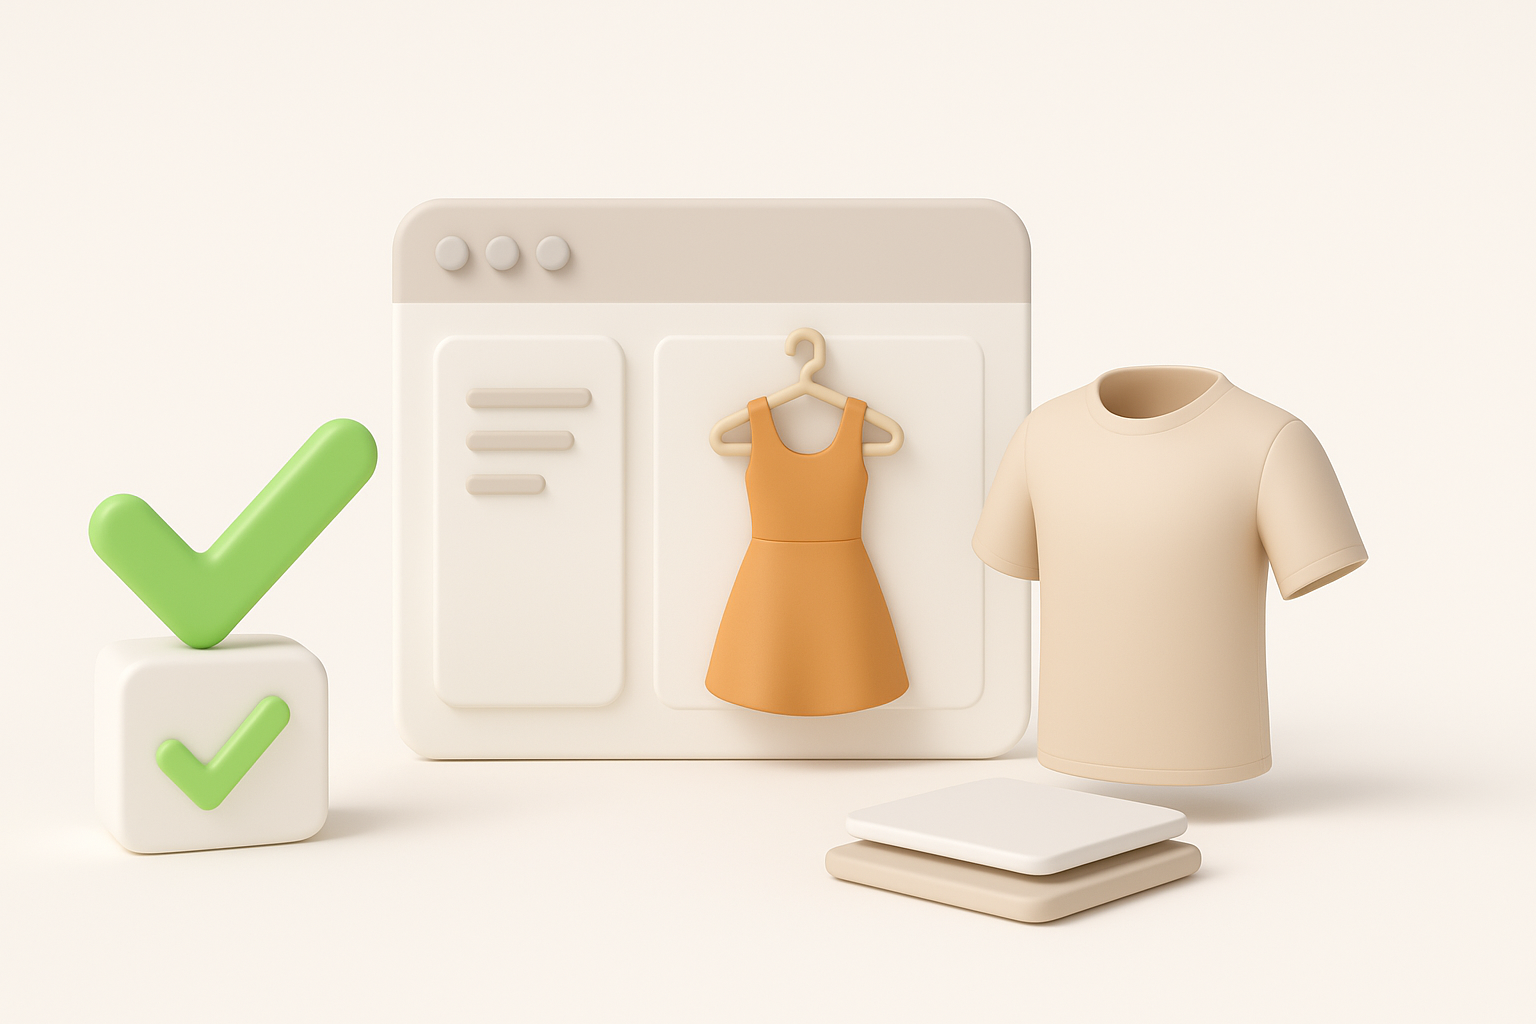
Showcasing and Sharing Your 3D Dress Models
Rendering and presentation techniques
A well-presented model makes all the difference. I set up simple studio lighting and neutral backgrounds for portfolio shots. Turntable animations or AR previews are great for showing off garment flow.
Tips:
- Use three-point lighting for clarity.
- Render at high resolution—clients notice details.
- Include wireframe and texture breakdowns for process transparency.
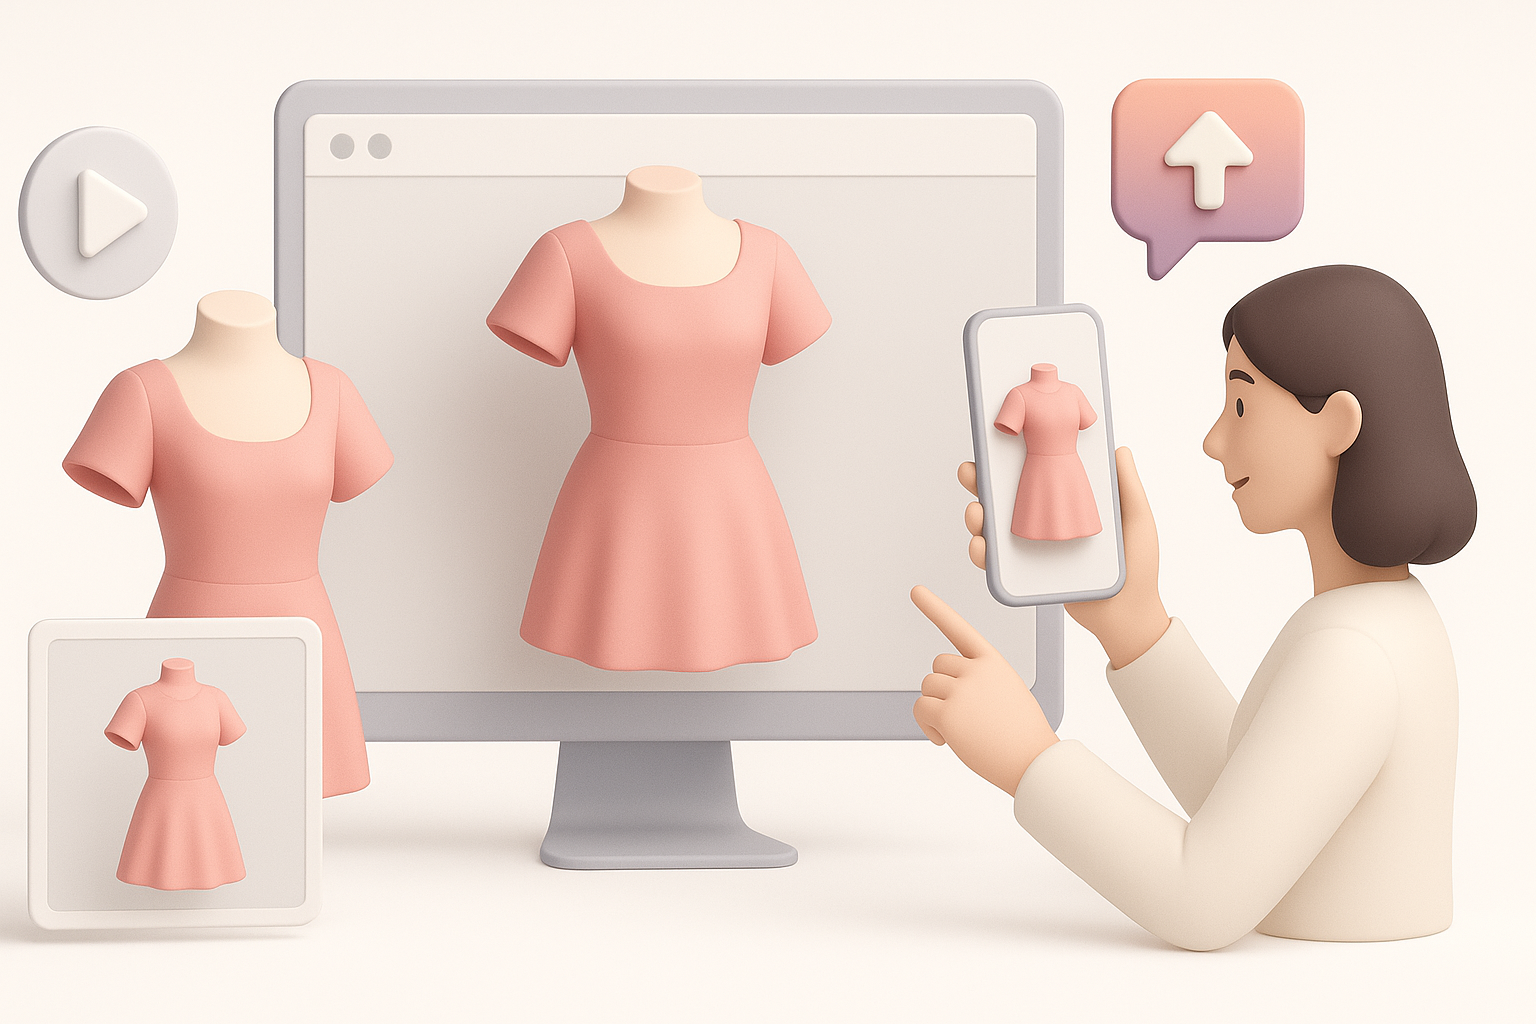
Exporting and collaborating with teams or clients
When exporting, I stick to common formats (FBX, OBJ, GLTF) and always include textures and material setups. Platforms like Tripo AI make it easy to share models and collaborate with feedback tools.
Checklist:
- Double-check scale and orientation.
- Include clear naming conventions and documentation.
- Provide both low- and high-poly versions if needed.
By following these steps and best practices, I’ve been able to deliver impressive 3D dress models efficiently, whether for games, XR, or digital fashion showcases. The right mix of AI tools, creative planning, and technical discipline makes all the difference.


