How I Create a Dragster Interior 3D Model: Expert Workflow
Creating a dragster interior 3D model requires precision, strong reference gathering, and a streamlined workflow. Over the years, I’ve refined my process to deliver production-ready assets efficiently—leveraging AI-powered tools like Tripo to accelerate tasks like segmentation, retopology, and texturing. This article is for 3D artists, technical directors, and XR developers looking to optimize their pipeline and avoid common pitfalls when modeling complex vehicle interiors. Below, I break down my expert approach, from concept to export.
Key takeaways:
- Start with accurate references and clear concept sketches.
- Block out main forms before diving into details.
- Use AI-driven segmentation and retopology for clean, efficient geometry.
- Prioritize realistic materials, precise UVs, and interactive rigging.
- Export with production needs in mind—targeting game engines or XR platforms.
- AI platforms can dramatically reduce manual workload, but knowing when to use traditional methods is crucial.
Executive Summary: Key Takeaways for Dragster Interior Modeling
What makes a dragster interior unique
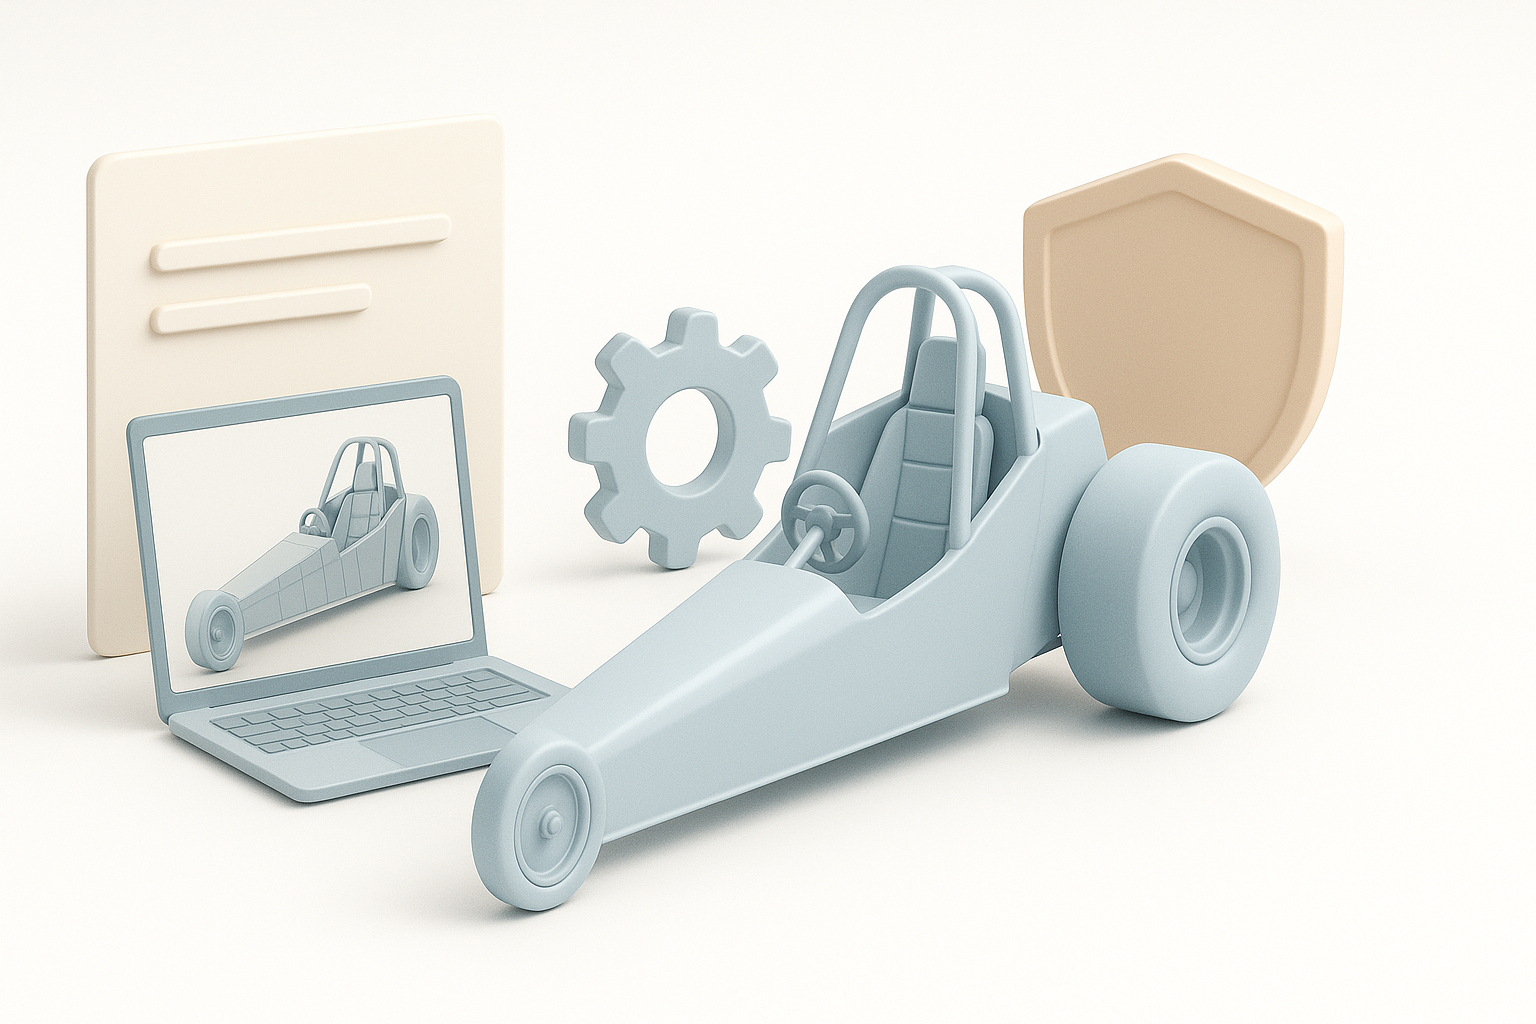
Dragster interiors are minimal, functional, and designed for high performance. Unlike standard car interiors, they feature exposed mechanics, specialized controls, and lightweight seating—often with little to no comfort features. In my experience, capturing this utilitarian look is key: focus on the roll cage, racing seat, control cluster, and visible wiring or hydraulics.
Essential steps for efficient 3D modeling
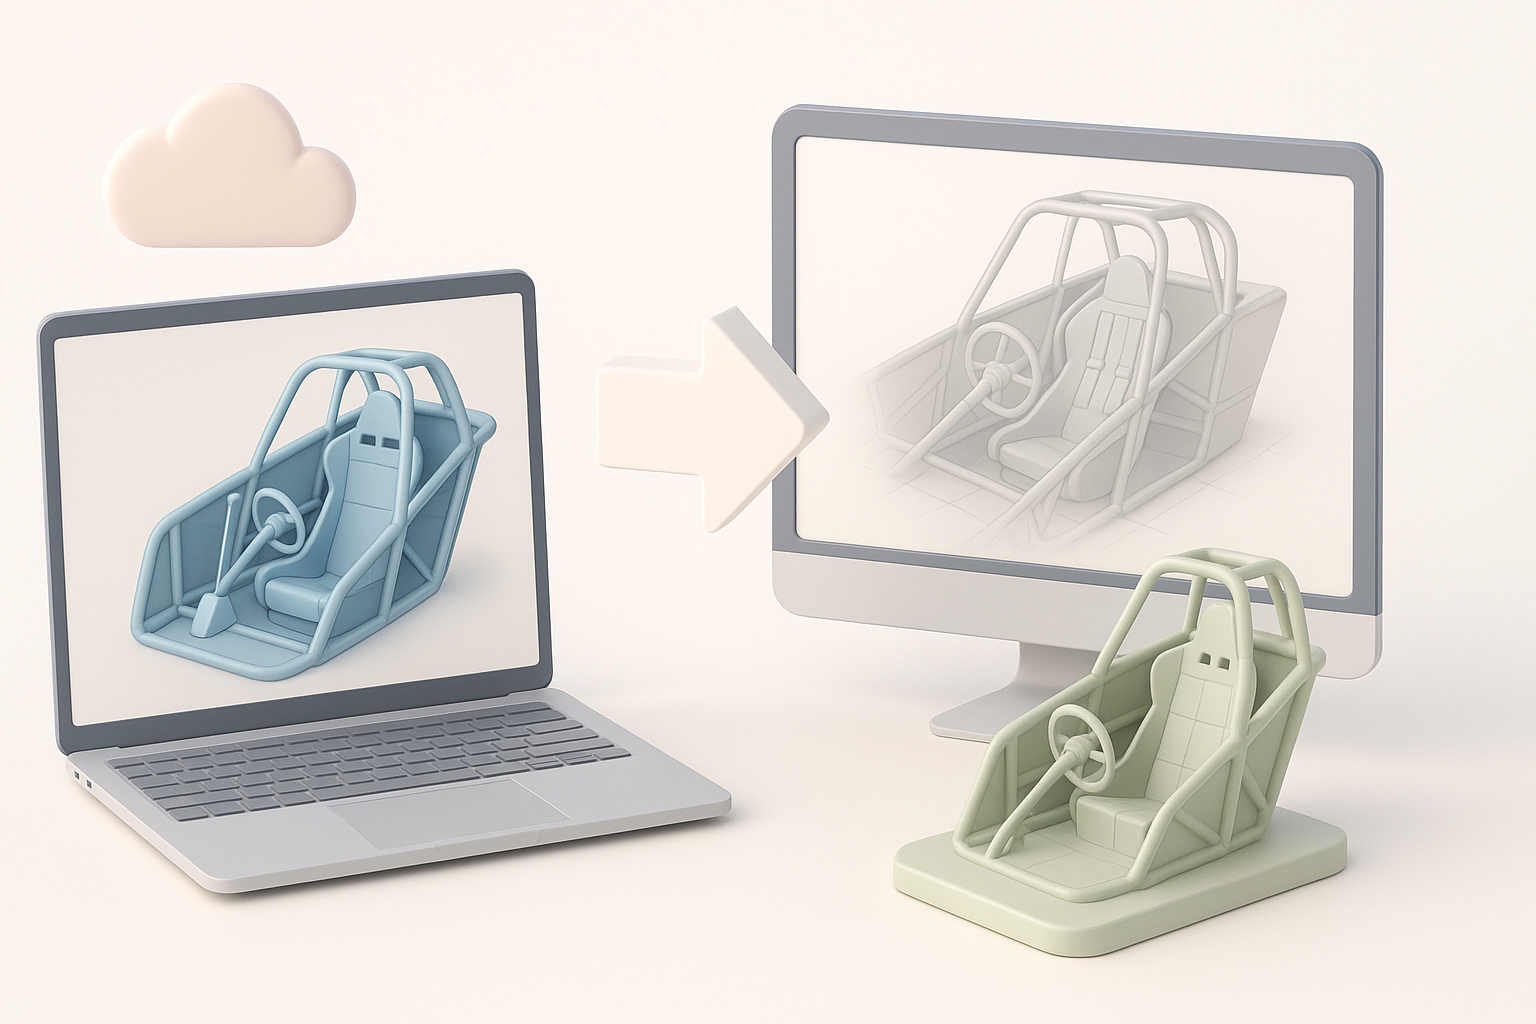
My workflow always starts with reference gathering, followed by blocking out main shapes, detailing, optimizing geometry, texturing, and finally rigging for interaction. Using AI-powered tools, I can automate segmentation and retopology, saving hours on cleanup. The final steps are precise UV mapping, material assignment, and export settings tailored for the target platform.
Reference Gathering and Concept Planning
Sourcing accurate dragster interior references
I start every project by collecting high-resolution photos, blueprints, and even videos of real dragster interiors. Manufacturer sites, motorsport forums, and teardown videos are invaluable. I organize references by component—steering, pedals, dashboard—to ensure I capture functional details.
Checklist:
- Gather orthographic views and close-ups of controls.
- Reference modern and classic dragsters for variety.
- Note materials, wear, and mechanical connections.
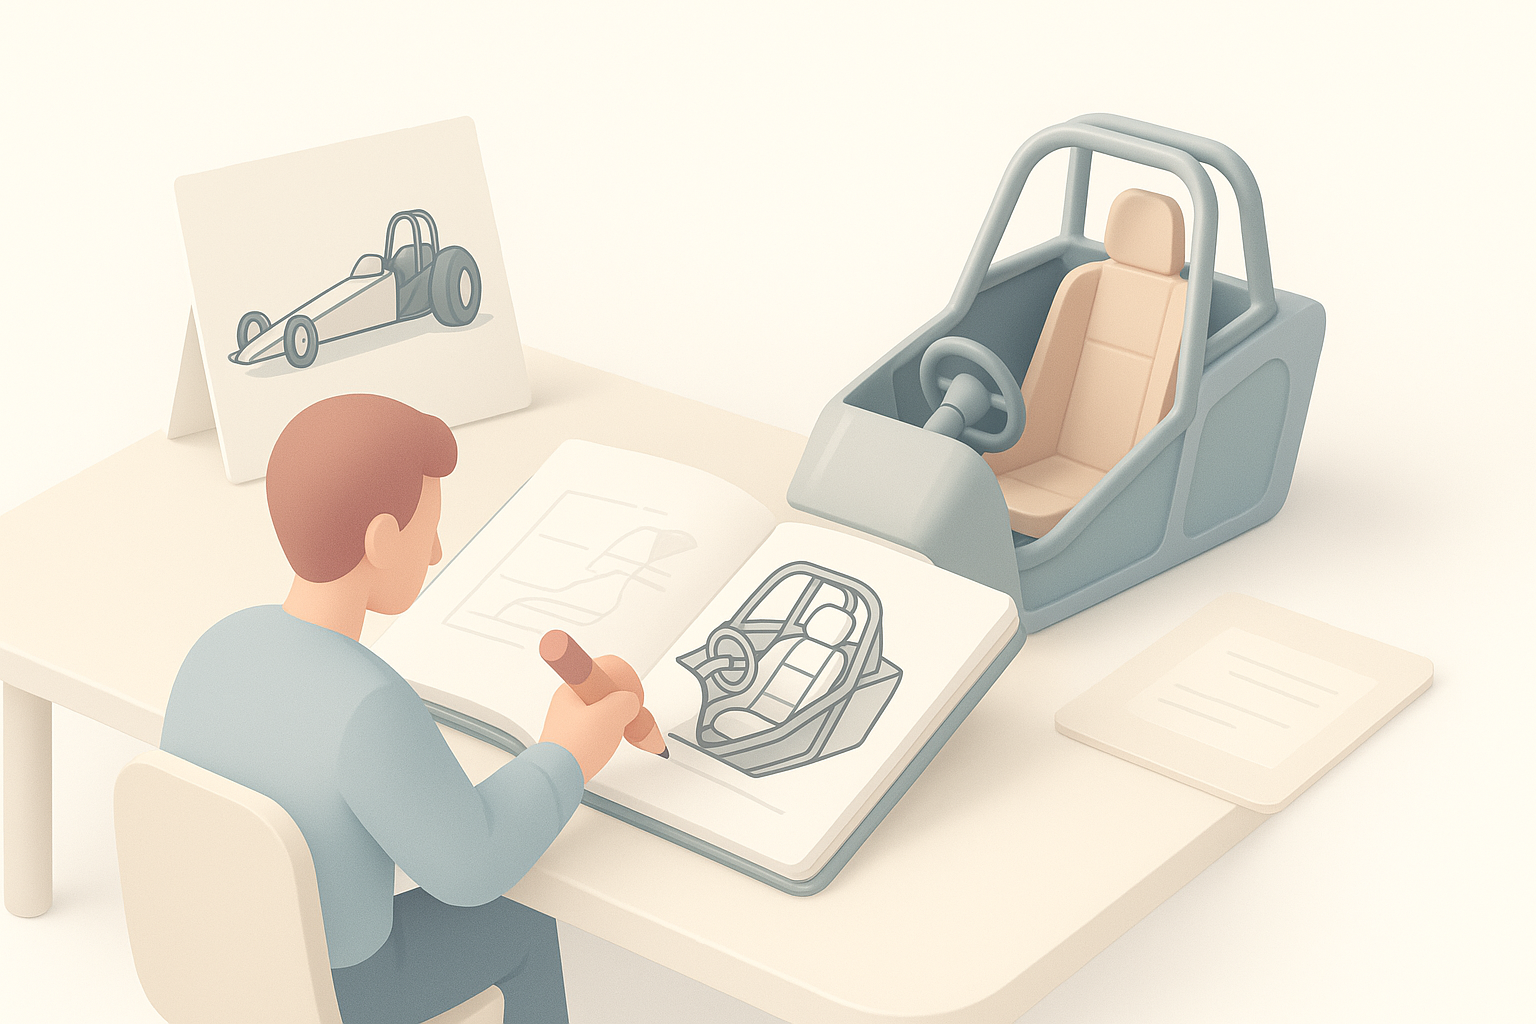
Sketching and visualizing the layout
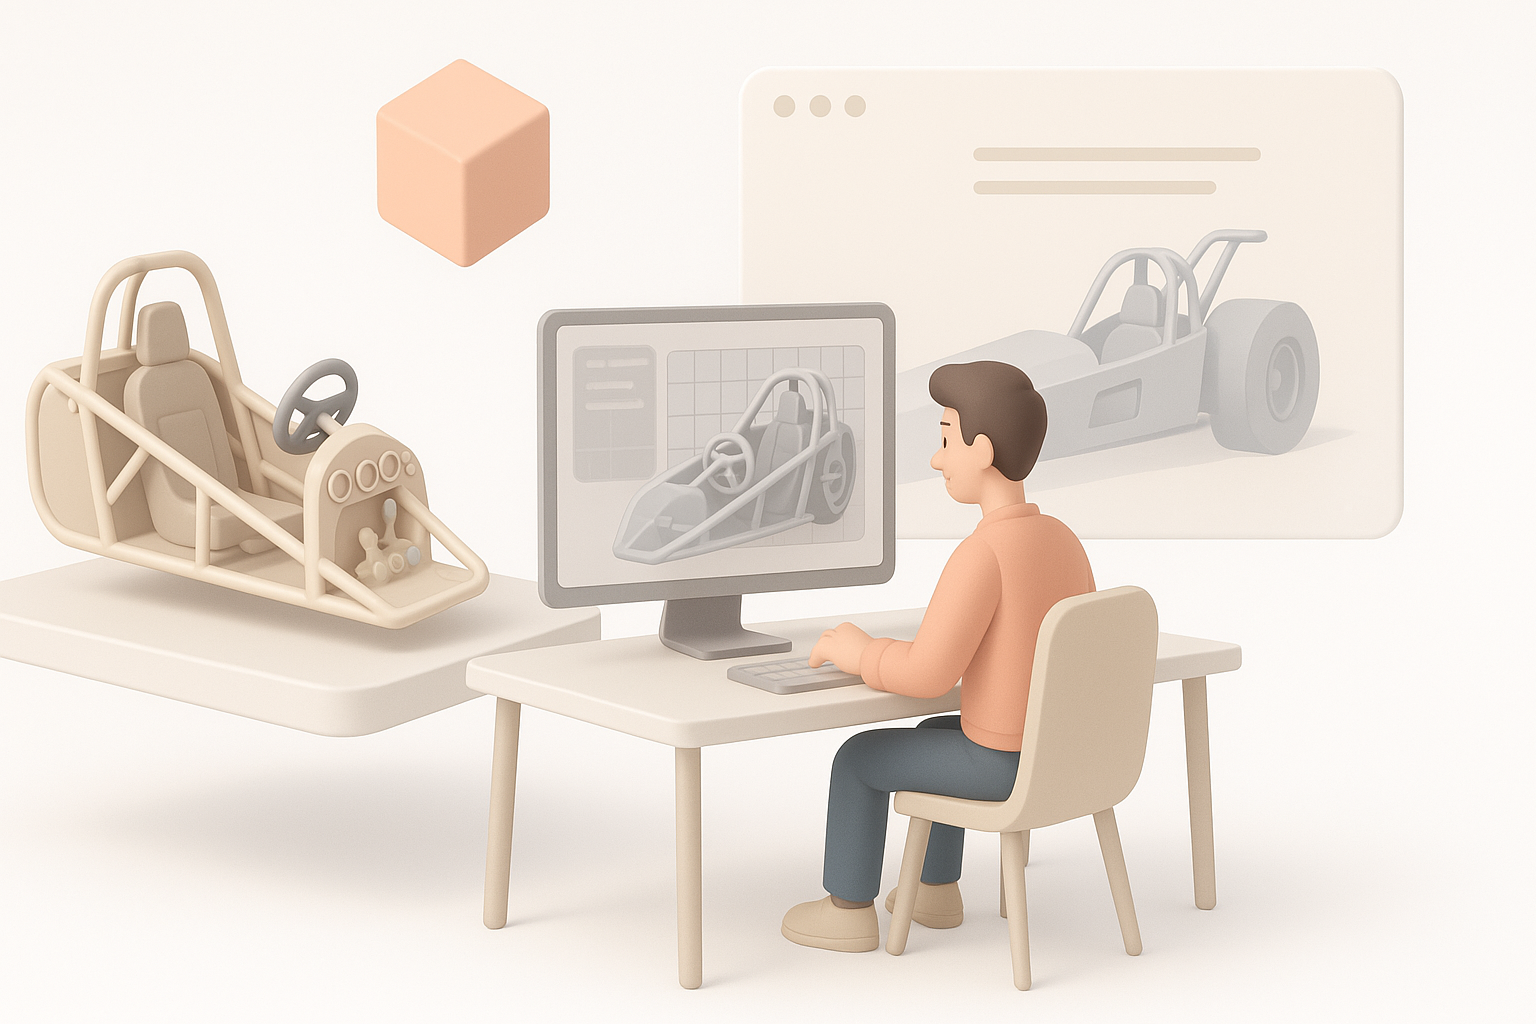
Before opening any 3D software, I sketch the cockpit layout—either on paper or digitally. This helps me plan proportions and identify key elements. Sometimes, I’ll create a quick blockout in Tripo or similar platforms to visualize scale and seating position.
Tip:
Even rough sketches clarify spatial relationships and help avoid proportion errors later.
3D Modeling Workflow: My Step-by-Step Process
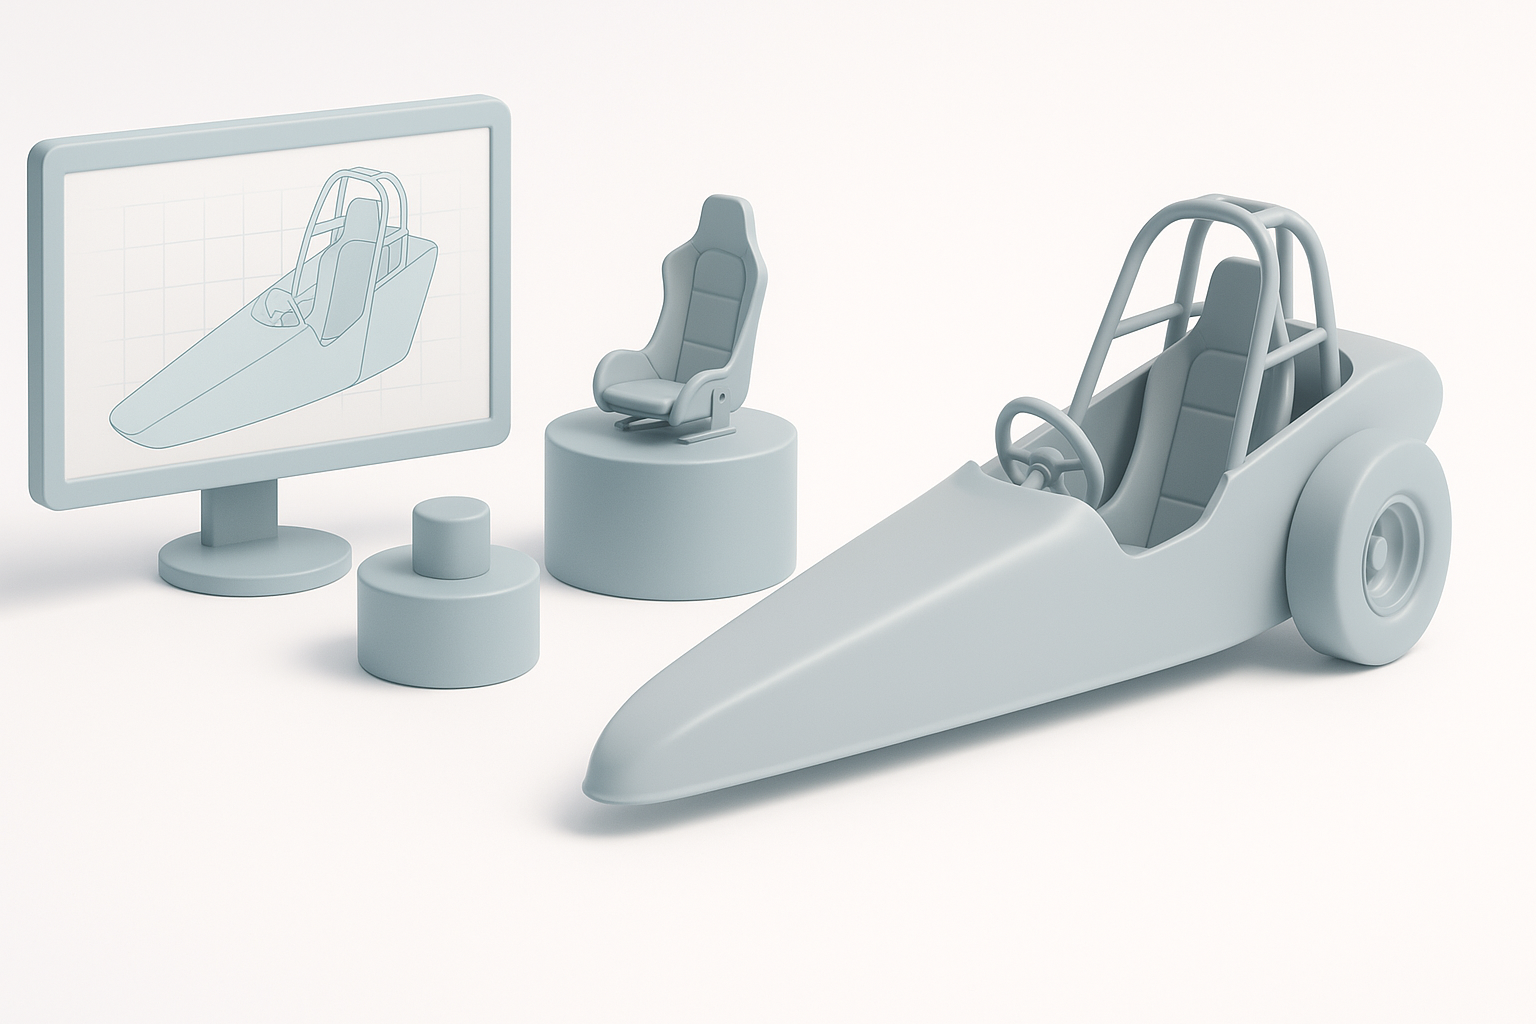
Blocking out the main shapes and cockpit
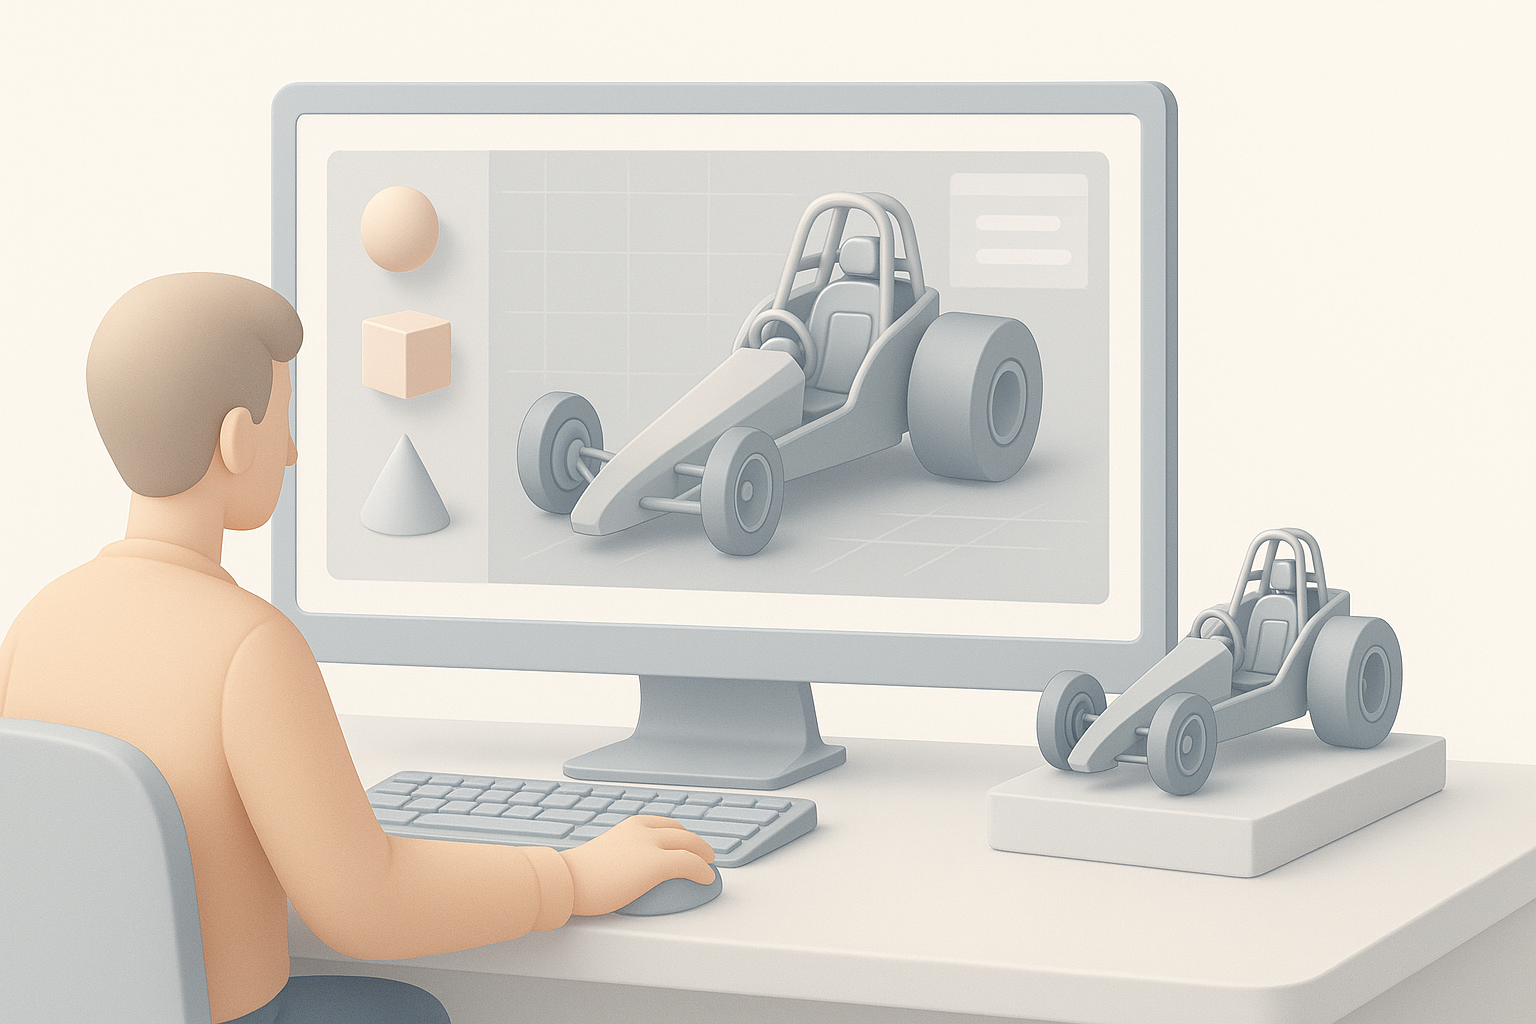
I begin by blocking out the cockpit, seat, and roll cage with basic primitives. In Tripo, text or sketch-based prompts accelerate this stage. I focus on correct scale and alignment, checking against my references constantly.
Steps:
- Place seat and roll cage first—they’re the visual anchors.
- Add dashboard, steering column, and pedal cluster.
- Keep everything low-poly for easy iteration.
Detailing controls, seats, and dashboard elements
Once the main forms are set, I add details: switches, gauges, harnesses, and shifter. I model these as separate objects for easier texturing and animation later. With AI tools, I can quickly segment and refine these pieces, ensuring clean geometry.
Pitfall:
Don’t over-detail early—focus on essential elements first, then add smaller components as needed.
Optimizing Geometry: Segmentation and Retopology
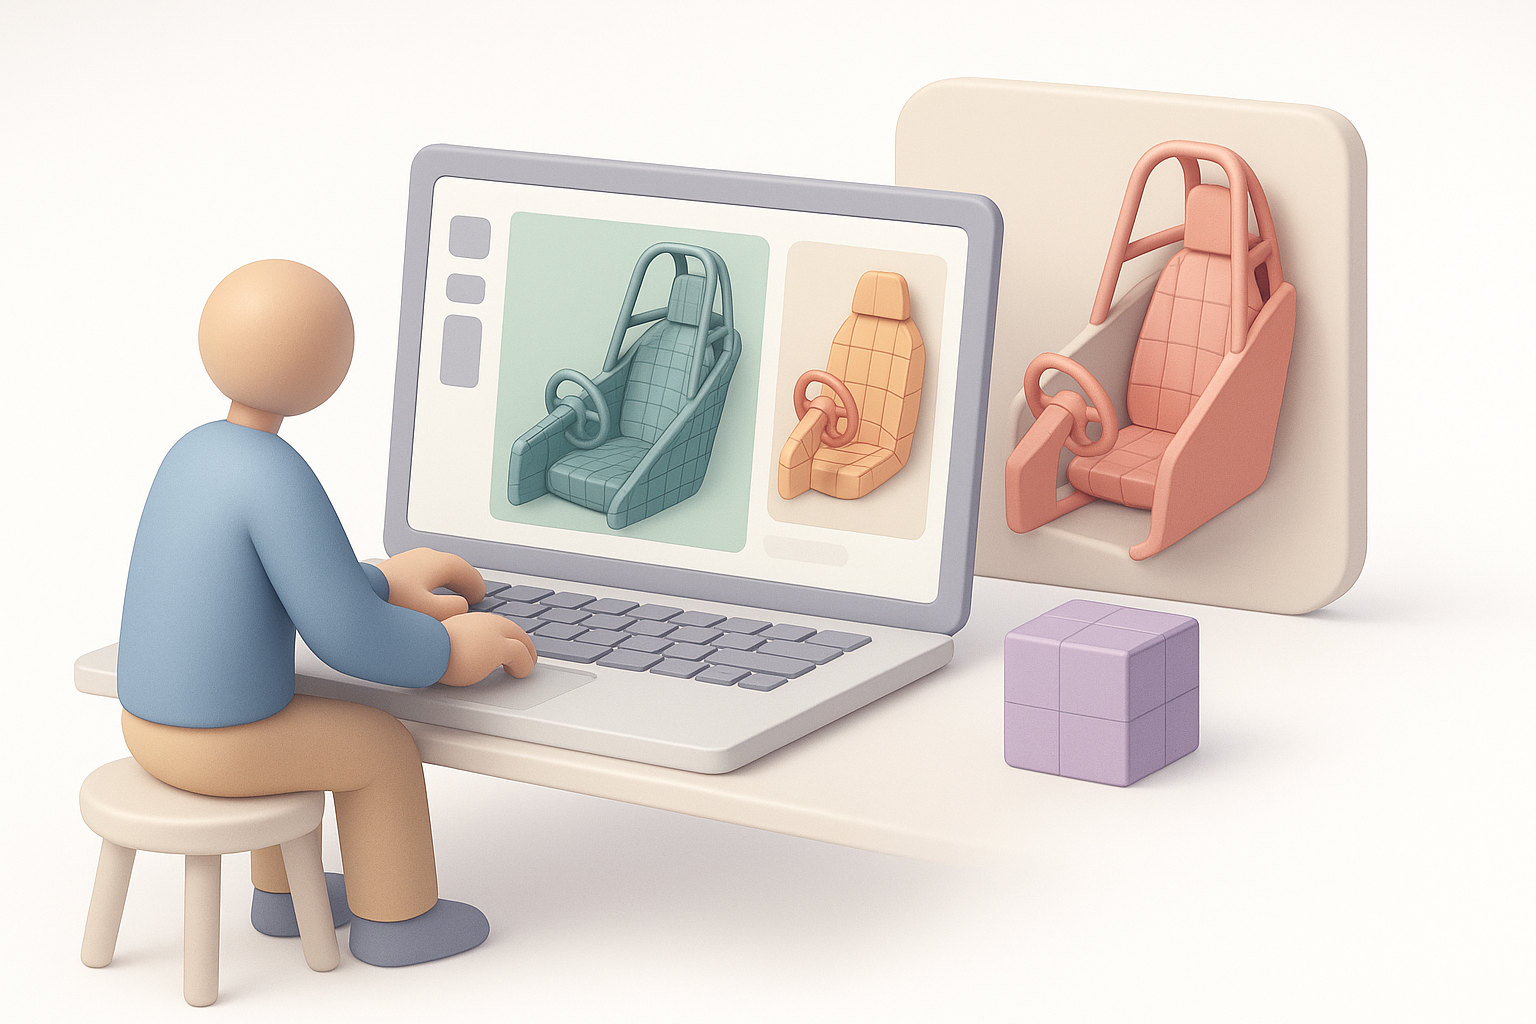
Intelligent segmentation for clean topology
Clean segmentation is crucial for texturing and animation. I use Tripo’s intelligent segmentation to break the model into logical parts—seat, controls, dashboard—avoiding messy overlaps. This step saves time on UVs and material assignment.
Best practice:
Name and organize segments clearly for later export.
Retopology tips for production-ready assets
I always retopologize manually or with AI assistance to ensure even edge flow and efficient polycount. For game or XR assets, I target a balance between detail and performance—using quad-based topology for deforming parts.
Checklist:
- Remove ngons and stray verts.
- Optimize for animation where needed (e.g., steering wheel, pedals).
- Bake high-res details to normal maps for efficiency.
Texturing and Material Creation

Applying realistic materials and textures
I assign physically accurate materials—brushed aluminum, carbon fiber, vinyl, and rubber. In Tripo, I use smart material libraries and AI-powered texture generation for rapid iteration. I always hand-tweak roughness and metallic values for realism.
Pitfall:
Avoid generic shaders; reference real-world materials closely.
UV mapping best practices for interiors
UV layout is critical for dragster interiors due to tight spaces and visible seams. I use automatic UV tools for base layouts, then manually adjust islands for high-visibility areas. Overlapping UVs are fine for repeating parts (e.g., bolts).
Tips:
- Minimize seams on curved surfaces.
- Allow extra texel density for dials and controls.
Rigging and Animation for Interactive Experiences

Rigging movable parts like steering and pedals
For interactive applications, I rig the steering wheel, pedals, and shifter. I use simple bone systems, assigning pivot points based on real-world mechanics. Tripo’s auto-rigging accelerates this, but I always verify joint placement manually.
Checklist:
- Set up parent-child relationships (e.g., steering column to wheel).
- Test each rigged part for full range of motion.
Animating cockpit elements for realism
I animate the most interactive elements—steering rotation, pedal depression, gauge needles. Even simple keyframe animations add realism for XR or in-game use. I keep animations modular for easy integration in engine.
Tip:
Preview animations in context to catch unnatural movement early.
Exporting and Integrating the Model
Export settings for game engines and XR
I export using FBX or GLTF, depending on the target platform. I always check scale, pivot orientation, and texture embedding. Tripo’s export presets streamline this, but I double-check in the destination engine (e.g., Unity, Unreal) for issues.
Checklist:
- Apply transforms and freeze scale.
- Use packed textures for efficiency.
- Test import before final delivery.
Integrating with other tools and workflows
I often move assets between DCC tools and AI platforms for final tweaks. Keeping a clean layer structure and clear naming conventions prevents confusion. For collaboration, I use version control and document any custom scripts or shaders used.
Comparing AI-Powered and Traditional 3D Workflows
Advantages of AI-driven platforms
AI-powered platforms like Tripo significantly reduce manual labor on segmentation, retopology, and texturing. I can iterate faster and spend more time on creative decisions. For tight deadlines or large asset batches, AI is a game-changer.
Advantages:
- Rapid prototyping from sketches or text prompts.
- Automated cleanup and optimization.
- Smart material assignment.
When to use alternative methods
For hero assets or highly customized interiors, I sometimes revert to traditional DCC software for full control. AI tools excel at speed, but manual modeling offers ultimate precision when needed.
Tip:
Combine AI automation with manual refinement for best results.
My Best Practices and Lessons Learned
Common pitfalls and how I avoid them
- Over-modeling: Focus on visible and interactive elements.
- Messy topology: Always clean up AI-generated meshes.
- Texture stretching: Check UVs in engine before finalizing.
Tips for achieving production-ready results
- Reference real dragster interiors obsessively.
- Use AI tools for speed, but don’t skip manual QA.
- Keep exports organized and tested in the target environment.
- Document your workflow for easier collaboration and revisions.
By following this workflow, I consistently deliver high-quality, production-ready dragster interior models—balancing speed, accuracy, and creative control.


