Creating Dragon Ball Sparking Zero 3D Models: My Workflow & Tips
Creating game-ready 3D models for Dragon Ball Sparking Zero demands a blend of technical precision and anime-inspired artistry. In my hands-on experience, the right workflow, reference analysis, and use of AI tools like Tripo dramatically streamline the process—especially when dealing with stylized characters and complex effects. This article is for 3D artists, game developers, and anyone looking to efficiently produce high-quality, anime-style models that are ready for real-time engines. I'll walk you through my proven pipeline, from concept to export, highlighting practical tips, common pitfalls, and where automation fits in.
Key takeaways:
- Analyze and match Sparking Zero’s unique anime style from the start.
- Block out clean base meshes before diving into details.
- Use AI tools for rapid iteration but refine manually for quality.
- Prioritize clean topology and optimized UVs for animation and texturing.
- Test models in-game early to catch issues before export.
- Address hair/effects and compatibility challenges proactively.
Executive Summary: Key Insights on Dragon Ball Sparking Zero 3D Models
What makes Sparking Zero models unique
Dragon Ball Sparking Zero models stand out due to their bold, stylized proportions, dynamic poses, and cel-shaded textures. The look is anime-accurate, with exaggerated anatomy, sharp silhouettes, and expressive faces. Effects like spiky hair and aura elements are integral, often requiring creative mesh and material solutions.
My top takeaways for efficient 3D creation
- Always start with strong reference analysis, as capturing the style is critical.
- Use automated tools for speed, but manual passes are essential for polish.
- Focus on topology and UVs to ensure models animate and shade correctly.
- Test regularly in real-time to avoid surprises at export.
Understanding the Style and Requirements of Sparking Zero Models

Analyzing reference materials and in-game assets
I always begin by gathering high-res screenshots, official artwork, and gameplay footage. I pay close attention to silhouette, facial features, and the way hair and clothing are constructed. Reverse-engineering in-game models (when possible) helps me understand mesh density, joint placement, and texture detail.
Checklist:
- Collect multiple angles of the character.
- Note costume layers, accessories, and effects.
- Study shading and material transitions.
Identifying technical and artistic benchmarks
Sparking Zero models typically target real-time engines, so polycount, texture resolution, and rigging constraints are important. I set technical benchmarks—like triangle count and texture size—based on the game’s requirements and platform. Artistically, I focus on maintaining the anime look, avoiding over-detailing.
Pitfalls to avoid:
- Overcomplicating geometry (keep it stylized).
- Using realistic shading instead of cel-shading.
Step-by-Step Workflow: From Concept to Production-Ready Model
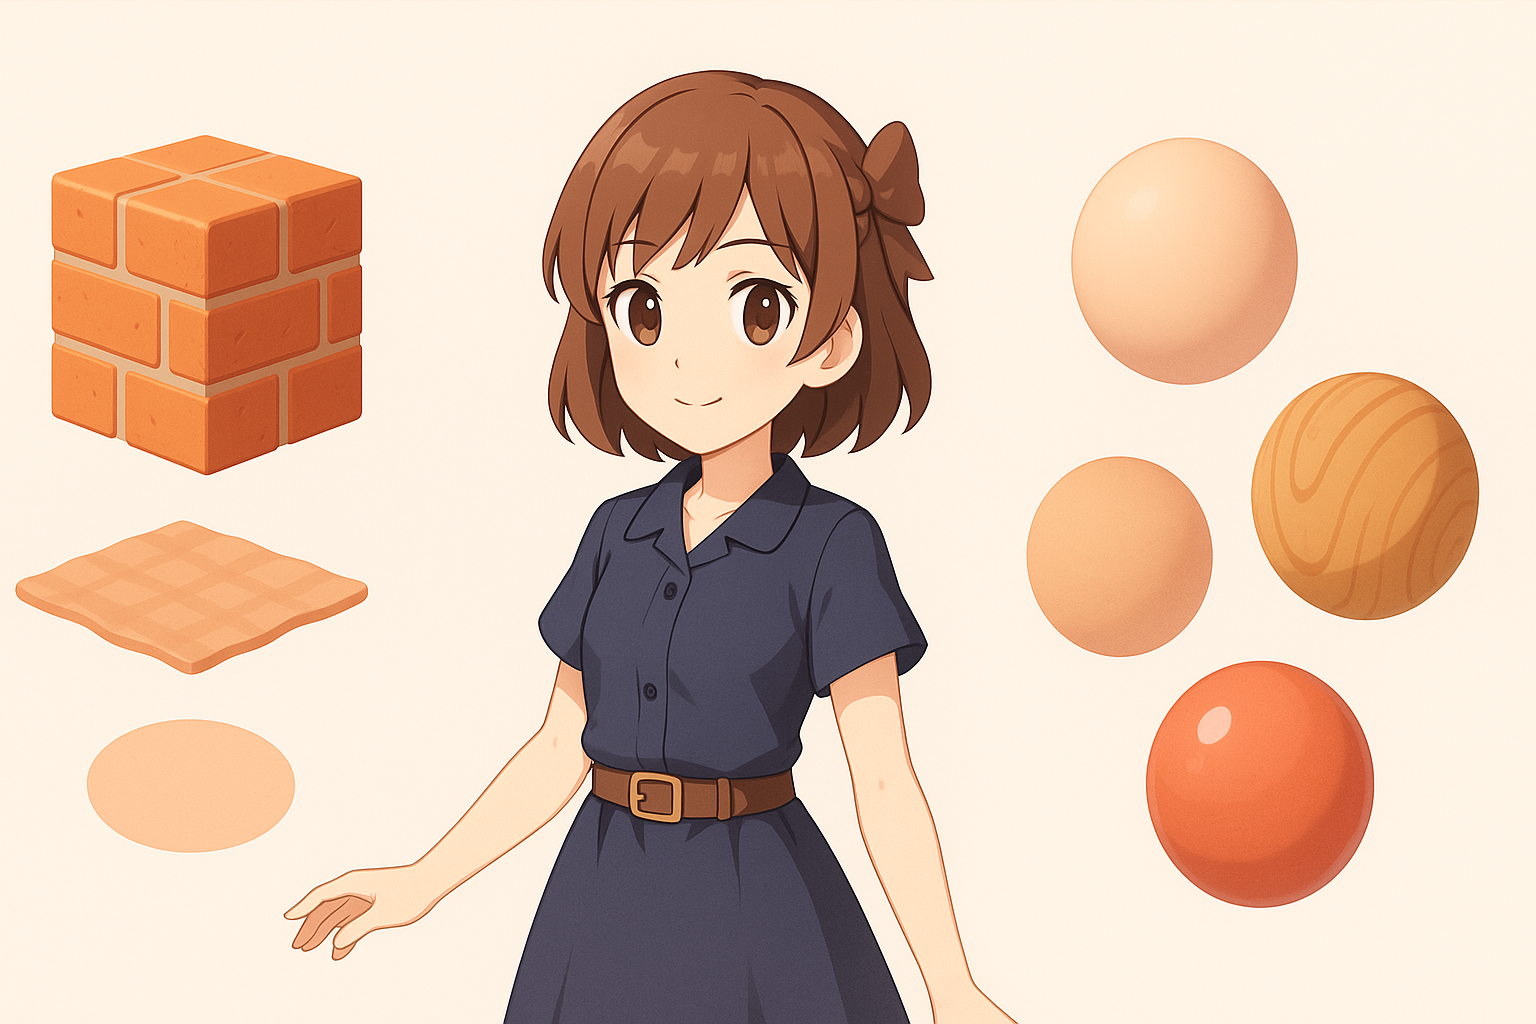
Blocking out the base mesh and proportions
I always start with a simple base mesh, focusing on silhouette and proportions. For anime characters, exaggeration is key—bigger eyes, sharper jaws, and spiky hair. I prefer working in orthographic views to match references.
Steps:
- Block out the torso, limbs, and head with primitives.
- Adjust proportions to match character sheets.
- Add placeholder hair and accessories.
Refining details, topology, and UVs
Once the base is solid, I sculpt in details like muscle definition, facial features, and hair spikes. I use quad-based retopology tools (manual or automated) to ensure clean edge flow, especially around joints and facial loops. UV unwrapping comes next—I keep seams hidden and islands logical for easier texturing.
Tips:
- Check deformations with simple test rigs.
- Keep UVs straight and evenly scaled for cel-shading.
Texturing and Material Best Practices for Anime-Style Characters
Approaches to cel-shading and stylized textures
I hand-paint most textures, focusing on flat color blocks, sharp highlights, and minimal gradients. For cel-shading, I use simple ramp textures and tune the shader to match the anime look. I avoid photo references and instead sample colors directly from official art.
Mini-checklist:
- Use hard edges, not soft blends, for shadows.
- Paint linework and highlights directly into textures if needed.
Optimizing materials for real-time engines
I keep material setups simple: one or two main textures (albedo, sometimes a mask), and minimal use of advanced maps. I test materials in the target engine, adjusting ramp thresholds and outline effects for consistency.
Pitfall:
- Overusing normal maps or PBR effects—these usually clash with anime styles.
Rigging and Animation: Bringing Sparking Zero Characters to Life

Setting up rigs for dynamic poses and combat
Sparking Zero characters need rigs that support wide, expressive movements. I build flexible skeletons with extra controls for hair, clothing, and effects. I ensure joint placement matches the exaggerated anatomy.
Steps:
- Add IK/FK switches for limbs.
- Use spline rigs for spiky hair and tails.
- Test with extreme poses early.
Tips for smooth, expressive animation
I keep skin weights clean and avoid harsh deformations, especially at shoulders and hips. For facial animation, I use blendshapes for major expressions and supplement with bone-driven controls for secondary motion.
Tips:
- Animate quick, snappy movements to match the source material.
- Preview animation in-engine to check timing and silhouette.
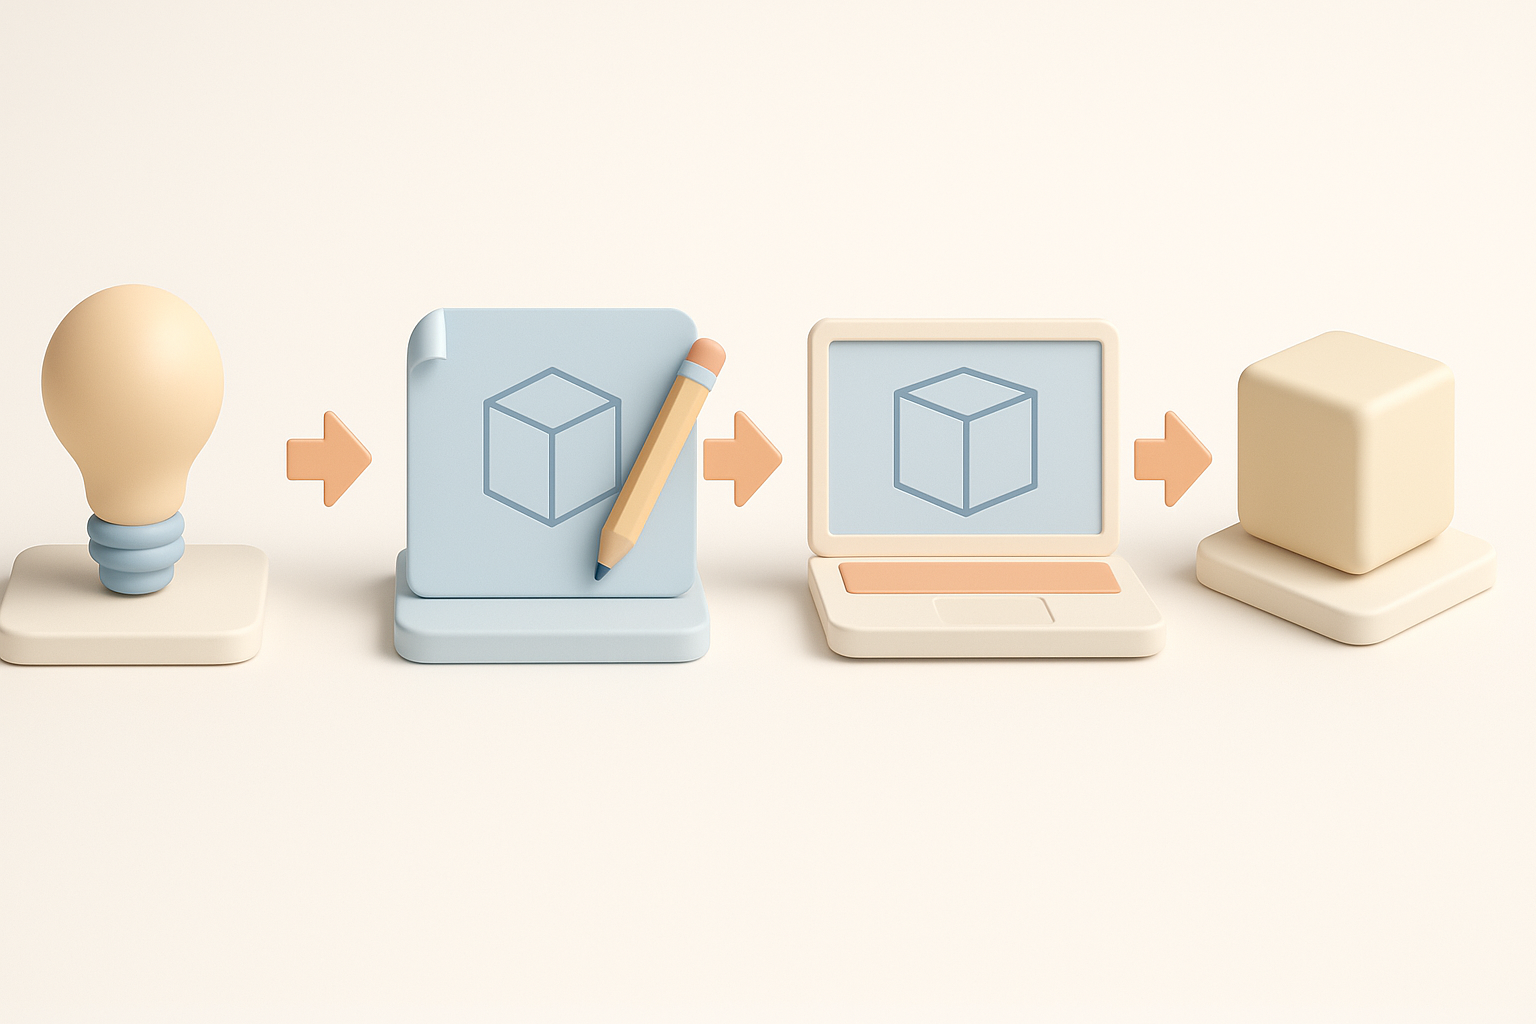
Leveraging AI Tools and Automation in the 3D Workflow

How I use Tripo for rapid prototyping and iteration
I often use Tripo to generate quick base meshes or block out complex elements like hair or effects. It’s especially useful for speeding up the early stages—sketching out ideas from text prompts or rough sketches, then refining manually.
Workflow:
- Input a description or sketch into Tripo.
- Review and adjust the generated mesh.
- Retopologize and UV manually as needed.
Integrating AI-generated assets with manual refinement
AI tools get me 80% of the way, but I always do a manual pass for style and topology. I clean up geometry, rework UVs, and hand-paint textures to ensure consistency with the rest of the asset.
Pitfall:
- Relying solely on AI output without manual cleanup can result in off-style or inefficient models.
Comparison: Manual vs. AI-Assisted 3D Model Creation
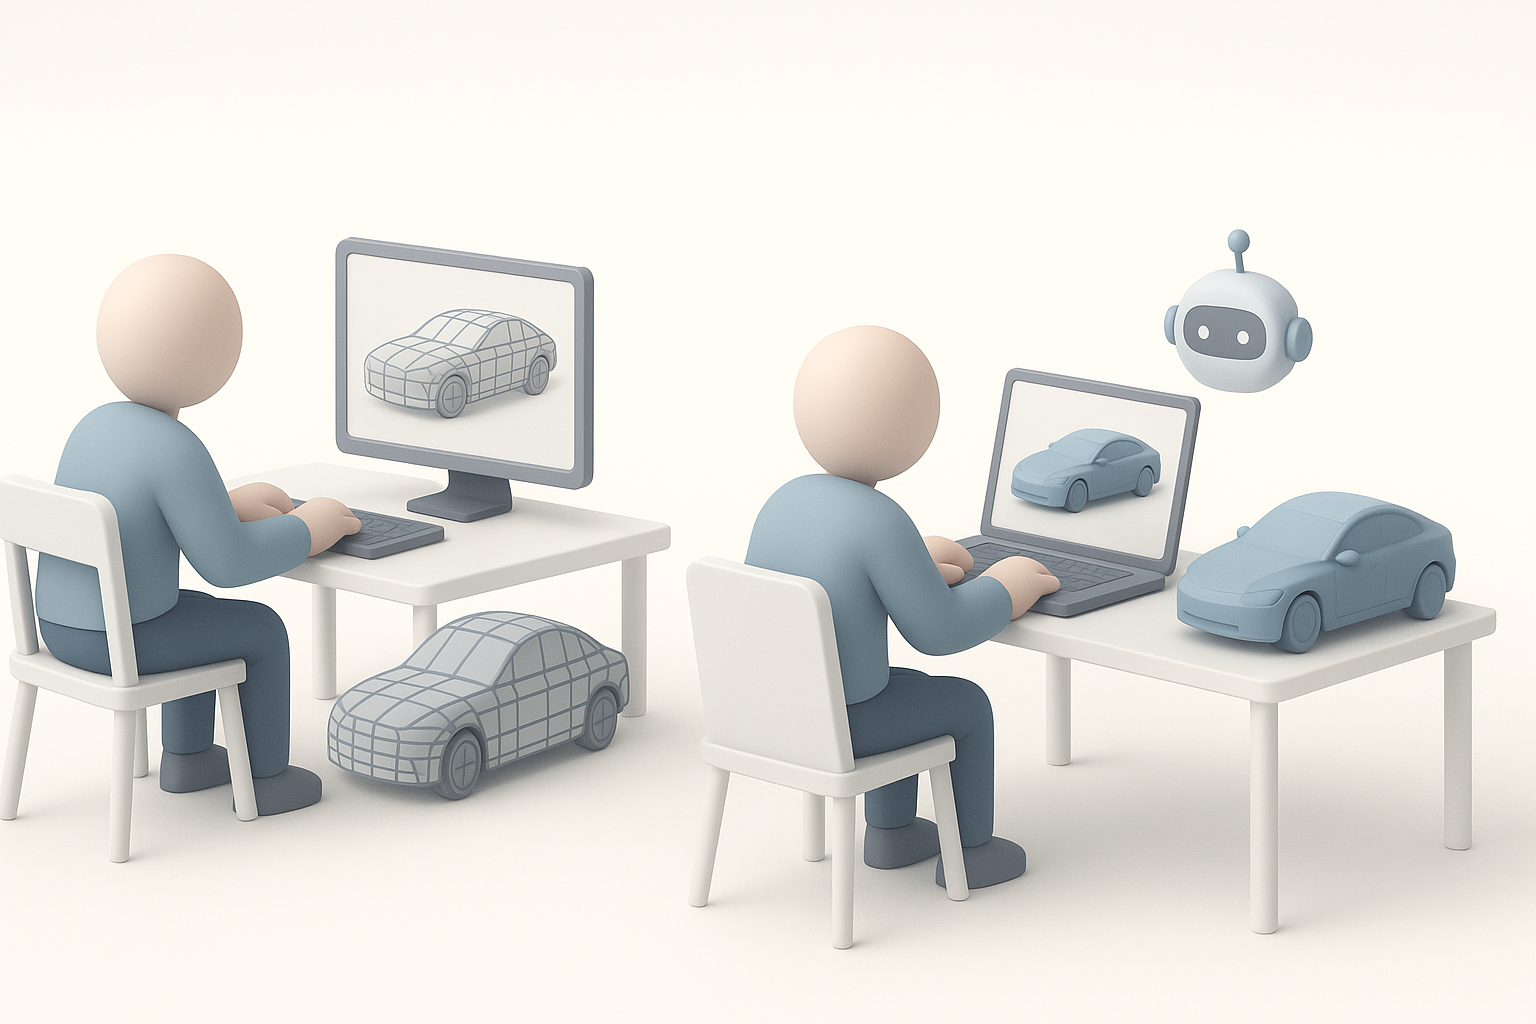
Pros and cons based on my experience
Manual modeling gives me full control over style and topology, but it’s time-consuming. AI-assisted workflows are fast and great for prototyping, but still require oversight and refinement to meet production standards.
Pros of AI-assisted:
- Rapid iteration and idea exploration.
- Good for blocking out non-critical elements.
Cons:
- Less control over fine details and style.
- Often needs manual retopology and UV work.
When to choose each approach
I use manual methods for hero assets and final passes, and AI-assisted tools for early concepting or background elements. The key is balancing speed with quality, using each method where it excels.
Common Challenges and My Solutions
Dealing with complex hair and effects
Anime hair and aura effects are notoriously tricky. I break hair into manageable chunks, use spline rigs for animation, and often rely on mesh cards for effects. For glowing or translucent parts, I use masked materials with simple gradients.
Tips:
- Model hair in layers for easy rigging.
- Test effect meshes in-engine for transparency issues.
Ensuring model compatibility for games
I always check triangle count, UV layout, and bone limits against engine specs. I export test models early to catch any incompatibilities, especially with skin weights and material setups.
Checklist:
- Validate mesh in the target engine.
- Check for flipped normals, non-manifold edges, and UV stretching.
Final Checks and Exporting for Game Engines

Testing models in real-time environments
Before final export, I import the model into the game engine and run through a checklist: check for shading errors, animation glitches, and material consistency. I preview under multiple lighting conditions to ensure the cel-shading holds up.
Steps:
- Playtest with in-game camera angles.
- Check silhouette and readability at a distance.
Export settings and troubleshooting tips
I stick to standard export formats (FBX or glTF), bake animations if needed, and double-check scale and orientation. If issues arise (e.g., missing textures, odd deformations), I re-export with simpler settings and rebuild the material in-engine.
Tips:
- Freeze transforms and apply scale before export.
- Pack all textures and double-check file paths.
In summary:
A disciplined workflow, smart use of AI tools, and constant real-time testing are my keys to efficient, high-quality Dragon Ball Sparking Zero 3D model creation. With these steps, you’ll produce assets that look great and work flawlessly in-game.


