How to Create a Doors Roblox 3D Model: Expert Workflow & Tips
скачать 3d модель для chicken gun
Creating a doors Roblox 3D model efficiently is all about blending creativity with proven workflows. In my experience, using AI-powered tools like Tripo alongside manual modeling techniques allows me to produce high-quality, game-ready doors in record time. This guide is for Roblox developers, 3D artists, and hobbyists who want to streamline their door modeling process, from concept to animation. I’ll walk through reference gathering, modeling, optimization, and animation, with practical tips for avoiding common pitfalls.
Key takeaways
- Start with clear references to define style and functionality before modeling.
- Leverage AI tools like Tripo for rapid prototyping and base mesh generation.
- Manually refine models for optimal polycount and game-readiness.
- Test and optimize for Roblox Studio’s import requirements and physics.
- Apply simple animations for interactive doors using Roblox’s native tools.
- Troubleshoot early to avoid mesh and compatibility issues.
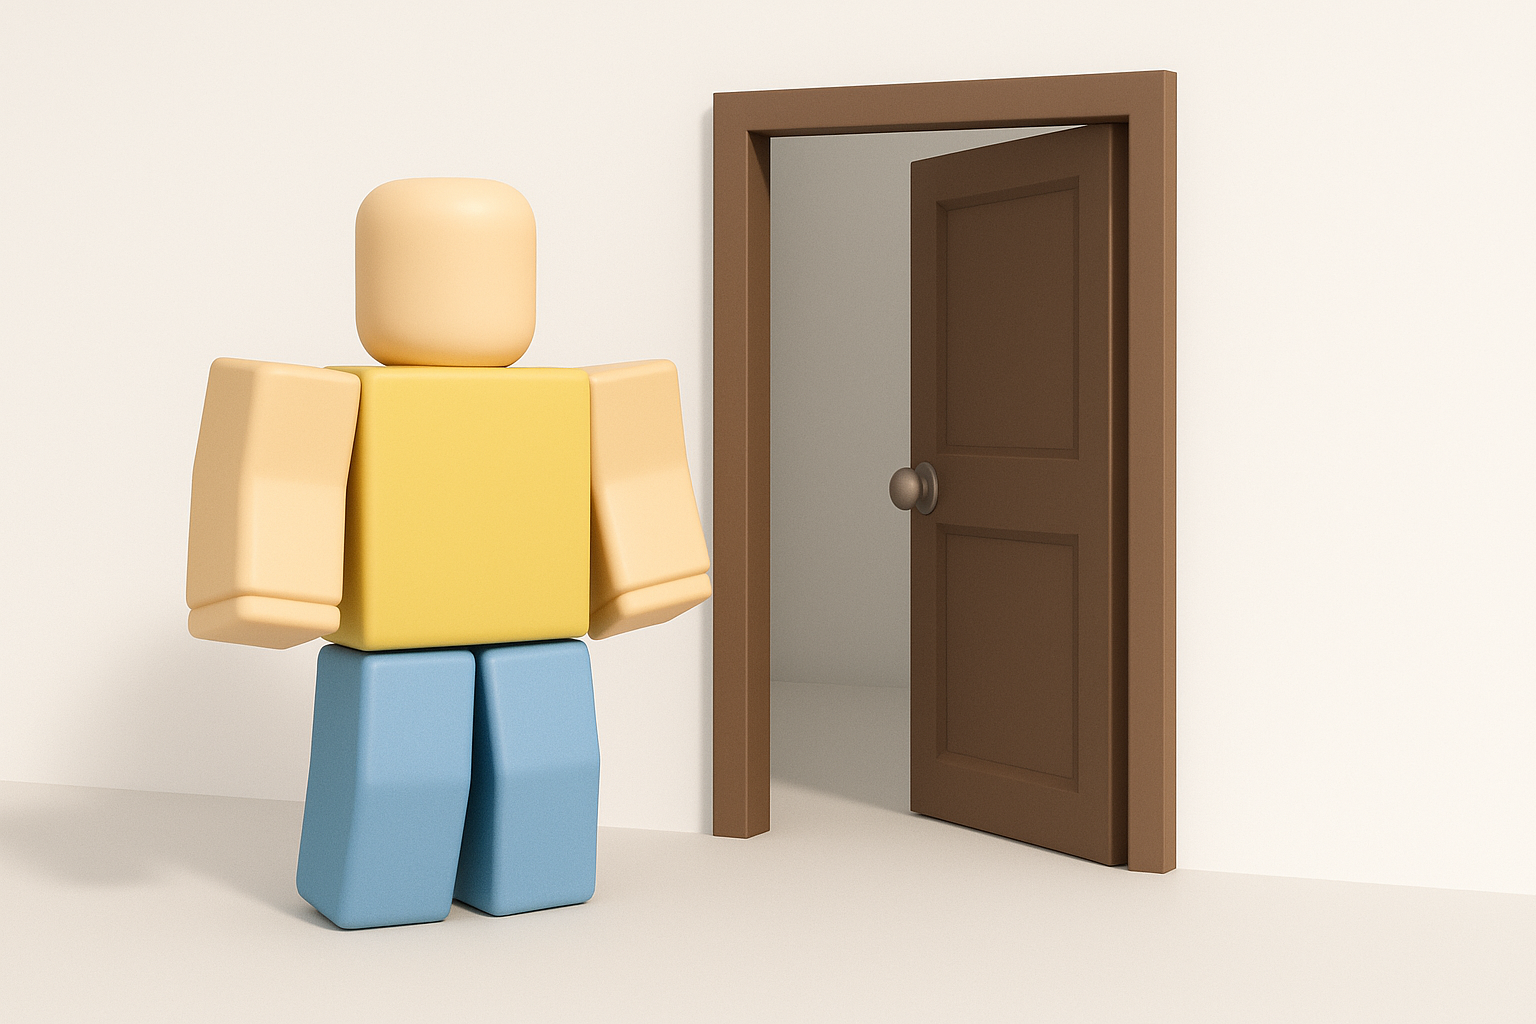
Understanding Doors in Roblox: Design & Gameplay Context
What Makes a Door Model Effective in Roblox
From my experience, an effective Roblox door model balances visual clarity and functional simplicity. Doors should be easily recognizable, fit the game’s theme, and avoid excessive detail that can impact performance. I always prioritize clean geometry and clear silhouettes, since players interact with doors frequently and from various angles.
Checklist for effective Roblox doors:
- Clear, readable shape at a distance
- Optimized polycount for smooth gameplay
- Hinges or pivots placed logically for animation
Common Use Cases and Game Integration
Doors serve many roles in Roblox games—barriers, triggers, or decorative elements. I often integrate doors as interactive parts, using scripts for open/close events or as part of puzzle mechanics. Planning for how the door will interact with players and the environment is crucial.
Typical integrations:
- Linked to proximity triggers or key items
- Animated for smooth opening/closing
- Used in obby (obstacle) courses, adventure games, and roleplay maps
Planning and References: Gathering Inspiration for Your Door Model
Finding Reference Images and Sketches
I always start by collecting references—photos, concept art, or even in-game screenshots. This helps me lock down proportions and style before modeling. I use online image searches, art platforms, or sketch my own ideas if I’m after something unique.
Quick workflow:
- Save 3–5 reference images showing front, side, and detail views.
- Sketch over references to plan modifications or unique features.
Defining Style and Functionality Requirements
Before modeling, I outline the door’s style (realistic, cartoony, sci-fi, etc.) and its functionality (sliding, hinged, double-door). This guides my geometry and animation planning. I’ve found it’s much easier to fix design issues at this stage than after modeling.
Questions to answer:
- Is the door single or double?
- What’s the opening direction and animation style?
- Does it need extra details (windows, handles, locks)?
Step-by-Step Workflow: Creating a Roblox Door Model

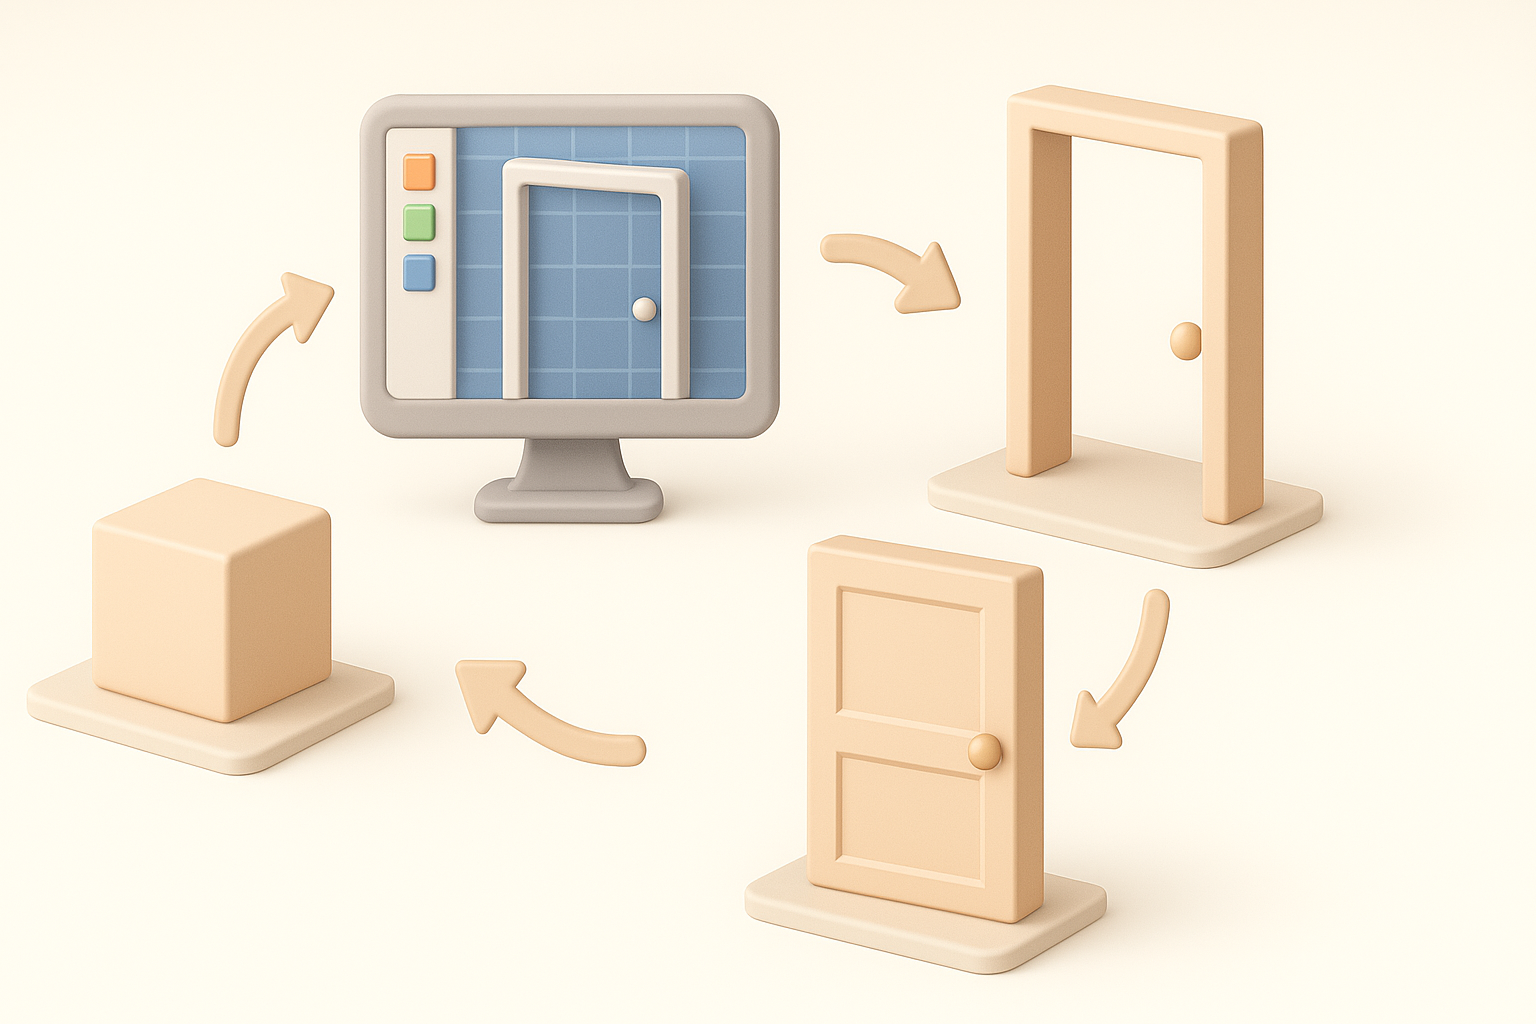
Using AI Tools for Fast 3D Model Generation
For speed, I often use Tripo to generate a base mesh from a text prompt or sketch. This gives me a production-ready starting point that I can tweak as needed. The platform’s segmentation and retopology features save me a ton of manual cleanup.
AI workflow steps:
- Input a text prompt or upload a reference image/sketch.
- Review the generated model—focus on overall shape and proportions.
- Export the base mesh for further refinement.
Manual Modeling Techniques and Best Practices
Even with AI-generated bases, I usually refine the mesh manually in my 3D editor. This ensures clean topology and proper scaling for Roblox. I keep geometry simple—doors rarely need more than a few hundred polygons.
Best practices:
- Use quads for easier UV unwrapping.
- Separate moving parts (e.g., handle, door leaf) for animation.
- Align pivots for accurate rotation during animation.
Optimizing and Exporting for Roblox Studio
Retopology and Polycount Considerations
Roblox favors low-poly models for performance. I use Tripo’s retopology tools or manually reduce polycount, ensuring the model stays under 1,000 triangles for most doors. Watch for unnecessary edge loops or hidden faces.
Optimization tips:
- Merge overlapping vertices.
- Delete unseen faces (e.g., inside the door if always closed).
- Test model in a simple scene for framerate impact.
Export Settings and Importing into Roblox
I export models as .FBX or .OBJ, double-checking scale and orientation. Roblox Studio prefers Y-up axis and uniform scaling. Importing is straightforward, but I always check for flipped normals or missing textures.
Export checklist:
- Freeze transforms and reset scale.
- Export with textures if possible.
- Test import and fix any mesh errors before scripting.
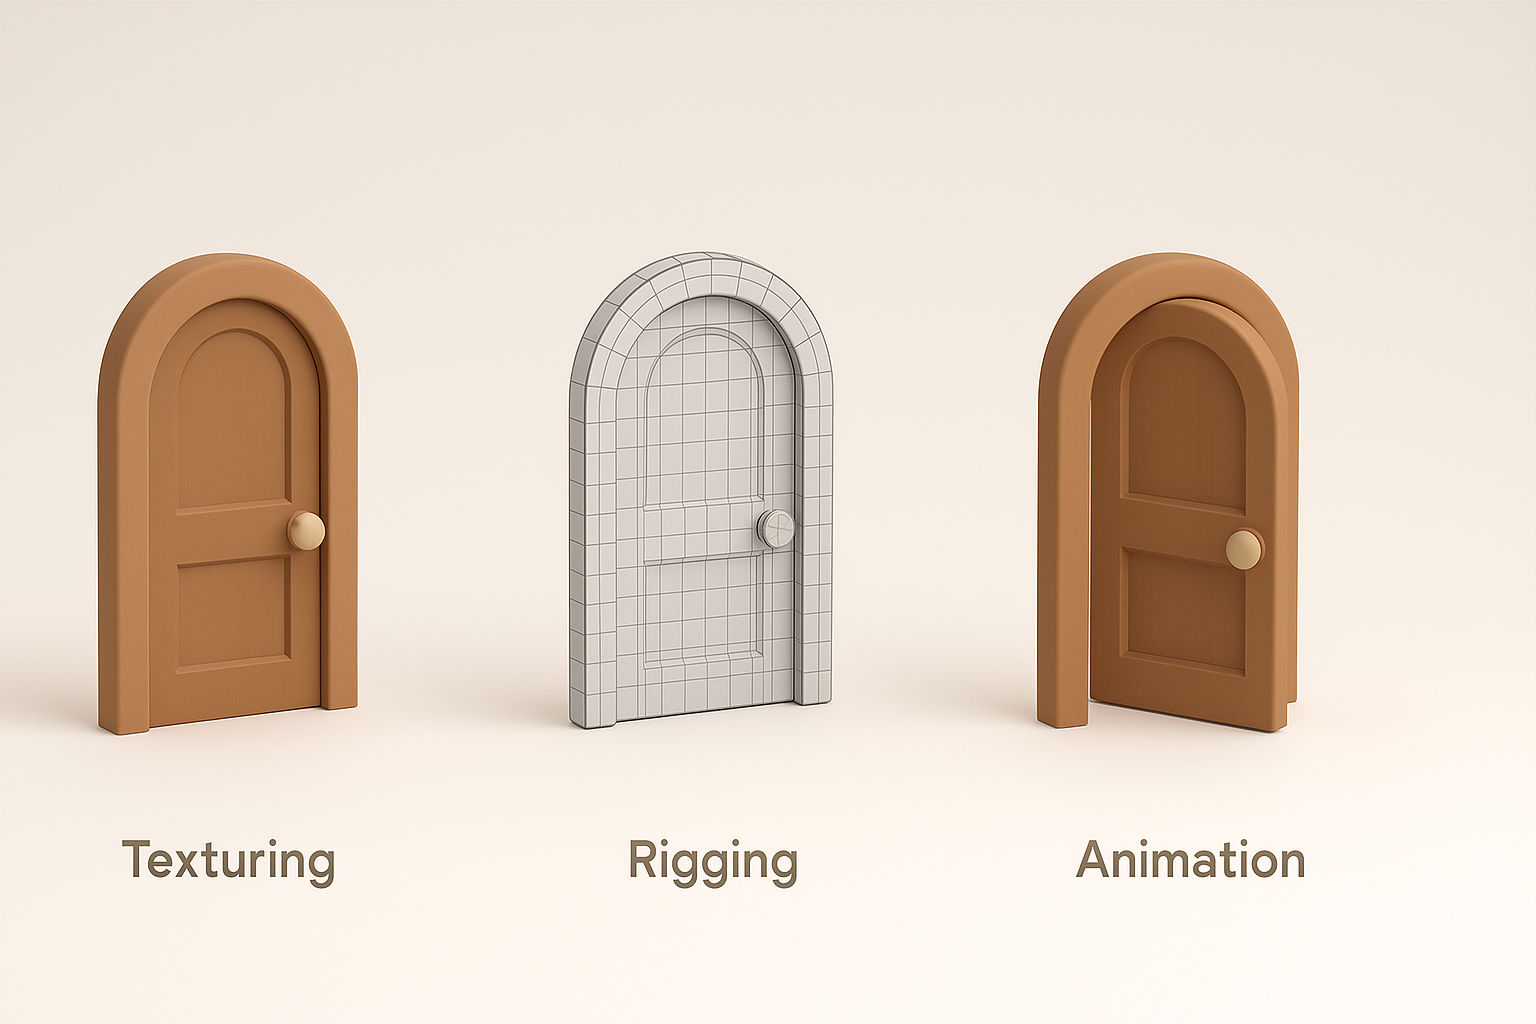
Texturing, Rigging, and Animation for Interactive Doors
Applying Materials and Textures
I apply simple materials—wood, metal, or painted surfaces—using Tripo’s texturing tools or my 3D editor. Roblox has material support, but I keep textures under 1024x1024 for performance.
My texturing process:
- UV unwrap cleanly to avoid stretching.
- Use tiling textures for repetitive surfaces.
- Preview materials in Roblox Studio for PBR compatibility.
Setting Up Simple Animations for Door Interaction
For interactive doors, I rig the pivot (hinge) and handle, then animate opening/closing. I use Roblox Studio’s Animation Editor to create basic rotation keyframes. Scripting triggers the animation when players interact.
Animation workflow:
- Set pivot at the hinge point.
- Animate rotation for open/close.
- Script triggers for proximity or click events.
Comparing AI-Powered and Traditional Workflows

When to Use AI Tools vs. Manual Modeling
In my projects, I use AI tools for rapid prototyping or when I need many variations quickly. Manual modeling comes into play for unique designs or when I need full control over topology and UVs.
When I use AI:
- Fast iteration during concept phase
- Generating base meshes for common assets
When I go manual:
- Custom, stylized doors
- Detailed optimization and UV mapping
Lessons Learned from Real-World Projects
Mixing AI and manual workflows consistently saves me time, but I always review and clean up generated meshes. Over-reliance on AI can lead to topology issues or non-optimal UVs, so a final manual pass is essential.
Key lessons:
- Always inspect and optimize AI-generated assets.
- Don’t skip manual cleanup—especially for game integration.
- Test in-engine early to catch issues before they compound.
Troubleshooting and Common Pitfalls
Fixing Import Errors and Mesh Issues
I’ve encountered common import errors like missing faces, flipped normals, or broken pivots. Most are fixed by re-exporting with correct settings or repairing the mesh in a 3D editor.
Troubleshooting steps:
- Check for non-manifold geometry.
- Recalculate normals before export.
- Use “import as single part” in Roblox Studio for complex doors.
Ensuring Compatibility with Roblox Physics
Doors need proper collision and physics settings. I assign custom collision boxes and test interactions in Roblox Studio. Complex meshes can confuse Roblox’s physics engine, so I keep collision shapes simple.
My compatibility checklist:
- Set collision fidelity to “Box” or “Hull.”
- Test door movement and script triggers.
- Adjust mass and anchoring for realistic behavior.
By following these workflows and tips, I consistently create efficient, interactive doors for Roblox games—balancing speed, quality, and performance. Whether you’re a solo developer or part of a team, blending AI tools with manual refinement is the most effective approach I’ve found for modern Roblox 3D asset creation.


