Creating and Optimizing Doom 3D Models: Expert Workflow
Creating 3D models for Doom and similar classic shooters requires a balance of aesthetic authenticity, technical optimization, and efficient workflow. Over the years, I’ve honed a process that leverages both manual and AI-powered tools to rapidly deliver game-ready assets without sacrificing quality. Whether you’re a modder, indie developer, or asset artist, this guide distills my end-to-end workflow—from concept to export—with practical, real-world tips tailored to Doom-style projects.
Key takeaways
- Doom 3D models demand low-poly efficiency and clear silhouettes.
- Reference gathering and base mesh blocking save time downstream.
- UV mapping, texturing, and retopology are critical for real-time performance.
- AI tools can accelerate concepting and auto-retopology, but manual tweaks are often needed.
- Export settings and animation rigs must match engine requirements.
- Avoiding common pitfalls saves hours in troubleshooting and iteration.
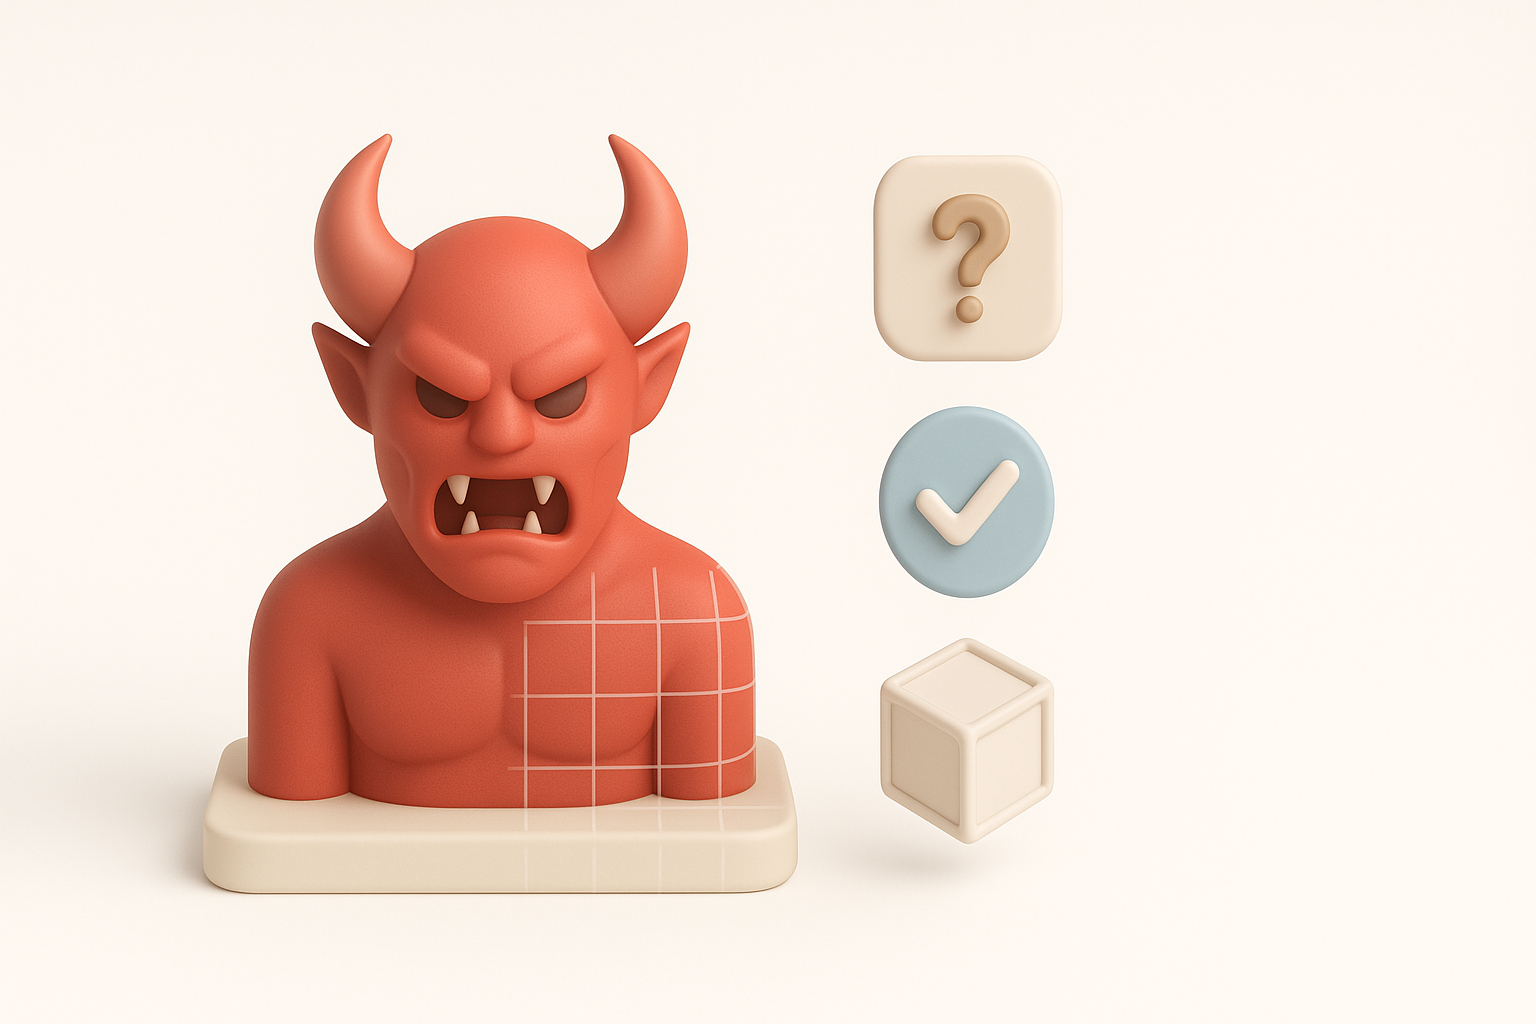
Understanding Doom 3D Model Requirements
Key characteristics of Doom-style models
Doom’s 3D models are defined by simplicity, readability, and performance. I focus on:
- Low polygon count: Models typically range from a few hundred to a few thousand tris.
- Strong silhouettes: Clear, recognizable shapes are more important than fine detail.
- Efficient UVs: Texture space is at a premium, so I avoid wasted areas.
- Minimal materials: Often a single material per asset for faster rendering.
A quick checklist I use:
- Is the silhouette readable at a distance?
- Is the polycount suitable for the target engine?
- Are UVs packed efficiently?
Common use cases in games and mods
Most Doom mods and projects require:
- Characters and monsters: Enemies must animate well and be instantly recognizable.
- Weapons and items: Focus on iconic shapes and readable textures.
- Environment props: Doors, barrels, and pickups—optimized for repeated use.
I always clarify the use case up front to avoid over-modeling or unnecessary detail.
My Step-by-Step Workflow for Doom 3D Model Creation
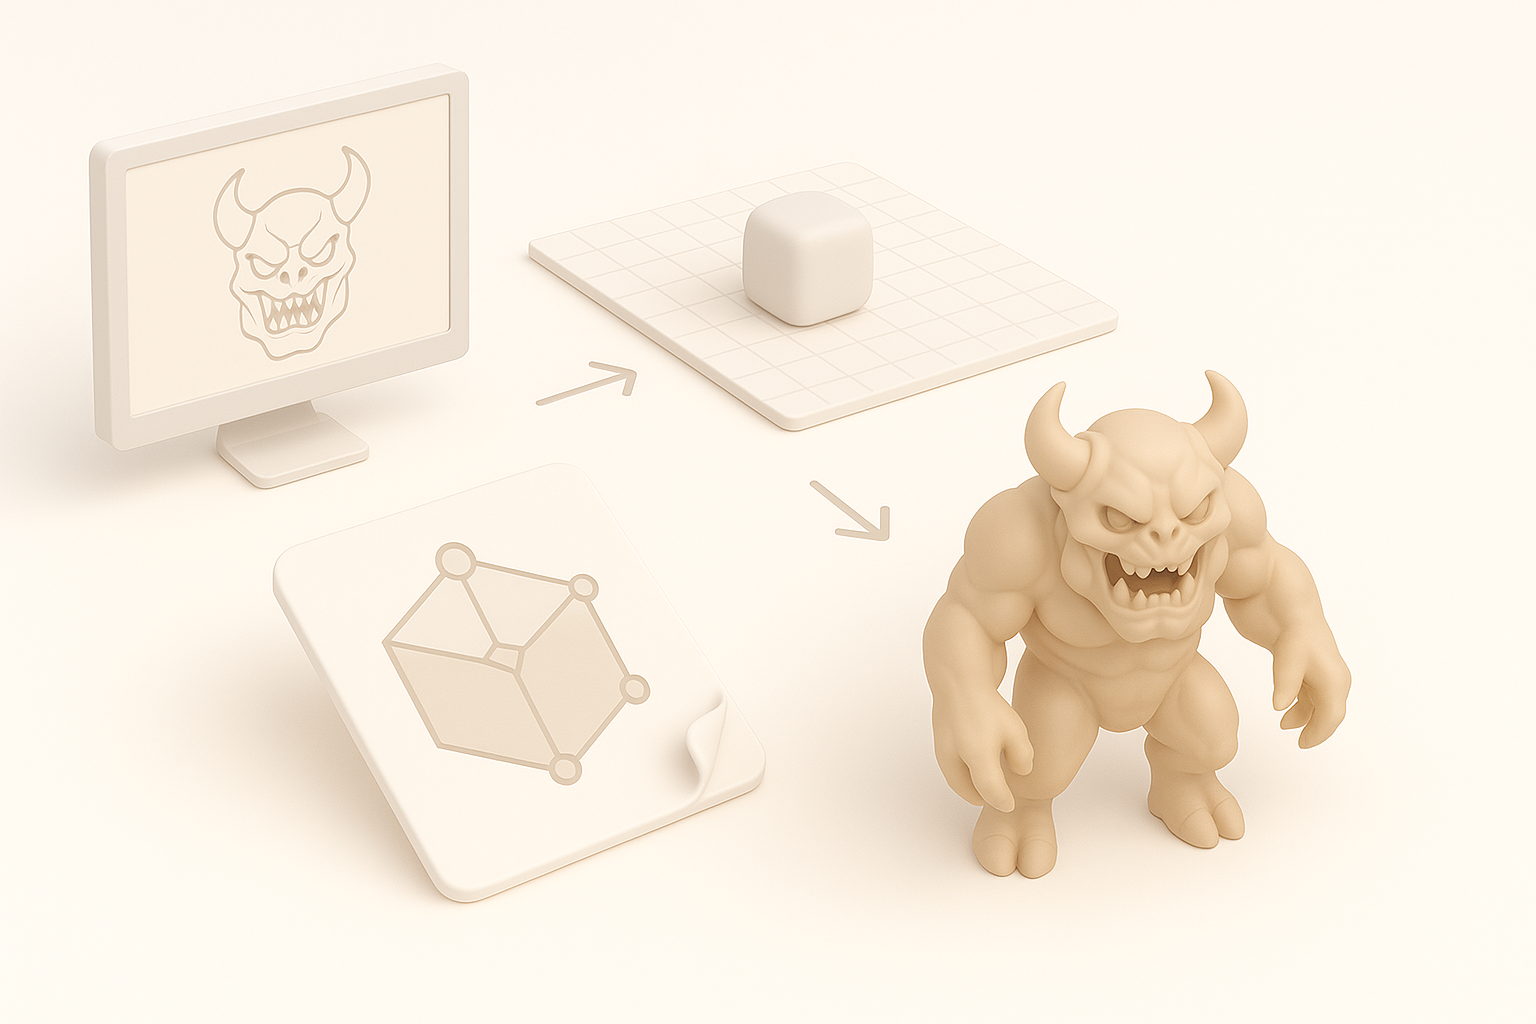
Concepting and reference gathering
Before I touch any modeling tools, I gather:
- Screenshots from classic Doom and similar games
- Concept sketches or moodboards
- Reference photos for real-world analogs
If I’m short on time, I’ll use AI-powered platforms like Tripo to generate quick concept meshes or reference images, which can then be refined.
Tip: Organize references in a single folder or board for easy access.
Blocking out and sculpting the base mesh
I start with a rough blockout using simple geometry—cubes, cylinders, and spheres.
- Block out the main forms first, ignore details.
- Check silhouette from multiple angles.
- Keep the mesh clean and organized.
Once the blockout feels right, I sculpt or refine the shapes. For monsters or organic assets, I’ll use sculpting tools, but for hard-surface props, I stick to subdivision modeling.
Pitfall: Don’t get bogged down in detail during the blockout phase; focus on proportions.
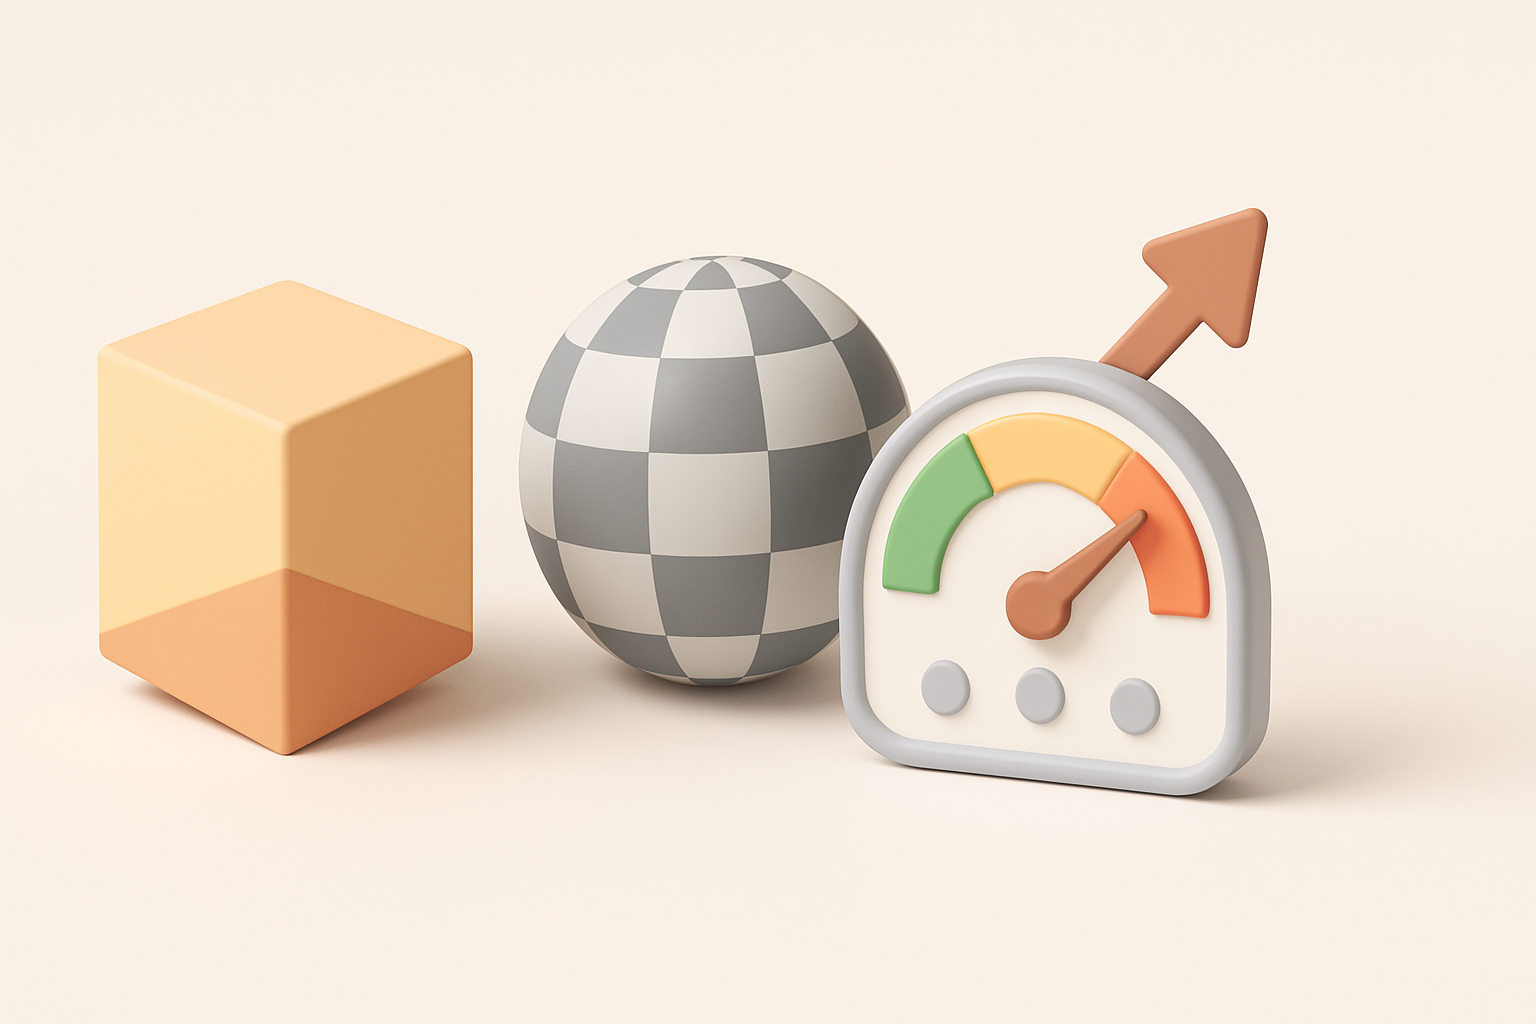
Texturing and Optimizing for Real-Time Performance
Efficient UV mapping and texturing techniques
UVs are critical for Doom assets. My approach:
- Unwrap with minimal seams: Fewer seams mean easier texturing.
- Pack UVs tightly: Maximize texture resolution.
- Use a single texture sheet whenever possible.
For texturing, I rely on hand-painted or stylized textures, often at 256x256 or 512x512 resolution. I’ll use Tripo’s auto-texturing tools for quick iterations, then hand-paint or tweak as needed.
Checklist:
- Are all UV islands straightened and packed?
- Is the texture readable at game resolution?
Retopology and polygon count management
Retopology ensures the mesh is efficient and animatable. I’ll:
- Auto-retopologize using AI tools for base cleanup.
- Manually adjust edge flow around joints and deformations.
- Remove hidden faces and unnecessary loops.
I always check the final polycount and optimize further if the engine or mod requires it.
Pro tip: Use tris for organic models, quads for hard-surface assets if possible.
Exporting, Rigging, and Animation Tips

Best export settings for Doom engines
Exporting for Doom engines (like GZDoom or similar) requires:
- FBX or OBJ formats (check engine docs)
- Scale in meters (1 unit = 1 meter)
- Zeroed transforms and clean pivot points
I always run a test import before finalizing to catch scale or orientation issues.
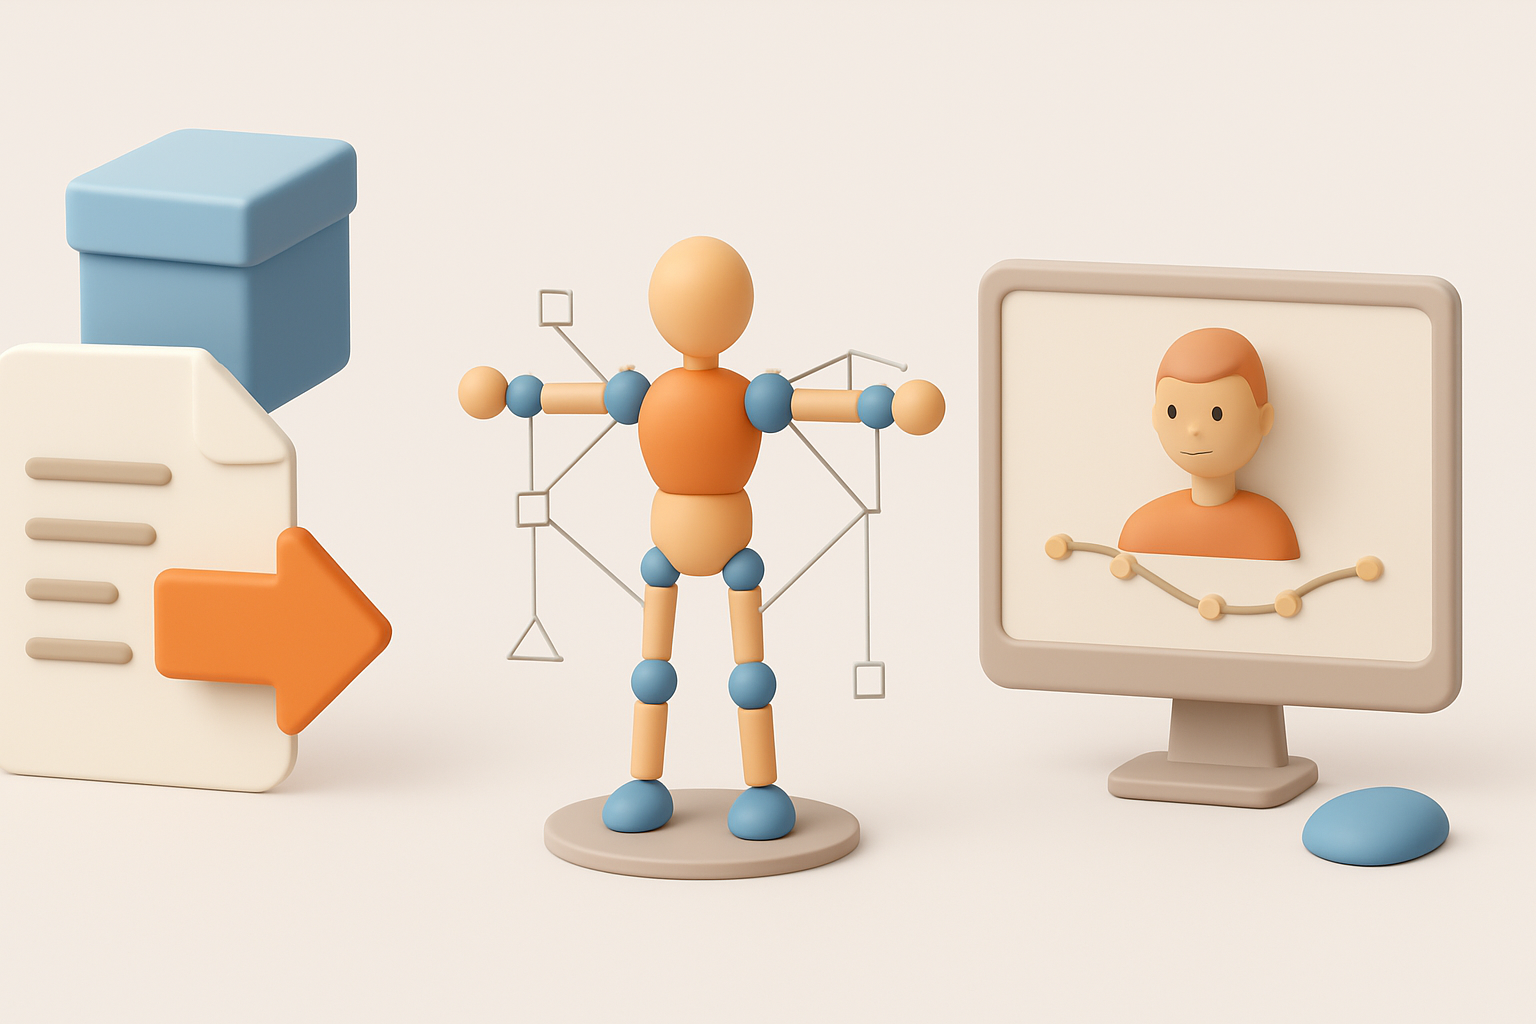
Rigging and basic animation workflows
For animated assets:
- Simple skeletons work best (avoid complex rigs)
- Limit bone count to engine specs
- Use basic keyframe animations for movement and attacks
I’ll use Tripo’s auto-rigging for quick setups, then adjust weights and joints manually for smoother deformation.
Tip: Export a static pose and a simple idle animation to test in-engine before animating complex actions.
Best Practices and Lessons Learned
What I do to avoid common pitfalls
- Test models in-engine early and often.
- Keep backup versions at every major step.
- Document scale, naming conventions, and export settings.
I’ve wasted hours fixing orientation or scale mismatches—now I double-check before moving on.
My favorite tools and time-saving tips
- AI-powered mesh generation for rapid prototyping
- Batch UV packing and texture baking
- Scripted retopology for repetitive assets
Tripo’s integrated workflow lets me go from sketch to game-ready asset in minutes, but I always review and tweak outputs manually.
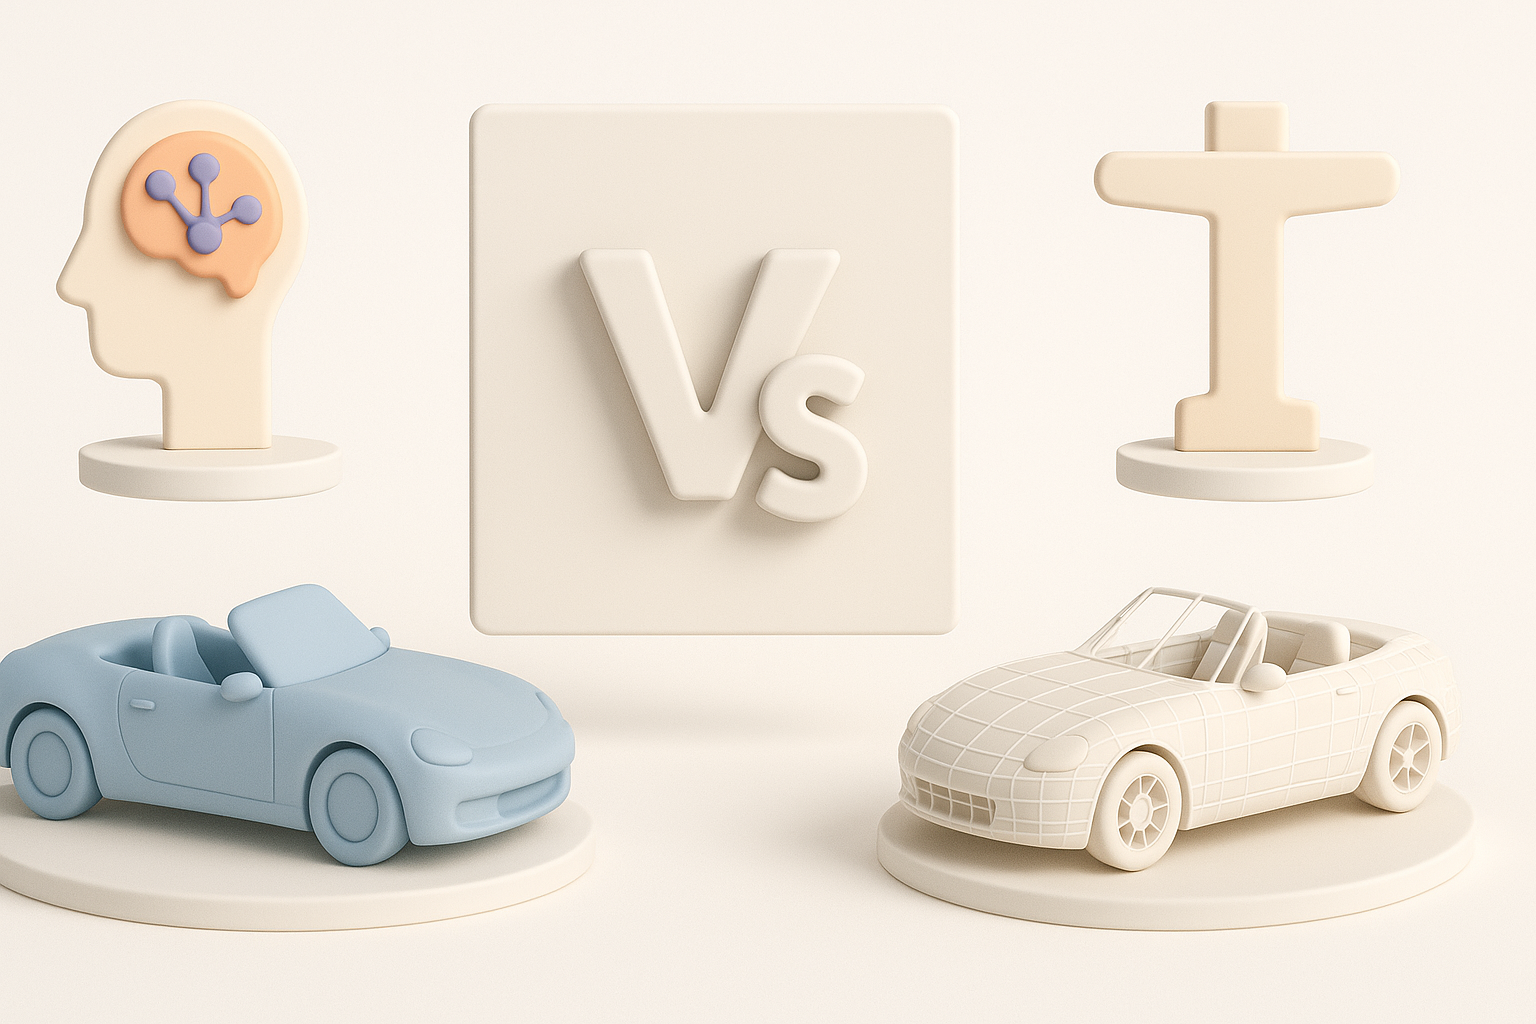
Comparing AI-Powered and Traditional 3D Modeling Methods
Where AI tools excel in Doom model creation
AI tools like Tripo shine at:
- Rapid prototyping from text or sketches
- Auto-retopology and UV unwrapping
- Generating base textures and materials
For quick iterations or bulk asset generation, they save me hours.
When to use manual techniques
Manual modeling is essential when:
- Fine-tuning silhouettes or proportions
- Customizing edge flow for animation
- Hand-painting unique textures
I combine AI speed with manual polish for the best results—especially when authenticity or engine quirks matter.
By blending AI-powered tools with hands-on modeling skills, I streamline Doom-style 3D asset creation—delivering optimized, game-ready models with less friction and more creative flexibility.


