How to Create Don’t Starve 3D Models: Expert Workflow & Tips
скачать 3d модели для chicken gun
Creating Don’t Starve-style 3D models requires a deep understanding of the game’s unique hand-drawn aesthetic and a practical, streamlined workflow. Over the years, I’ve developed techniques to faithfully translate 2D concepts into 3D, keep assets game-ready, and leverage AI-powered tools like Tripo for rapid iteration. This guide is for 3D artists, game developers, and XR creators aiming for authentic, stylized results without wasting time on unnecessary complexity. Below, I’ll break down my process, share hard-learned lessons, and offer actionable tips to help you achieve the Don’t Starve look efficiently.
Key takeaways:
- Study the game’s distinctive visual language before modeling.
- Block out shapes quickly—don’t get bogged down in early details.
- Use hand-painted textures and careful UV mapping for authenticity.
- Keep polycounts low and test frequently in your target engine.
- AI tools like Tripo can dramatically accelerate prototyping and iteration.
- Consistency and stylization are ongoing challenges—have a checklist.
Understanding Don’t Starve’s Art Style for 3D Modeling
Key visual traits and stylization
From my experience, Don’t Starve’s art style is defined by exaggerated proportions, sketchy outlines, and a muted, hand-painted palette. Key traits I always focus on:
- Loose, uneven linework: Outlines look almost scribbled, not perfect.
- Flattened shading: Shadows are painted, not physically accurate.
- Muted, limited colors: Avoid saturated tones; stick to earthy, somber hues.
- Expressive silhouettes: Shapes are bold and readable, even at a distance.
When starting a model, I gather screenshots and fan art to analyze these details. I keep a style guide handy to check proportions and color choices as I work.
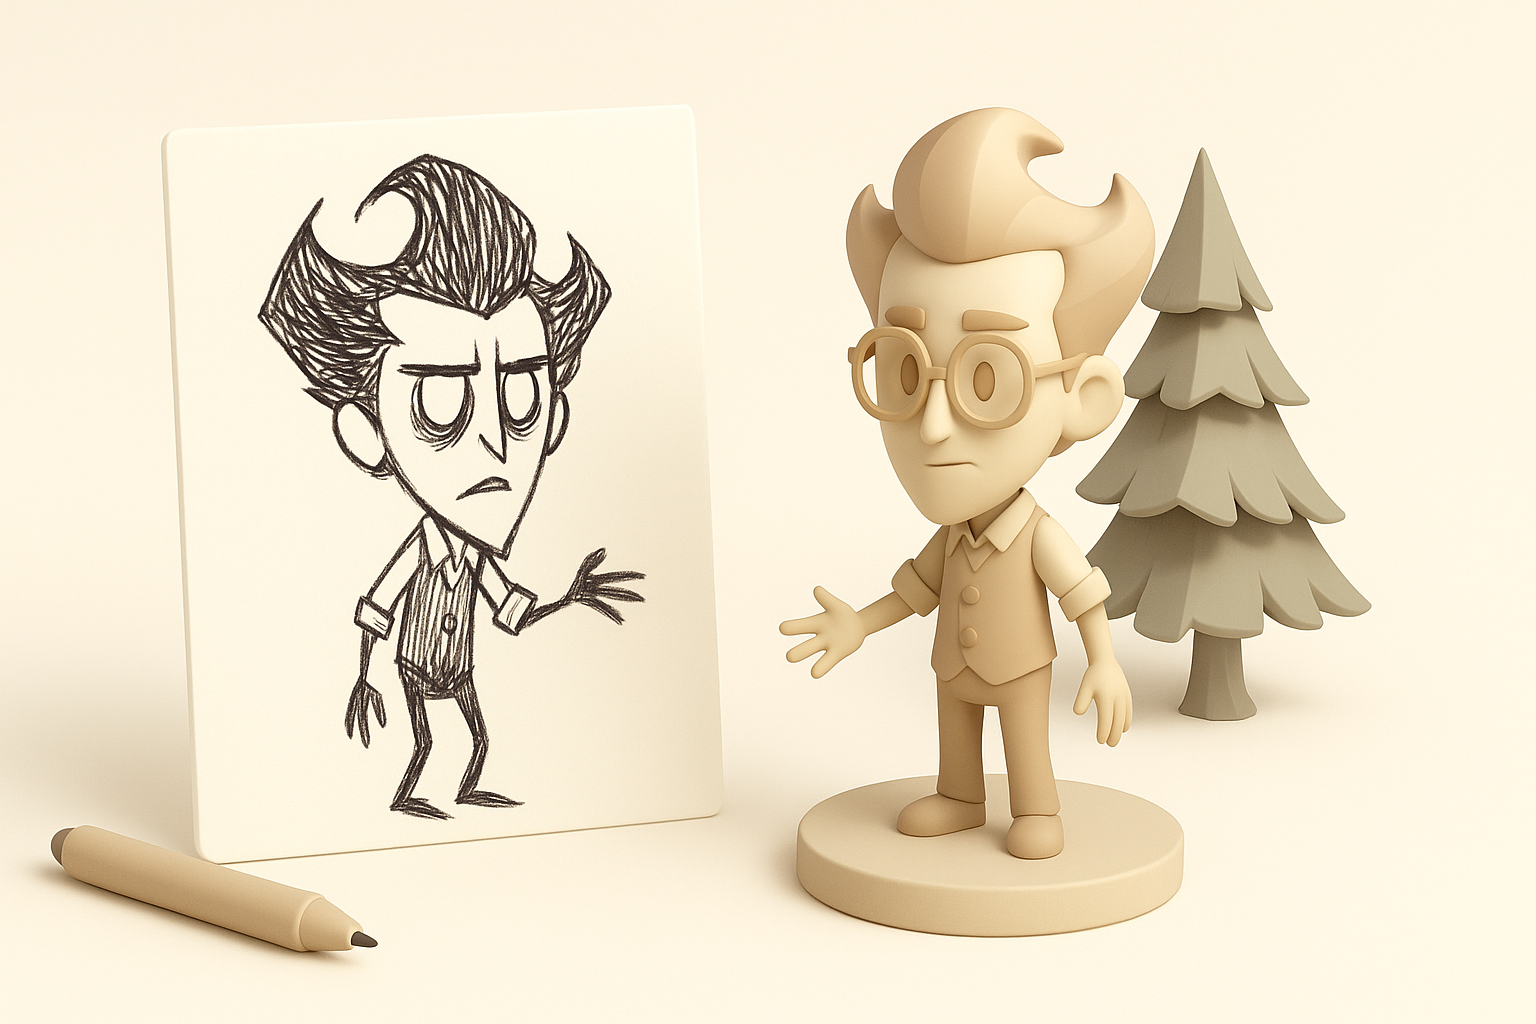
Translating 2D concepts into 3D forms
Adapting 2D art into 3D is always a challenge. What works on a flat plane may look odd in 3D space. My approach:
- Prioritize silhouette: I focus on the outer shape first—how the model reads from all angles.
- Simplify forms: Avoid over-modeling; keep shapes chunky and readable.
- Mimic linework: For outlines, I often use inverted hull shaders or mesh duplication techniques.
Checklist:
- Is the silhouette clear and exaggerated?
- Are outlines visible and uneven?
- Does the model look “drawn” from multiple angles?
Step-by-Step Workflow: From Concept to 3D Model
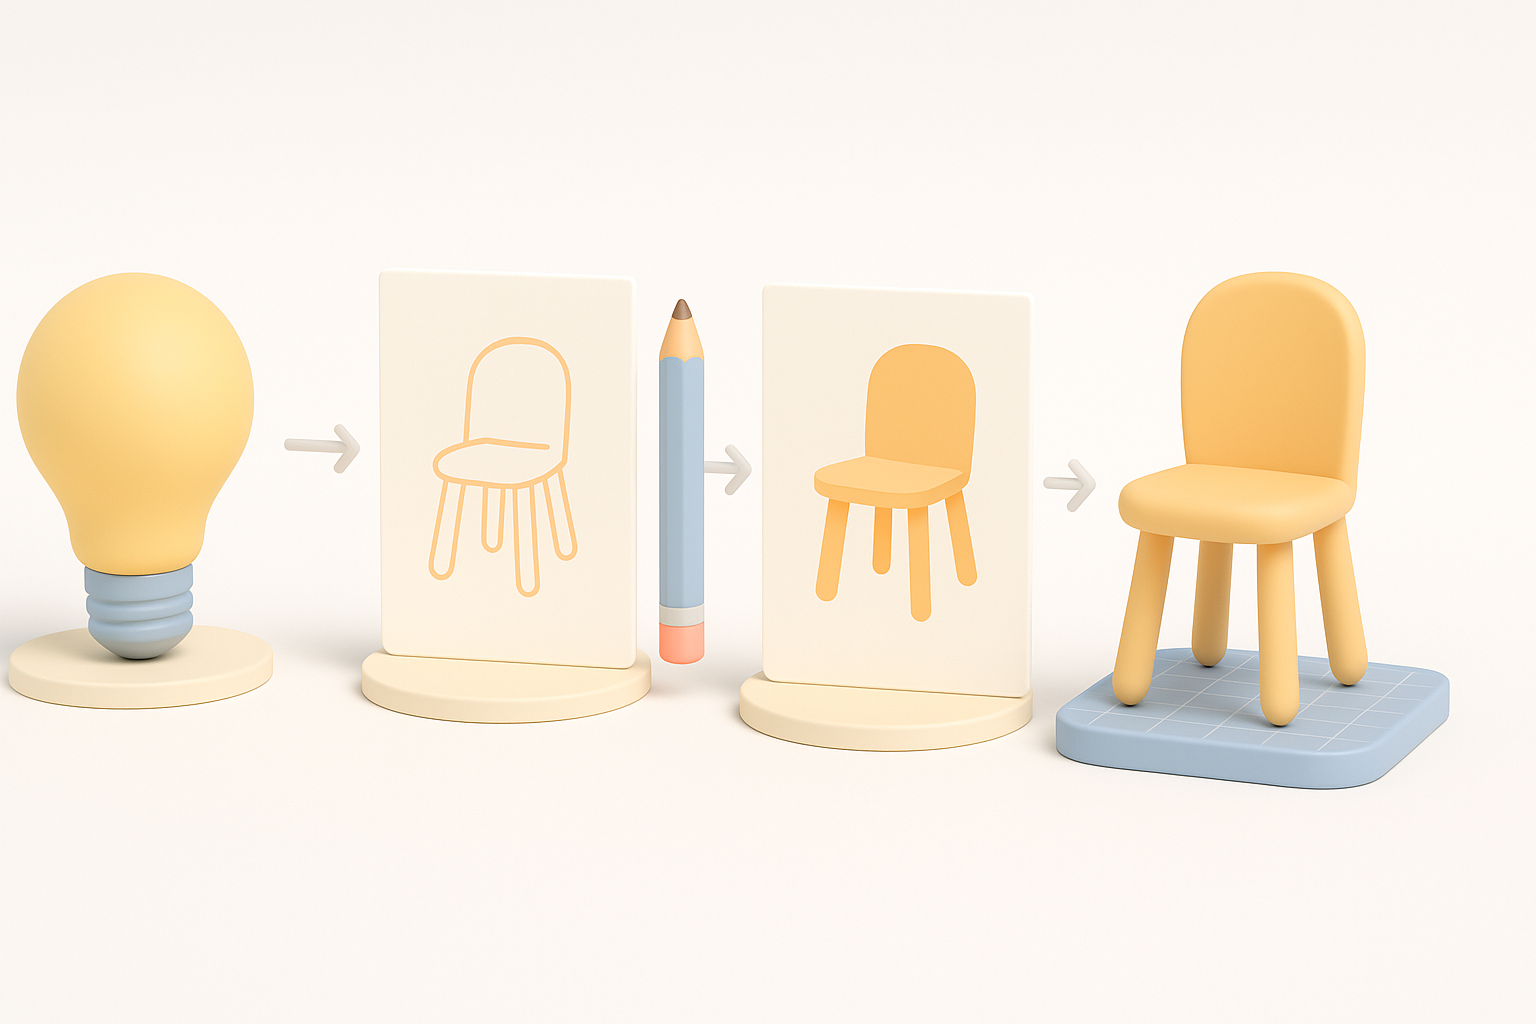
Gathering references and planning the model
Before touching any 3D software, I collect as many references as possible—screenshots, artbooks, and even in-game rotations if available. I sketch over references to block out proportions and key details.
Planning steps:
- Collect 5–10 reference images.
- Sketch or annotate main shapes and features.
- Decide on model scale and pose.
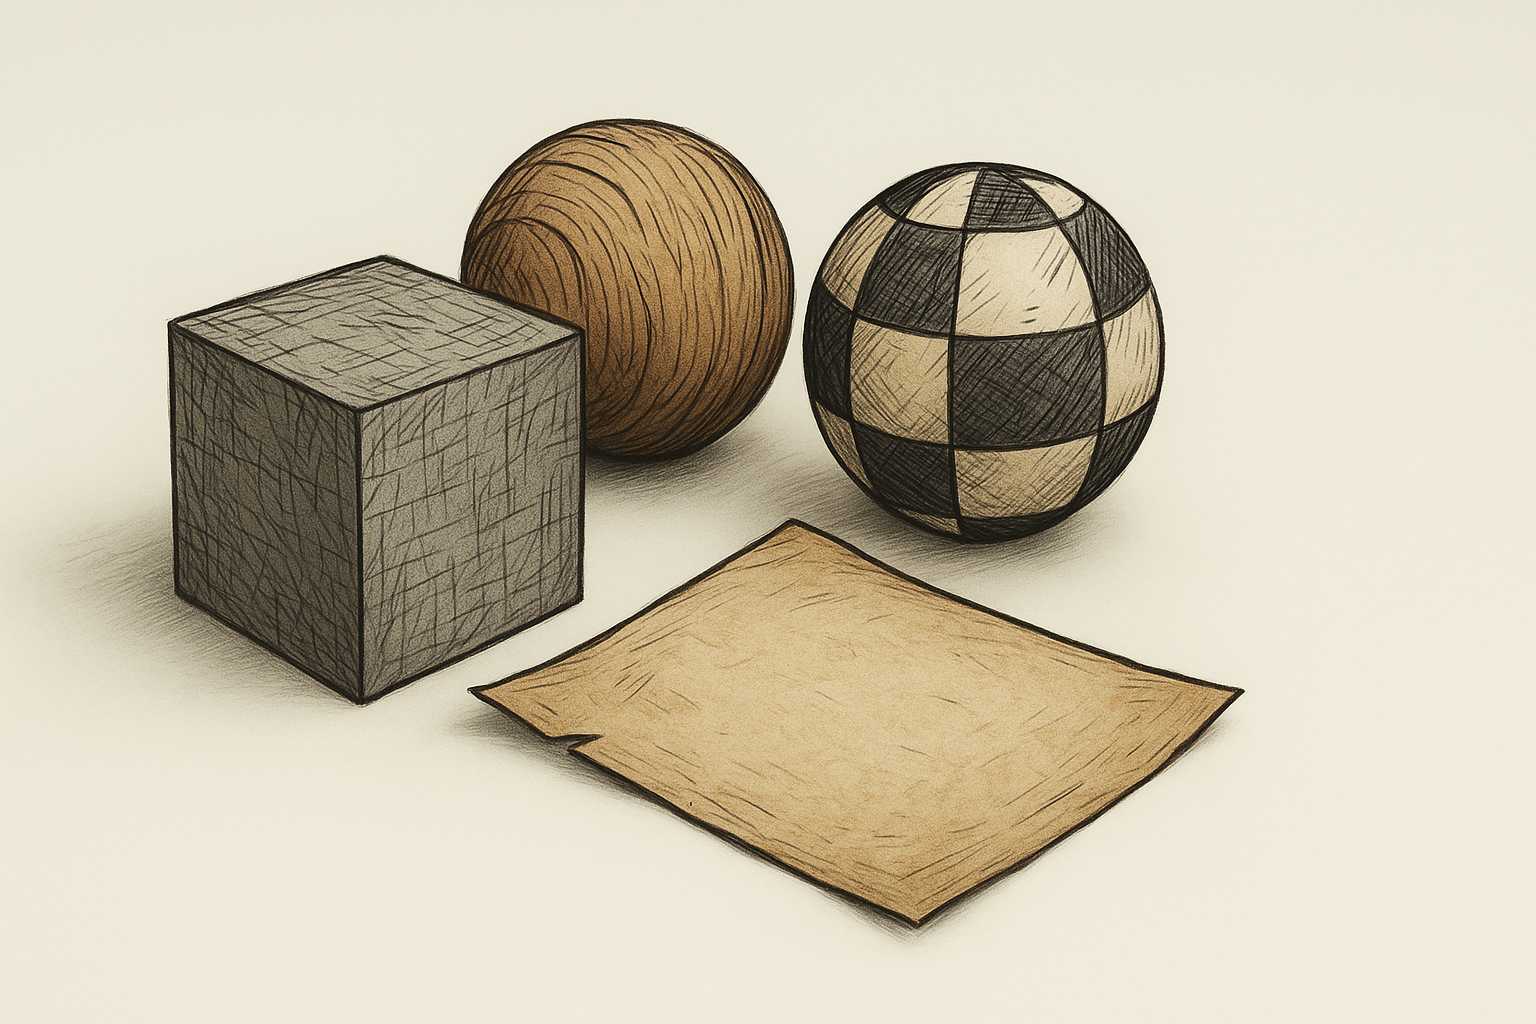
Blocking out shapes and proportions
I always start with primitive shapes (cubes, spheres, cylinders) to rough out the model. At this stage, I don’t worry about details or topology.
My blocking process:
- Lay out the largest forms first (torso, limbs, head).
- Adjust proportions to match the stylized look.
- Use symmetry tools, but break symmetry early for a more organic feel.
Tip: Don’t spend more than 10–20% of your total modeling time on blocking. It’s about speed and iteration.
Texturing and Materials: Achieving the Don’t Starve Look
Hand-painted textures and shading techniques
Texturing is where the Don’t Starve style comes alive. I use hand-painted methods, avoiding photo textures or procedural effects.
My texturing tips:
- Paint shadows and highlights directly onto the texture.
- Use a limited, desaturated palette.
- Add sketchy lines and imperfections for authenticity.
Pitfall: Over-blending or using gradients can kill the hand-painted feel. I keep brushstrokes visible and rough.
UV mapping and material setup best practices
Good UVs are critical for hand-painted textures. I prefer to lay out UVs with as few seams as possible, prioritizing flat, distortion-free islands.
Best practices:
- Keep UV islands large and logically grouped.
- Use non-uniform scaling to match brush direction.
- Set up simple materials—usually a diffuse/albedo only, with minimal or no specular.
Checklist:
- Are all details readable at game resolution?
- Do UV seams avoid critical painted areas?
- Is the material setup minimal and performance-friendly?
Optimizing Models for Games and XR

Retopology and polygon count management
Don’t Starve assets are low-poly by necessity. I retopologize my models to remove unnecessary edges and keep forms simple.
My polycount rules:
- Main characters: 1,000–2,500 tris.
- Props: 200–800 tris.
- Avoid tight loops and hidden geometry.
Tip: Use automated retopology tools for quick results, but always check and clean up manually.
Exporting and testing in game engines
I always test models in the target engine early. This catches scale, shading, and outline issues before they become major headaches.
Export steps:
- Freeze transforms and apply scale.
- Export as FBX or OBJ with correct axis orientation.
- Import into engine, check lighting and outlines.
Pitfall: Forgetting to test in-engine can lead to wasted time fixing small but critical issues later.
AI-Powered Tools and My Workflow Enhancements

How I use Tripo for rapid prototyping
I’ve integrated Tripo into my workflow to generate base meshes and quickly iterate on concepts. By feeding in text prompts or sketches, I can get a production-ready starting point in seconds.
My workflow:
- Generate a base mesh in Tripo using a short description or concept art.
- Refine the output in my DCC tool—tweak proportions, fix topology.
- Use Tripo’s built-in segmentation and retopology for quick optimization.
Tip: Tripo excels at blocking and rapid ideation, but I always do a final pass for style consistency.
Comparing manual and AI-assisted methods
Manual modeling gives me full control over every detail, but it’s slower—especially for repetitive props or variations. With AI assistance, I can:
- Prototype multiple variants in less time.
- Focus my manual effort on hero assets and final polish.
- Reduce the tedium of repetitive tasks.
Pitfall: Relying solely on AI outputs can lead to style drift—always review and adjust for consistency.
Common Challenges and What I’ve Learned

Troubleshooting stylization issues
The biggest challenge is maintaining the “drawn” feel. Sometimes, 3D models can look too clean or rigid. What I’ve found helpful:
- Add asymmetry—nothing is perfectly even in Don’t Starve.
- Exaggerate imperfections with sculpting or texture paint.
- Regularly compare to in-game assets for reference.
Troubleshooting checklist:
- Does the model look too geometric or “CG”?
- Are outlines and brushstrokes visible?
- Is the silhouette bold and readable?
Tips for maintaining consistency across assets
When working on a set of props or characters, it’s easy for style to drift. My strategies:
- Create a “style bible” with color swatches, brush settings, and outline thickness.
- Use shared texture templates and material presets.
- Review assets side by side before final export.
Tip: Regular team reviews help catch inconsistencies early.
By following this workflow and leveraging both traditional and AI-powered tools, I can achieve authentic Don’t Starve-style 3D models efficiently—ready for games, XR, or animation. Consistency, reference, and a willingness to iterate are key.


