Creating a Movable Doll 3D Model: Expert Workflow & Tips
Designing a movable (articulated) doll 3D model requires a blend of artistic vision and technical precision. In my experience, the key is to plan articulation from the outset, use efficient segmentation and retopology, and leverage AI-powered tools to accelerate tasks like texturing and rigging. This guide is for 3D artists, game developers, and XR creators who want to produce production-ready, animatable doll models—whether for games, films, or interactive experiences. Below, I summarize the workflow, highlight common pitfalls, and share practical tips learned from real projects.
Key takeaways:
- Start with clear articulation planning and strong reference material.
- Segment and retopologize for smooth, realistic movement.
- Use AI-driven platforms like Tripo to streamline modeling, texturing, and rigging.
- Rigging and animation setup should prioritize clean joint deformation.
- Export models optimized for your target pipeline, checking compatibility.
- Avoid common mistakes like poor segmentation or dense, unoptimized meshes.
Executive Summary: Key Takeaways for Movable Doll 3D Models
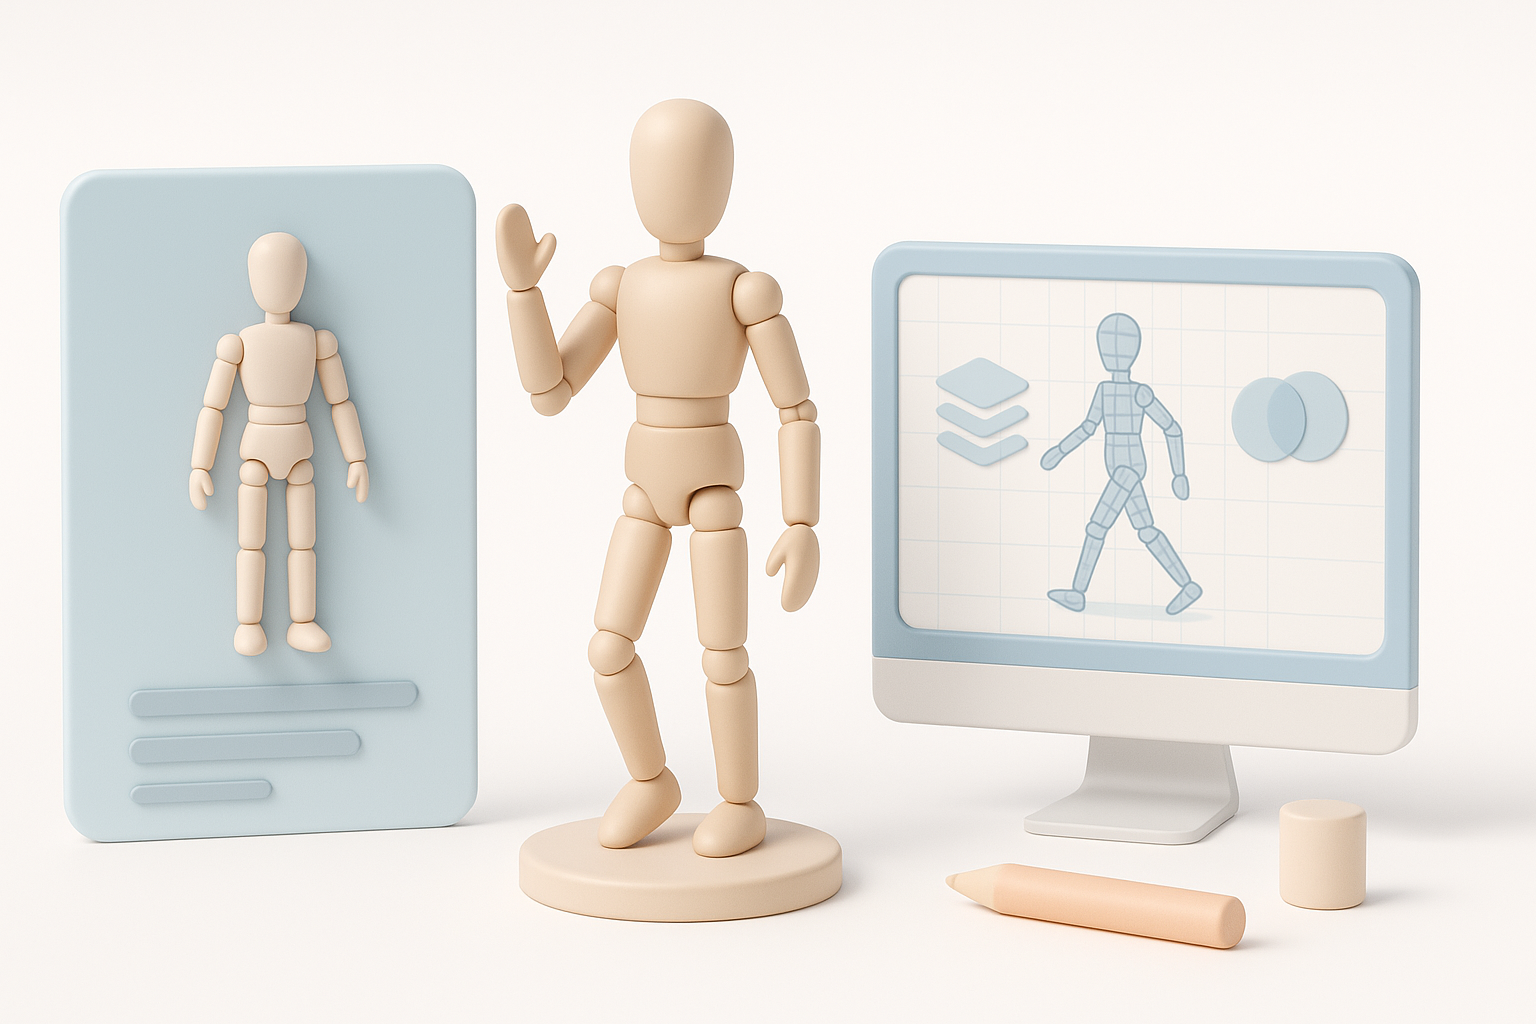
What defines a movable doll 3D model
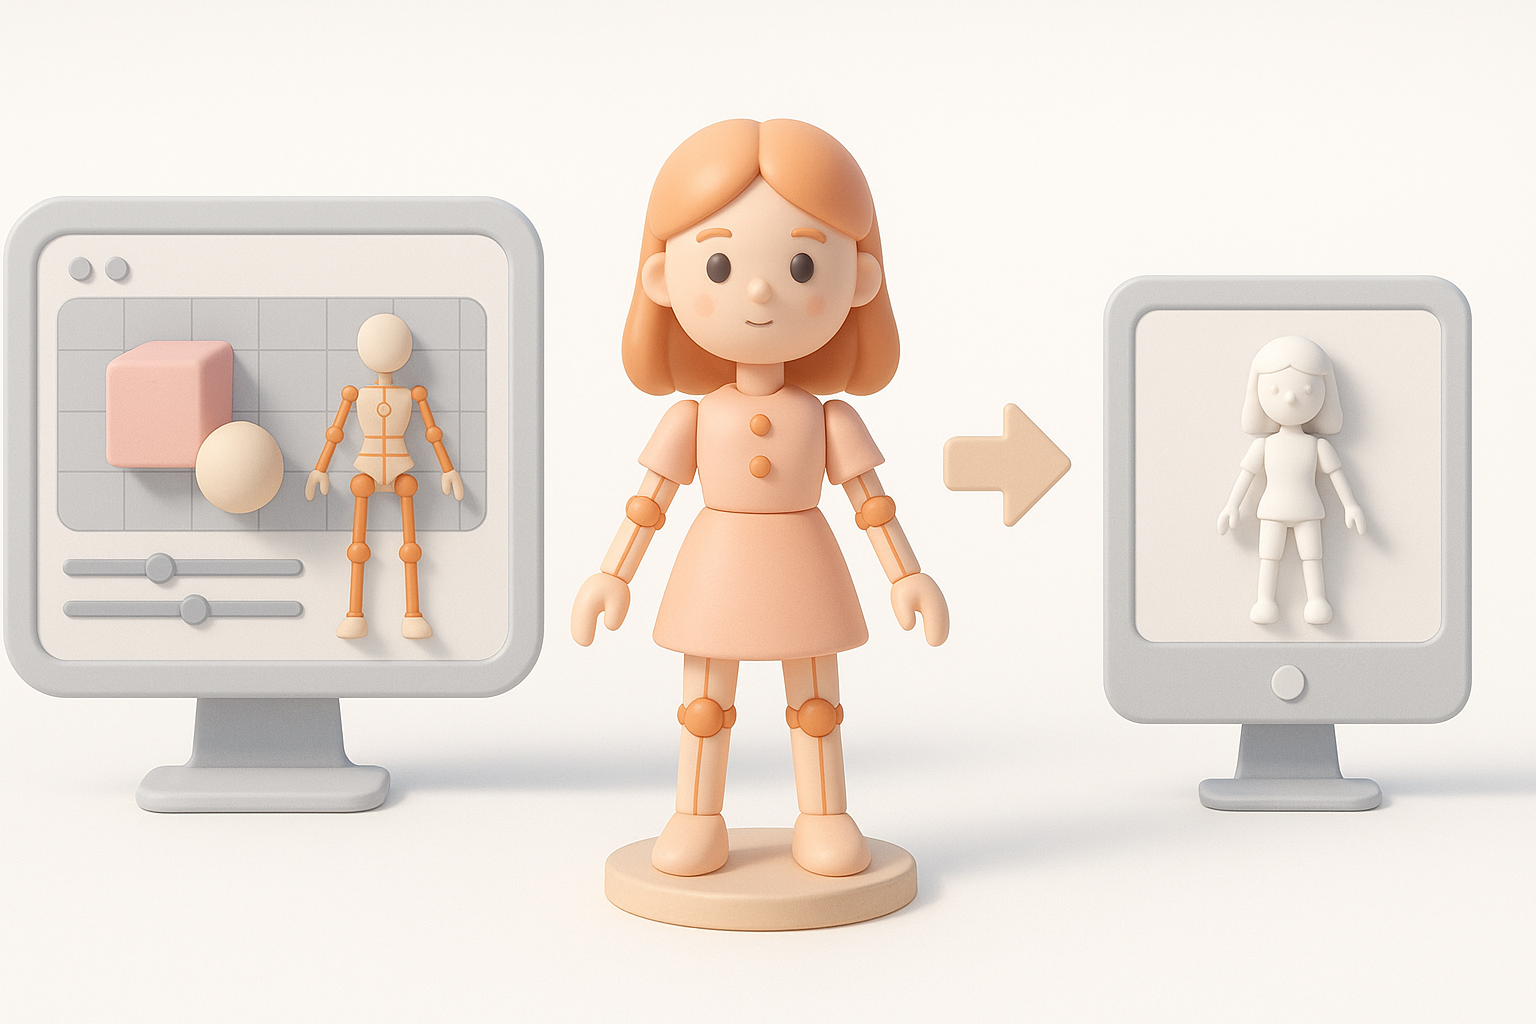
A movable doll 3D model is characterized by articulated joints—shoulders, elbows, knees, etc.—that allow for realistic posing and animation. In my practice, this means designing the model with clear separation at each joint, ensuring that each part can move independently without mesh overlap or deformation artifacts.
Summary of recommended workflows and tools
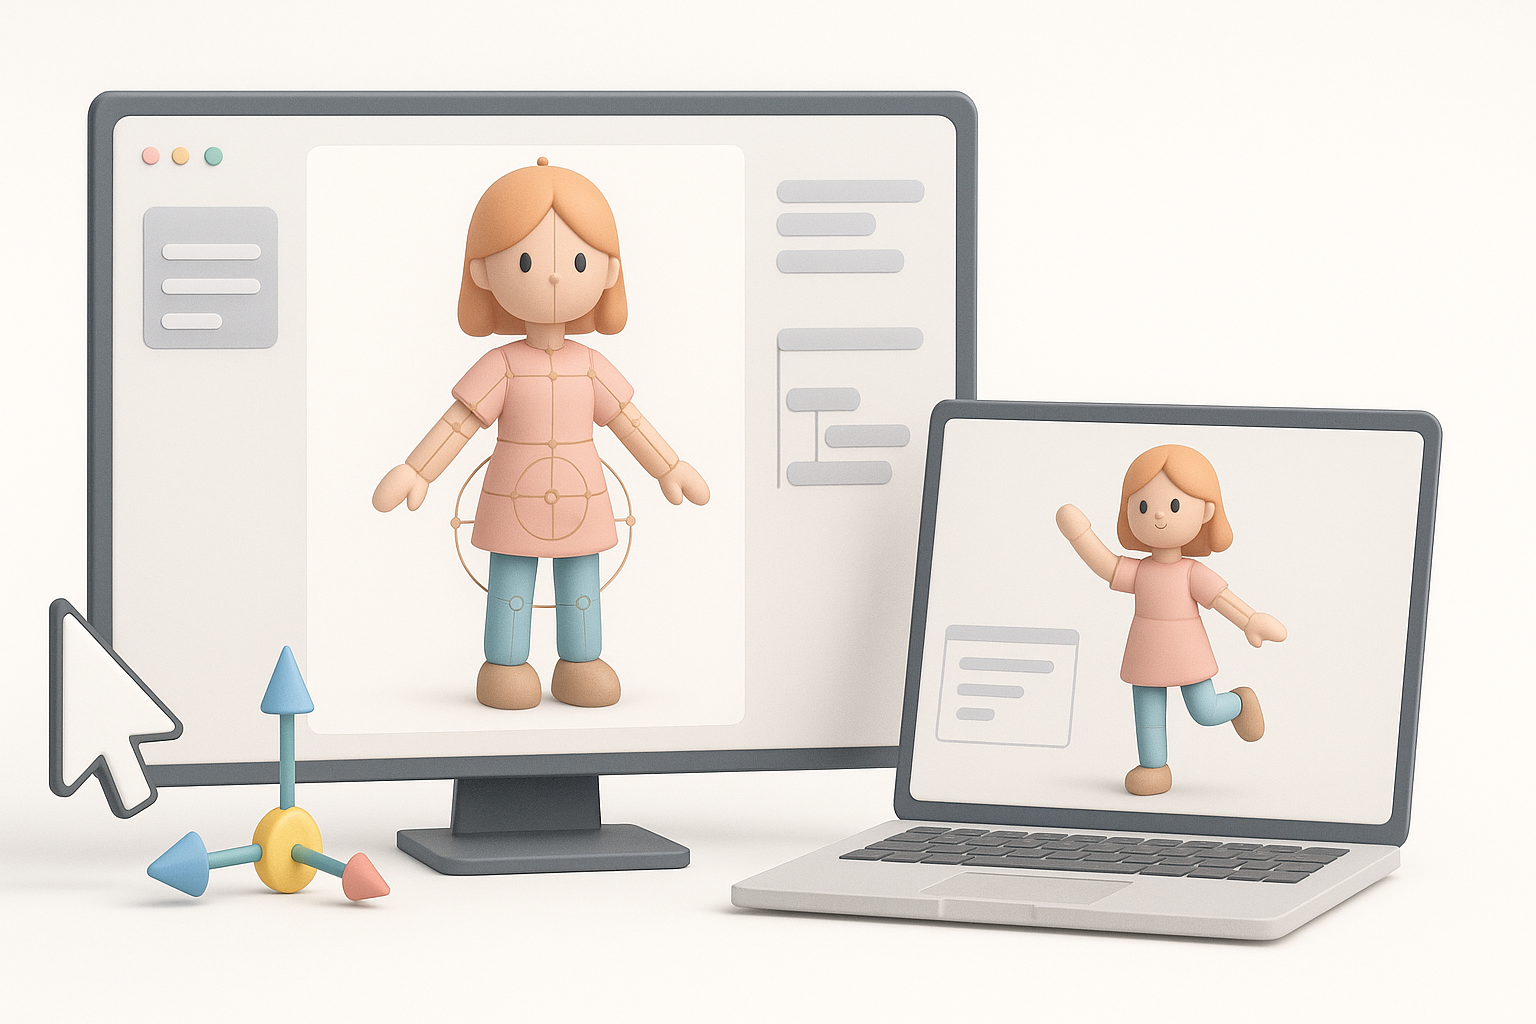
I recommend a workflow that starts with thorough planning, then leverages AI-powered tools for rapid prototyping and refinement. For me, platforms like Tripo are invaluable for quickly generating base meshes, segmenting parts, and applying textures. Traditional DCC (digital content creation) software still plays a role for detailed sculpting, custom rigging, and fine-tuning.
Planning and Conceptualizing a Movable Doll 3D Model
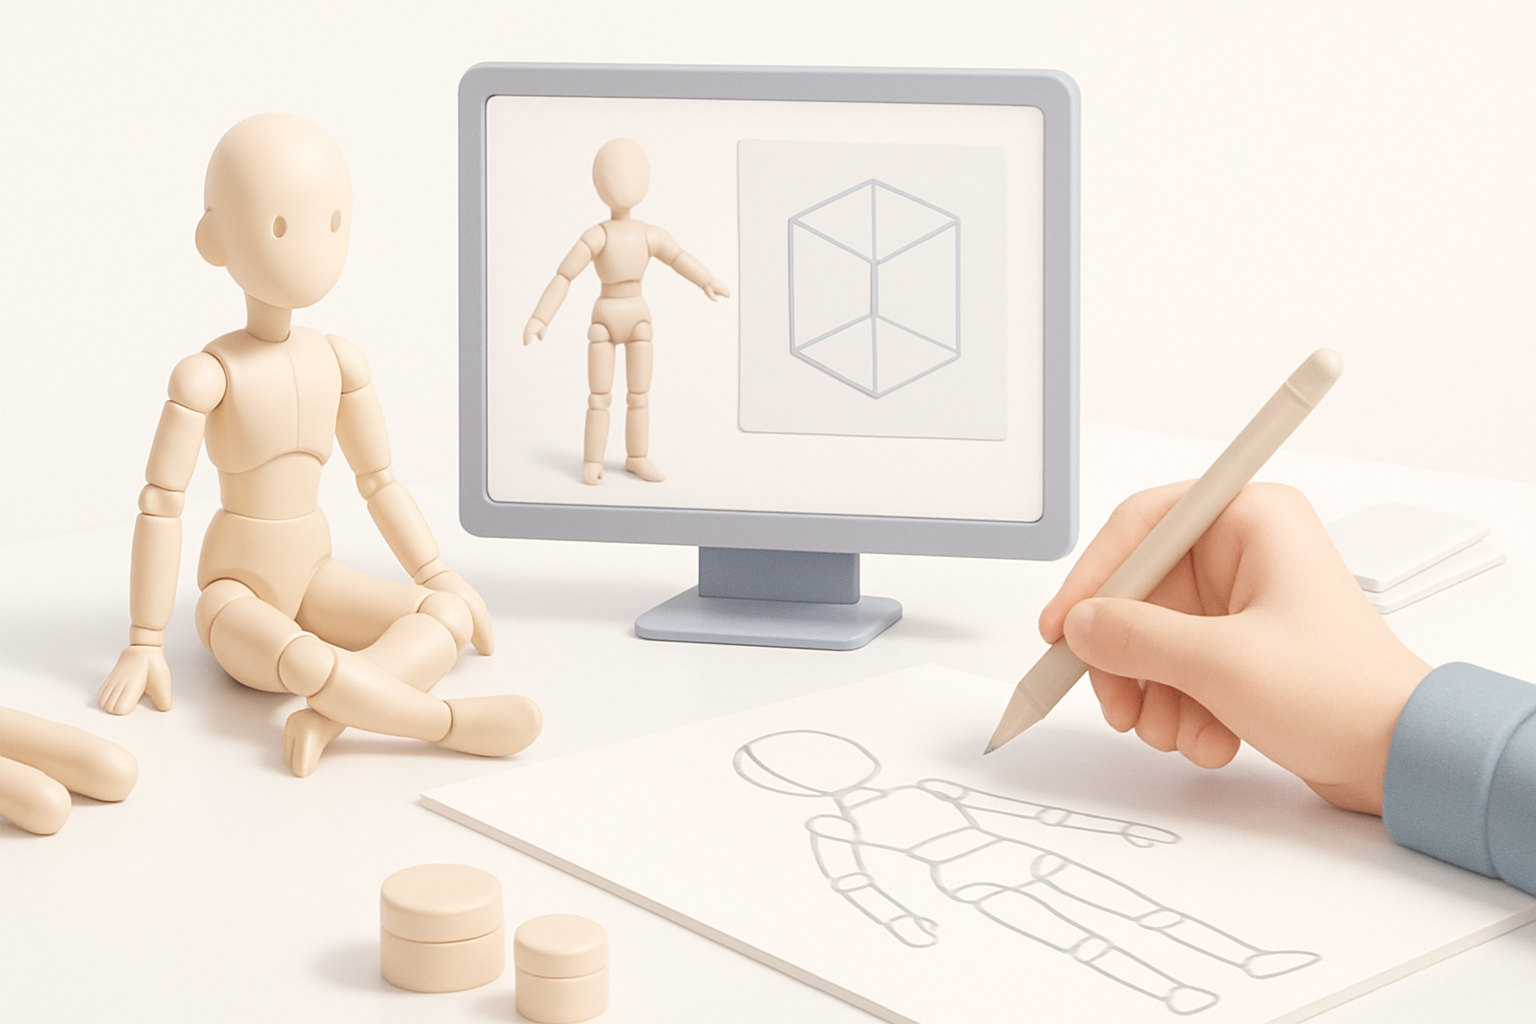
Gathering references and sketching ideas
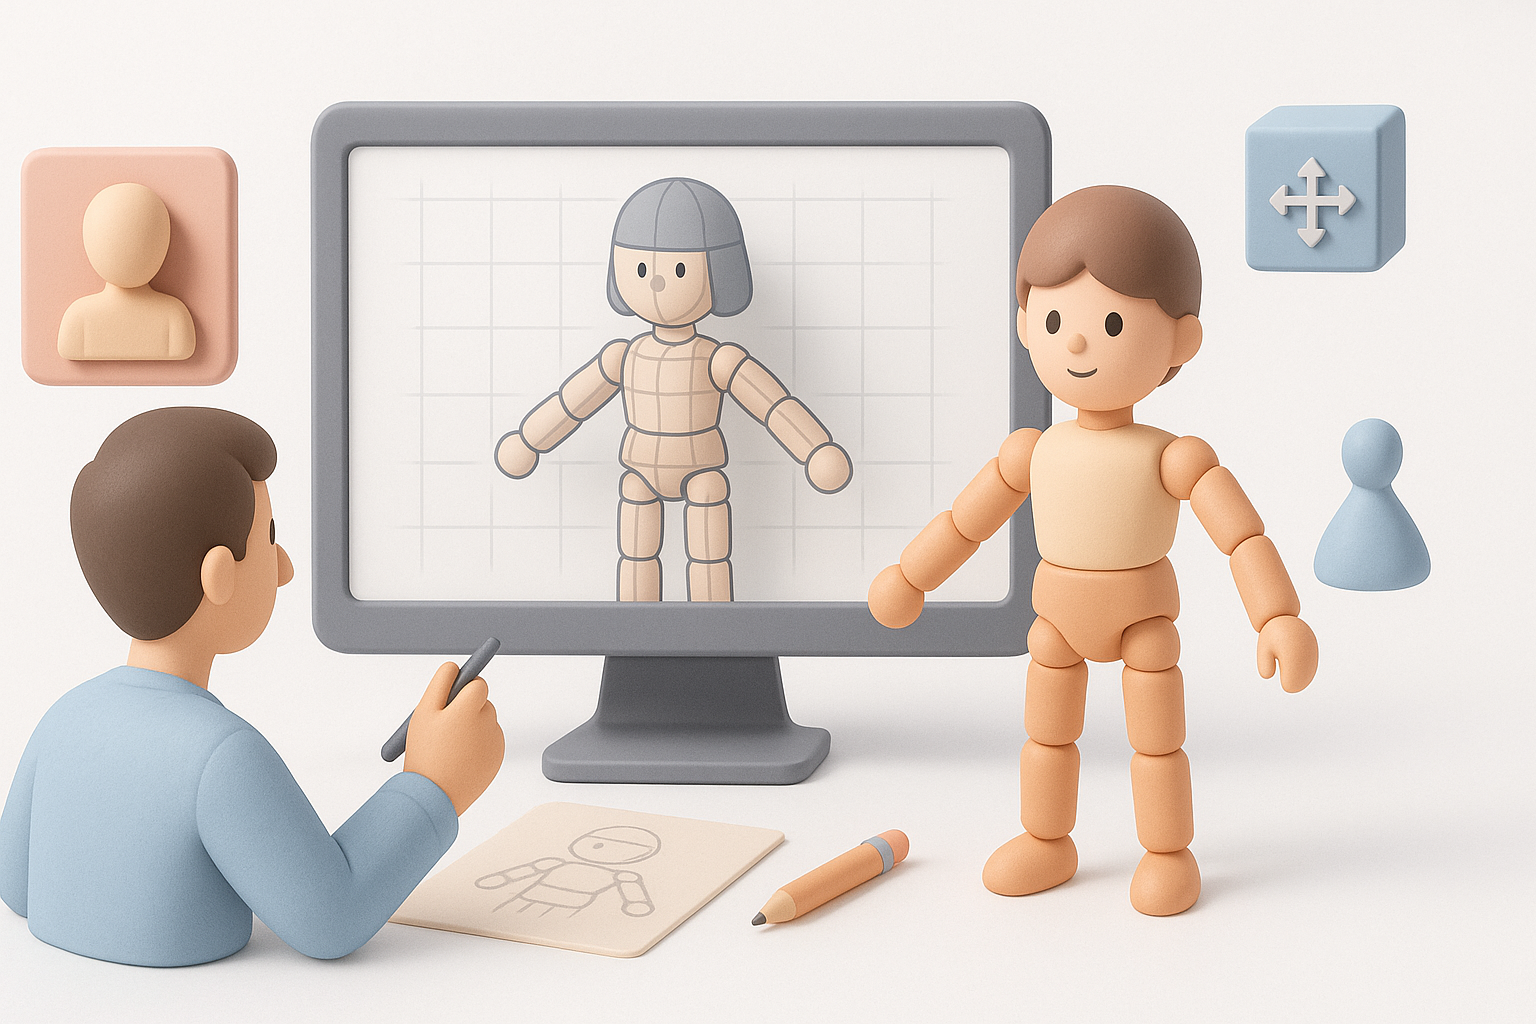
I always begin by collecting references—photos, anatomy diagrams, and existing articulated figures. Sketching out my own concepts (even rough ones) helps clarify proportions and joint placement. Having a mood board or reference sheet nearby keeps the vision consistent throughout the process.
Checklist:
- Gather anatomical and mechanical references.
- Sketch at least 2–3 poses to visualize articulation.
- Note any stylization or functional requirements.
Identifying articulation points and movement requirements
Before modeling, I list all required joints and their expected range of motion. For dolls, this usually includes neck, shoulders, elbows, wrists, hips, knees, and ankles. I also decide early if the doll needs to support extreme poses or just basic movement.
Tips:
- Mark articulation points on your sketches.
- Consider how clothing or accessories may affect movement.
- Define the minimum and maximum angles for each joint.
Modeling Techniques for Articulated Dolls
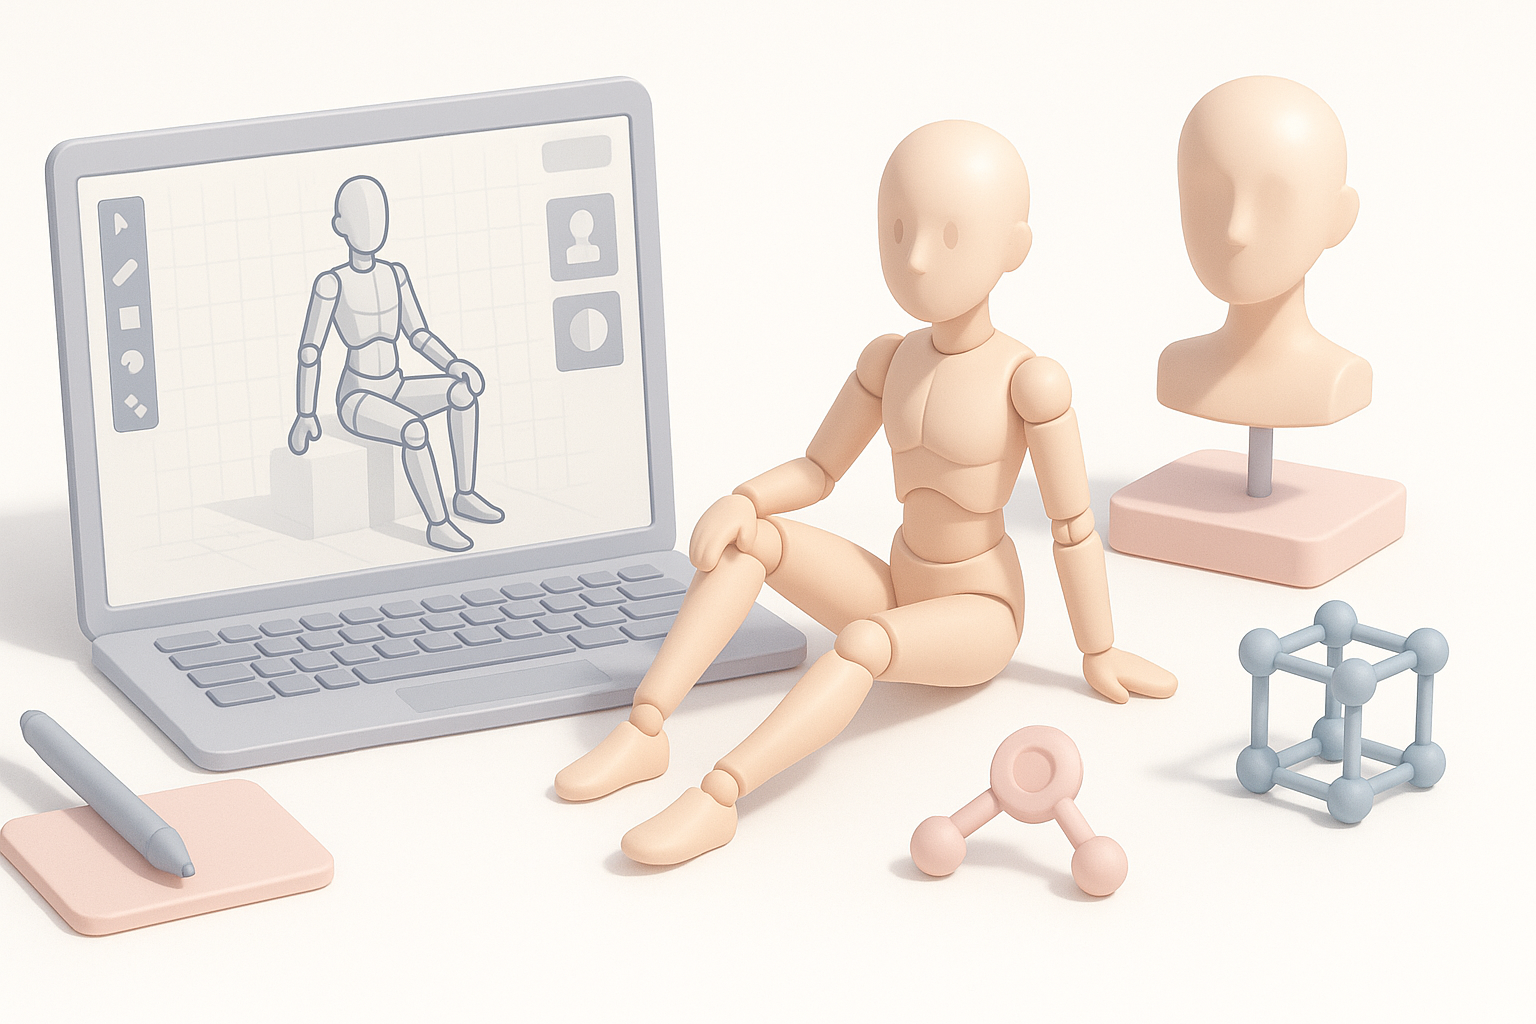
Best practices for segmenting movable parts
Effective segmentation is crucial. I model each limb and joint as separate objects, with slight overlap or interlocking geometry at the connection points. This avoids mesh stretching and makes rigging easier. Using Tripo, I can quickly generate segmented mesh parts from sketches or text prompts, then refine them in my DCC of choice.
Steps:
- Block out the main body and limbs as separate meshes.
- Add extra edge loops near joints for smoother deformations.
- Test fit parts together to ensure natural movement.
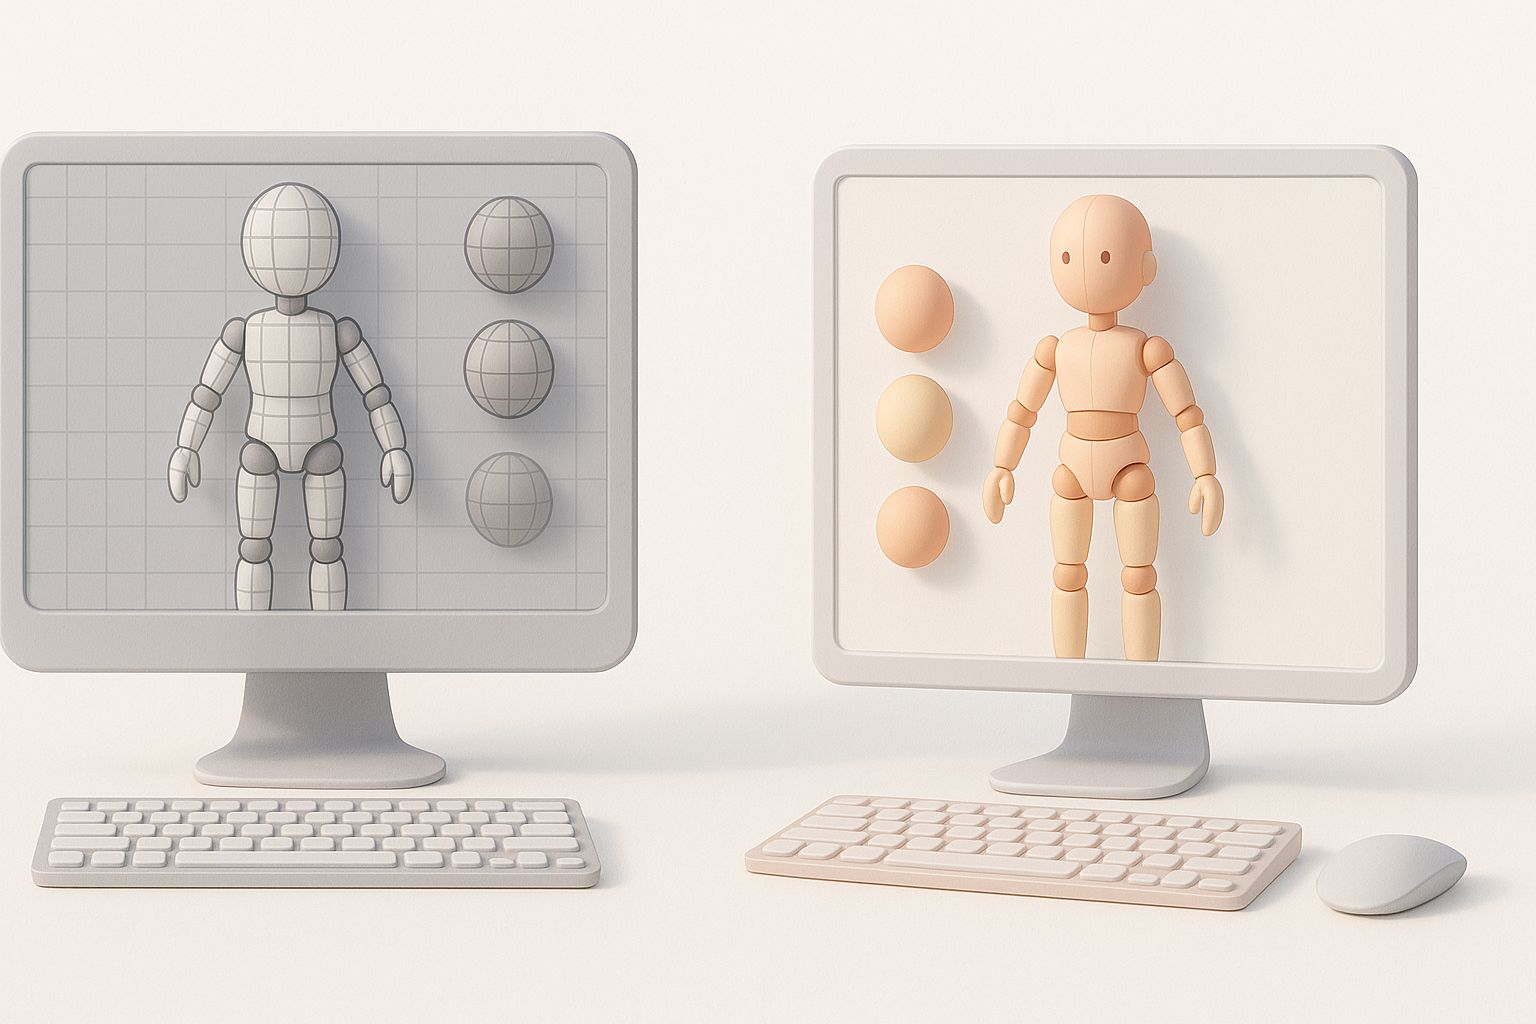
Retopology for smooth joint movement
Clean topology is essential for joints. I retopologize around articulation points, ensuring edge loops flow perpendicular to the axis of rotation. Automated retopology tools (including those in Tripo) save time, but I always check and tweak the results manually.
Pitfalls to avoid:
- Avoid triangles and n-gons near joints.
- Don’t use overly dense meshes; keep it efficient for animation.
- Test deformation early by rotating parts in your modeling software.
Texturing and Material Workflow
UV mapping strategies for articulated surfaces
UV seams should be placed away from high-deformation areas. I unwrap each segment separately, making sure UV islands have consistent texel density. With AI-assisted UV tools, I can quickly generate clean UVs, but I always inspect for stretching or overlaps.
Checklist:
- Place seams along natural breaks (e.g., inside joints).
- Optimize UV layout for minimal distortion.
- Use checker patterns to verify even scaling.
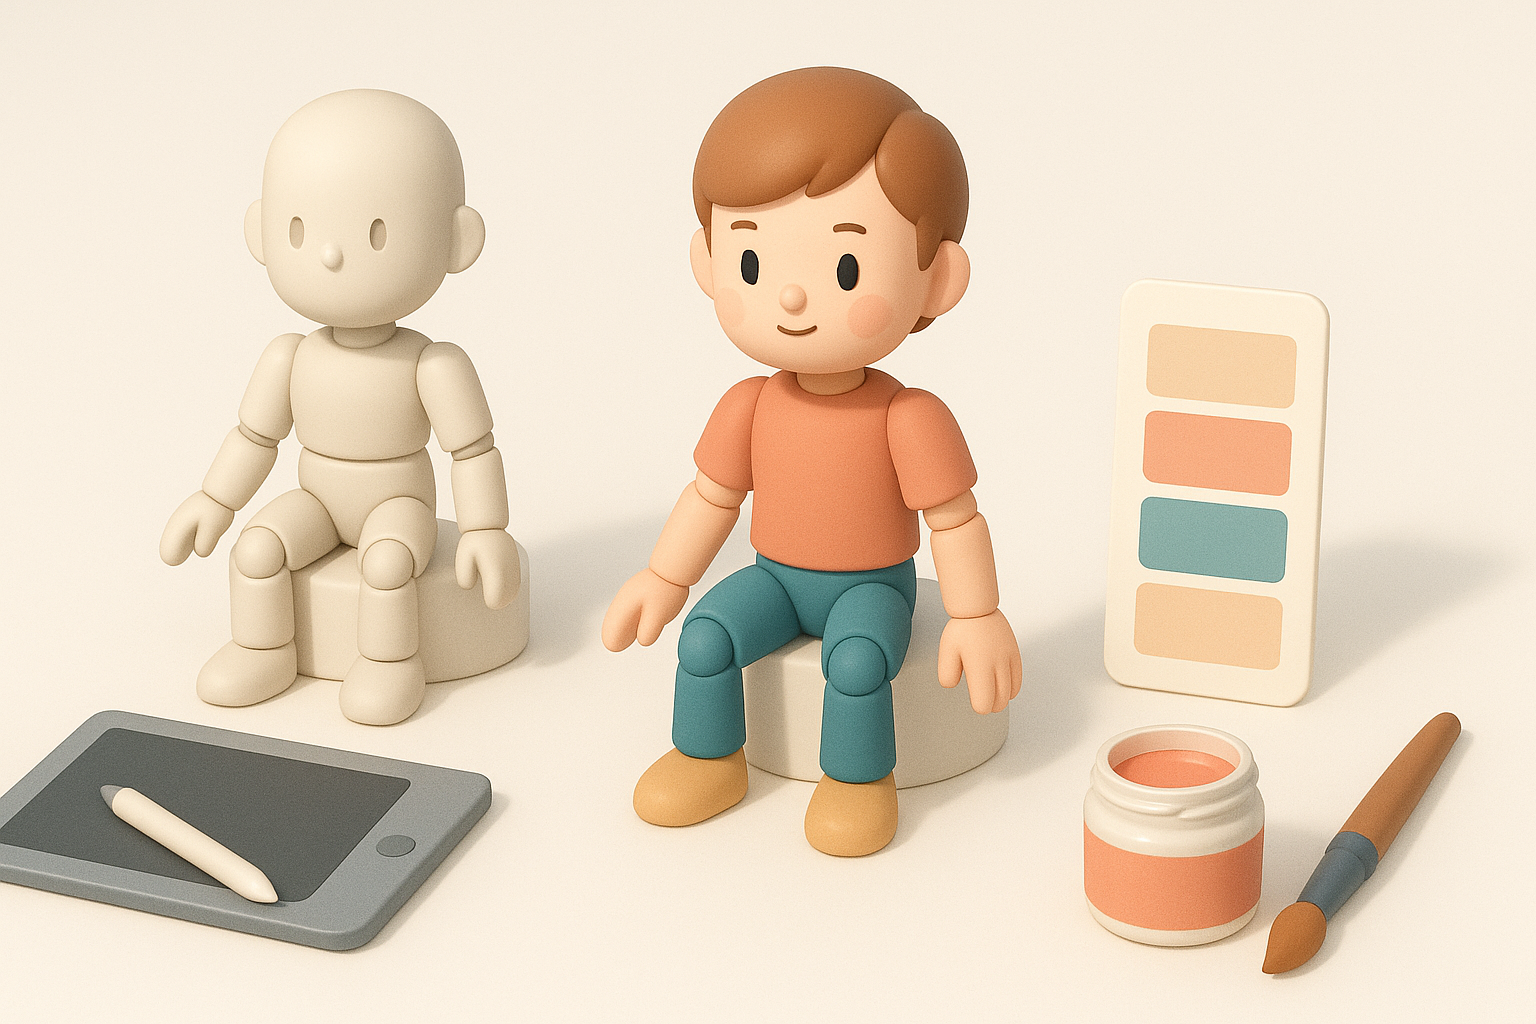
Applying realistic textures and materials
For dolls, I use high-res photo references or procedural textures for skin, plastic, or fabric. Tripo’s AI texturing helps generate base materials, which I tweak in a painting app for custom details like freckles, seams, or wear.
Tips:
- Layer details (base color, roughness, bump/normal maps).
- Preview textures on a posed model to spot stretching.
- Keep materials optimized for your final render or engine.
Rigging and Animation for Doll Movement
Setting up bones and controls for doll articulation
I rig each segment with a simple bone structure—usually one bone per part. For more lifelike dolls, I add control objects and limit joint rotation to mimic real-world constraints. Tripo’s built-in rigging tools can auto-generate a basic skeleton, which I refine for custom poses.
Steps:
- Parent each mesh segment to its corresponding bone.
- Add rotation limits to prevent unnatural movement.
- Test basic poses (sit, stand, reach) to validate the rig.
Animating basic poses and movement cycles
I start with static poses, then create simple movement cycles (walk, wave, sit). For dolls, exaggerating motion helps test joint range and mesh integrity. I often use pose libraries or animation presets to speed up iteration.
Pitfalls to avoid:
- Watch for mesh intersections at extreme poses.
- Avoid over-complicating the rig unless needed.
- Preview animations in your target engine or viewer.
Production-Ready Export and Integration
Optimizing model for game, film, or XR pipelines
I optimize models by reducing poly count, baking textures, and removing unused data. For real-time applications (games, XR), I keep meshes lightweight and use efficient texture maps. For film, I allow more detail but still avoid unnecessary complexity.
Checklist:
- Apply transforms and freeze scales before export.
- Bake normal and AO maps if needed.
- Check for non-manifold geometry or stray vertices.
Export formats and compatibility tips
I typically export in FBX or glTF for broad compatibility. It’s important to verify that the exported model retains rigging, animation, and materials in the target pipeline. I run test imports into the engine or DCC tool before final delivery.
Tips:
- Use embedded textures when possible for portability.
- Double-check joint orientation and axis alignment.
- Keep a versioned backup before export.
Comparing AI-Powered and Traditional 3D Workflows
Advantages of AI-driven platforms for doll models
AI-powered tools like Tripo accelerate the workflow by automating tedious steps—base mesh generation, segmentation, retopology, and even texturing. In my experience, this lets me focus on creative decisions and iterate faster, especially for prototyping or bulk asset creation.
Benefits:
- Rapid generation of base models from text or sketches.
- Automatic segmentation and rigging save hours.
- Consistent results, especially for repetitive tasks.
When to use alternative methods and manual approaches
While AI tools are powerful, I still rely on manual modeling and rigging for highly stylized or complex dolls. Custom sculpting, hand-painted textures, and bespoke rigs are sometimes necessary for unique projects or when fine control is required.
Tips:
- Use AI for rapid prototyping; switch to manual for polish.
- Always review auto-generated results before finalizing.
- Combine AI and traditional tools for best results.
Personal Insights: Lessons Learned and Expert Recommendations
Common pitfalls and how I avoid them
- Overlooking articulation during modeling: Always plan joints before you start.
- Ignoring topology near joints: Clean, circular edge loops are a must.
- Rushing UVs and textures: Take time to check for stretching and seams.
- Exporting without testing: Always import your exported model into the target engine or viewer.
My favorite tools and workflow enhancements
- Tripo for fast base mesh, segmentation, and auto-rigging.
- Traditional DCCs for sculpting and detailed rigging.
- Substance tools for advanced texturing.
- Quick pose libraries for animation testing.
My advice: embrace AI-driven workflows for speed, but don’t skip the fundamentals—good planning, clean topology, and thorough testing always pay off.


