Creating and Using Days Gone 3D Models: Expert Workflow & Tips
скачать 3d модель для chicken gun
Creating high-quality Days Gone 3D models requires a blend of creative vision, technical skill, and the right tools. In my experience, the most efficient workflows combine AI-powered solutions with hands-on techniques to capture the gritty realism and detail that define Days Gone assets. Whether you’re developing for games, XR, or film, mastering these methods will save time and elevate your results. This guide is for artists, developers, and studios aiming to create production-ready models with a focus on authenticity, efficiency, and flexibility.
Key takeaways
- Days Gone 3D assets stand out for their realism and post-apocalyptic detail—reference gathering is critical.
- Combining AI-powered tools with manual refinement offers the best balance of speed and quality.
- Efficient workflows depend on early planning, smart tool selection, and iterative optimization.
- Exporting, rigging, and animation require careful attention to engine requirements and clean topology.
- Troubleshooting is part of the process—anticipate common issues and iterate quickly.
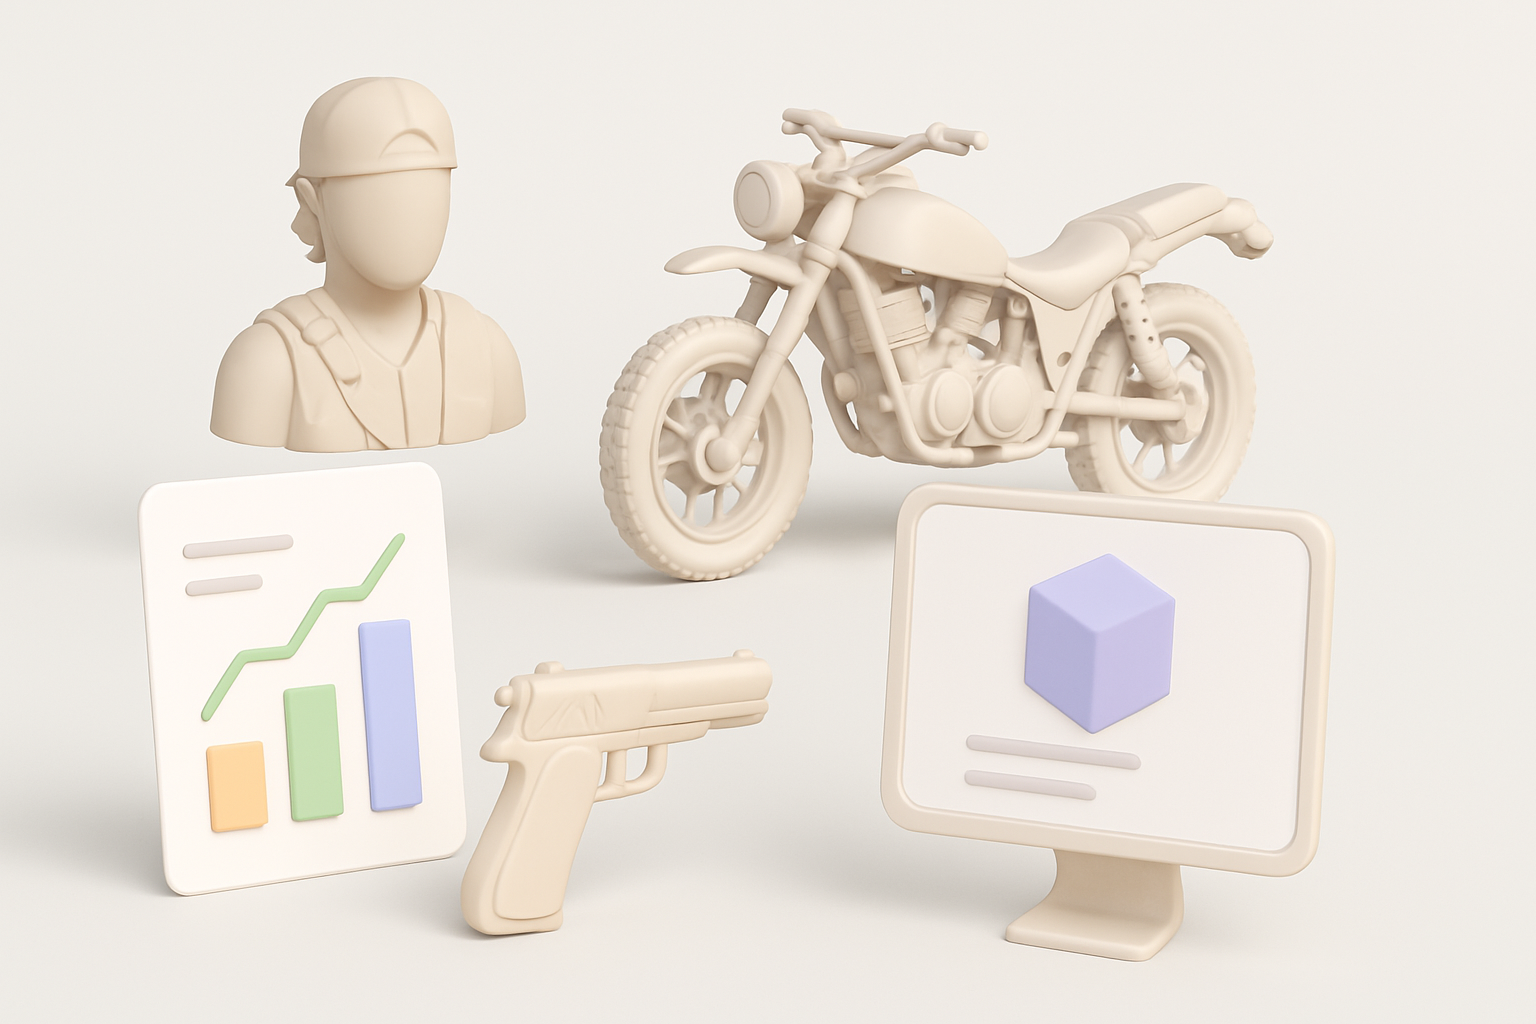
Overview: Days Gone 3D Models and Their Uses
What makes Days Gone assets unique
Days Gone assets are characterized by their rugged, weathered look—think worn leathers, rusted metal, and dense environmental storytelling. Authenticity comes from attention to small details like grime, damage, and layered materials. I always prioritize high-quality references to capture these nuances.
Common applications in games and XR
These models are widely used in:
- Real-time game environments (especially open-world and survival games)
- XR/VR experiences needing immersive, believable worlds
- Cinematic cutscenes and pre-rendered sequences
In my projects, leveraging these assets has improved both visual fidelity and player immersion.
My Workflow for Creating Days Gone 3D Models
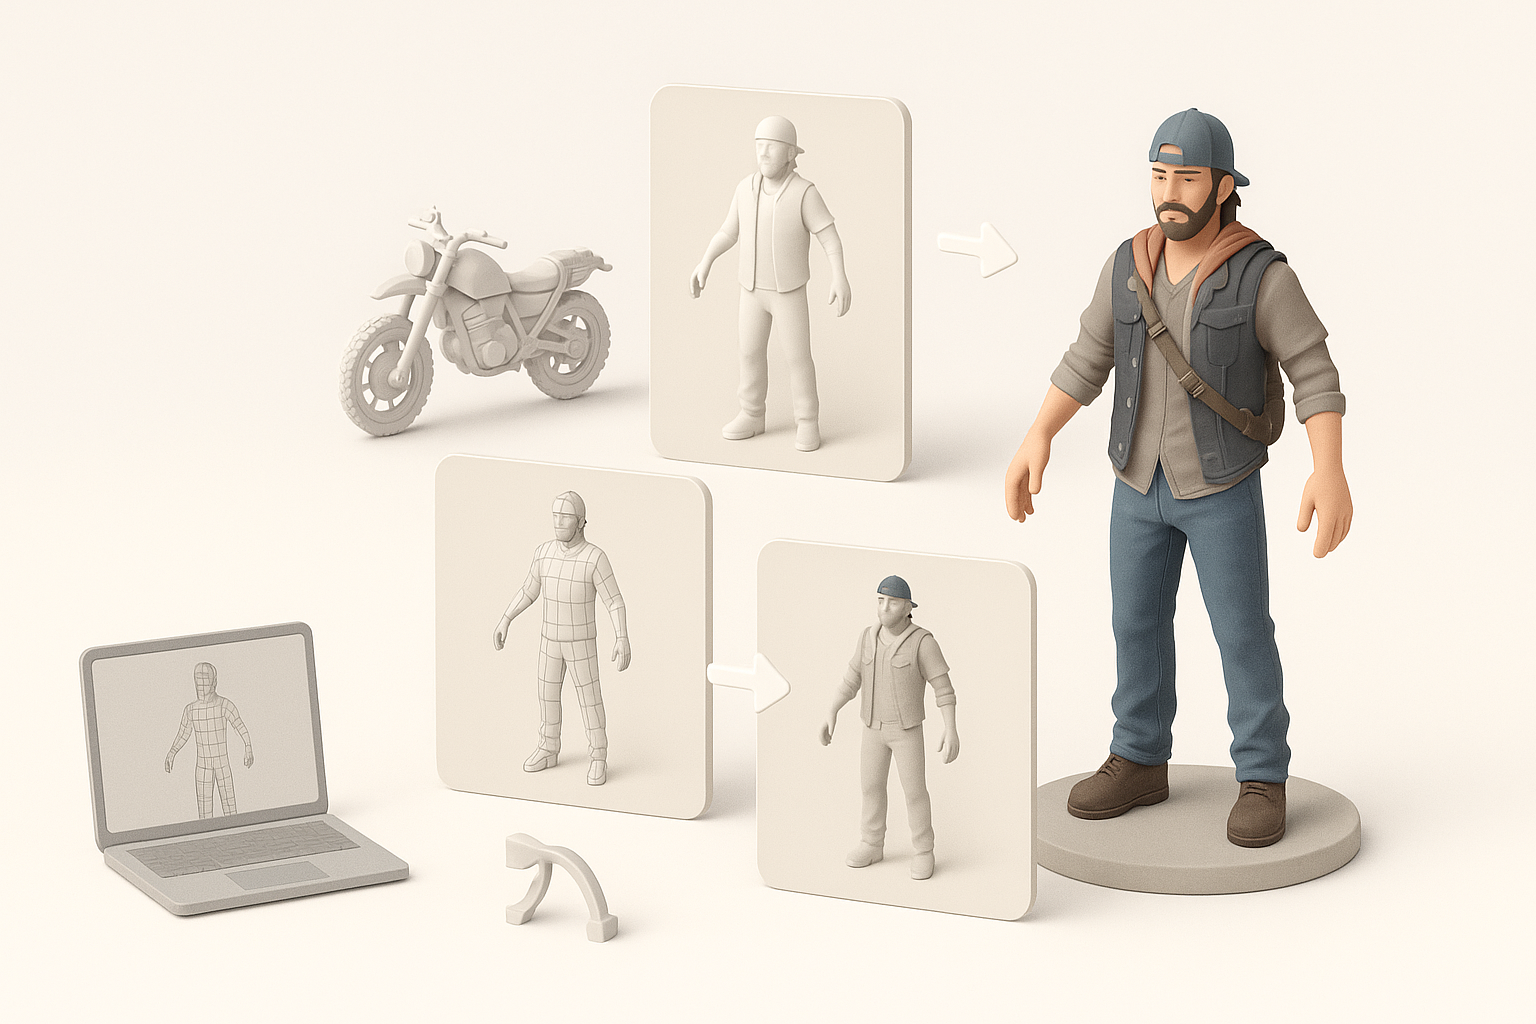
Gathering references and planning
I start every project by collecting a broad set of references—screenshots, concept art, and real-world analogs. I organize these into mood boards and break down key elements (materials, wear patterns, proportions). Planning out the model’s complexity, target polycount, and intended use helps avoid costly revisions later.
Checklist:
- Gather at least 10–20 detailed reference images
- Identify primary materials and weathering effects
- Define the model’s purpose (game-ready, cinematic, etc.)
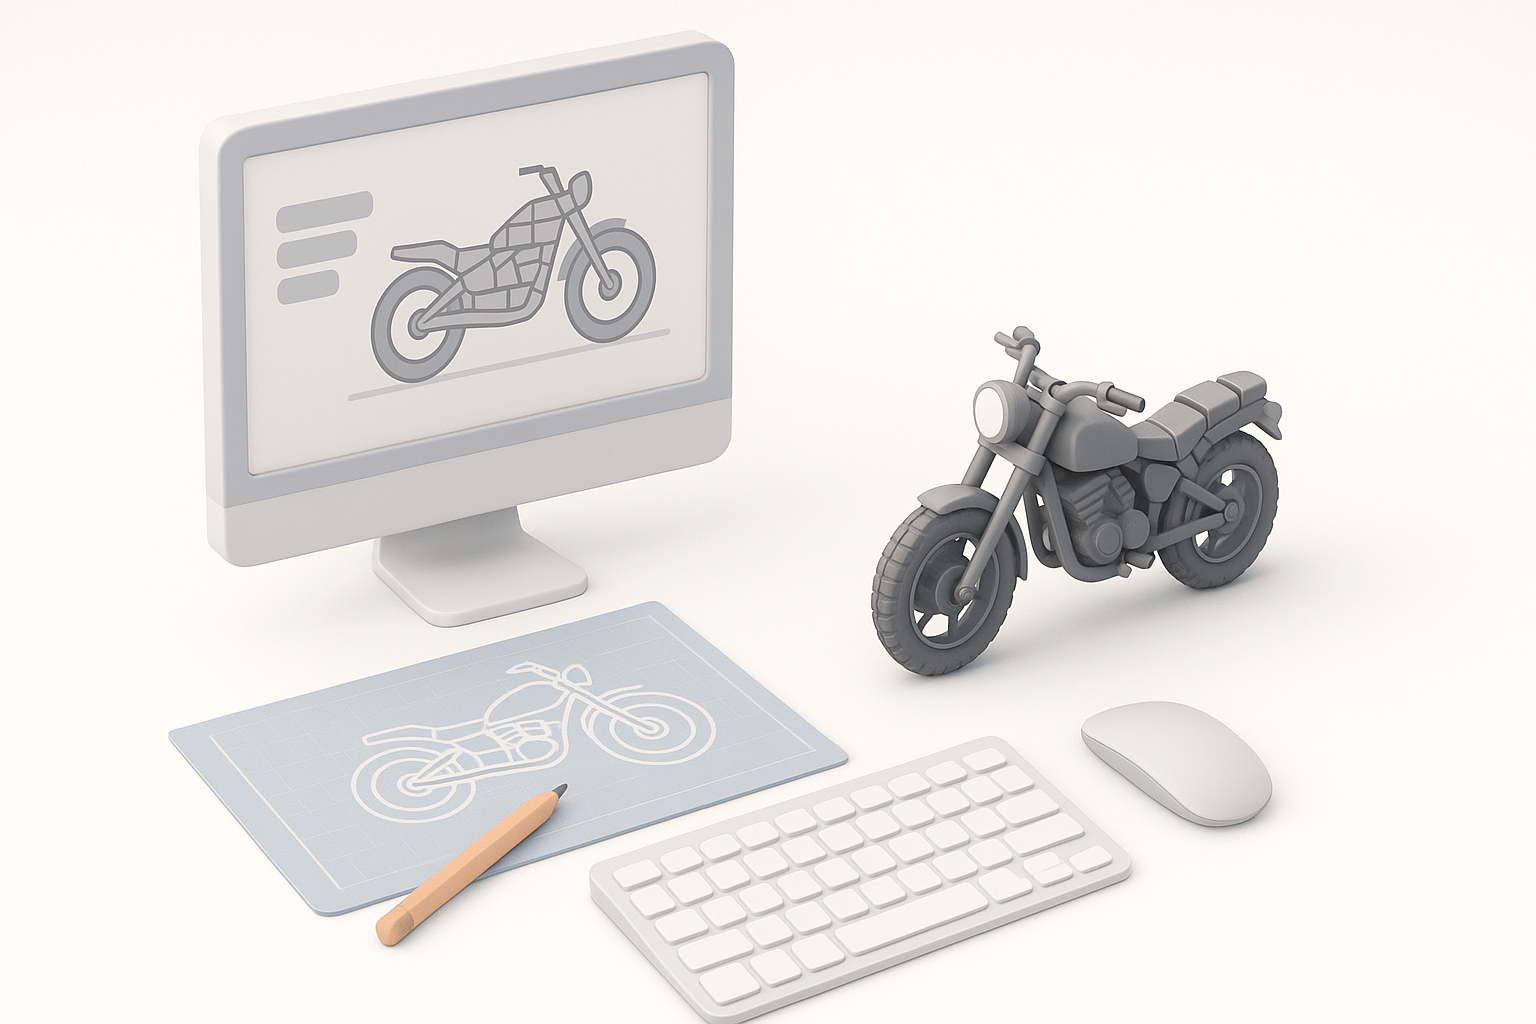
Choosing the right tools and platforms
For speed and flexibility, I integrate AI-powered tools like Tripo AI to generate base meshes from text or sketches. For manual refinement, I rely on industry-standard 3D software for sculpting, UV mapping, and baking. The key is to match tools to the model’s requirements—AI for quick iteration, manual for precision.
Step-by-Step: Building a Days Gone 3D Model
Modeling techniques and best practices
I usually generate a base mesh using AI-driven tools, then bring it into my preferred 3D software for cleanup and detailing. For organic shapes (like clothing or props), I block out forms before refining edges and adding secondary detail. Hard-surface elements (weapons, vehicles) require careful attention to edge flow and bevels.
Best practices:
- Keep topology clean and quads-based for easier retopology
- Use symmetry and instancing to speed up repetitive elements
- Regularly check against references for scale and proportion
Texturing, retopology, and optimization
Once the model is finalized, I UV unwrap and bake normal/AO maps. Texturing is where Days Gone assets come alive—layering dirt, rust, and wear using PBR workflows. AI-powered segmentation tools can speed up texturing, but I always do a manual pass for realism. Retopology and LOD creation are essential for game-ready assets.
Pitfalls to avoid:
- Overly dense meshes—optimize early and often
- Ignoring texel density—keep it consistent for seamless visuals
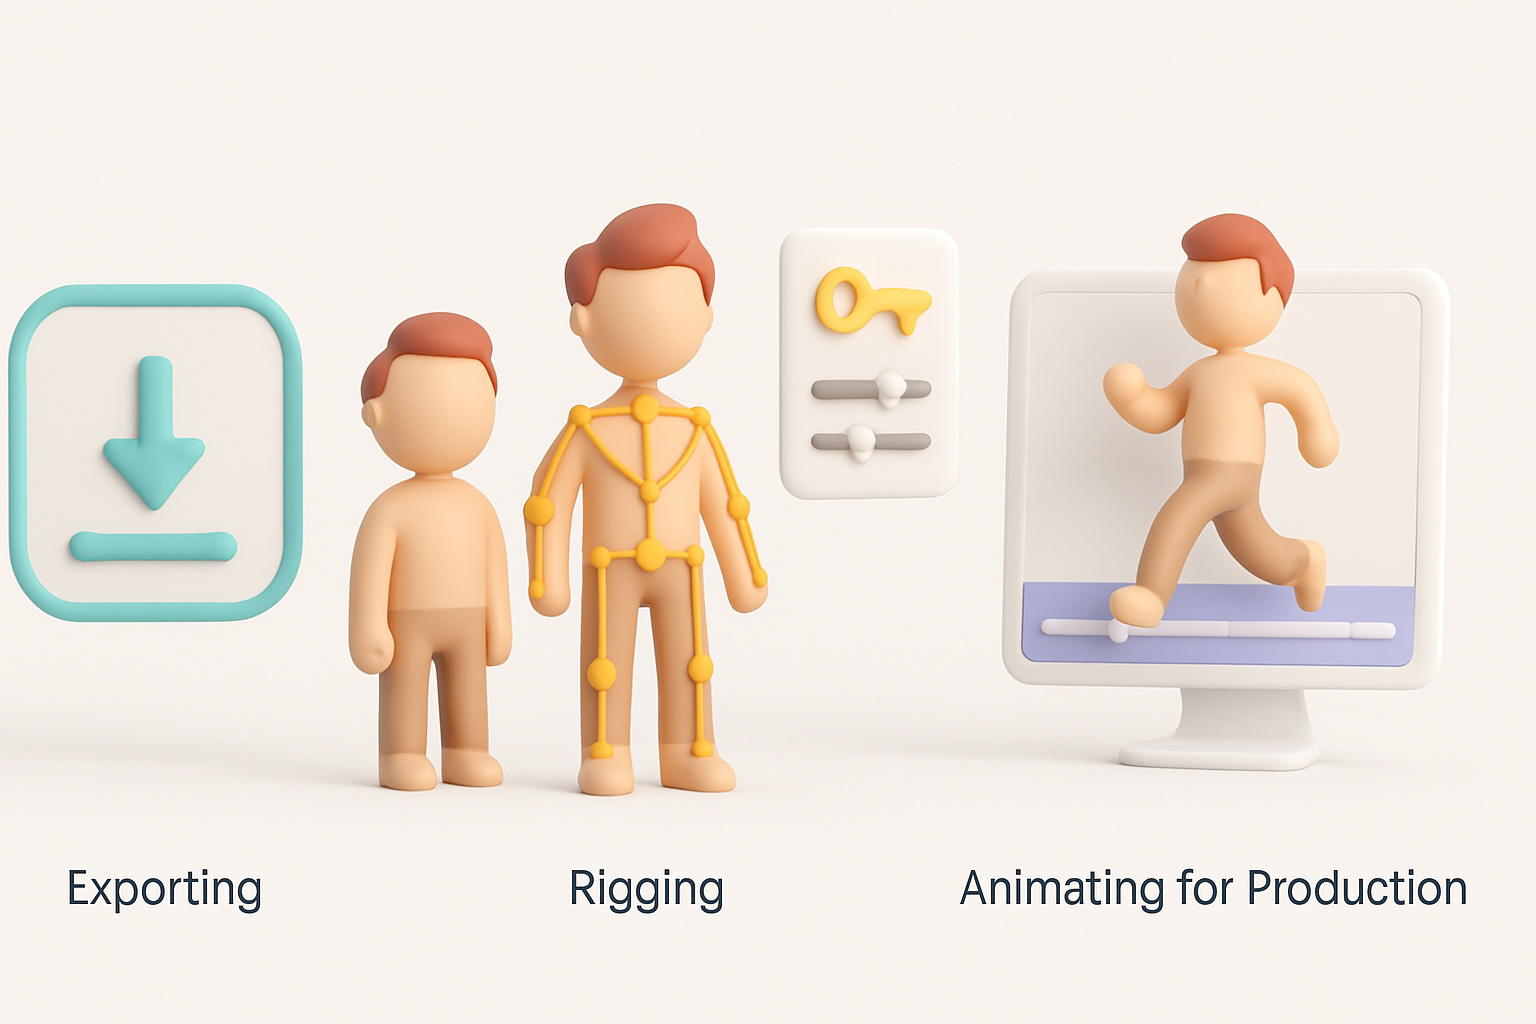
Exporting, Rigging, and Animating for Production
Preparing models for game engines
Before export, I check scale, orientation, and naming conventions to match the target engine. I use FBX or GLTF formats for compatibility. Tripo AI’s built-in export presets can streamline this step, but always verify in-engine.
Checklist:
- Freeze transforms and clean up history
- Ensure pivot points are logical for animation
- Test import into the engine before moving on
Rigging and animation essentials
For characters or interactive props, I rig using standard skeletons and test basic deformations. AI-assisted auto-rigging can save time, but manual tweaking is often necessary for complex movements. I always run animation tests to spot weighting or joint issues early.
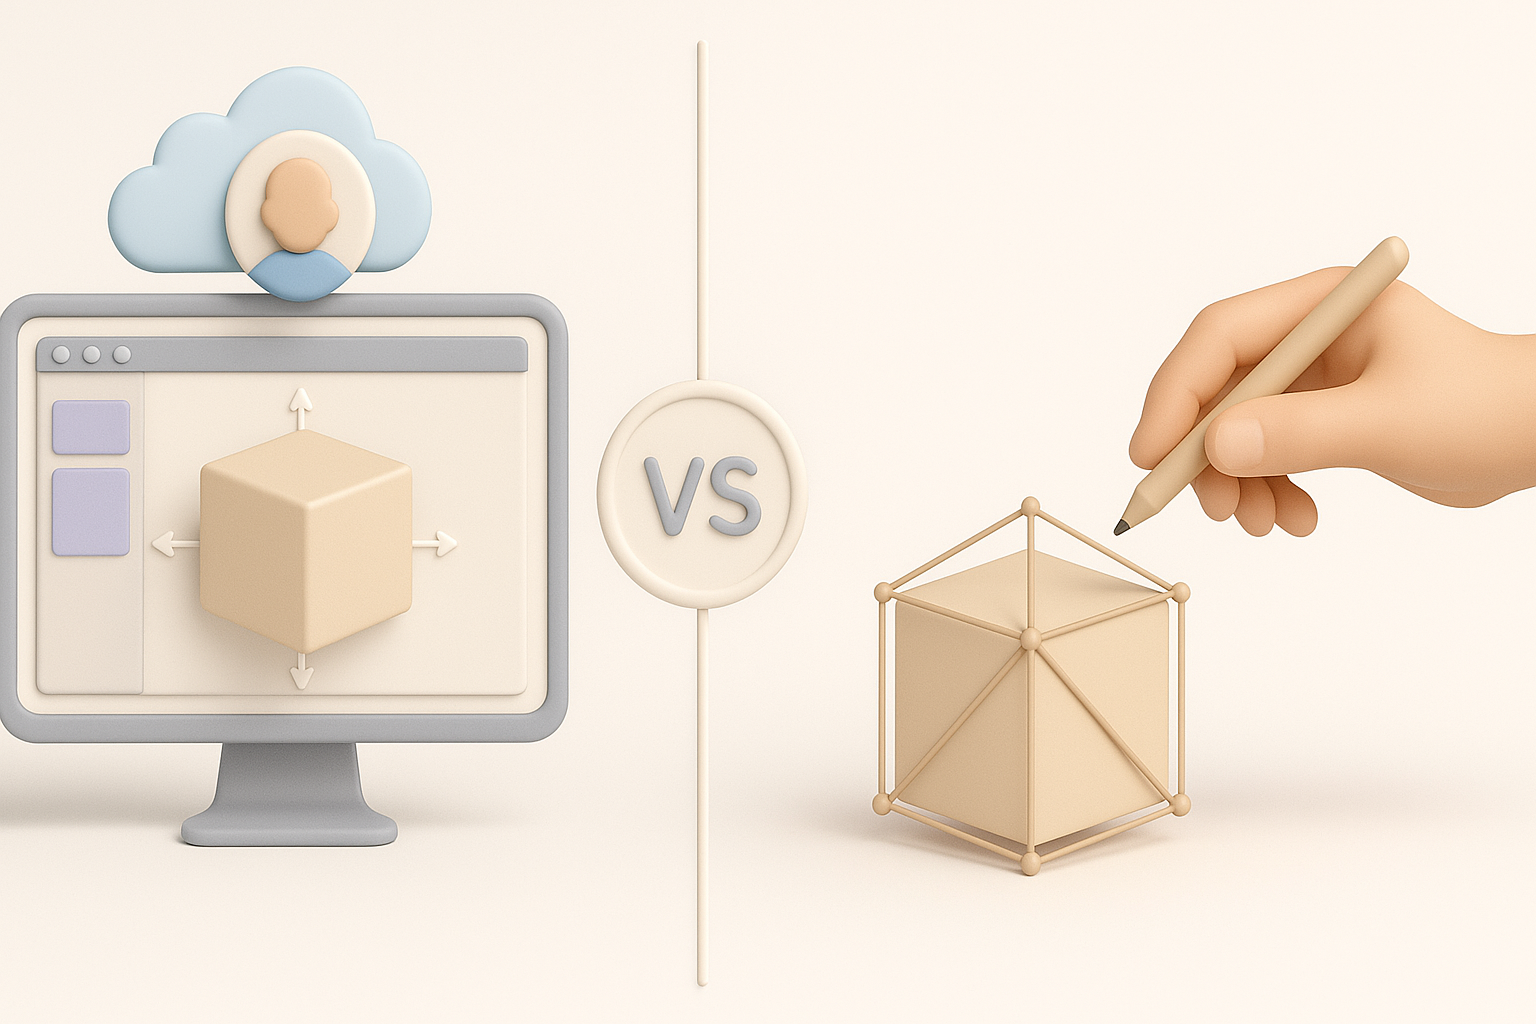
Comparing AI-Powered and Manual 3D Creation Methods
When to use AI-driven workflows
I turn to AI-powered creation when I need fast concept iterations or when working with tight deadlines. These tools are great for generating base meshes, quick retopology, and even initial texturing. However, for hero assets or anything requiring artistic nuance, manual work remains essential.
Pros and cons of different approaches
AI-Powered:
- Pros: Rapid prototyping, less technical overhead, ideal for background or iterative assets
- Cons: Sometimes lacks fine detail, may need manual cleanup
Manual:
- Pros: Full creative control, higher fidelity, better for unique or complex models
- Cons: Time-consuming, steeper learning curve
My advice: Use AI to accelerate the mundane, but rely on manual skills for polish and uniqueness.
Tips, Troubleshooting, and Lessons Learned
Common challenges and solutions
- Challenge: Inconsistent style or scale
Solution: Constantly reference original Days Gone assets and maintain a shared style guide. - Challenge: Artifacts after AI-generated retopology
Solution: Always inspect and manually adjust critical edge loops. - Challenge: Texture seams and baking errors
Solution: Double-check UVs and bake maps at higher resolutions before downscaling.
My personal advice for creators
- Don’t skip the planning phase—good references and clear goals save time.
- Use AI tools as a force multiplier, not a replacement for skill.
- Iterate fast, but don’t be afraid to redo parts that aren’t working.
- Test your models in the target engine early and often to catch issues before they snowball.
By combining AI-powered tools with traditional craftsmanship, I’ve consistently delivered high-quality Days Gone-style 3D models for games and XR. The key is knowing when to leverage automation and when to rely on hands-on expertise.


