Creating and Optimizing a Cube 3D Model: Expert Workflow
As someone who’s built countless 3D models for games, XR, and design, I know the humble cube is far more than just a beginner’s shape. In this article, I’ll show you how to create, texture, and optimize a cube 3D model using both traditional techniques and modern AI-powered tools. Whether you’re a solo creator or part of a production team, you’ll get actionable steps for building cubes that are ready for real-world pipelines—fast, clean, and production-ready.
Key takeaways:
- Cubes are foundational in 3D workflows and have diverse industry applications.
- Manual and AI-driven methods both have a place in efficient cube modeling.
- Clean UVs and thoughtful texturing are crucial for quality results.
- Optimizing geometry and exports ensures cubes integrate seamlessly into any pipeline.
- AI tools like Tripo can dramatically speed up basic modeling tasks without sacrificing quality.
Understanding the Basics of Cube 3D Models
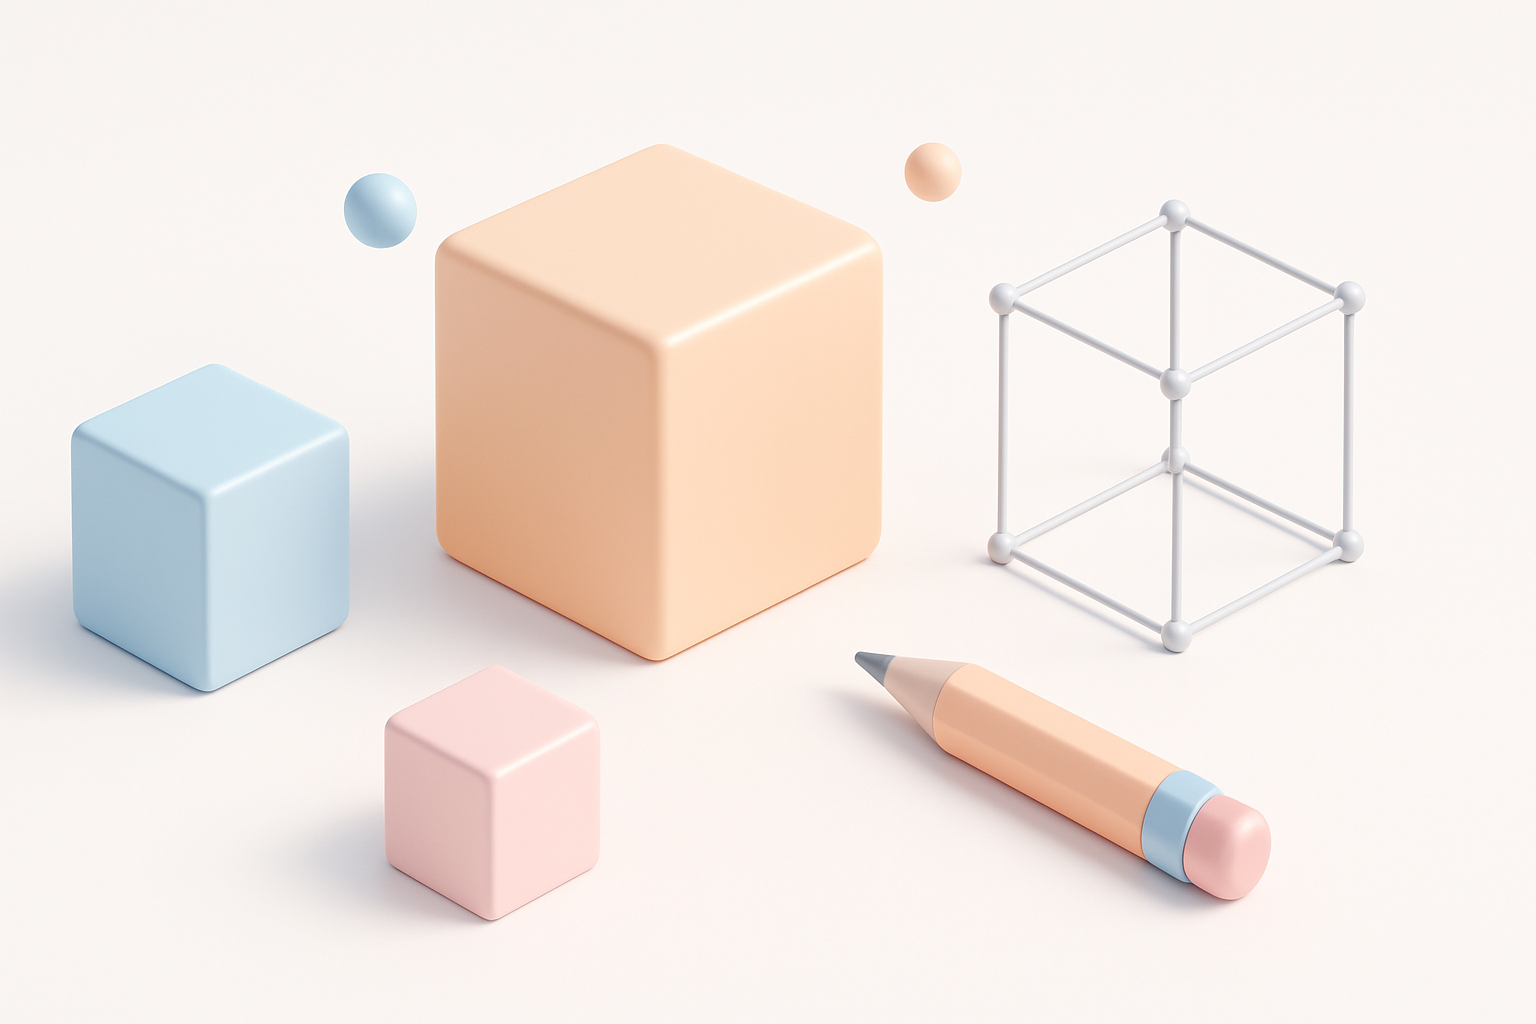
What Makes a Cube Model Useful in 3D Workflows
In my experience, cubes are the backbone of many 3D scenes. They serve as primitives for blocking out scenes, prototyping, and even final assets in stylized projects. Their simple geometry makes them easy to manipulate, scale, and texture, which is why I often start with cubes when iterating on new ideas.
Key points:
- Cubes are easy to model and modify.
- They provide predictable topology—great for learning and rapid prototyping.
- Used as collision meshes, placeholders, or even stylized assets.
Common Applications Across Industries
I’ve seen cubes used everywhere—from architectural visualization to AAA games and AR/VR experiences. In product design, cubes help visualize packaging; in VFX, they’re often stand-ins during previsualization. Their versatility saves time and reduces complexity across pipelines.
Common use cases:
- Game level blockouts and collision meshes
- Architectural and interior visualization
- Prototyping for XR and product design
- Stand-ins during animation or VFX previz
Step-by-Step Guide: Building a Cube 3D Model

Manual Modeling Techniques I Use
When I need full control or specific edge flow, I model cubes manually in my DCC (Digital Content Creation) tool. Here’s my typical process:
- Create a primitive cube (usually with six faces, one per side).
- Adjust dimensions to fit the project’s needs.
- Check and clean topology—I ensure no unnecessary edges or vertices.
- Apply transforms (freeze or reset as needed).
Pitfalls:
- Avoid creating cubes with non-uniform scaling before UV mapping.
- Watch for duplicate vertices at corners (common with imported meshes).
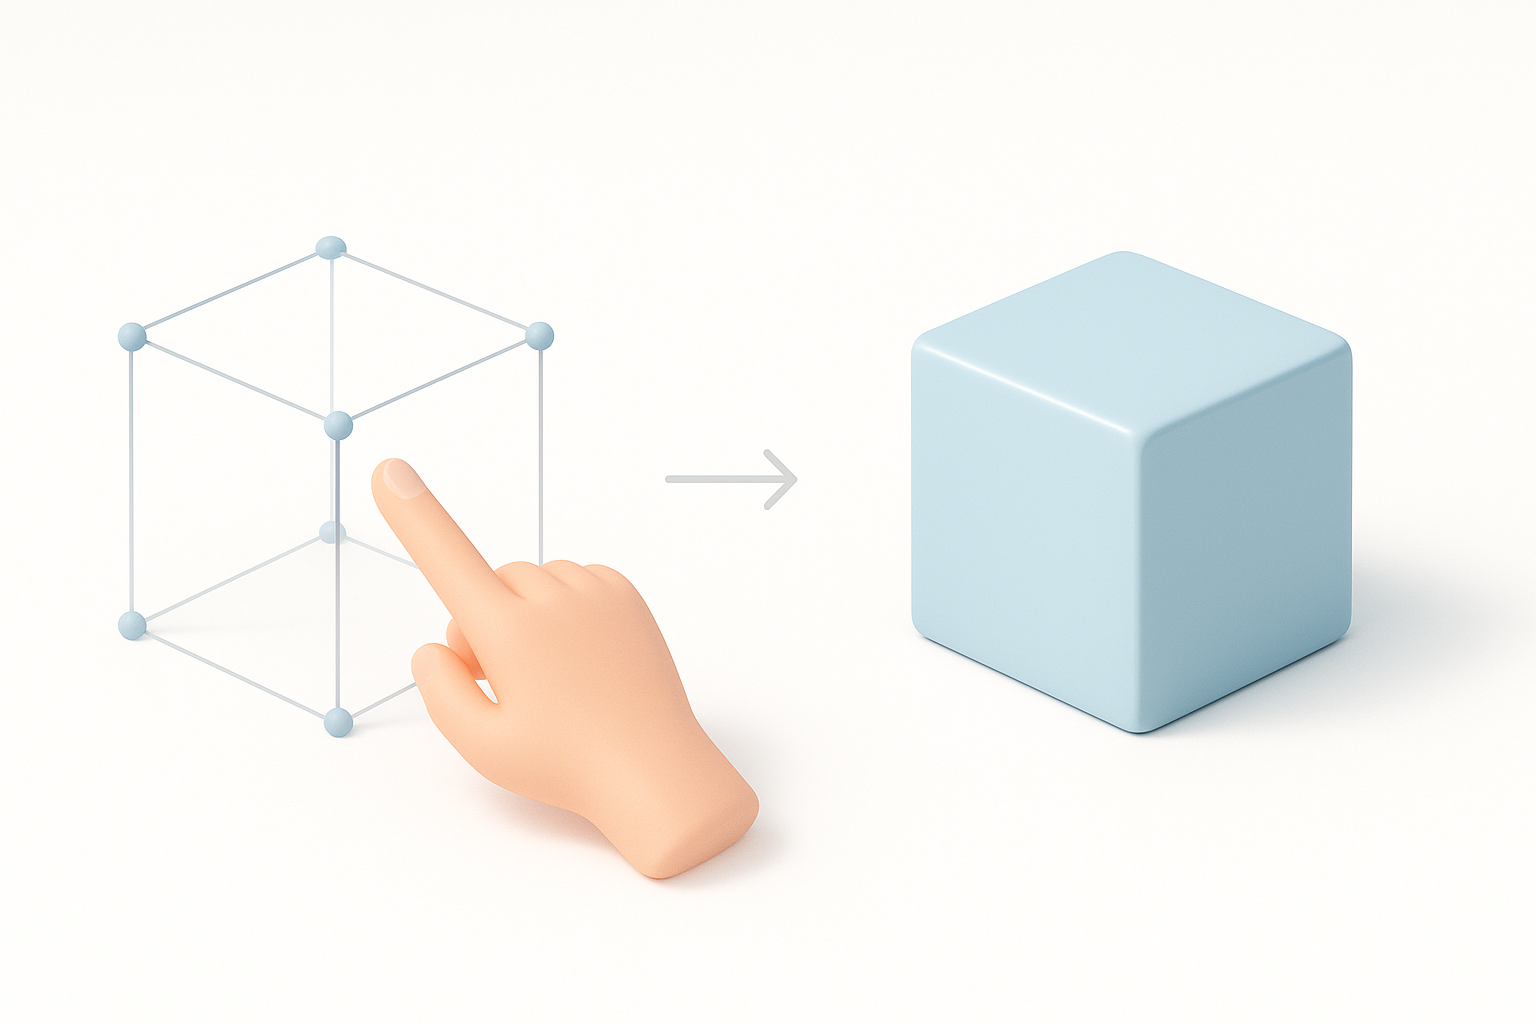
Leveraging AI Tools for Fast Cube Generation
For rapid prototyping or when I need dozens of variations, I turn to AI-powered tools like Tripo. These platforms let me generate cubes or cube-based shapes from simple text prompts, sketches, or reference images—saving significant time.
My workflow with AI tools:
- Input a prompt or sketch describing the cube’s size, style, or context.
- Review the generated mesh for topology and proportion.
- Download and import into my main 3D app for further refinement if needed.
Tips:
- Use clear, concise prompts for best results.
- Always inspect the auto-generated geometry before moving to texturing or rigging.
Best Practices for Texturing and UV Mapping Cubes
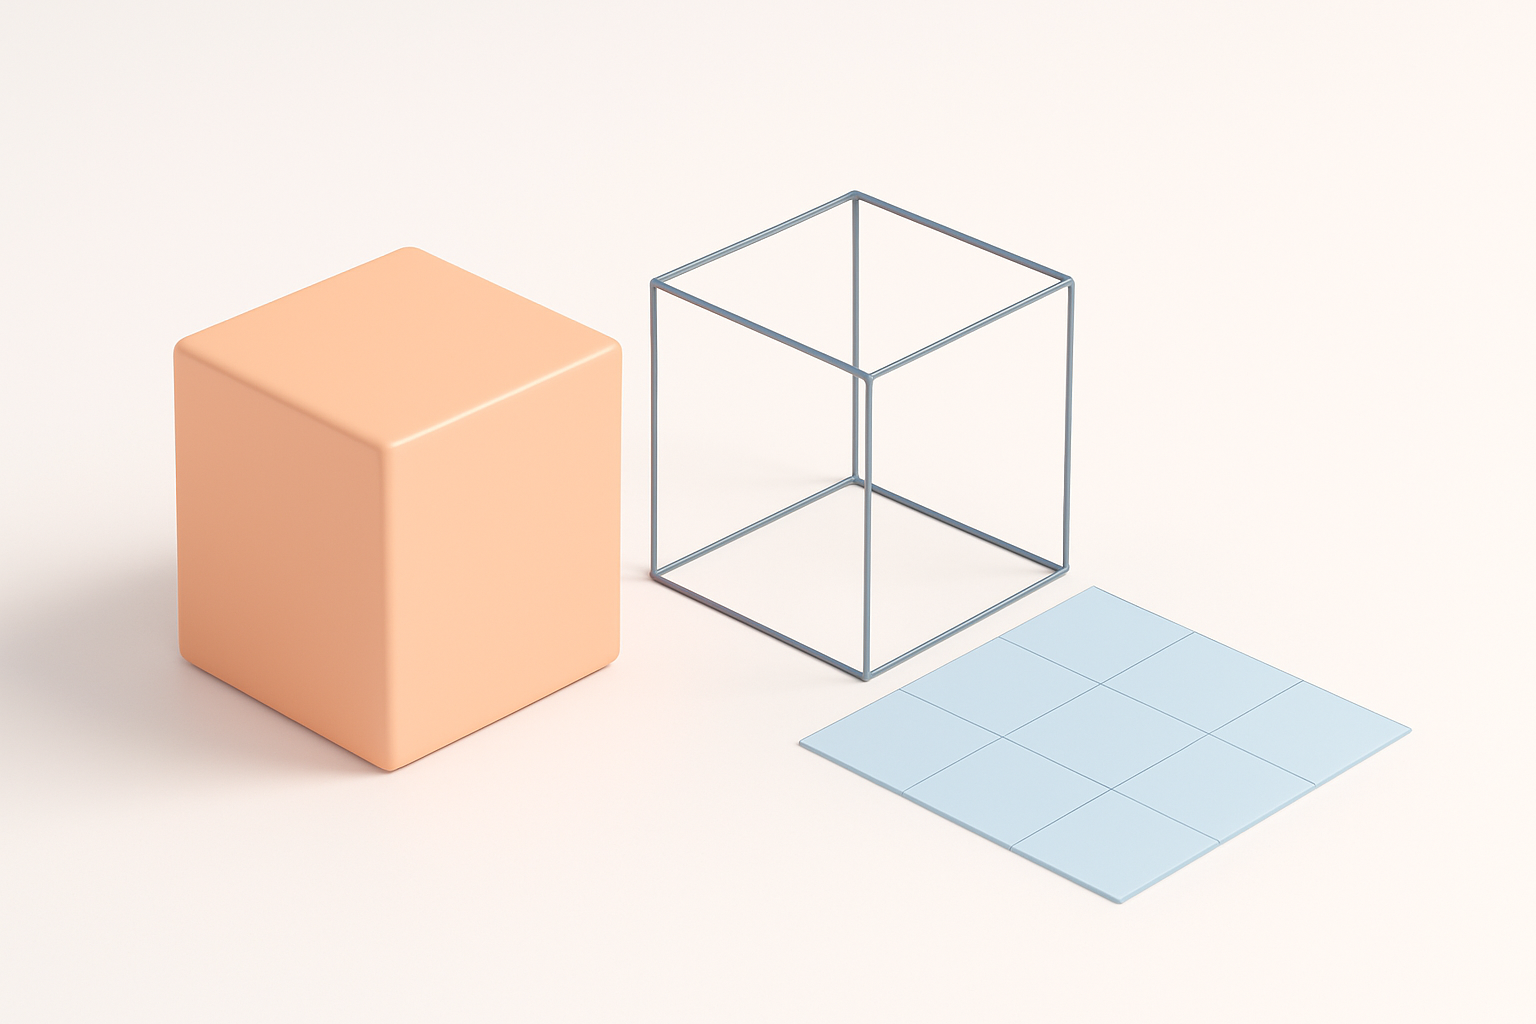
My Approach to Clean UV Unwrapping
Clean UVs are essential for seamless textures. For cubes, I prefer a simple “box unfold” method, which minimizes seams and distortion. Here’s my step-by-step:
- Select all faces and use the “cube projection” or “box mapping” tool.
- Arrange UV islands in a logical, compact layout.
- Apply a checker texture to verify even texel density and spot stretching.
Checklist:
- All faces should be oriented upright in the UV space.
- Minimize seams—ideally, one or two per cube.
- Avoid overlapping UVs unless you want mirrored textures.
Tips for Realistic and Stylized Textures
Whether I’m going for realism or a stylized look, the cube’s simple geometry means the texture does the heavy lifting. For realistic cubes (like crates or building blocks), I use high-res photo textures and normal maps. For stylized cubes, I hand-paint details or use procedural methods.
Practical tips:
- Bake AO and curvature maps for added depth.
- Use seamless textures to avoid visible tiling.
- For stylized assets, exaggerate edge highlights and color variation.
Optimizing Cube Models for Production
Retopology and Mesh Cleanup Strategies
Even simple cubes can benefit from optimization, especially for real-time applications. I always:
- Ensure the mesh has the minimum number of faces (six for a basic cube).
- Merge duplicate vertices.
- Remove hidden or internal faces (especially after Boolean operations).
If an AI tool generates extra geometry, I use built-in cleanup or retopology features to get a clean, production-ready mesh.
Exporting and Integrating Cubes into Pipelines
Before exporting, I freeze transforms and double-check scale. For most pipelines, I export as FBX or OBJ, making sure to include only the necessary maps (diffuse, normal, roughness).
Integration checklist:
- Confirm real-world scale matches project requirements.
- Test import into the target engine or DCC.
- Document texture sets and naming conventions for team handoff.
Comparing AI-Powered and Traditional Cube Modeling Workflows
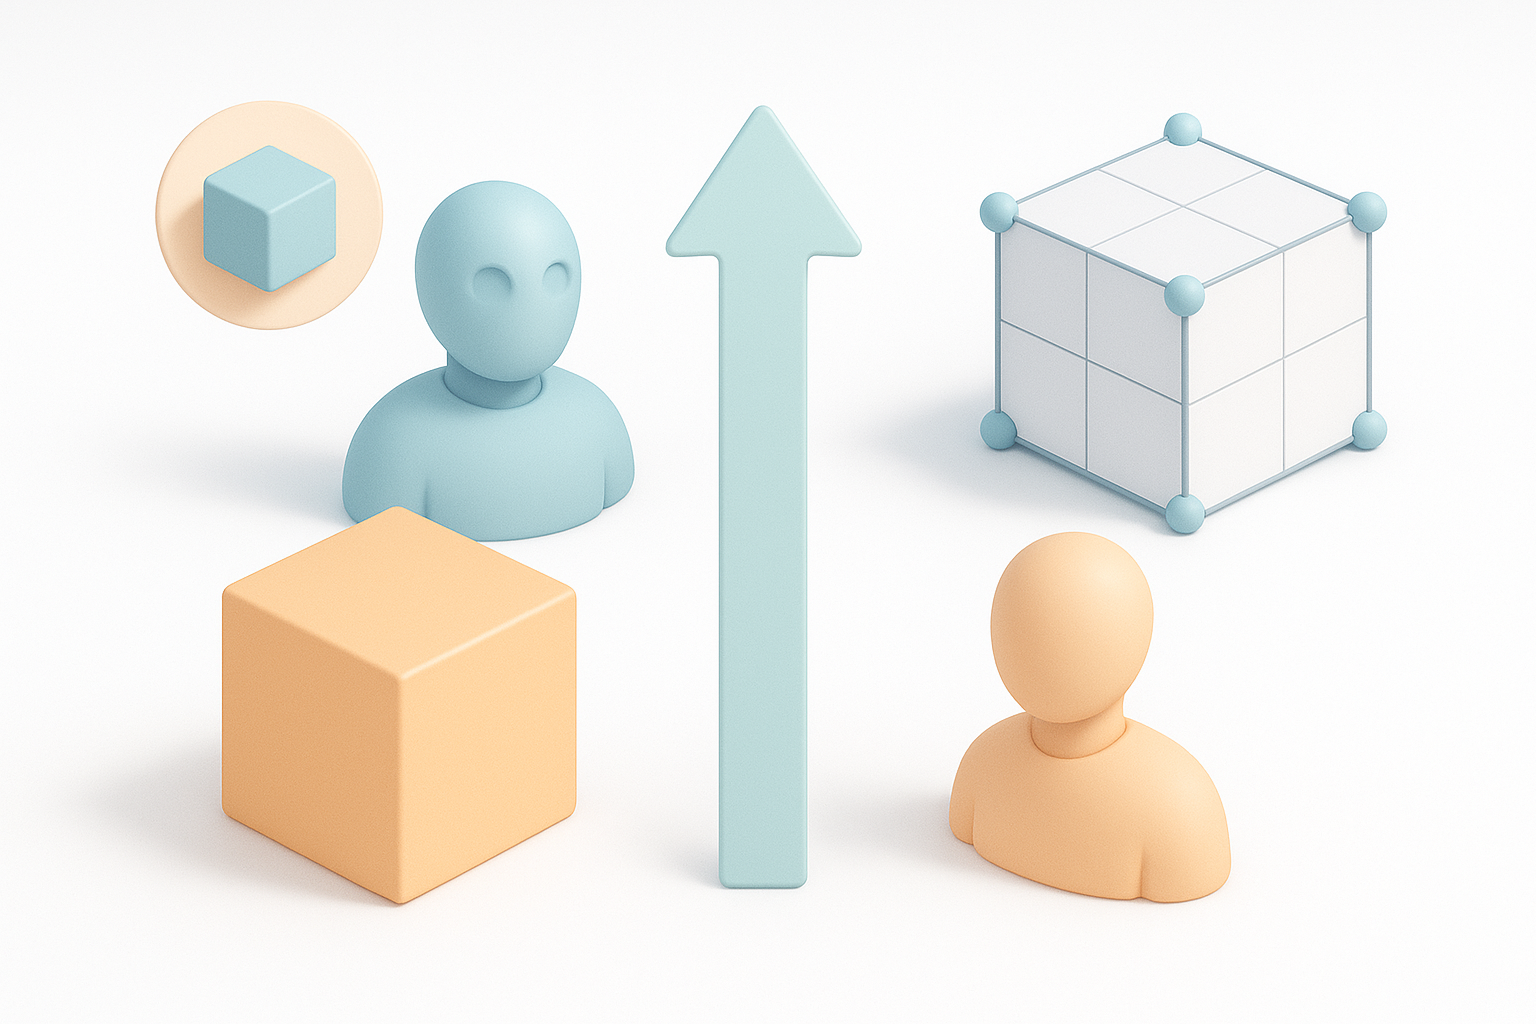
When I Choose AI Solutions Like Tripo
I reach for AI-powered tools when speed is critical—such as rapid prototyping, generating large numbers of variations, or when I need inspiration. Tripo’s ability to produce production-ready cubes from prompts or images frees me to focus on creative decisions, not repetitive tasks.
Best scenarios for AI:
- Quick iterations or bulk asset generation
- Early-stage blockouts and ideation
- Teams with mixed 3D experience levels
Pros and Cons of Manual vs. Automated Methods
Manual modeling:
- Pros: Full control, perfect for custom topology, essential for highly specific requirements.
- Cons: Time-consuming for repetitive tasks, requires more expertise.
AI-powered modeling:
- Pros: Fast, accessible, great for standard shapes and variations.
- Cons: May need manual cleanup, less control over fine details.
What I’ve found:
Combining both approaches gives me the best of both worlds—speed from AI, precision from manual tweaks.
In summary: Whether you’re building cubes for games, design, or XR, combining solid manual techniques with AI-powered tools streamlines your workflow and ensures production-ready results. Clean topology, smart UVs, and optimized exports are key—no matter how you start your cube.


