Creating and Optimizing CS2 3D Models: Expert Workflow
In my experience, building production-ready 3D assets for CS2 (Counter-Strike 2) demands a balance of creativity, technical know-how, and efficient workflows. Whether you’re designing props, environments, or character skins, meeting engine requirements and optimizing for performance are critical. I’ve found that leveraging AI-powered platforms like Tripo alongside traditional modeling tools accelerates asset creation and reduces bottlenecks. This article breaks down my end-to-end workflow, best practices, and troubleshooting strategies for CS2 3D model creation—ideal for artists, modders, and developers aiming for quality and speed.
Key takeaways:
- Align models with CS2 engine specs for seamless integration.
- Use AI-driven tools to accelerate concepting, segmentation, and texturing.
- Optimize geometry and textures for performance without sacrificing quality.
- Rig and animate assets with CS2-specific requirements in mind.
- Test and troubleshoot models directly in CS2 environments for QA.
Understanding CS2 3D Model Requirements

Game engine compatibility and technical specs
CS2 runs on the Source 2 engine, which has specific requirements for mesh formats, polycount, and texture resolutions. I always check the latest documentation for supported file types (commonly FBX, OBJ, and proprietary formats) and ensure my models stay within recommended triangle counts—usually under 10k for props and 50k for characters.
Checklist:
- Verify mesh format compatibility (FBX, OBJ, etc.).
- Keep polycount within engine guidelines.
- Use standard texture sizes (e.g., 1024x1024, 2048x2048).
- Ensure pivots and orientation match CS2 conventions.
Common use cases and asset types
CS2 assets range from weapon skins and character models to environment props and decals. Each has unique requirements:
- Weapon skins: Focus on UV precision and texture fidelity.
- Characters: Rigging and animation-friendly topology.
- Props: Low-poly optimization and efficient texturing.
My Workflow for CS2 3D Model Creation

Concepting and reference gathering
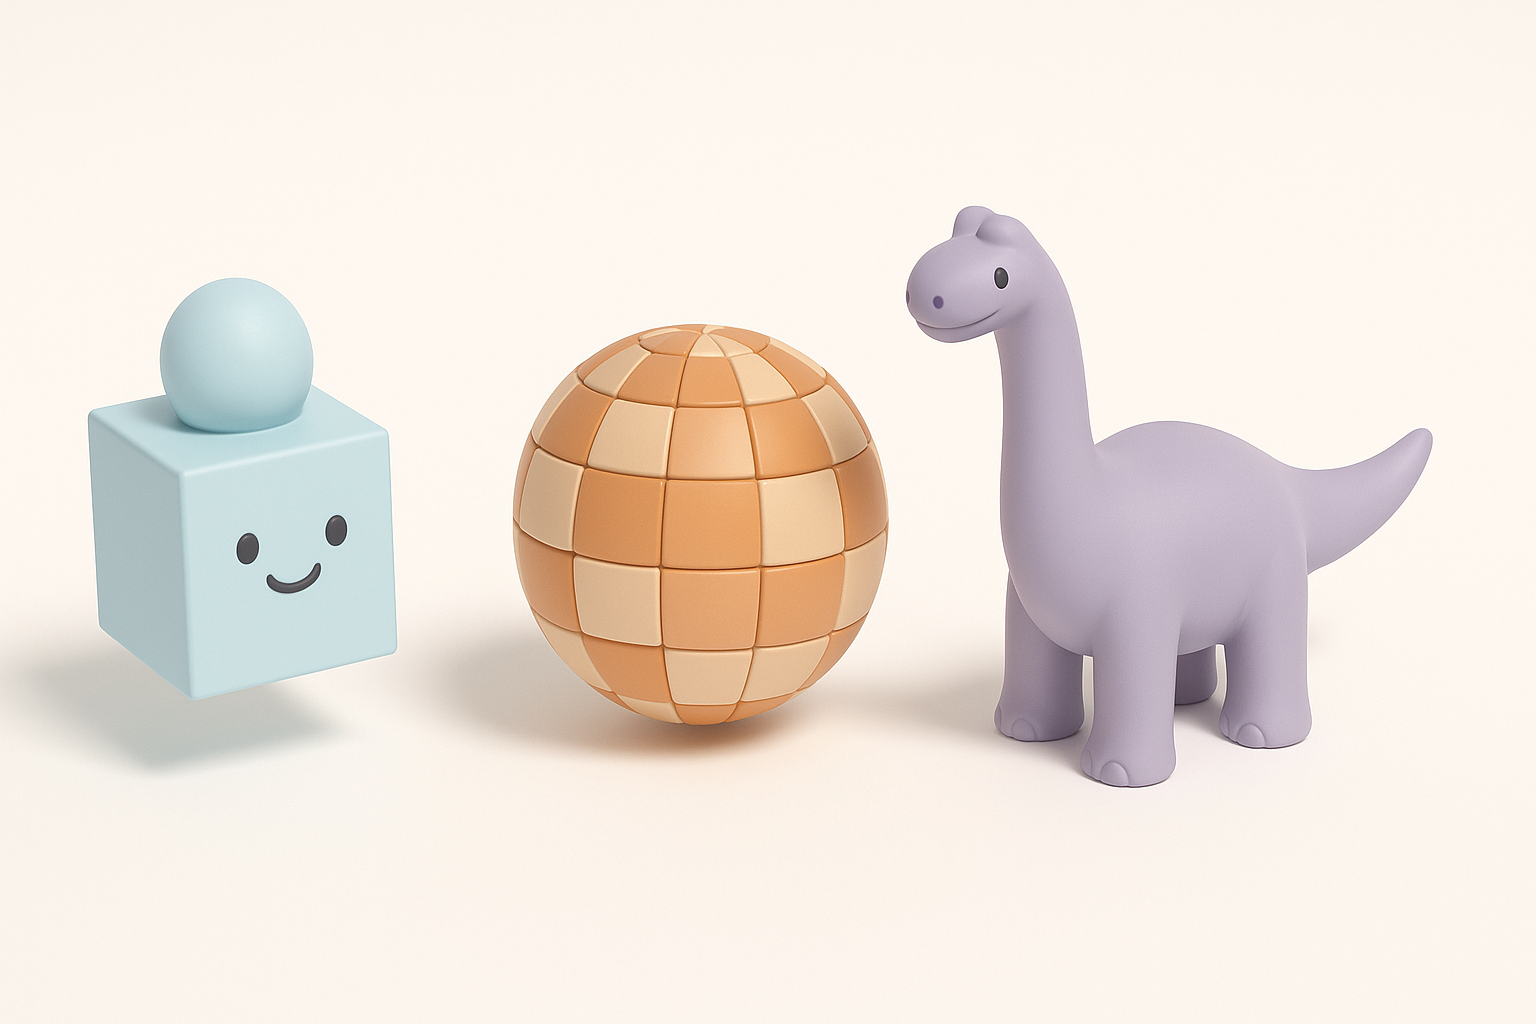
I start by collecting references—screenshots, concept art, and real-world photos—tailored to CS2’s art style. For custom skins or props, I sketch rough ideas or use image inputs to guide initial shape generation.
Steps:
- Gather CS2-specific references.
- Sketch or block out shapes (digitally or on paper).
- Use AI platforms like Tripo to generate base meshes from text/image prompts.
Choosing the right tools and platforms
I select tools based on asset complexity and workflow speed. Tripo is my go-to for rapid prototyping and intelligent segmentation, while traditional DCCs (like Blender or Maya) handle detailed sculpting and manual tweaks.
Pitfalls to avoid:
- Over-reliance on a single tool—combine AI and manual workflows for best results.
- Neglecting export settings—always match CS2 requirements.
Best Practices for Modeling, Texturing, and Optimization
Efficient modeling techniques
I prioritize clean topology and edge flow, especially for assets that will be rigged or animated. AI-generated meshes from Tripo often come pre-optimized, but I double-check for unnecessary geometry and remove hidden faces.
Tips:
- Use modular modeling for repeatable props.
- Optimize mesh density in non-visible areas.
- Maintain quads for deformation, tris for static props.
UV mapping and texture workflows
UV mapping is crucial for CS2 skins and props. I use auto-unwrap features in Tripo, then refine manually for seamless texture placement. For texturing, I rely on AI-generated base maps and layer hand-painted details as needed.
Steps:
- Auto-unwrap with AI tools, then manual tweaks.
- Export UV layout for texture painting.
- Use PBR materials (albedo, normal, roughness) for realism.
Rigging, Animation, and Integration Tips

Rigging for CS2 assets
Rigging needs to match CS2’s skeleton structures and naming conventions. I use Tripo’s auto-rigging for quick setups, then adjust bone placement and weights in a DCC tool.
Checklist:
- Match bone hierarchy to CS2 standards.
- Test skin weights for deformation.
- Export rig in compatible format (FBX preferred).
Animation setup and export
Animations must loop cleanly and fit CS2’s gameplay logic. I create simple test animations (idle, reload, etc.) and export with proper frame rates and naming.
Tips:
- Bake animations before export.
- Preview in engine for timing and blending.
- Label animation clips for easy integration.
Comparing AI-Powered and Traditional 3D Workflows
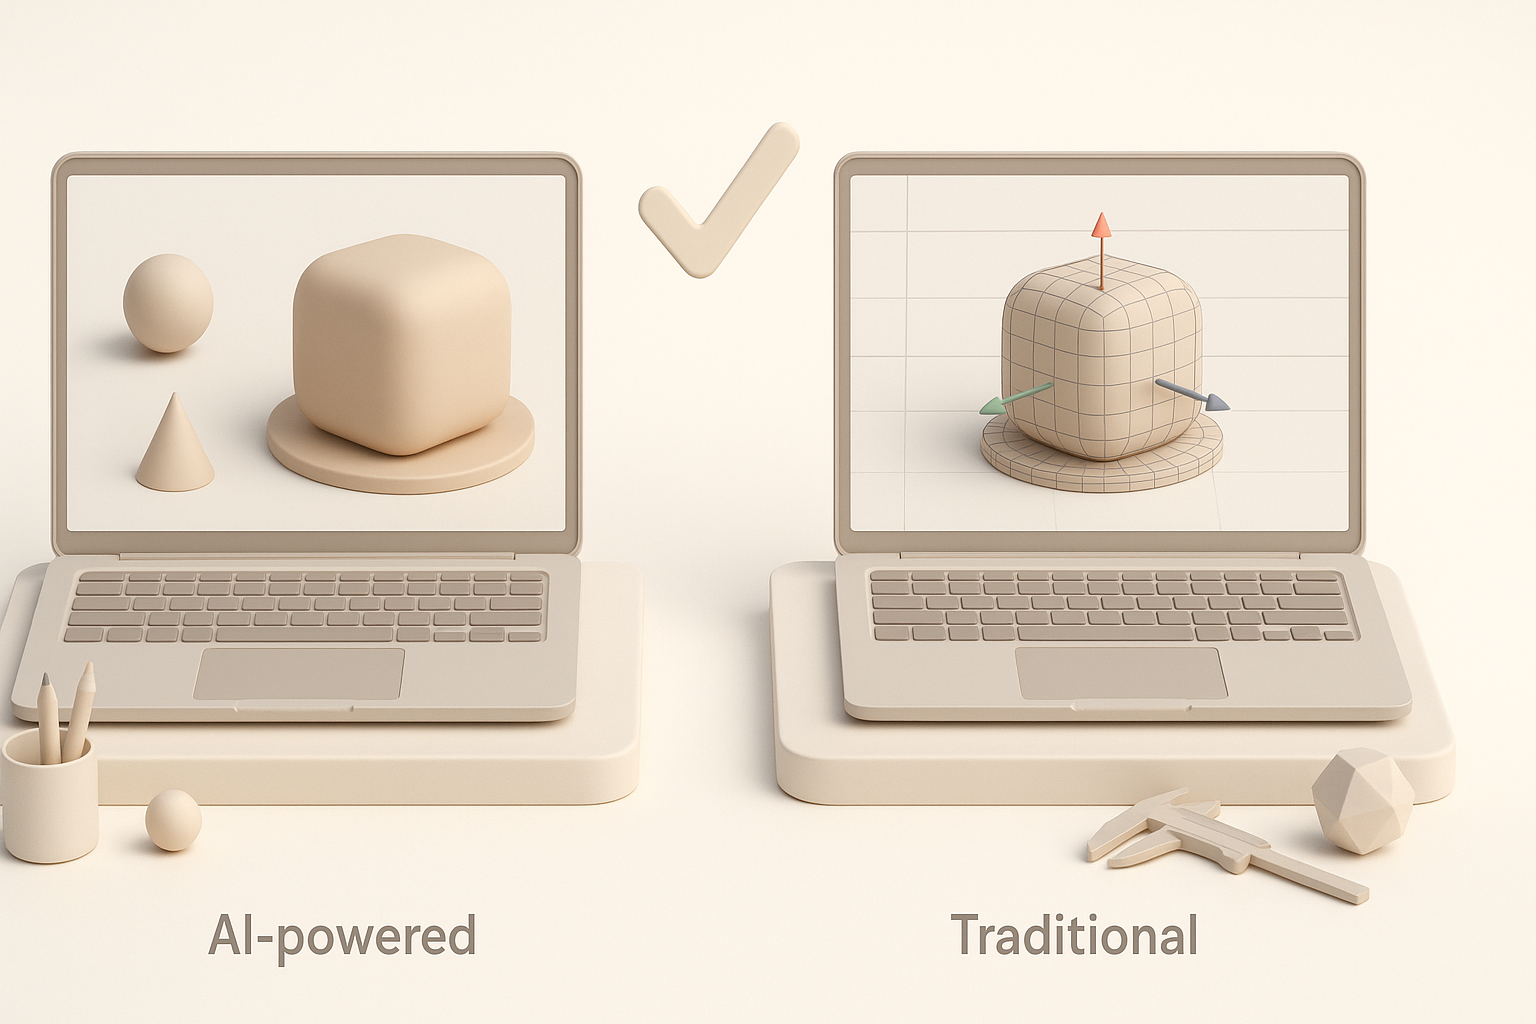
Benefits of AI-driven platforms
AI tools like Tripo streamline segmentation, retopology, and texturing, saving hours on repetitive tasks. I use them to quickly iterate on concepts and generate production-ready assets, especially for props and skins.
Advantages:
- Rapid prototyping from text/image/sketch.
- Automated UV and texture generation.
- Intelligent mesh optimization.
When to use alternative methods
For highly stylized or complex assets, manual modeling and texturing still offer more control. I switch to traditional workflows for hero characters or when precise art direction is needed.
Pitfalls:
- AI-generated assets may require manual cleanup.
- Not all AI tools support advanced rigging or custom shaders.
Troubleshooting and Quality Assurance

Common issues and fixes
I often encounter issues like flipped normals, UV seams, or animation glitches. Quick fixes include re-exporting meshes, adjusting UVs, and checking bone weights.
Common fixes:
- Recalculate normals in DCC tool.
- Patch UV seams with manual painting.
- Rebind skin weights for smoother deformation.
Testing models in CS2 environments
Final QA involves importing assets into CS2 and checking for visual and performance issues. I use in-engine preview modes and test assets under gameplay conditions.
Steps:
- Import model into CS2 mod tools.
- Test visual fidelity and performance.
- Iterate based on feedback and engine logs.
By following these workflows and leveraging both AI-powered and traditional tools, I consistently deliver optimized, visually appealing CS2 assets ready for production and gameplay.


