Crystal Shard 3D Models: Creation, Texturing, and Workflow Tips
Creating convincing crystal shard 3D models is a staple in my work for games, film, and XR projects. Over the years, I’ve streamlined my process from concept to export, balancing realism, performance, and efficiency. In this guide, I’ll break down my hands-on workflow, share practical texturing and shading tips, and show how AI-powered tools like Tripo can accelerate the process without sacrificing quality. Whether you’re a solo artist or part of a larger team, these strategies will help you produce production-ready crystal assets quickly and reliably.
Key takeaways

- Start with solid references and blockouts for believable crystal shapes.
- Use smart geometry refinement and detail sculpting for visual impact.
- Leverage specialized texturing and shading for realistic crystal effects.
- Optimize models with retopology and platform-appropriate export settings.
- AI tools like Tripo can rapidly generate base meshes and textures, saving time.
- Avoid common pitfalls like poor UVs and overcomplicated geometry.
Understanding Crystal Shard 3D Models
Common Uses in Games, Film, and XR
Crystal shards are everywhere in digital content—think power-ups in games, magical props in animation, or environmental scatter in XR. I’m often tasked with creating assets that are visually striking but also optimized for real-time rendering. The right approach depends on the target platform: games typically require lower polycounts, while film or cinematic XR can afford higher detail.
Visual Characteristics and Reference Gathering
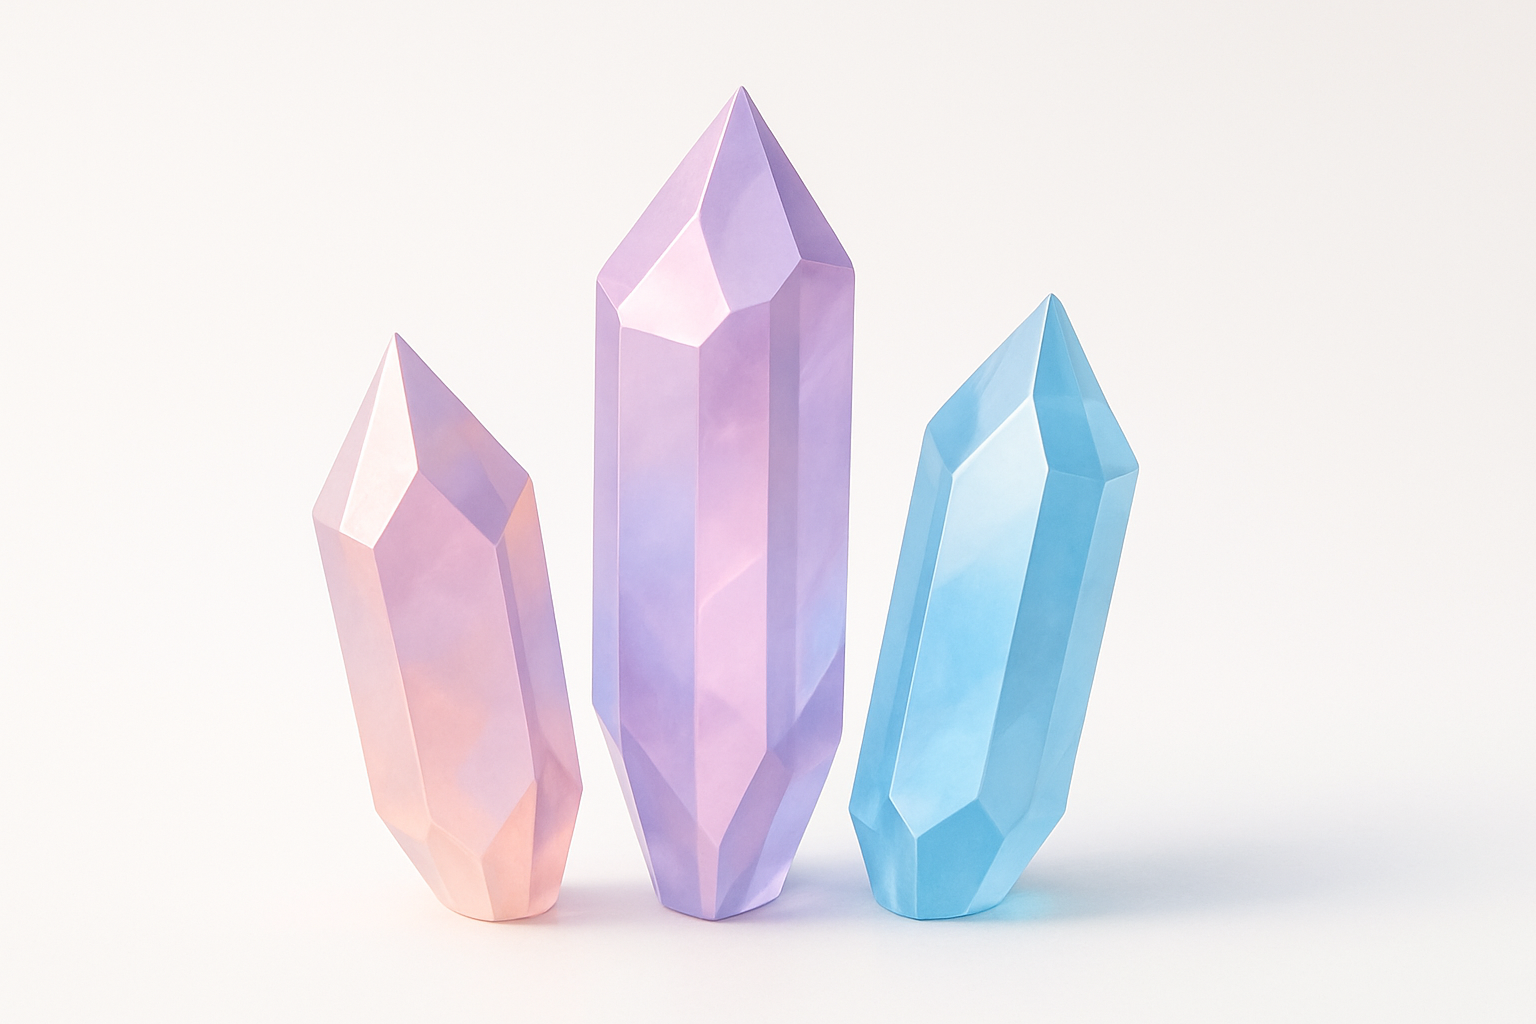
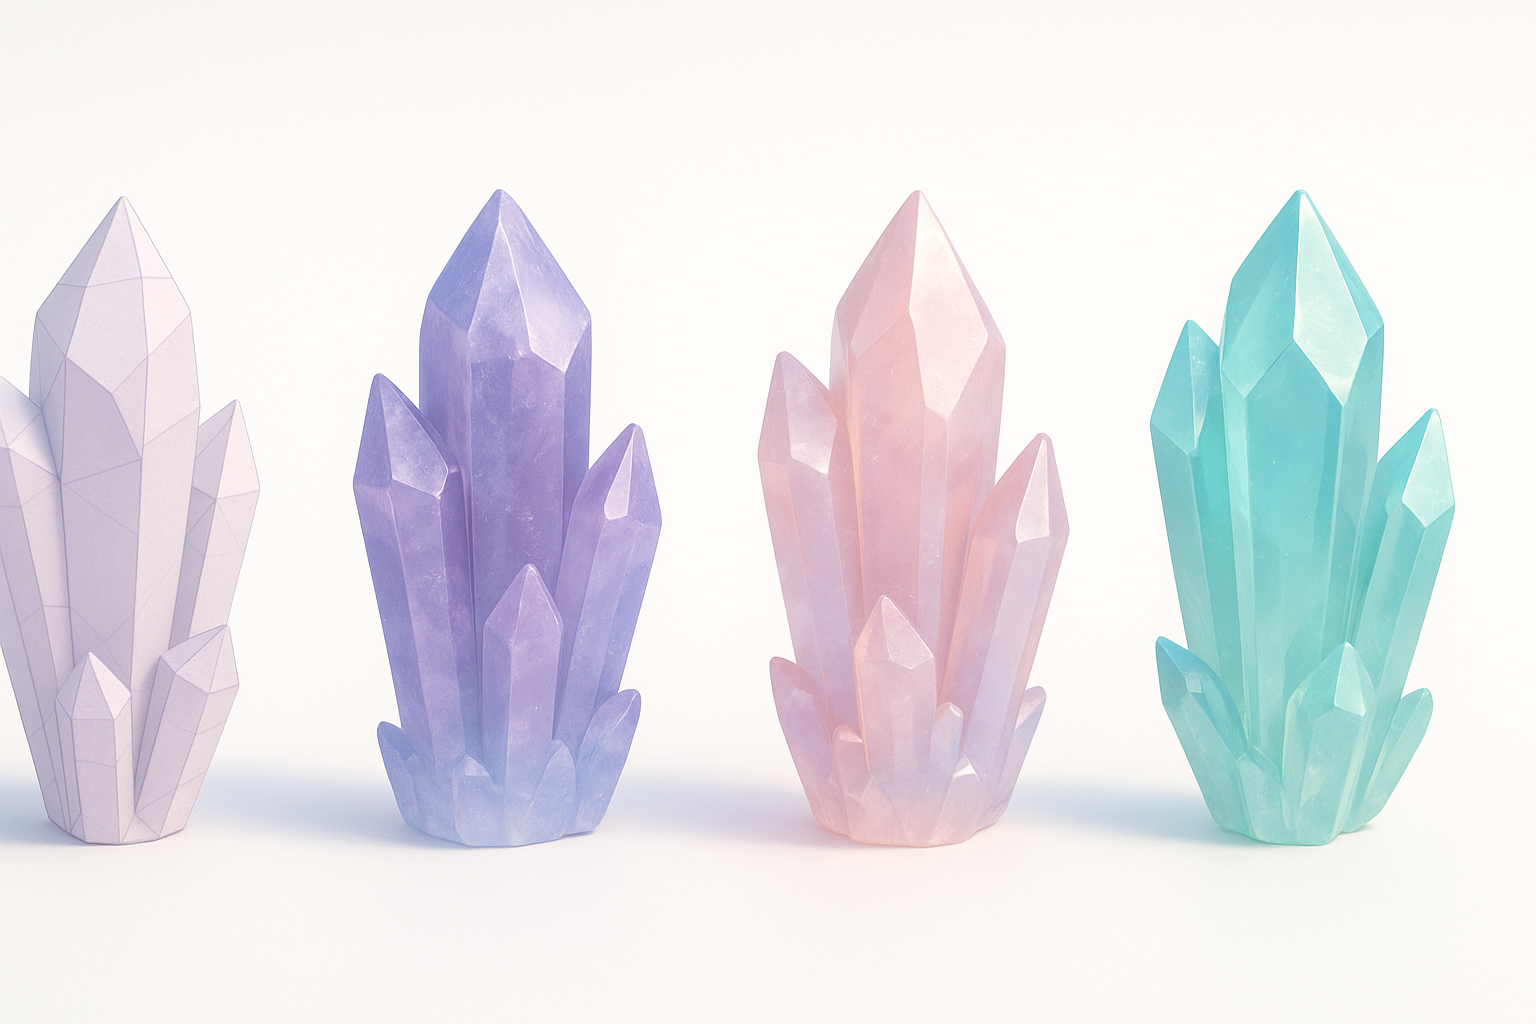
The most convincing crystal models start with good references. I build moodboards with real mineral photos, macro shots, and lighting studies. Key features I focus on include:
- Sharp, angular silhouettes
- Internal light refraction and subtle color gradients
- Surface imperfections like chips or inclusions
Reference gathering is crucial—skipping this step often leads to generic or unconvincing results.
My Workflow for Creating Crystal Shard 3D Models
Concepting and Blocking Out the Shape
I start by sketching quick silhouettes or blocking out forms in 3D. For crystal shards, I look for dynamic, asymmetrical shapes with interesting facets. My typical workflow:
- Gather 4–6 strong reference images.
- Block out the main volume in my DCC (Digital Content Creation) tool.
- Use basic primitives (cubes, planes) and tweak proportions before adding detail.
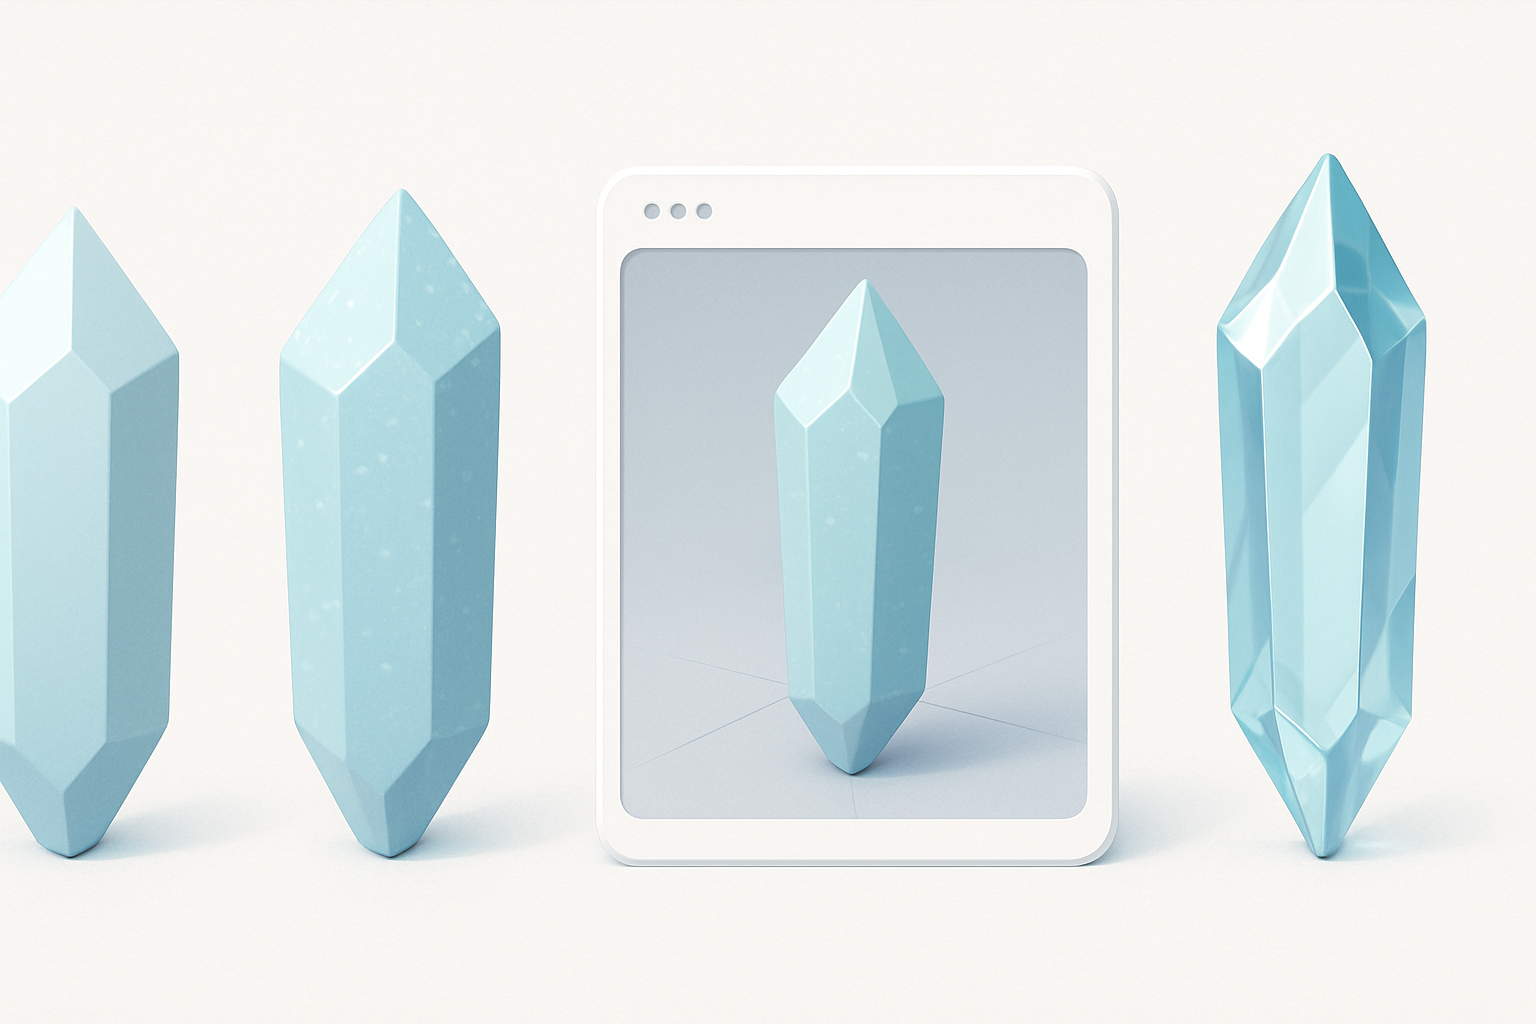
I sometimes use Tripo to generate quick base meshes from sketches or text prompts—this is a big time-saver for ideation.
Refining Geometry and Adding Detail
Once the blockout feels right, I refine the geometry:
- Add edge loops to define facets and sharp angles.
- Use sculpting tools for chips, cracks, and subtle surface variation.
- Avoid overcomplicating—clean, readable shapes work best.
Checklist before moving on:
- Is the silhouette interesting from multiple angles?
- Are the major planes and facets defined?
- Is the mesh clean and free of non-manifold edges?
Texturing and Shading Techniques

Achieving Realistic Crystal Effects
Texturing crystals is all about capturing translucency, refraction, and internal detail. My go-to steps:
- Paint subtle color gradients into the albedo map (blues, purples, teals).
- Add cloud-like patterns or inclusions in the opacity or subsurface maps.
- Use a material with high specularity and low roughness for that glassy look.
In real-time engines, I often tweak the shader to fake depth or add a fresnel effect for edge highlights.
Best Practices for UV Mapping and Materials
Good UVs are essential for seamless texturing:
- Minimize stretching; align UV seams with hard edges or facet breaks.
- Pack UVs efficiently, but give priority to faces that will be most visible.
- For stylized assets, I sometimes hand-paint highlights and cracks.
If using Tripo, I let its auto-unwrap and smart material features handle initial UVs, then manually adjust as needed.
Optimizing and Exporting for Production
Retopology and Polycount Considerations
A common pitfall is keeping too many polygons from the sculpting phase. My approach:
- Retopologize to create a clean, animation-friendly mesh.
- Target 500–2,000 tris for game props; higher for hero assets.
- Bake normal and detail maps from the high-res sculpt.
Quick checklist:
- Is the polycount appropriate for the target platform?
- Are all faces visible and necessary?
- Are there any hidden ngons or stray vertices?
Export Settings for Different Platforms
Exporting correctly is key for downstream use:
- Use FBX or GLB for most engines and pipelines.
- Apply scale and rotation transforms before export.
- Check material and texture assignments—embedded or separate as needed.
If I’m using Tripo, I select the target platform during export for optimal settings (e.g., mobile, PC, XR).
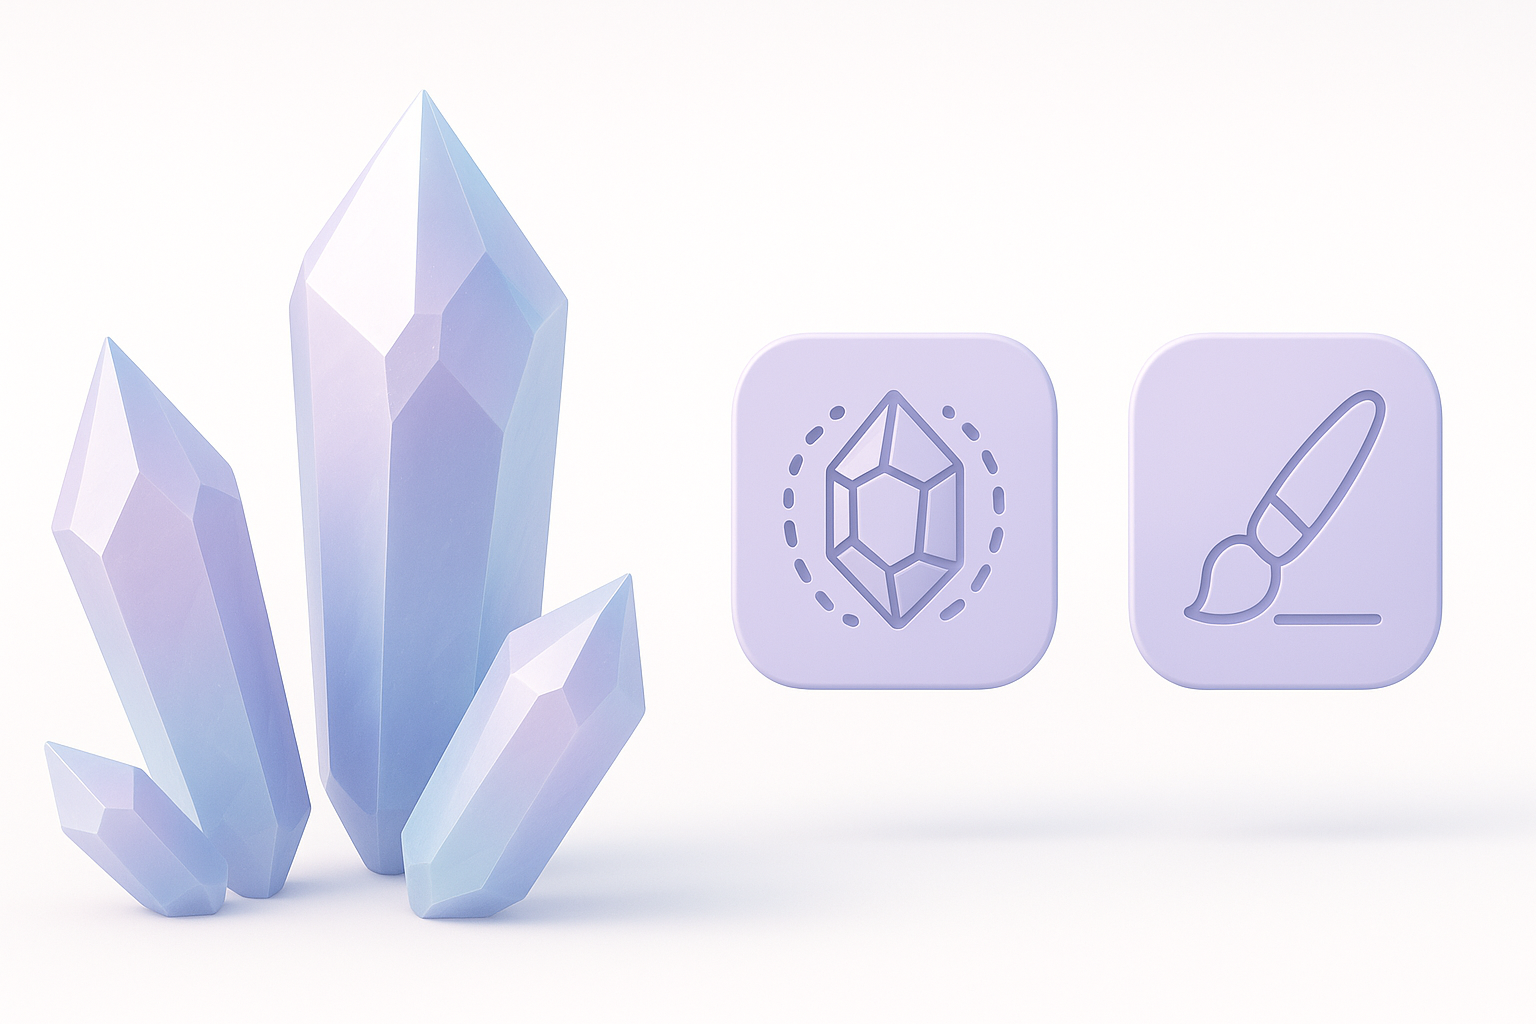
AI-Powered Tools and Alternative Methods
How I Use Tripo for Fast Crystal Shard Generation
Tripo has become a core part of my workflow when speed matters. Here’s how I use it:
- Input a text prompt or rough sketch (e.g., “blue glowing crystal shard with cracks”).
- Review and tweak the generated base mesh.
- Use built-in segmentation and auto-texturing to get a solid starting point.
I still do manual tweaks for hero assets, but for background props or quick iterations, Tripo’s automation is a huge advantage.
Comparing Manual and AI-Assisted Workflows
Manual modeling gives me full control and is best for unique, hero assets. AI-assisted tools are ideal for:
- Rapid prototyping and ideation
- Bulk asset generation for environments
- Reducing repetitive tasks (UVs, base textures)
My rule: use AI for speed, but always review and refine for polish and consistency.
Tips, Troubleshooting, and Lessons Learned
Common Pitfalls and How I Avoid Them
- Overcomplicated geometry: Keep it simple—too many facets can muddy the silhouette.
- Poor UVs: Always check for stretching and wasted space.
- Flat shading: Use material tricks (fresnel, subsurface) to add depth.
- Ignoring references: Every crystal type is unique; rely on real-world examples.
My Favorite Resources and Inspiration Sources
- Reference: Mindat.org for mineral photos, Pinterest for moodboards.
- Learning: ArtStation for breakdowns, YouTube for shader tutorials.
- Tools: Tripo for AI generation, plus my DCC of choice for manual tweaks.
In summary: Creating high-quality crystal shard 3D models is a blend of solid fundamentals, reference use, and smart tool choices. AI-powered tools like Tripo can drastically speed up the process, but hands-on refinement and attention to detail remain essential for standout results.


