Creating and Optimizing a Cronus 3D Model: Expert Workflow
As a 3D artist with a focus on efficient, production-ready workflows, I’ve developed a step-by-step process for modeling complex mythological figures like Cronus. Leveraging AI-powered platforms has transformed how quickly I can go from concept to fully animated asset, while still maintaining quality. This article breaks down my full approach—from research and tool selection to rigging, optimization, and troubleshooting—tailored for artists, game developers, and XR creators who want to streamline their 3D pipeline.
Key takeaways
- Reference research and anatomy study are crucial for believable Cronus models
- AI-driven platforms cut down modeling, texturing, and rigging time dramatically
- Modern workflows outpace traditional pipelines for iteration and feedback
- Rigging mythological characters needs special attention to anatomy and articulation
- Export settings and optimization must match the target platform’s requirements
- Iterative refinement and feedback loops are essential for production-ready results
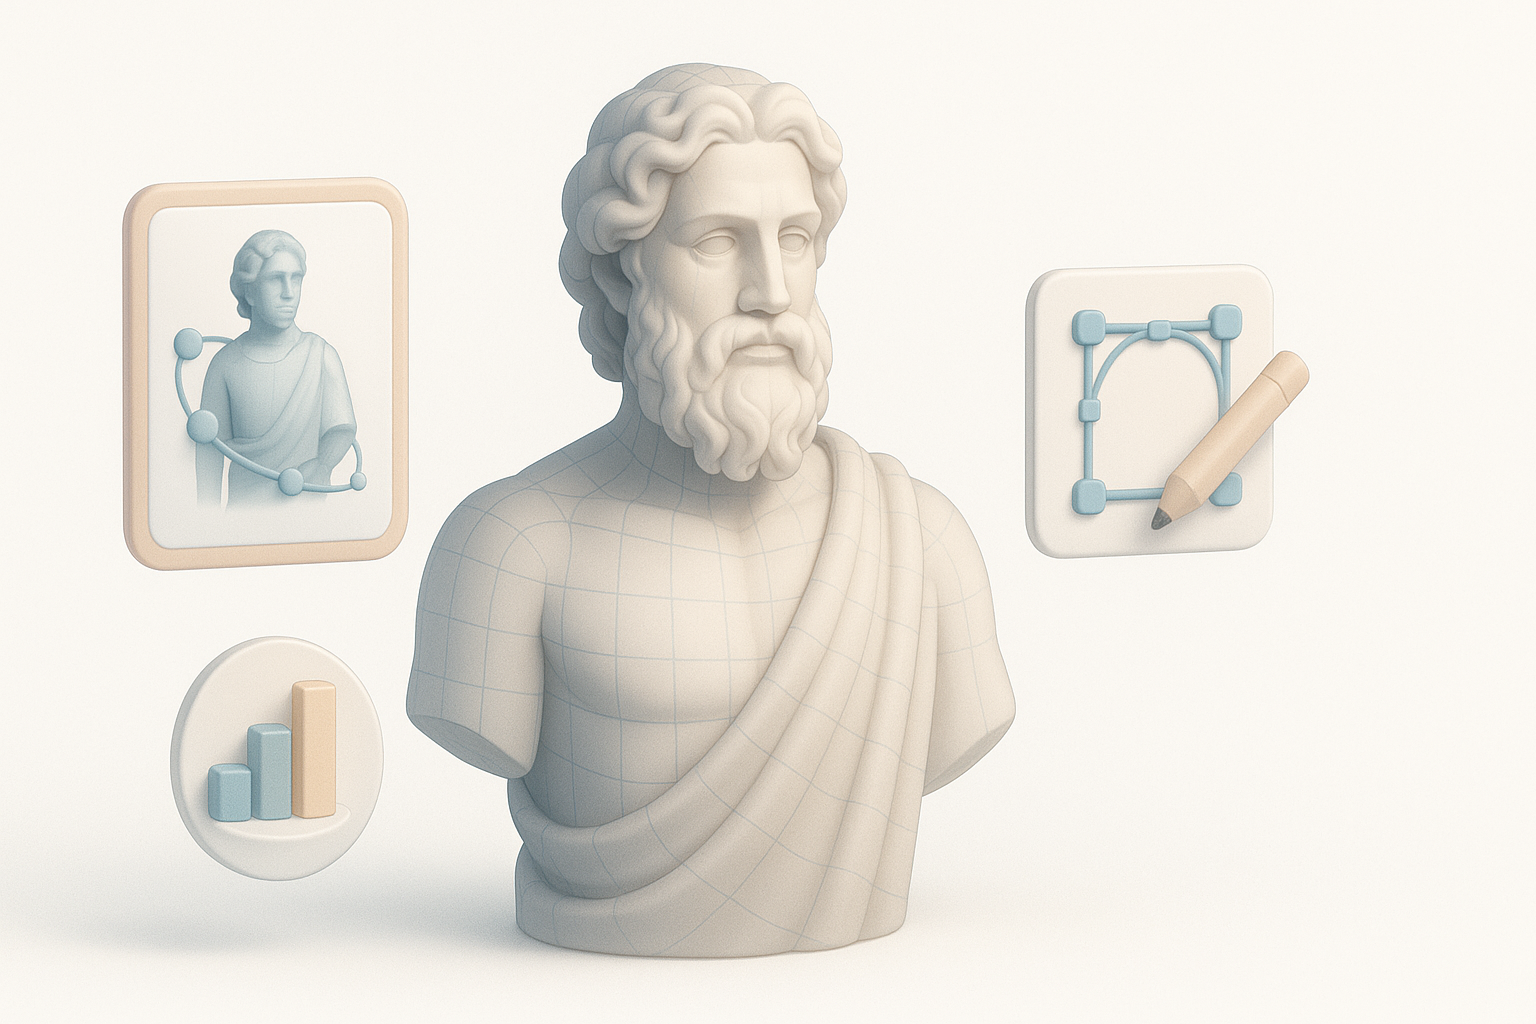
Understanding the Cronus 3D Model Concept
My approach to researching Cronus references
Whenever I start on a Cronus model, I begin by gathering as many visual references as possible: classical sculptures, paintings, and modern interpretations. I also read up on the mythological backstory to inform the design—Cronus is often depicted as a powerful, aged titan, sometimes wielding a sickle.
My research checklist:
- Collect at least 10–15 visual references (statues, illustrations, game art)
- Note recurring design motifs (beard, stature, armor, weaponry)
- Sketch quick thumbnails to explore silhouette and proportions
Key features and anatomy for accurate modeling
I focus on anatomical exaggeration to convey Cronus’s mythic power—broad shoulders, muscular build, and distinctive facial features. The hands and face are especially important for conveying emotion and scale.
Features I prioritize:
- Aged, expressive face with deep-set eyes and a prominent beard
- Large, defined hands for holding weapons or gesturing
- Layered clothing or armor that suggests both ancient and supernatural qualities
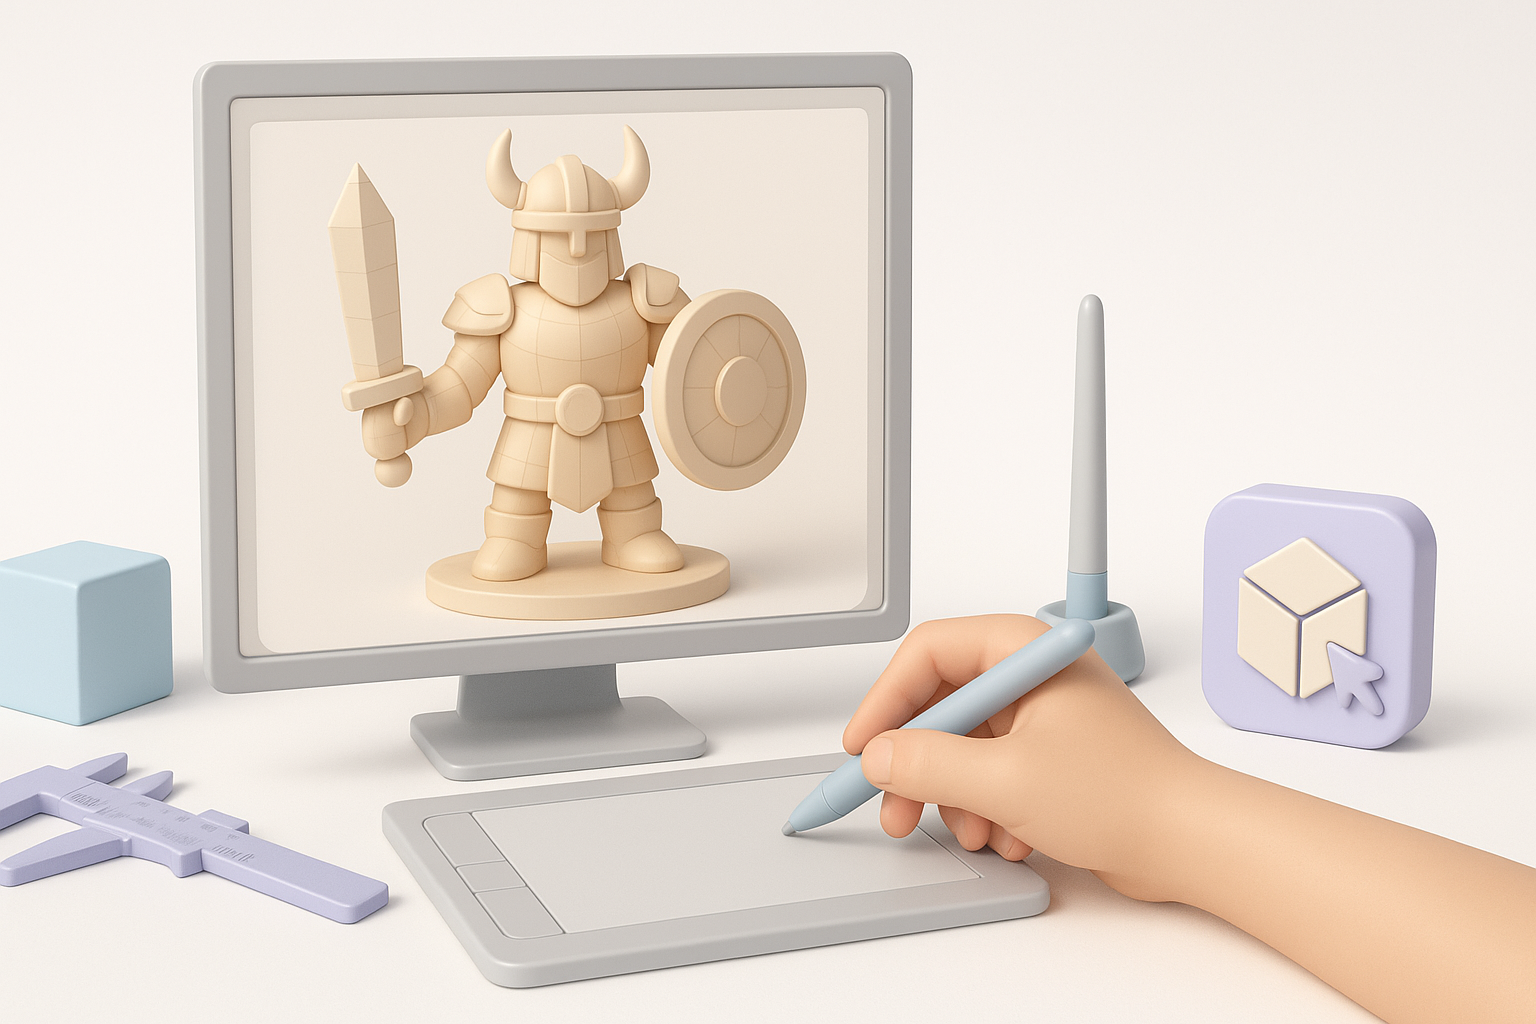
Choosing the Right Tools for Cronus 3D Modeling
Why I select AI-powered platforms for efficiency
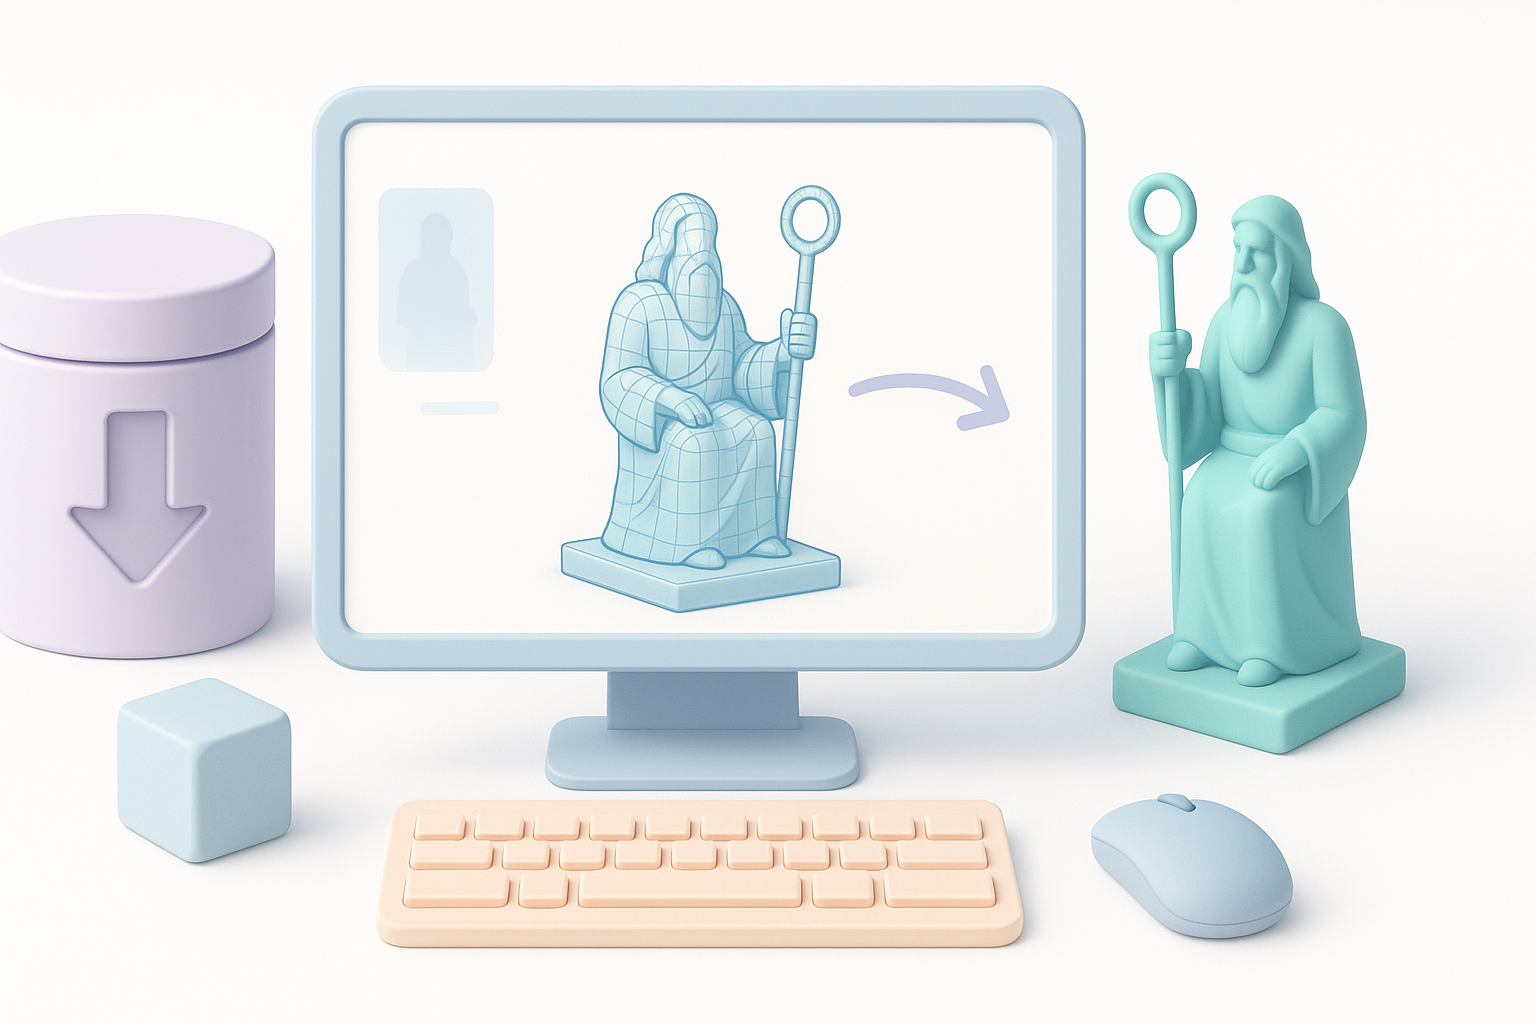
In my workflow, I use AI-driven tools like Tripo AI to accelerate base mesh creation and auto-segmentation. This lets me focus more on sculpting details and less on repetitive technical tasks.
Advantages I notice:
- Rapid generation of base meshes from sketches or text prompts
- Automated segmentation for easier material assignment
- Built-in retopology and UV unwrapping save hours
Comparing traditional and modern 3D workflows
Having worked with both classic and AI-augmented pipelines, I see a clear efficiency boost with modern tools. Manual box modeling and hand-unwrapping are still valuable for custom touches, but for most of the pipeline, automation wins.
What I’ve found:
- Traditional methods offer more granular control but are time-consuming
- AI tools handle repetitive tasks, freeing me to focus on creative decisions
- Iteration is much faster—crucial for client feedback and rapid prototyping
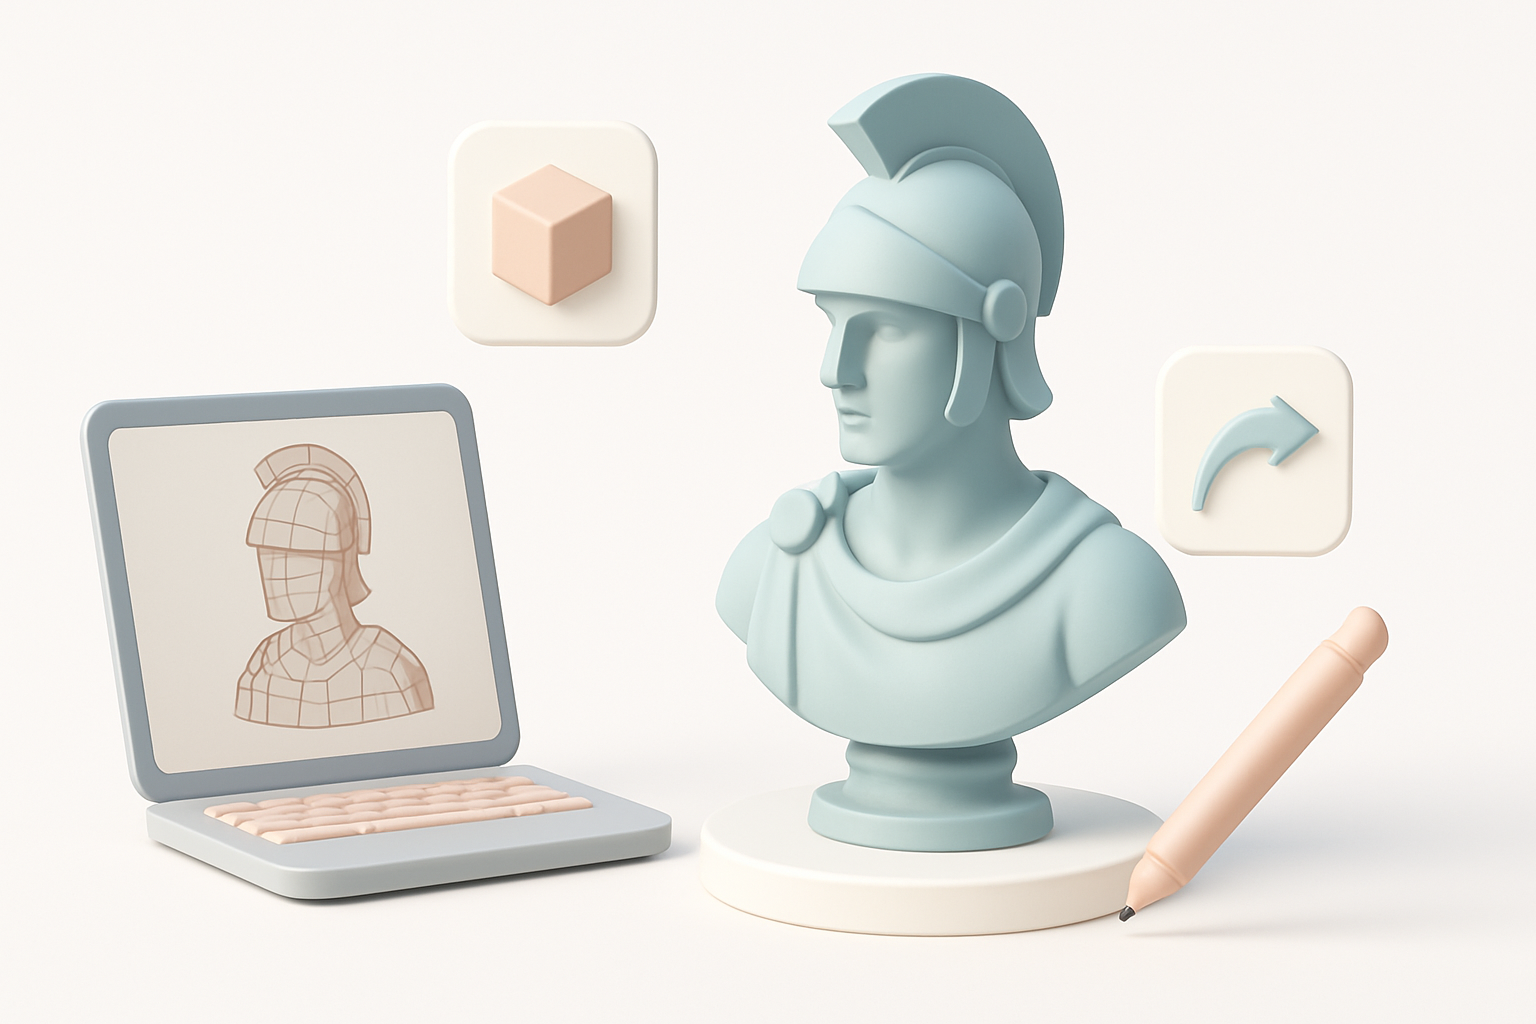
Step-by-Step Cronus 3D Model Creation Process
From concept to base mesh: my workflow
Here’s how I typically approach a Cronus model, from idea to sculpt:
- Concept blockout: I sketch or input a prompt into Tripo AI to generate a rough base mesh.
- Proportional adjustment: I refine the mesh in a 3D sculpting tool, focusing on silhouette and anatomy.
- Detail sculpting: Add muscle definition, facial features, and costume elements.
Tips:
- Use symmetry tools for initial sculpting, then break symmetry for realism
- Save iterative versions at each major change
Intelligent segmentation, retopology, and texturing tips
With Tripo AI, I leverage its segmentation to quickly assign materials and prep for texturing. For retopology, I use automated tools to get clean, animation-ready geometry.
My process:
- Auto-segment the model for different materials (skin, armor, cloth)
- Run retopology to optimize for animation and real-time rendering
- Use smart texturing tools or bake details from high-res to low-res meshes
Pitfalls to avoid:
- Over-reliance on automation—always check edge flow and UVs manually
- Don’t skip baking normal and AO maps for added realism
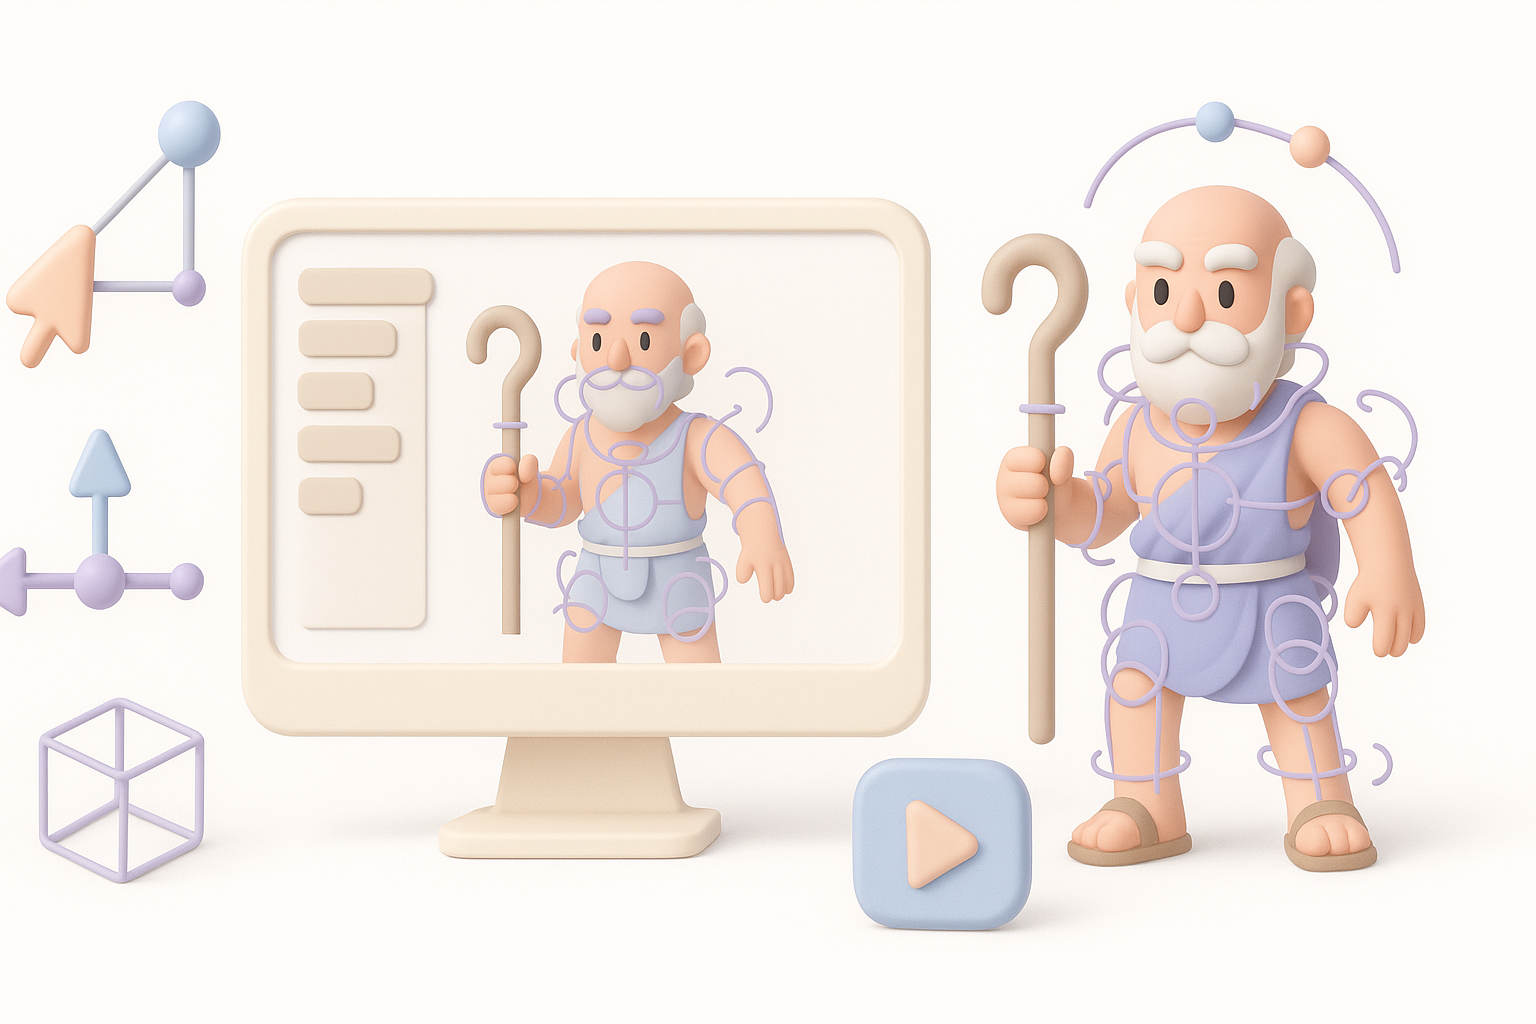
Rigging and Animating the Cronus Model
Best practices for rigging mythological characters
Rigging a character like Cronus requires extra care with anatomy. I ensure joint placement matches muscle structure, especially for oversized proportions.
Checklist:
- Align skeleton to exaggerated anatomy, not just standard human rigs
- Add extra bones for beard, armor, or props if needed
- Test deformation with extreme poses
Animating for games, film, and XR: what I’ve learned
Animation needs vary by medium. For games, I focus on efficient rigs and loopable cycles; for film/XR, I prioritize expressive facial and hand animation.
My approach:
- For games: keep bone count low, optimize for performance, use root motion
- For film/XR: add blendshapes for facial expressions, secondary motion for props
- Always preview animations in the target engine or viewer
Optimizing and Exporting Cronus 3D Models
Ensuring production-ready quality and compatibility
Before export, I double-check mesh integrity, texture resolution, and rig compatibility. I use built-in validation tools in my platform of choice to catch issues early.
Steps I follow:
- Inspect mesh for non-manifold edges or flipped normals
- Confirm texture maps are the correct size and format
- Test the rig in a preview environment
Export settings and formats for various platforms
Export settings depend on the target platform—game engines, film pipelines, or XR systems all have different requirements.
What works for me:
- Export to FBX for most engines (Unity, Unreal)
- Use glTF/GLB for web or XR applications
- Bake textures into standard PBR maps (Base Color, Normal, Roughness, Metallic)
- Double-check scale and orientation before export
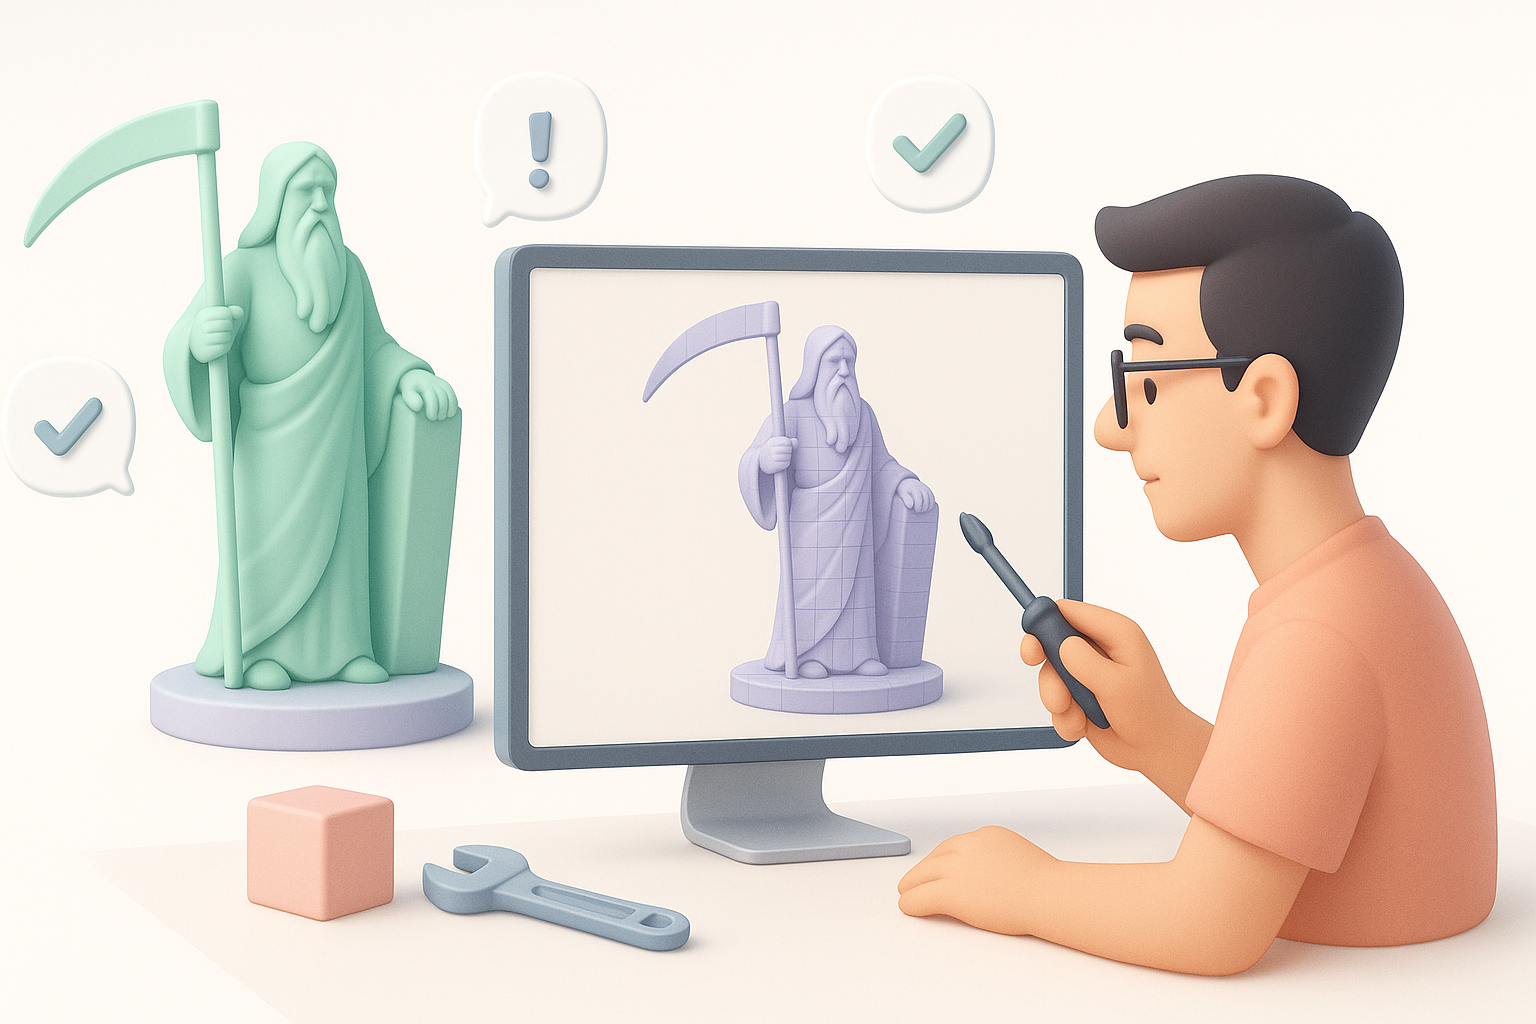
Troubleshooting and Improving Your Cronus Model
Common challenges and how I solve them
Some issues come up repeatedly in my workflow:
- Distorted deformations: Usually caused by poor joint placement or topology. I fix this by revisiting the rig and adjusting edge loops.
- Texture seams: I address these by tweaking UVs and rebaking maps.
- Export errors: Often a result of incompatible formats or missing textures—always verify in a fresh project.
Iterative refinement and feedback integration
No model is perfect on the first pass. I rely on feedback from peers or clients and iterate accordingly.
My iterative process:
- Share WIP renders early and often
- Maintain version control to track changes
- Incorporate feedback, focusing on anatomy, silhouette, and material realism
Final tip: Don’t be afraid to revisit earlier steps. Iteration is key to achieving a polished, production-ready Cronus 3D model.


