Creating Counter Strike 2 3D Models: Expert Workflow & Tips
Creating production-ready 3D models for Counter Strike 2 demands a blend of technical know-how, efficiency, and a clear understanding of game requirements. Over years of hands-on work, I’ve honed a workflow that leverages both classic techniques and modern AI-powered tools, making model creation faster and more reliable. This article is for artists and developers aiming to deliver high-quality assets that fit seamlessly into CS2, avoid common pitfalls, and optimize for both performance and visual fidelity.
Key takeaways:
- Know CS2’s asset specs and constraints before modeling.
- Use AI-driven platforms like Tripo to speed up segmentation, retopology, and texturing.
- Balance realism with performance—especially for texturing and polycount.
- Optimize export settings for CS2 compatibility.
- Test and refine models in-game to catch integration issues early.
Executive Summary: Key Takeaways for CS2 3D Modeling
What I’ve learned from real-world CS2 projects
In my experience, tight deadlines and exacting standards are the norm for CS2 asset creation. Early planning and reference gathering are crucial; skipping these steps often leads to costly rework. I’ve found that integrating AI-assisted tools for basic geometry and texturing lets me focus more on creative problem-solving and less on repetitive technical tasks.
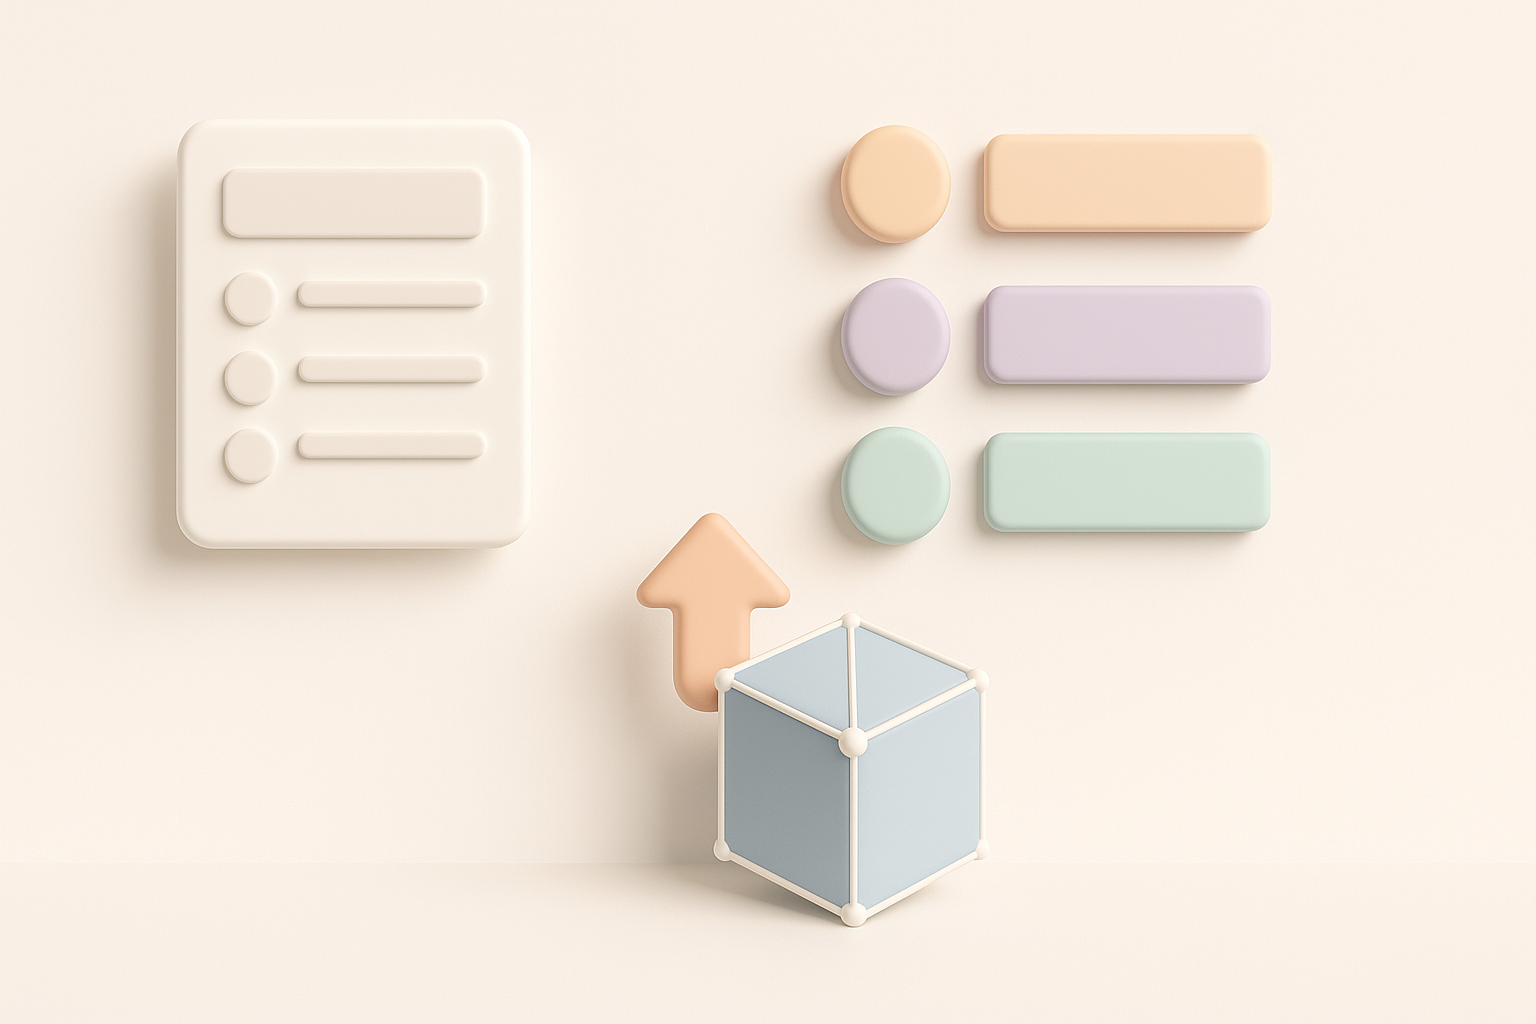
Essential tools and workflows for rapid results
My toolkit always includes a reliable DCC (digital content creation) suite, a robust AI-powered 3D platform (like Tripo), and thorough in-game testing routines. I prioritize workflows that let me iterate quickly—blocking out forms, running auto-retopology, and using AI segmentation to separate mesh components, then refining by hand as needed.
Practical checklist:
- Gather solid references
- Block out models quickly
- Use AI tools for segmentation/retopology
- Hand-tweak for polish and compliance
- Test in-game early and often
Understanding Counter Strike 2 3D Model Requirements
Game asset specifications and constraints
CS2 assets must meet strict polycount, texture size, and material limits to ensure smooth gameplay. For weapons and props, I target 5k–15k tris and stick to 2k or 4k texture maps, depending on asset prominence. I always check the latest developer documentation for updated specs—these can change with engine updates.
Common pitfalls and how I avoid them
One common mistake I see is over-modeling—adding detail that won’t be visible in-game but bloats performance. I avoid this by constantly checking my model in engine or with preview tools. Another issue is poor UV layout, which leads to texture stretching or seams. I use AI-assisted UV unwrapping when possible, then manually adjust problem areas.
Tips:
- Always check scale and orientation before export.
- Use checker textures to spot UV issues.
- Keep an eye on triangle count and draw calls.
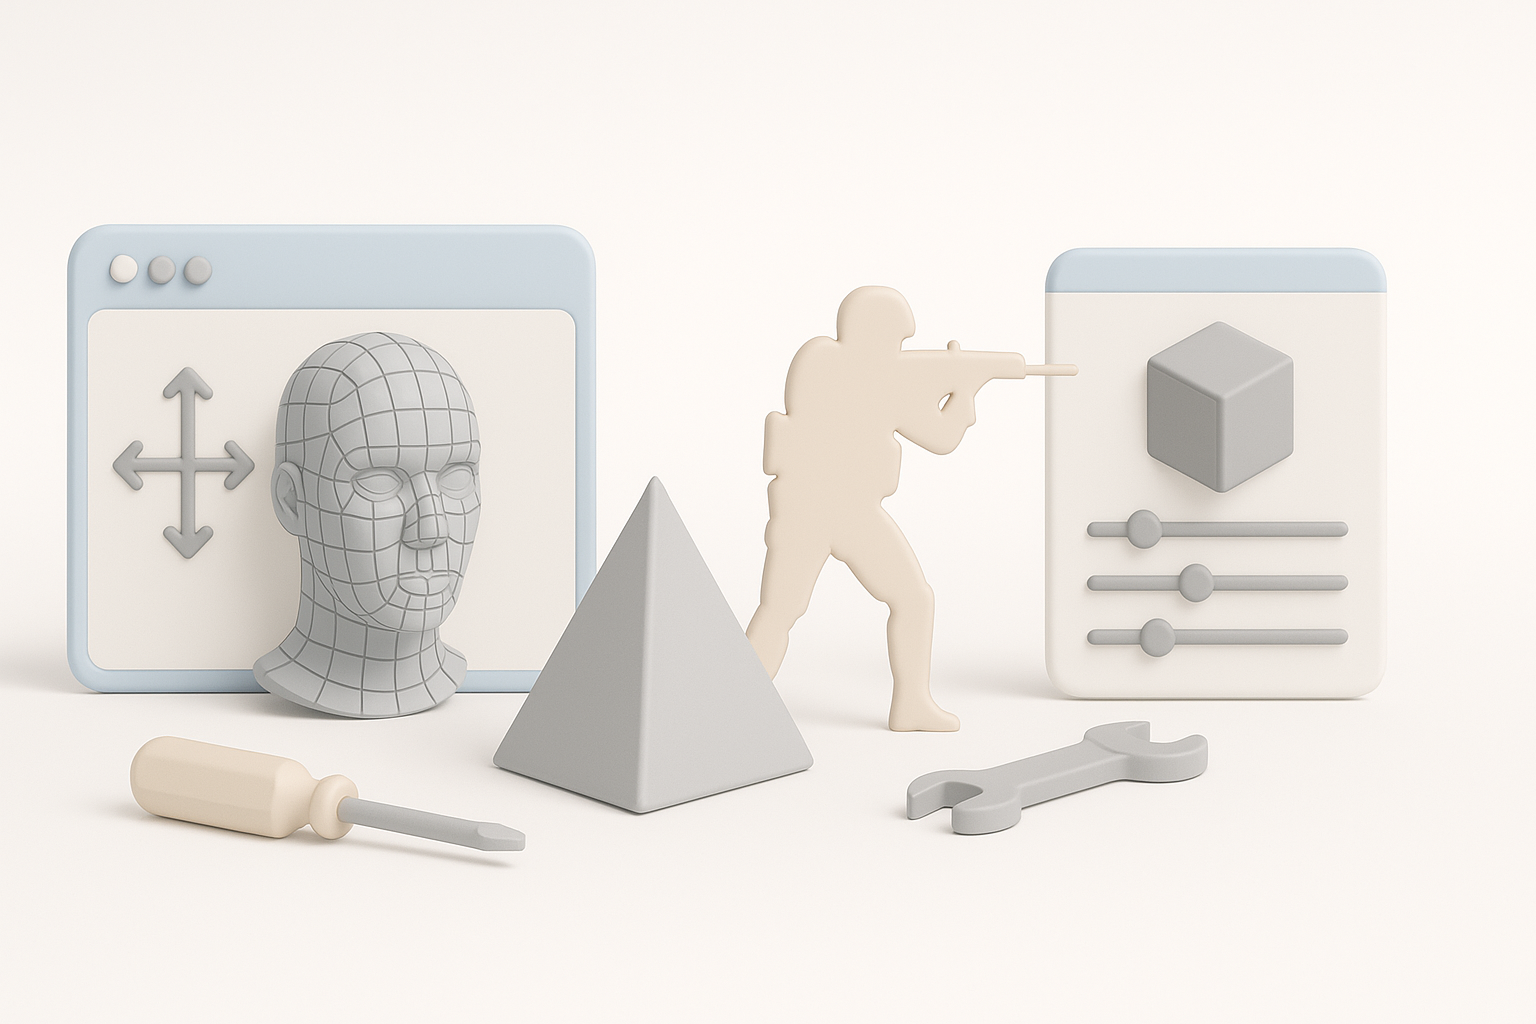
My Step-by-Step Workflow for CS2 Model Creation
Concepting and reference gathering
I start every project by collecting a wide range of references—real-world photos, CS2 asset screenshots, and technical diagrams. This groundwork helps me nail proportions and details that match the game’s style. I often sketch quick blockouts or use image-to-3D tools to rough out the initial form.
Efficient modeling, segmentation, and retopology
Once the concept is clear, I block out the main shapes in my DCC tool. For complex assets, I use Tripo’s segmentation features to break the model into logical parts, which speeds up the rest of the process. I rely on automated retopology to generate clean, game-ready meshes, then fix edge flow and add detail where needed.
Workflow steps:
- Gather and organize references.
- Block out main shapes.
- Use AI segmentation for logical parts.
- Auto-retopologize, then refine manually.
Texturing, Rigging, and Animation: Best Practices
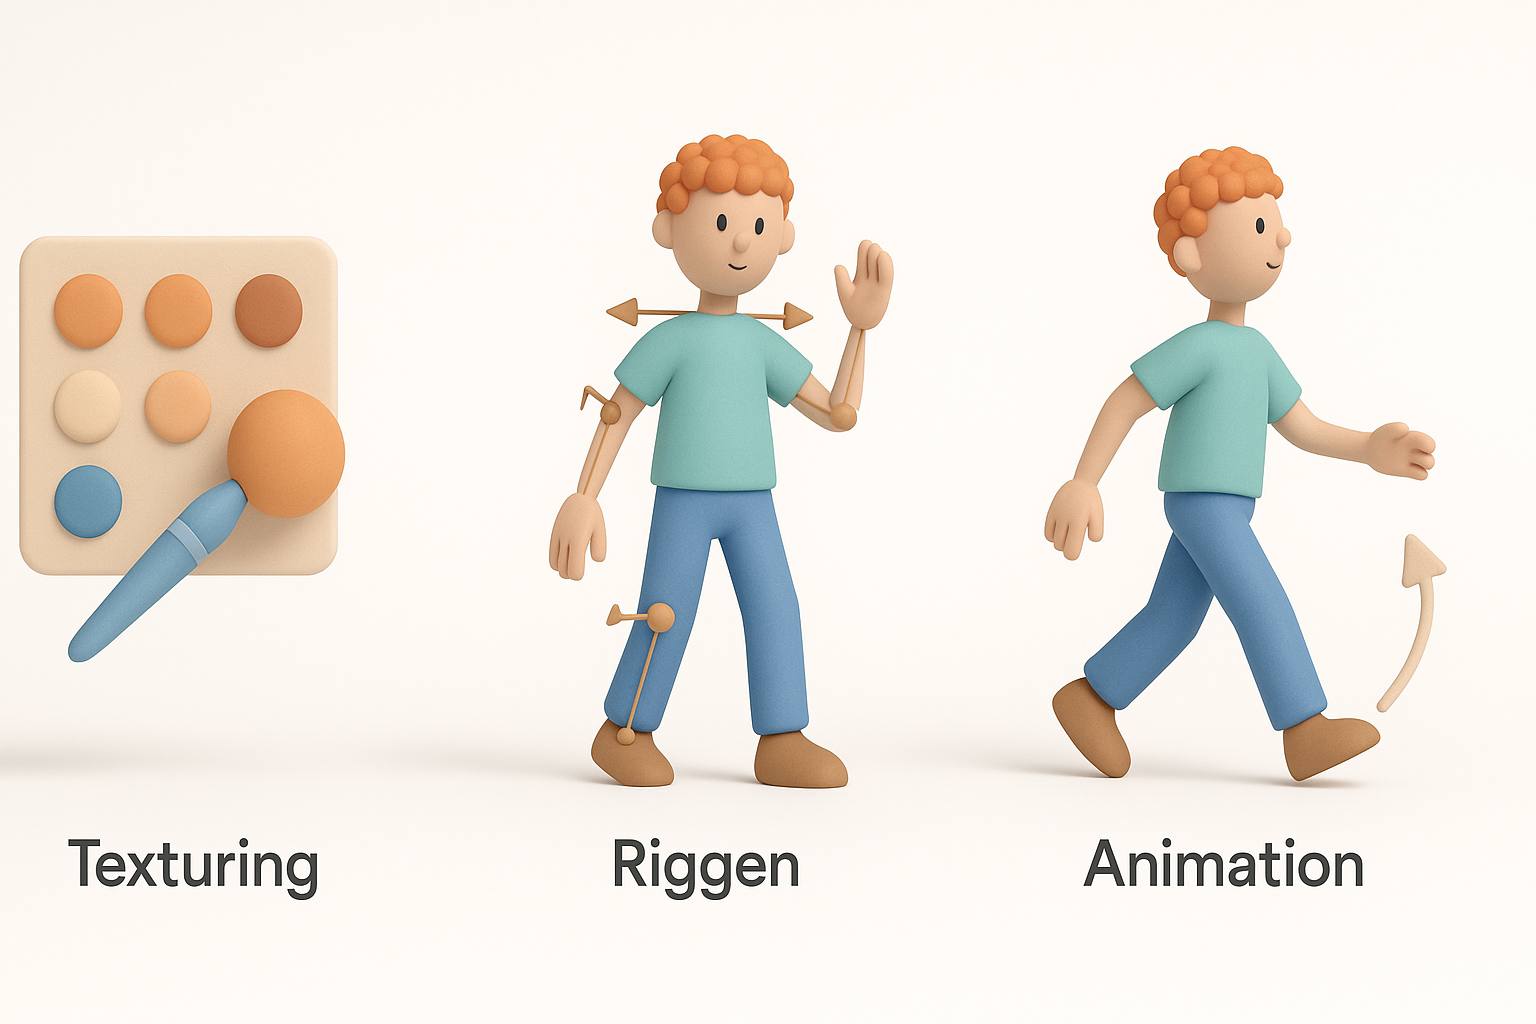
How I approach texturing for realism and performance
I bake normal and ambient occlusion maps early, then use a mix of procedural and hand-painted textures. Tripo’s AI texturing tools are a huge time-saver for base materials; I refine roughness, metallic, and detail layers by hand to avoid a “generic” look. I always test textures under in-game lighting to ensure they read well.
Rigging and animation workflows for CS2 assets
For weapons or props with moving parts, I keep rigs simple and stick to CS2’s bone naming conventions. I use auto-weighting for basic setups, then manually adjust weights for clean deformations. When animating, I focus on clear, readable movement and test everything in-engine to catch export or playback issues.
Quick tips:
- Use reference textures from CS2 for color/roughness matching.
- Keep skeletons simple—avoid unnecessary bones.
- Test animations in the game engine, not just in your DCC tool.
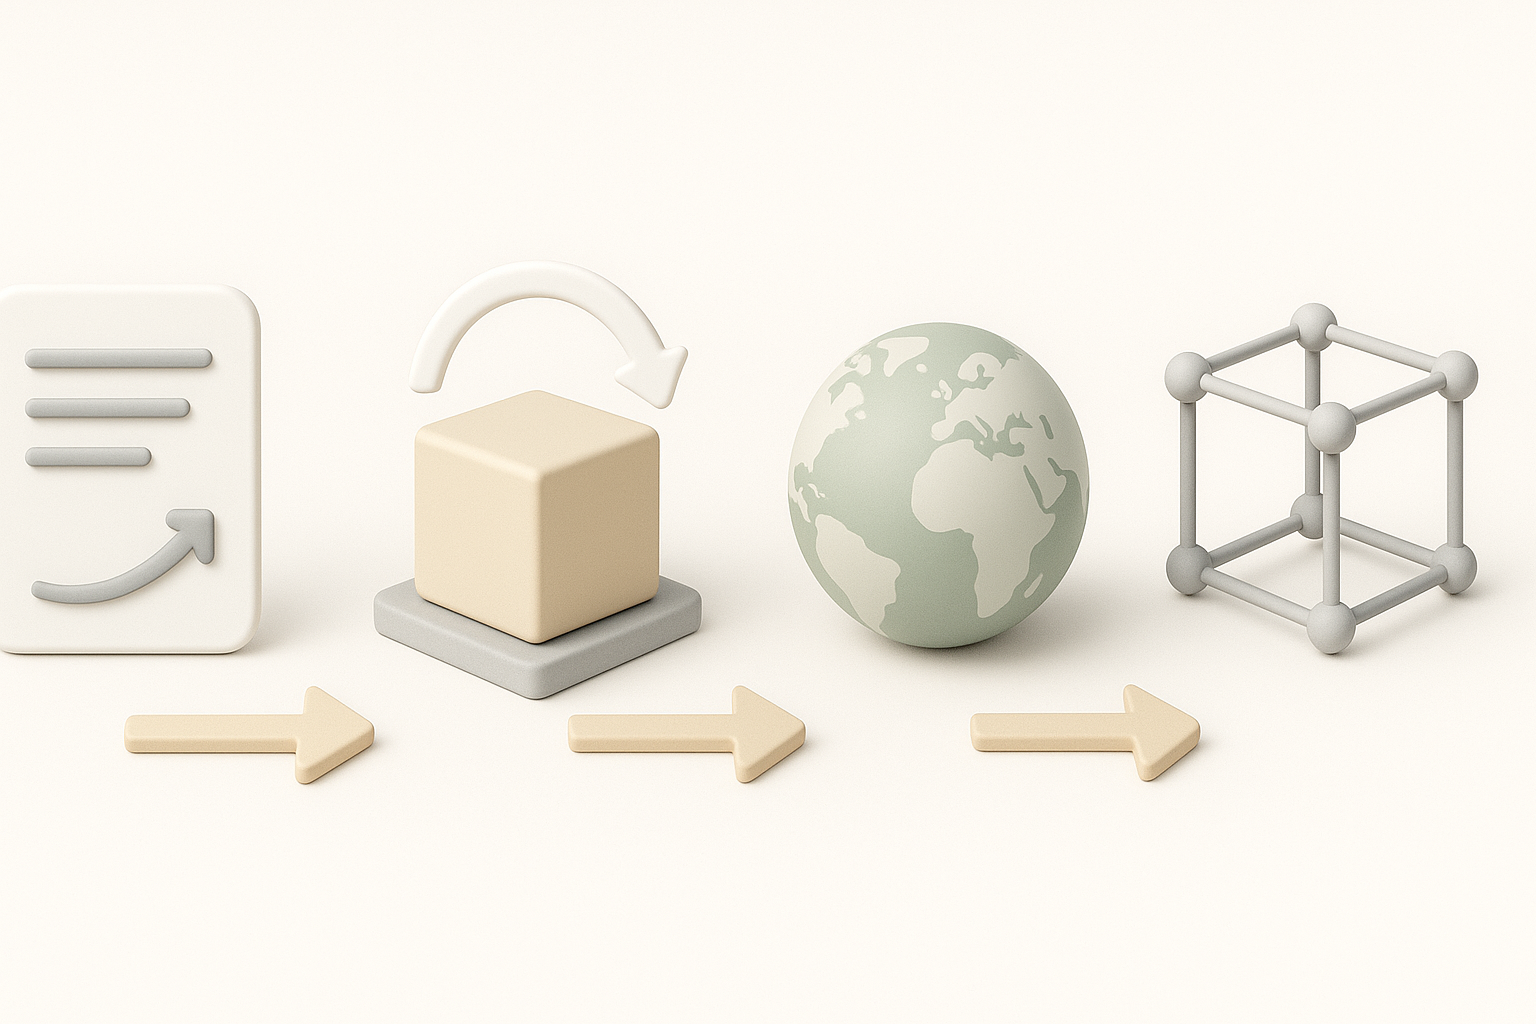
AI-Powered Tools and Alternative Methods

Integrating AI platforms into my pipeline
AI-assisted tools like Tripo have changed how I approach repetitive tasks. I use them for fast segmentation, auto-retopology, and initial texturing—especially for props and environment assets. This lets me iterate quickly and focus my manual effort where it counts most.
Comparing manual and automated approaches
Manual modeling and texturing still have a place, especially for hero assets or unique details. However, for bulk asset production, AI tools dramatically reduce time spent on technical steps. My rule: automate the basics, hand-craft the highlights.
My approach:
- Use AI for initial passes.
- Refine manually for polish and compliance.
- Always check automated results for errors or artifacts.
Exporting, Optimization, and Integration into CS2

Export settings and compatibility tips
I always export models in FBX or OBJ formats, ensuring proper axis orientation and scale. I triangulate meshes before export to match CS2’s requirements and bake all transforms. For textures, I stick to PNG or TGA, and double-check that all maps are correctly assigned.
Testing and refining models for in-game use
After import, I test assets in a CS2 modding environment. I look for shading errors, scale mismatches, or animation glitches. Iterative testing is key—I rarely get everything perfect on the first try, so I plan for a few rounds of tweaks.
Integration checklist:
- Check scale and orientation.
- Verify material and texture assignments.
- Test for lighting and animation issues in-game.
Lessons Learned and Expert Recommendations

What I’d do differently in future projects
Looking back, I’d integrate AI-powered tools earlier, especially for UVs and texturing. I’d also set up a more robust reference library to speed up concepting. More frequent in-engine testing always saves headaches later—I now make it a habit.
Top tips for aspiring CS2 3D artists
- Master the basics: clean topology, good UVs, and proper scale.
- Use AI tools to handle repetitive work, but always review the results.
- Build a strong reference library and keep up with CS2’s technical guidelines.
- Test assets in-game early and often—what works in your DCC might not work in CS2.
If you focus on efficient workflows, leverage AI where it makes sense, and prioritize in-game testing, you’ll consistently deliver high-quality CS2 assets that meet both artistic and technical standards.
