How I Create a High-Quality Couch 3D Model: Expert Workflow
скачать 3d модели для chicken gun
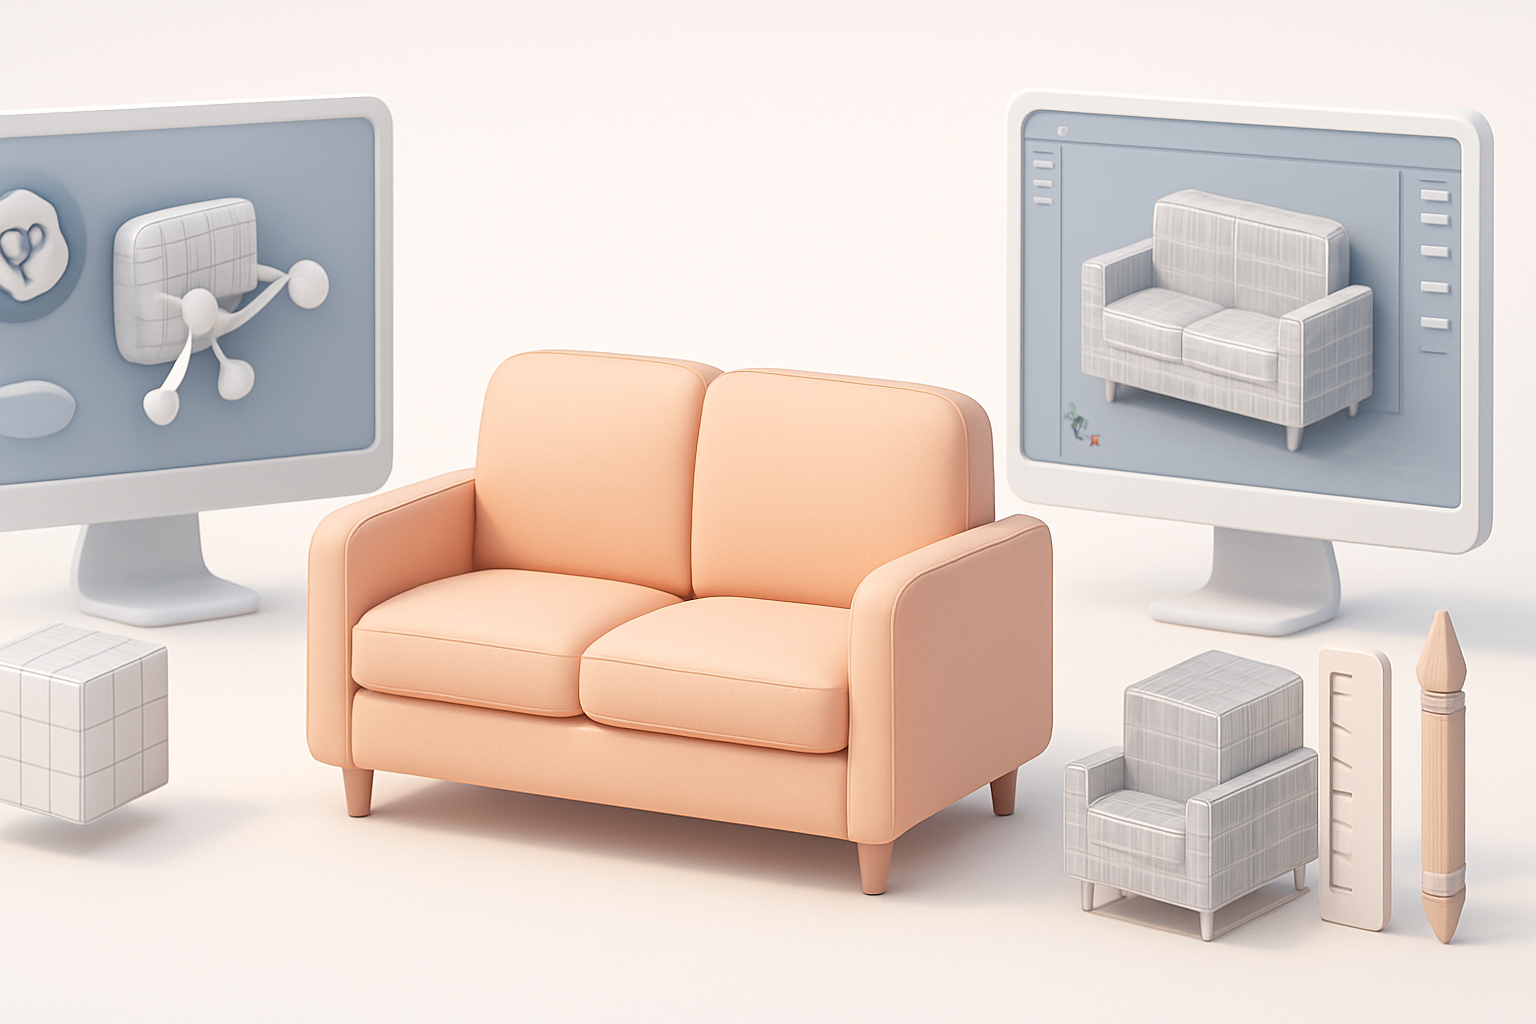
Creating a high-quality couch 3D model requires a blend of artistic vision and technical precision. In my experience, the best results come from a structured workflow: gathering references, blocking out forms, refining details, and leveraging the right tools—including AI-powered platforms like Tripo. Whether you’re working for games, XR, or interior visualization, the steps I outline here will help you produce production-ready assets efficiently. This guide is for 3D artists, designers, and developers aiming to streamline their process and achieve realistic, optimized models.
Key takeaways
- Gather strong visual references before modeling—this saves time and improves realism.
- Block out basic shapes first, then focus on adding nuanced details.
- Use AI-powered tools like Tripo to accelerate segmentation, retopology, and texturing.
- Always optimize your mesh and textures for the intended platform.
- Export with the correct settings and formats to ensure compatibility.
- Integrate AI results with manual touch-ups for the best quality.
My Approach to Designing a Realistic Couch 3D Model
Gathering References and Planning the Model
Before I touch any modeling software, I spend time collecting detailed references. I look for photos from multiple angles, fabric swatches, and even technical drawings if available. This early research phase helps me understand proportions, construction, and unique design features.
My reference checklist:
- Front, side, and back views
- Close-ups of seams, legs, and cushions
- Material/fabric details
- Real-world dimensions
I sketch a rough plan or blockout, noting key measurements and design cues. This planning stage prevents costly revisions later.
Choosing the Right Tools and Software
Tool choice depends on project needs. For rapid prototyping or when I need to generate a base mesh quickly, I use AI-powered platforms like Tripo. For manual sculpting or fine-tuning, I turn to established DCC (Digital Content Creation) tools.
What I consider:
- AI tools for fast base mesh, segmentation, and texturing
- Traditional modeling software for detailed edits
- Compatibility with downstream pipelines (game engines, renderers)
Step-by-Step: Building the Couch 3D Model

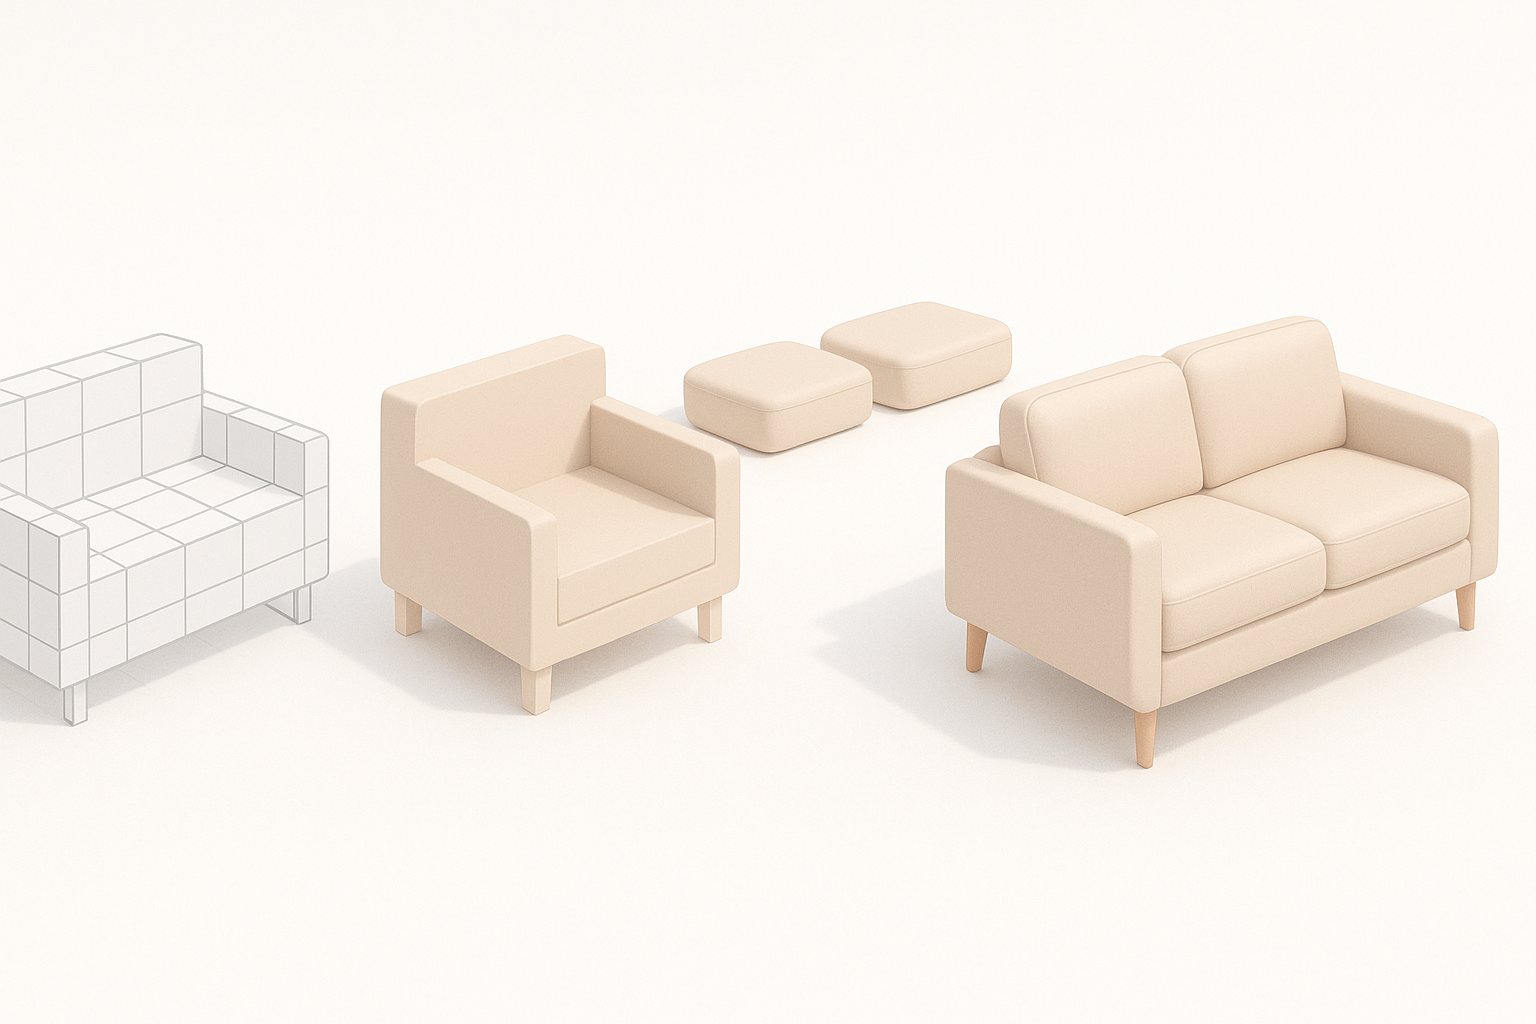
Blocking Out the Basic Shape
I start by blocking out the couch’s main volumes—seat, backrest, arms, and legs. If I use Tripo, I can generate a base mesh from a text prompt, sketch, or photo, which speeds up this phase dramatically.
Blocking steps:
- Define overall dimensions and silhouette
- Use simple shapes (boxes, cylinders) for each part
- Adjust proportions to match references
This stage is all about getting the scale right; details come later.
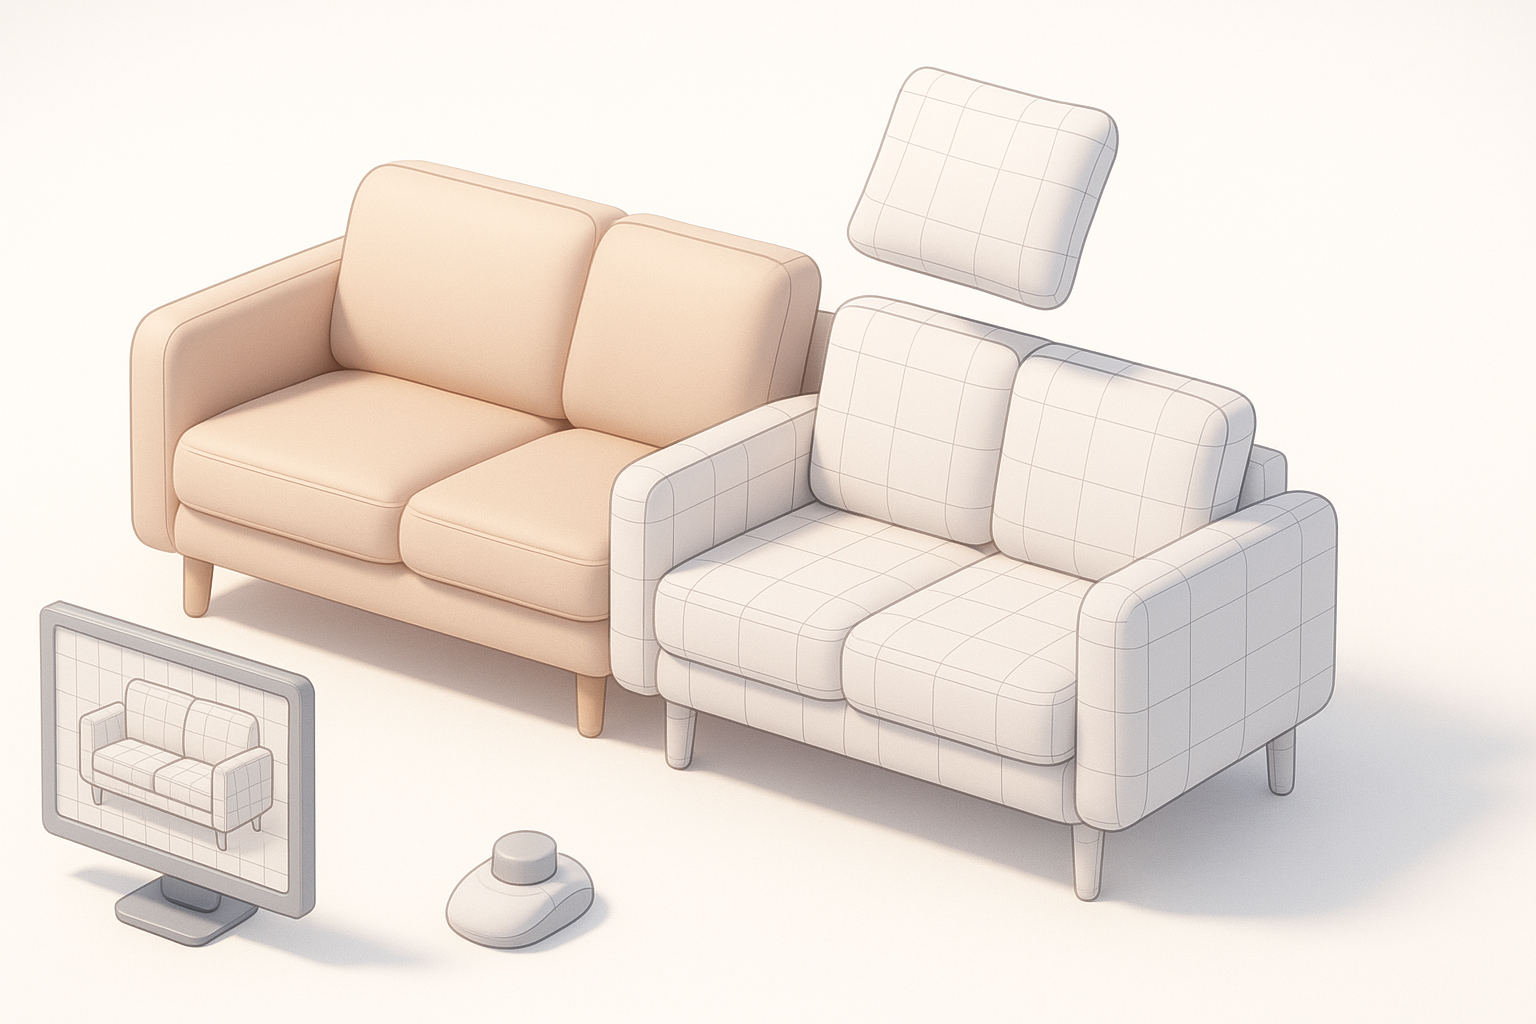
Adding Details and Refining Geometry
Once the basic form is set, I move on to refining geometry. Here, I add features like cushion creases, seams, and decorative elements.
Detailing tips:
- Use subdivision modeling for soft, rounded cushions
- Add edge loops where sharper definition is needed
- Sculpt or displace for wrinkles and fabric texture
If the AI-generated mesh needs cleanup, I manually tweak topology to support detailed features.
Texturing and Materials: Bringing the Couch to Life
UV Unwrapping and Texture Mapping
Good UVs are essential for realistic texturing. I unwrap the mesh, aiming for minimal distortion and efficient texture space usage. Many AI tools, including Tripo, offer automated UV unwrapping, which I find speeds things up—though I always check and adjust seams manually.
UV checklist:
- Minimize stretching and seams in visible areas
- Pack UV islands efficiently
- Test with checker patterns before painting textures
Selecting and Applying Realistic Materials
I gather or create high-resolution fabric textures, paying attention to color, roughness, and normal details. For production assets, I prefer PBR (Physically Based Rendering) materials.
Material workflow:
- Choose or create diffuse/albedo, normal, and roughness maps
- Apply and tweak materials in the 3D tool or engine
- Preview under various lighting conditions
If I use AI-generated textures, I often blend or paint over them for extra realism.
Optimizing and Exporting for Production Use
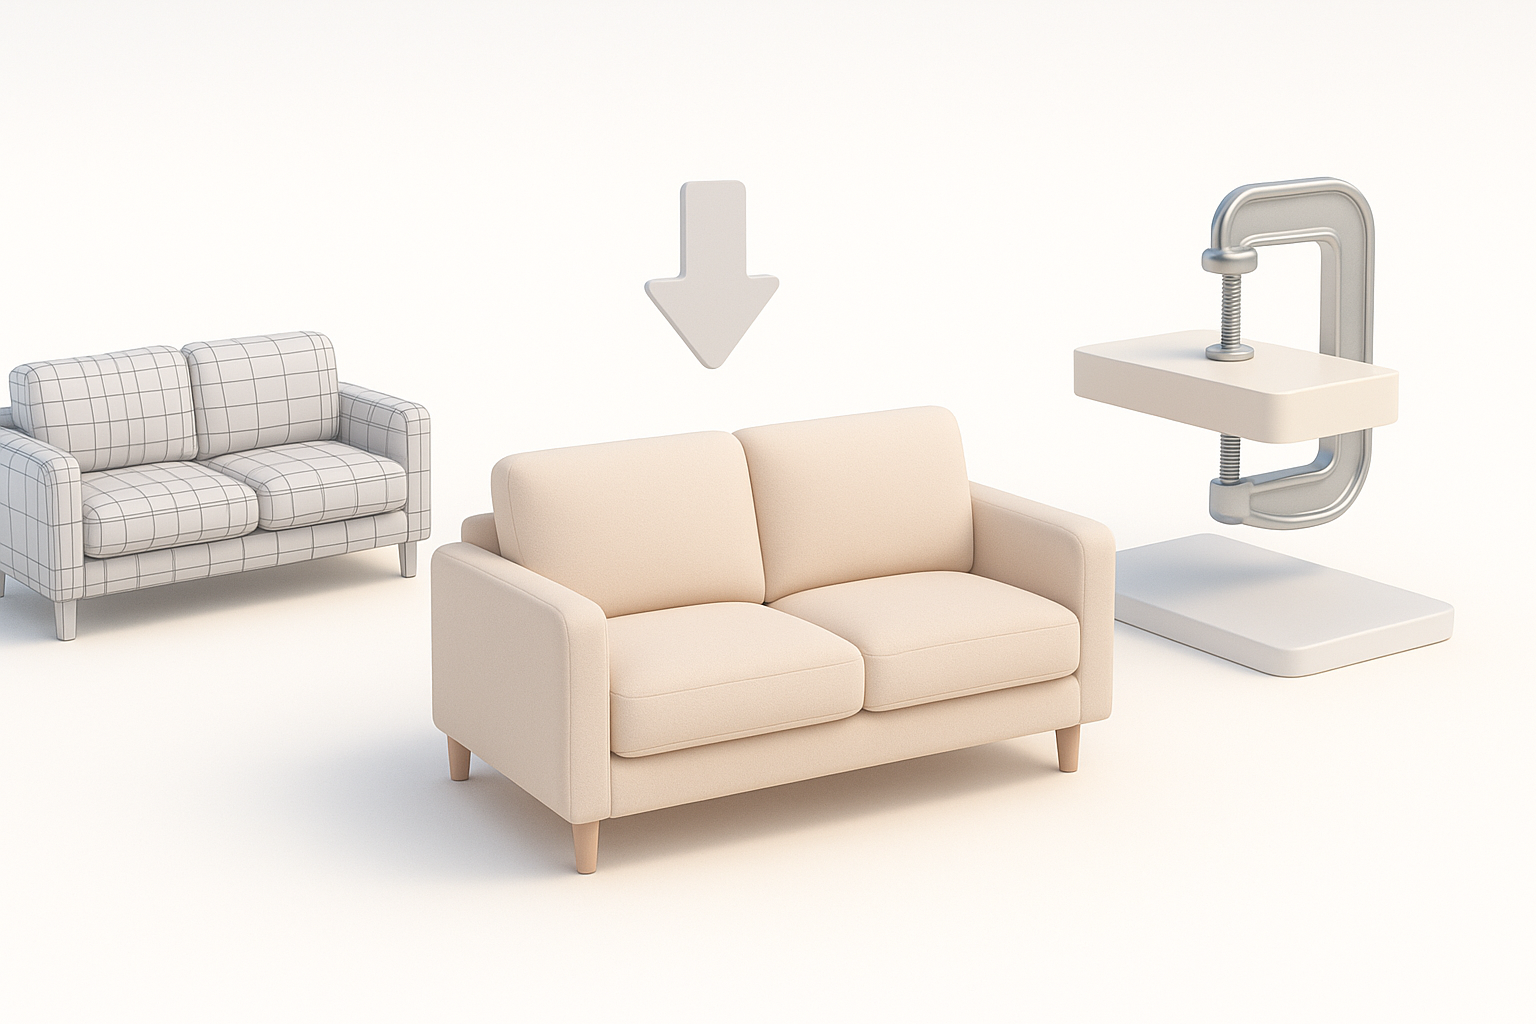
Retopology and Mesh Optimization
For real-time applications, clean topology is critical. I use automatic retopology features in Tripo for a fast start, then manually refine edge flow around deformations (like cushion seams).
Optimization steps:
- Reduce polycount without losing silhouette
- Remove unnecessary edge loops
- Bake high-res details into normal or displacement maps
Export Settings and File Formats
I export using formats compatible with the target platform (FBX, OBJ, or GLTF for most pipelines). I double-check scale, orientation, and texture embedding.
Export checklist:
- Correct scale and unit settings
- Embed or link texture files
- Test import in the target engine or renderer
Best Practices and Lessons Learned from My Projects
Common Pitfalls and How I Avoid Them
Over the years, I’ve learned to watch out for:
- Overcomplicating the mesh early—keep things simple until the form is right.
- Ignoring reference material—always double-check proportions and details.
- Relying solely on automation—manual tweaks are essential for polish.
Tips for Achieving Production-Ready Results
- Always start with strong references and a clear plan.
- Use AI tools to accelerate repetitive or technical tasks, but review results closely.
- Optimize mesh and textures for your specific use case (games, XR, film).
- Test assets in context—lighting, scale, and interaction matter.
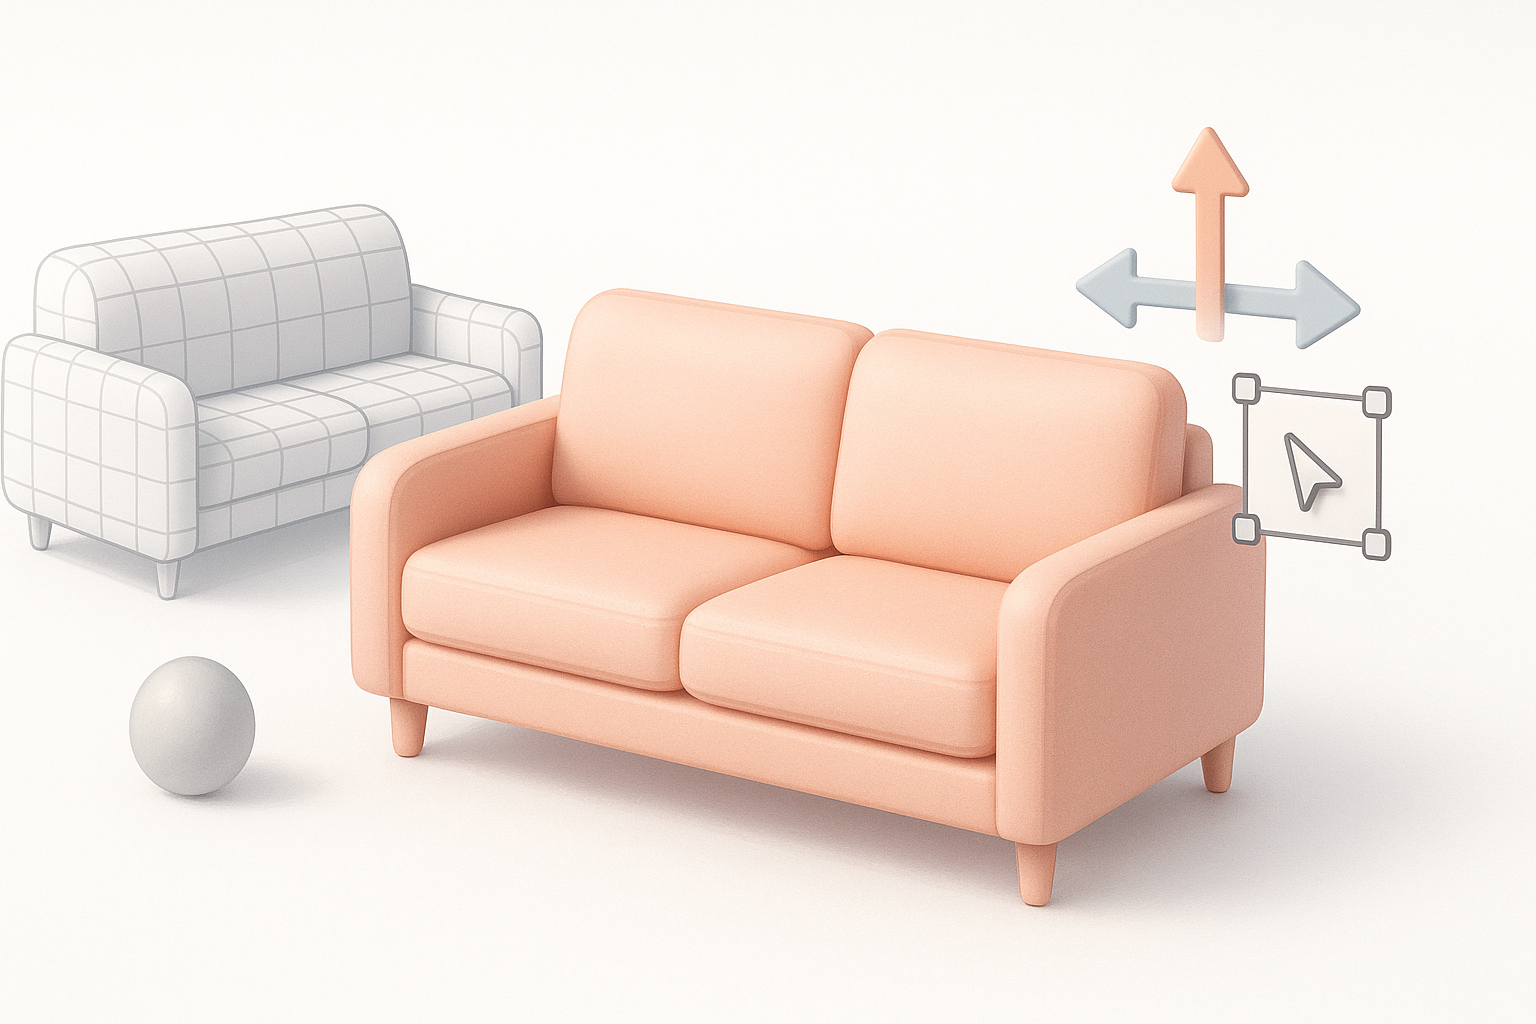
Comparing AI-Powered and Traditional 3D Modeling Workflows
When I Use AI Tools for Couch Modeling
I reach for AI-powered solutions like Tripo when I need speed—rapid prototyping, base mesh generation, or batch texturing. They’re especially useful for concepting or when deadlines are tight.
AI tool use cases:
- Generating base meshes from sketches or descriptions
- Automatic UVs, retopology, and texturing
- Quick iterations on design variants
Integrating AI Results with Manual Techniques
While AI tools save time, I always integrate manual steps for quality control:
- Refine geometry and topology by hand for animation or deformation
- Customize materials and textures for unique looks
- Double-check all exports for compatibility and fidelity
My advice: Use AI as a powerful assistant, not a replacement for artistic judgment. The best results come from combining both approaches.
By following this workflow, I consistently create high-quality, production-ready couch 3D models—efficiently and with creative control. Whether you’re new to 3D or looking to integrate AI into your pipeline, these steps will help you deliver professional results.


