Creating a Colosseum 3D Model: Expert Workflow & Tips
Creating a Colosseum 3D model is a rewarding challenge, whether you’re aiming for game assets, XR environments, or cinematic visuals. In my experience, leveraging AI-powered tools like Tripo AI dramatically accelerates the process, from reference gathering to final optimization. This guide distills my hands-on workflow and lessons learned—covering planning, modeling, texturing, and integration. If you’re a 3D artist, designer, or developer looking to streamline production and achieve realistic results, these practical tips will save you time and headaches.
Key takeaways:
- Use high-quality references and clear project goals to guide accuracy.
- AI-assisted platforms can cut modeling time and automate tedious steps.
- Block out main shapes first, then focus on architectural details.
- Efficient texturing and UV mapping are crucial for realism and performance.
- Optimize exports for your target platform to avoid compatibility issues.
- Common pitfalls include poor segmentation and inefficient topology.
Executive Summary: Key Takeaways for Colosseum 3D Modeling
What to expect from this guide
This guide walks through my expert workflow for creating a Colosseum 3D model, from initial planning to final export. I’ll cover reference selection, tool choices, detailed modeling steps, texturing, optimization, and integration for different platforms. Each section includes practical tips and mini-checklists drawn from real projects.
Summary of best practices
- Start with accurate references and clear objectives.
- Use AI-powered tools to handle segmentation, retopology, and texturing.
- Block out main forms before adding details.
- Prioritize efficient UV mapping and material setup.
- Optimize for your target platform—don’t skip performance checks.
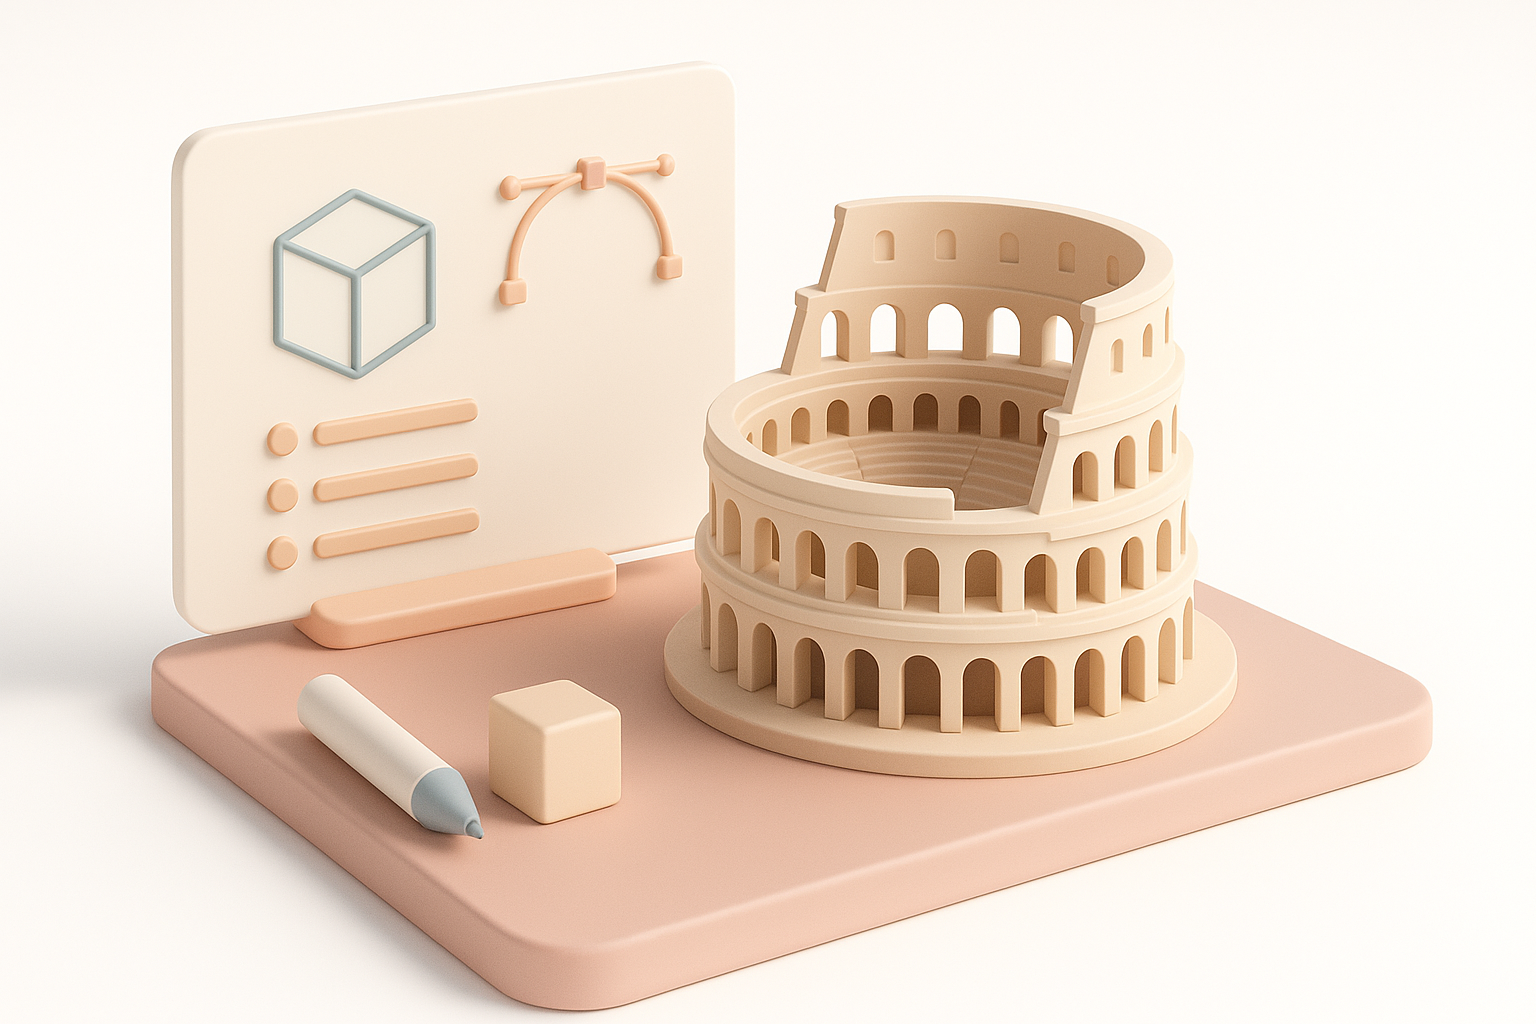
Planning and Reference Gathering for a Colosseum Model
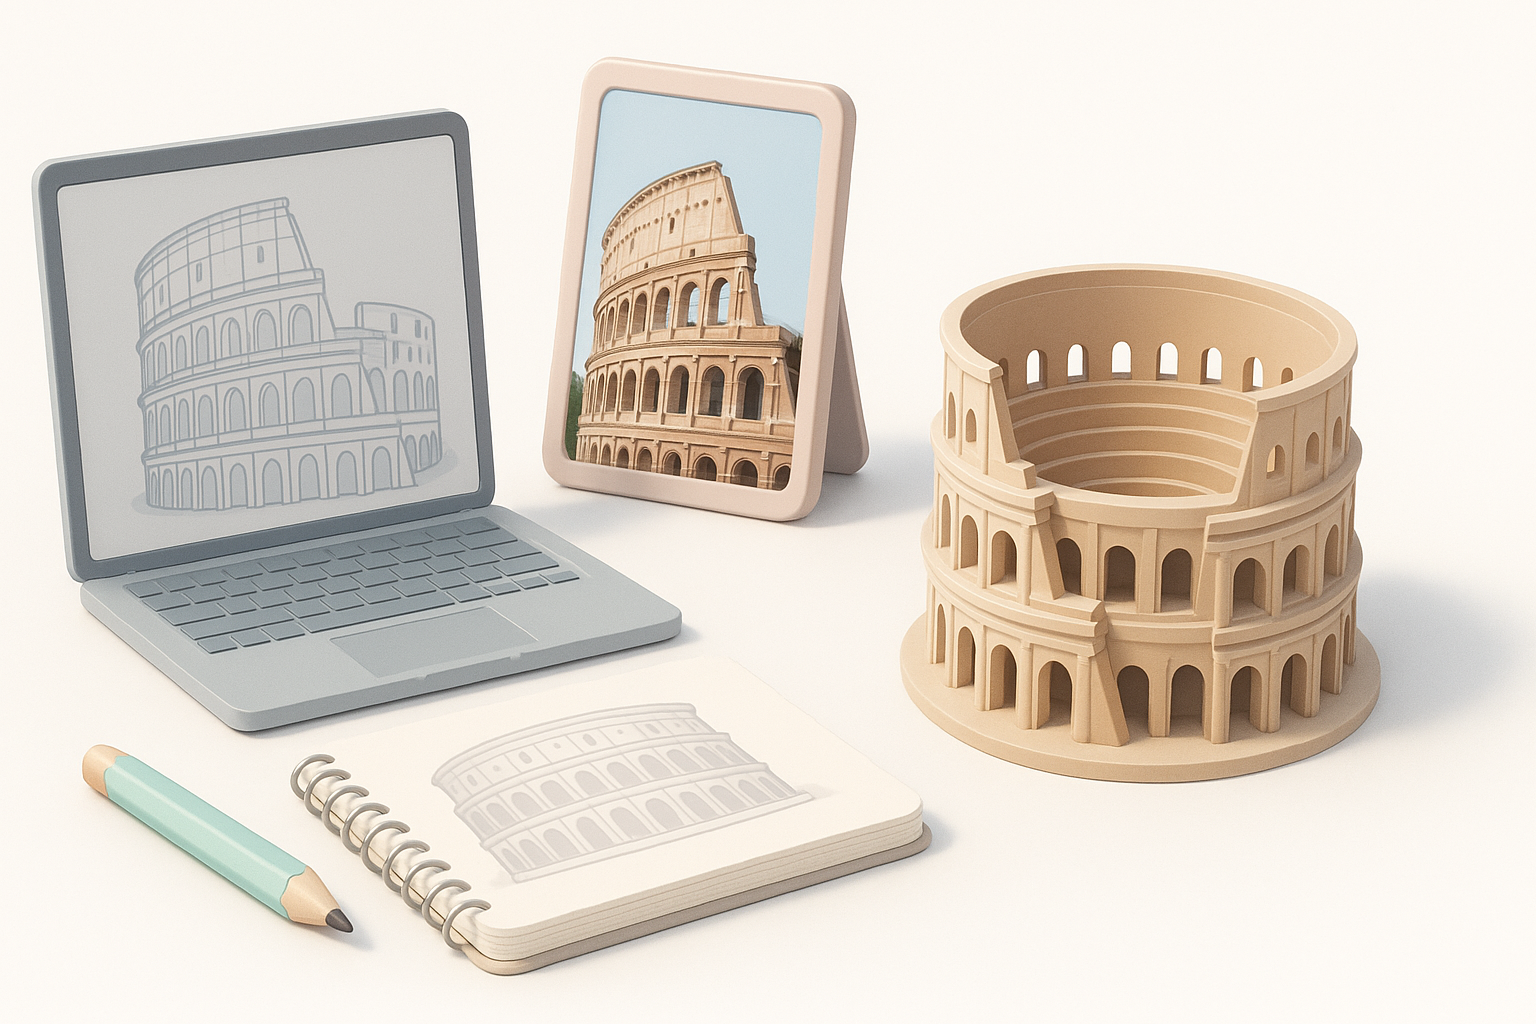
Selecting accurate reference images and blueprints
I always begin by sourcing high-resolution photos, architectural plans, and historical diagrams. The Colosseum’s complexity demands multiple perspectives—top, side, and sectional views. I recommend:
- Searching museum archives and academic sources.
- Using orthographic blueprints for scale and proportion.
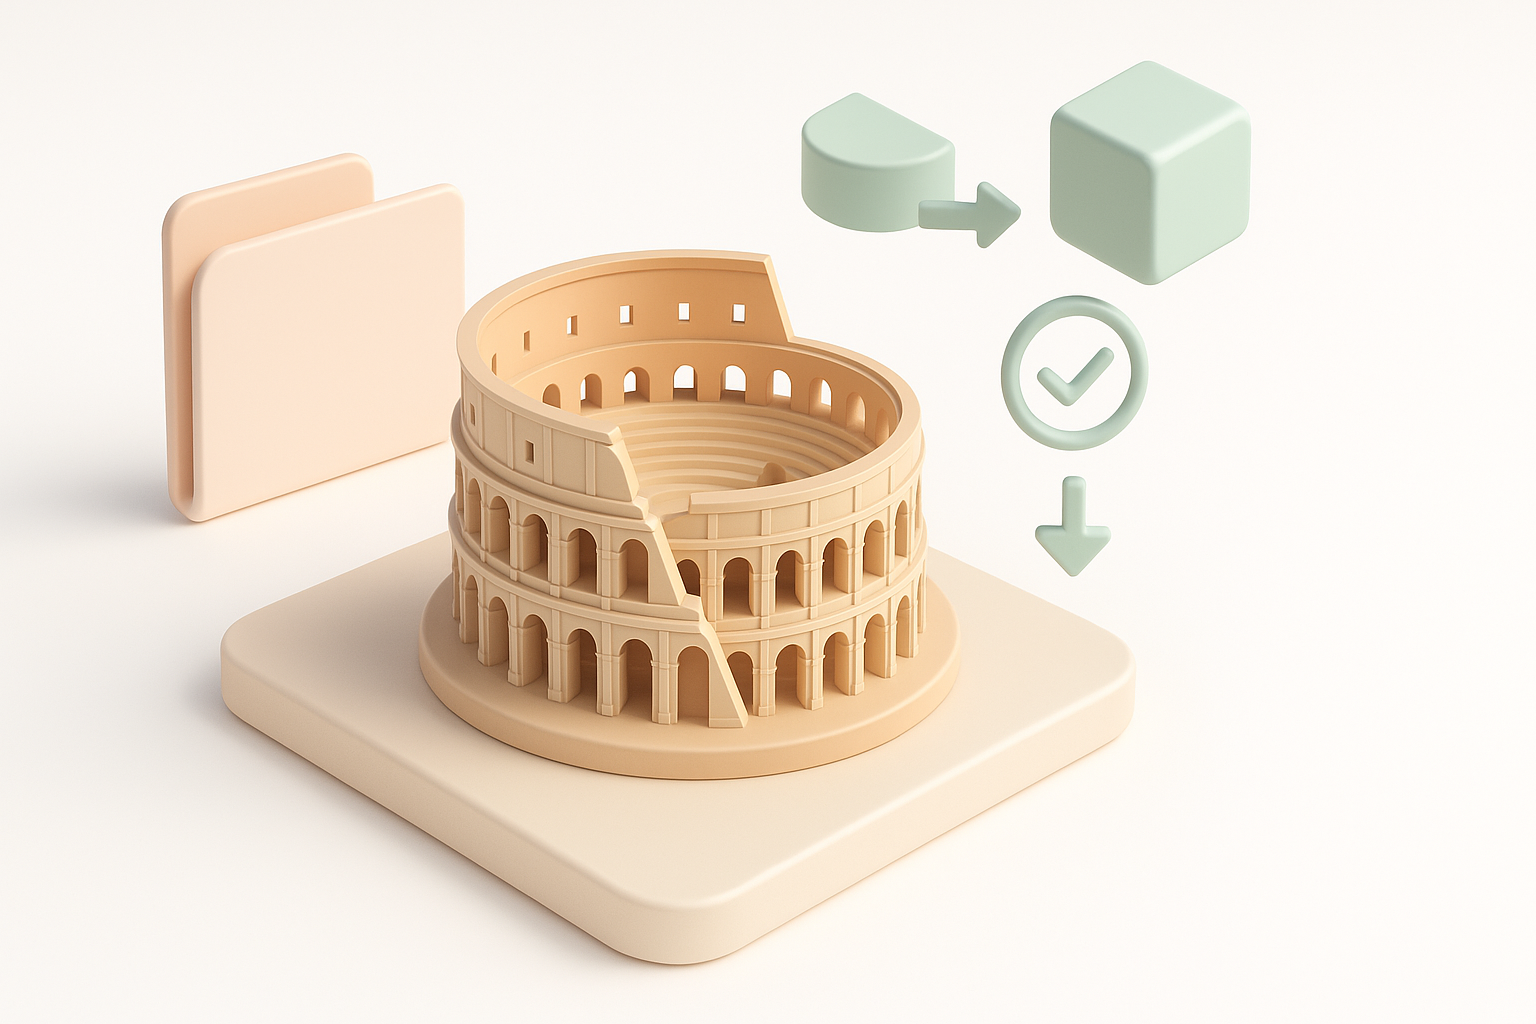
- Organizing references in a dedicated folder for easy access.
Defining project goals and intended use
Before modeling, I clarify the end use: real-time games, XR, or offline rendering. This impacts polycount, texture resolution, and level of detail. My checklist:
- Define target platform and performance constraints.
- Decide on the level of realism (historical accuracy vs. stylized).
- List required deliverables (e.g., single asset, modular pieces).
Choosing the Right Tools and Platforms
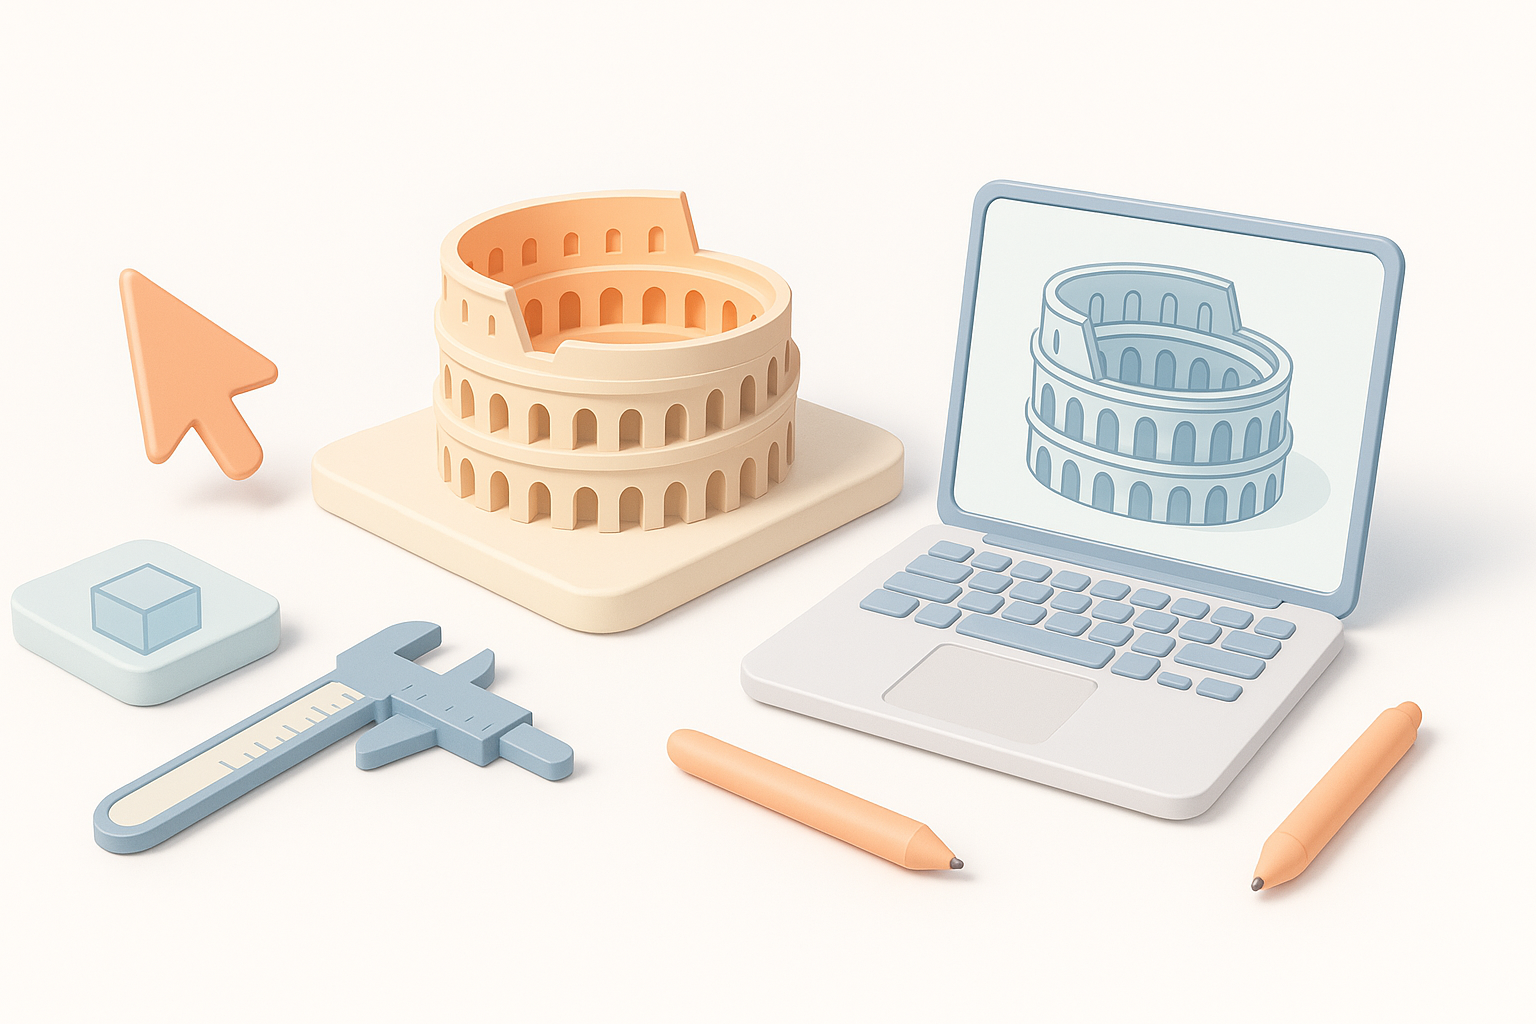
Why I use AI-powered 3D creation tools
AI-driven platforms like Tripo AI have transformed my workflow. They handle segmentation, retopology, and texturing with minimal manual input. This lets me focus on creative decisions rather than technical bottlenecks. For large, complex structures like the Colosseum, automation is invaluable.
Comparing traditional and AI-assisted workflows
Traditional modeling means extensive manual blocking, topology management, and texture creation. AI-assisted tools automate these steps:
- Traditional: Manual mesh creation, hand UV mapping, slow iteration.
- AI-assisted: Rapid generation, intelligent segmentation, auto-retopology, quick texturing.
My advice: Use AI tools for initial drafts and refinement, but always review and tweak outputs for quality.
Step-by-Step Workflow: Modeling the Colosseum
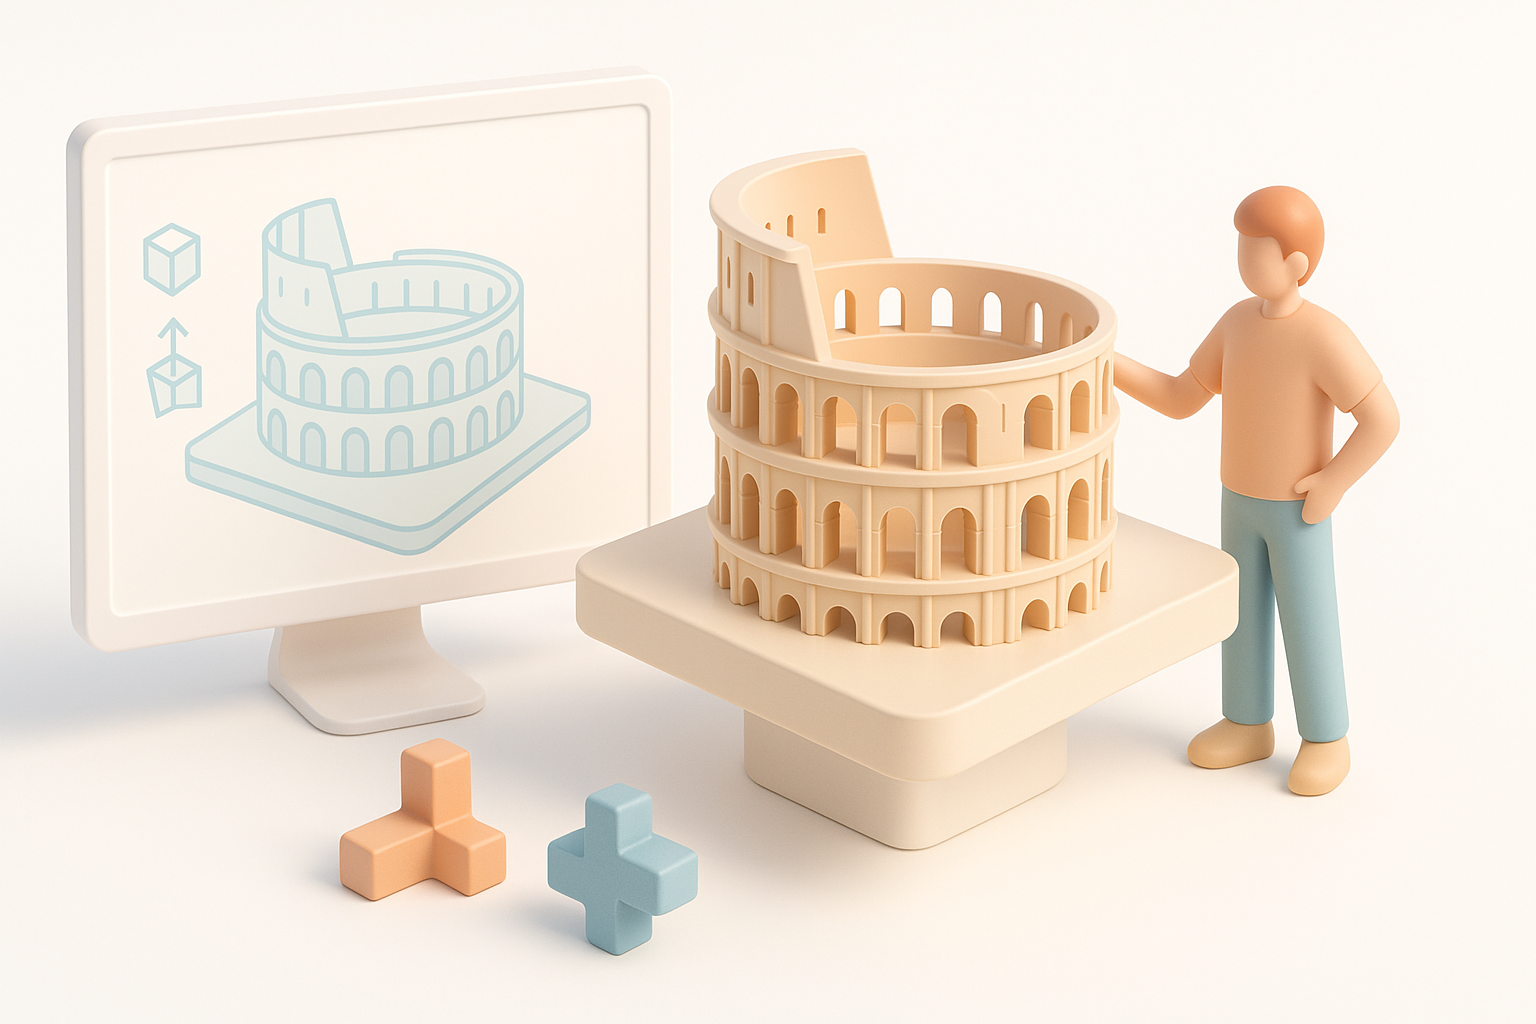
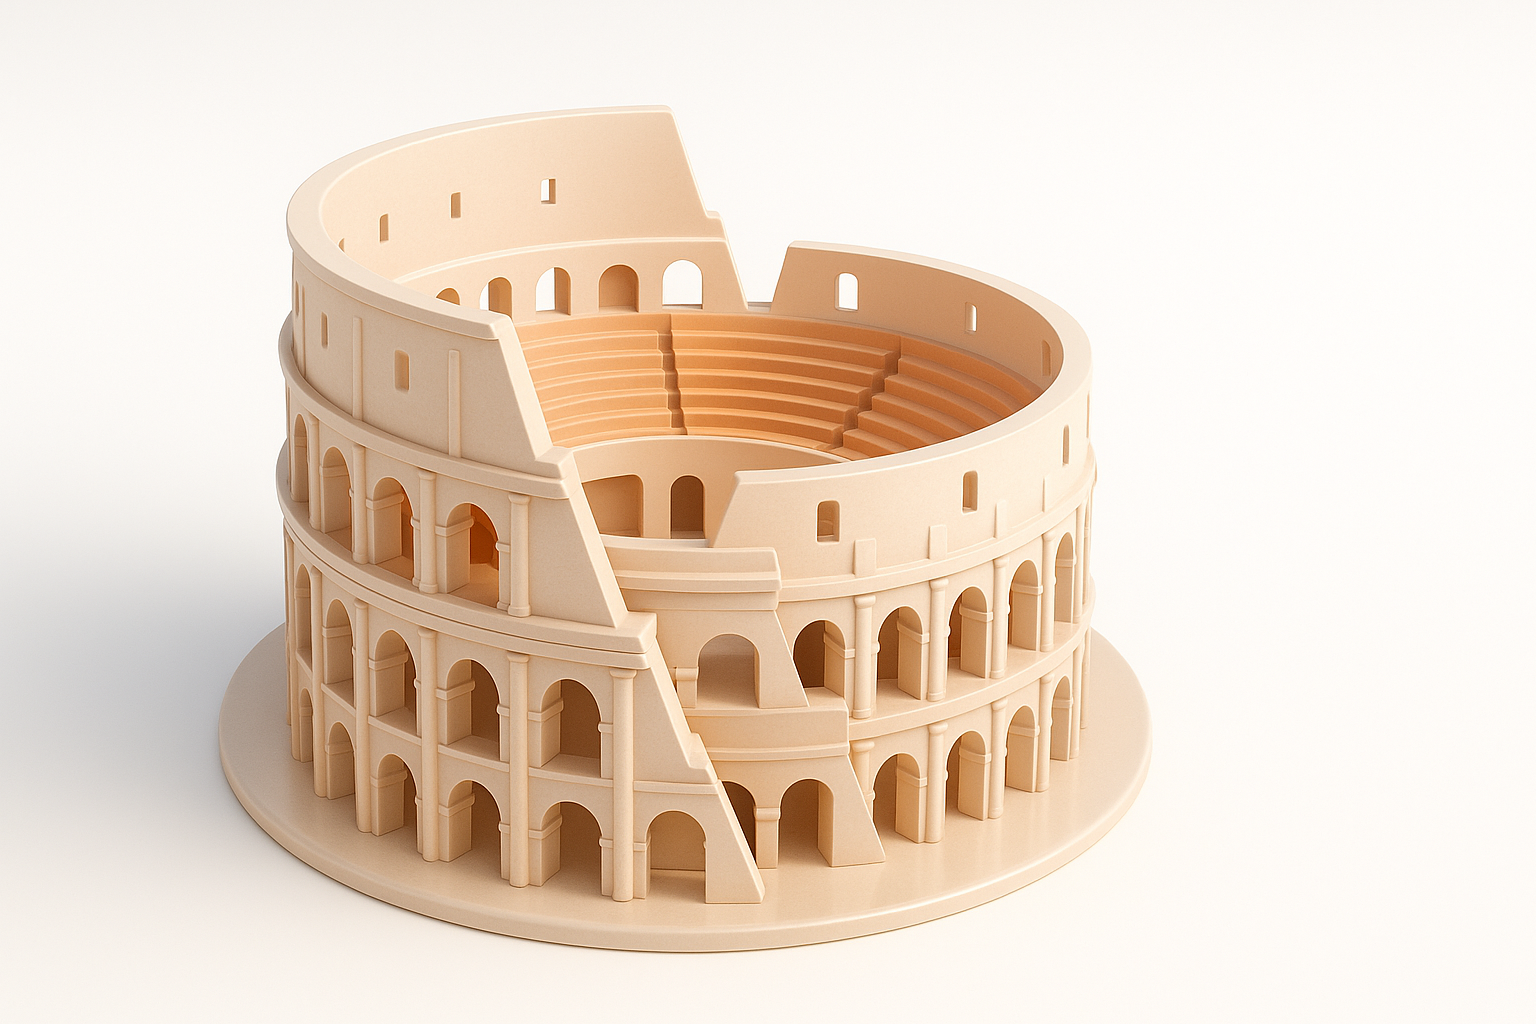
Blocking out the main structure
I start with basic shapes—cylinders for the arena, rectangles for walls, and arches for entrances. In Tripo AI, I input reference images and rough sketches to generate a segmented base mesh. My steps:
- Define the overall footprint and height.
- Block out key volumes: arena, tiers, outer walls.
- Check proportions against references.
Adding architectural details and segmentation
After the base, I add arches, columns, and stairways. AI tools can auto-segment these features, but I manually refine the mesh for historical accuracy. Tips:
- Use modular geometry for repeating elements.
- Double-check segmentation for clean edge loops.
- Save incremental versions to avoid data loss.
Texturing and Material Best Practices
Applying realistic textures efficiently
For realism, I use scanned stone textures and procedural dirt overlays. Tripo AI’s auto-texturing speeds up this process, but I often fine-tune materials for weathering and color variation. My workflow:
- Apply base stone textures to main surfaces.
- Layer grime, moss, and wear for authenticity.
- Bake ambient occlusion and normal maps for depth.
Tips for UV mapping and retopology
Efficient UVs are crucial for large assets. I rely on AI tools for initial UV layout, then manually adjust for optimal texel density. Retopology ensures performance:
- Avoid stretching or overlapping UVs.
- Use automatic retopology, but check for artifacting.
- Group UV islands logically by architectural feature.
Exporting, Optimization, and Integration
Preparing the model for games, XR, or film
Export settings depend on the target platform. For real-time use, I reduce polycount and compress textures. For film, I keep higher resolution. Checklist:
- Export in compatible formats (FBX, GLTF, OBJ).
- Test imports in your engine or renderer.
- Include LODs and collision meshes if needed.
Optimizing for performance and compatibility
Optimization is non-negotiable. I use built-in tools for mesh decimation and texture compression. My best practices:
- Remove hidden geometry and unused materials.
- Limit texture resolution for real-time use.
- Validate model in target environment for errors.
Lessons Learned and Expert Tips

Common pitfalls and how I avoid them
Frequent issues include inaccurate proportions, messy segmentation, and inefficient UVs. I avoid these by:
- Double-checking reference alignment.
- Reviewing segmentation before texturing.
- Running test exports early in the process.
My favorite shortcuts and workflow enhancements
Some workflow hacks I rely on:
- Use AI-powered auto-segmentation for complex geometry.
- Batch process textures with smart tools.
- Save custom presets for repetitive architectural elements.
In summary: Creating a Colosseum 3D model is easier and faster with AI-assisted tools, but attention to detail and manual refinement remain key. Plan carefully, optimize at every stage, and leverage automation where it counts.


