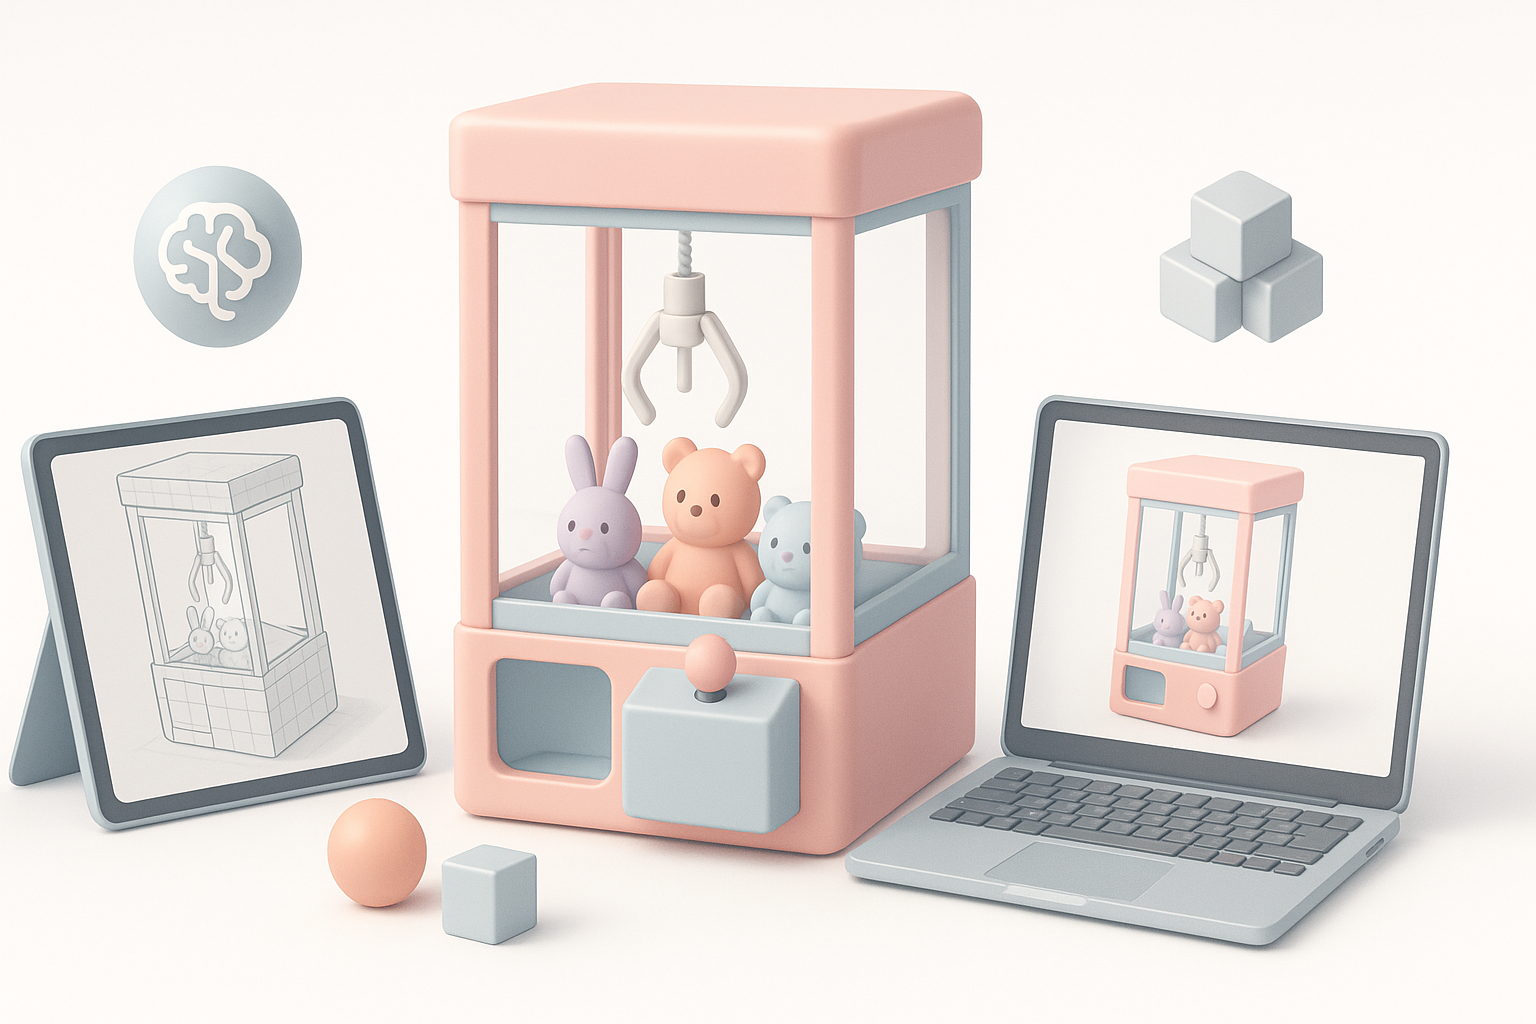
Creating a 3D Claw Machine Model: Workflow, Tips, and Best Practices
Designing a 3D claw machine model—especially for real-time games or XR—demands a blend of creative vision and technical discipline. In my experience, the most efficient results come from combining solid reference gathering, smart blocking, and leveraging AI-powered tools for tasks like segmentation and retopology. This article breaks down my step-by-step workflow, focusing on practical tips, pitfalls to avoid, and how to integrate AI tools (like Tripo) with manual techniques for production-ready results. Whether you’re a game dev, XR artist, or 3D generalist, you’ll get actionable strategies for modeling, texturing, rigging, and animating a compelling claw machine.
Key takeaways
- Gather strong references and plan the concept before touching any 3D software.
- Block out forms with simple geometry—don’t rush into details.
- Use efficient UV mapping and retopology to ensure your model is game/XR-ready.
- AI-powered tools can speed up segmentation, texturing, and optimization steps.
- Rigging and animating interactive parts (like the claw) requires careful planning for clean results.
- Avoid common pitfalls by iterating early and optimizing for your target platform.
Overview of 3D Claw Machine Modeling
What Makes a Claw Machine Model Unique
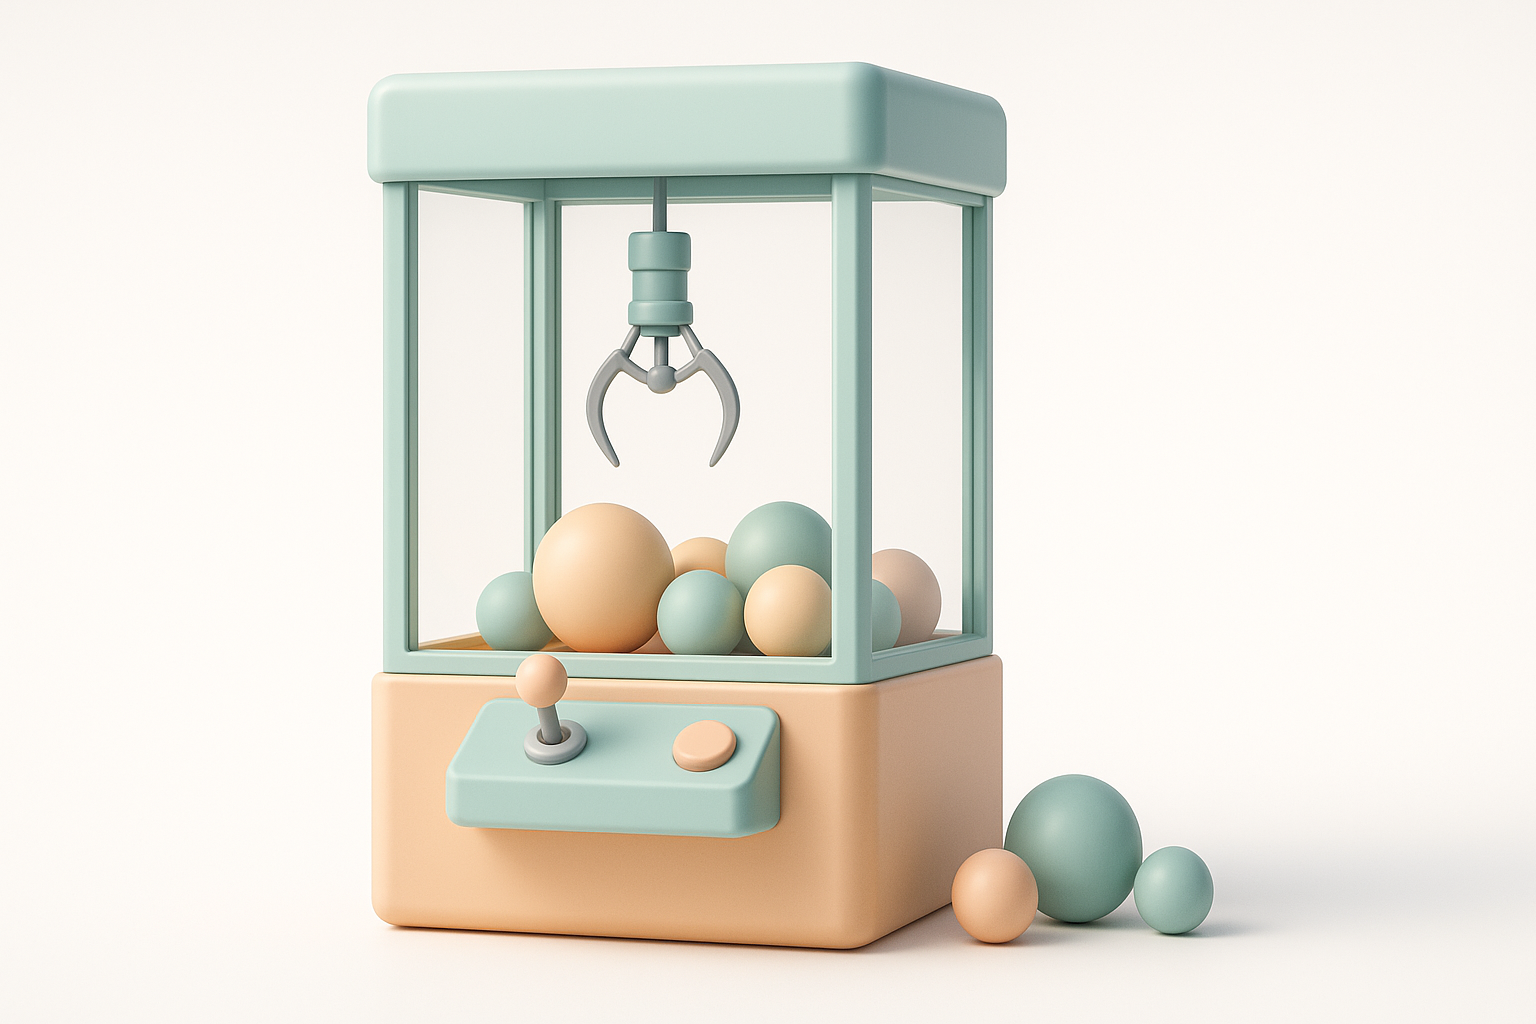
Claw machines are mechanically intricate and visually busy, with transparent casings, moving parts, and vibrant prize bins. What sets them apart is the need to balance mechanical believability with visual clarity—especially if players interact with the claw. In my workflow, I pay special attention to the articulation of the claw arm and the readability of the glass enclosure, as these are focal points.
Common Use Cases in Games and XR
I’ve built claw machine models for arcade game levels, VR prize grabbers, and interactive product demos. In games, they’re often used as mini-games or environmental set pieces. In XR, interactivity and performance are critical—so polycount, texture size, and animation efficiency all matter. Planning for these use cases upfront saves headaches later.
My Step-by-Step Workflow for Modeling a Claw Machine

Concepting and Reference Gathering
I always start with a deep dive into reference images—real-world machines, blueprints, and gameplay footage. This shapes my concept and helps avoid guesswork later.
Checklist:
- Gather 10–20 clear reference images (interior, exterior, close-ups)
- Sketch or block out the main silhouette to clarify proportions
- List key interactive and visual elements (claw, joystick, glass, prizes)
Blocking Out the Main Shapes
I block out the model using simple primitives (cubes, cylinders) to define the main body, glass case, claw arm, and prize area. At this stage, I avoid details and focus on scale and overall proportions.
Steps:
- Start with the main cabinet and glass volume
- Add the claw rail and arm as separate objects
- Place stand-in geometry for prizes and controls
Blocking first lets me iterate quickly—if something looks off, it’s easy to adjust before investing time in details.
Texturing, Retopology, and Optimization Techniques
Efficient UV Mapping and Texture Application
Clean UVs are crucial for sharp, artifact-free textures. I unwrap each part with minimal seams and use texel density guides to keep details consistent. For repetitive elements (like prizes), I use texture atlases to save memory.
Tips:
- Use automatic UV tools for simple parts, manual unwrapping for complex shapes
- Pack UV islands tightly to maximize texture resolution
- Bake AO and curvature maps for richer materials
AI-powered texturing (like in Tripo) can speed up material assignment and pattern generation, especially for decals and labels.
Retopology for Real-Time Performance
For games and XR, I retopologize the model to minimize polycount while preserving silhouette and articulation. Automated retopology tools help here, but I always check edge flow on moving parts.
Steps:
- Decimate non-deforming parts (cabinet, glass)
- Add edge loops around joints for smooth deformation
- Target 5–10k tris for a mid-detail model
I always test the model in-engine to spot shading or normal issues before moving on.
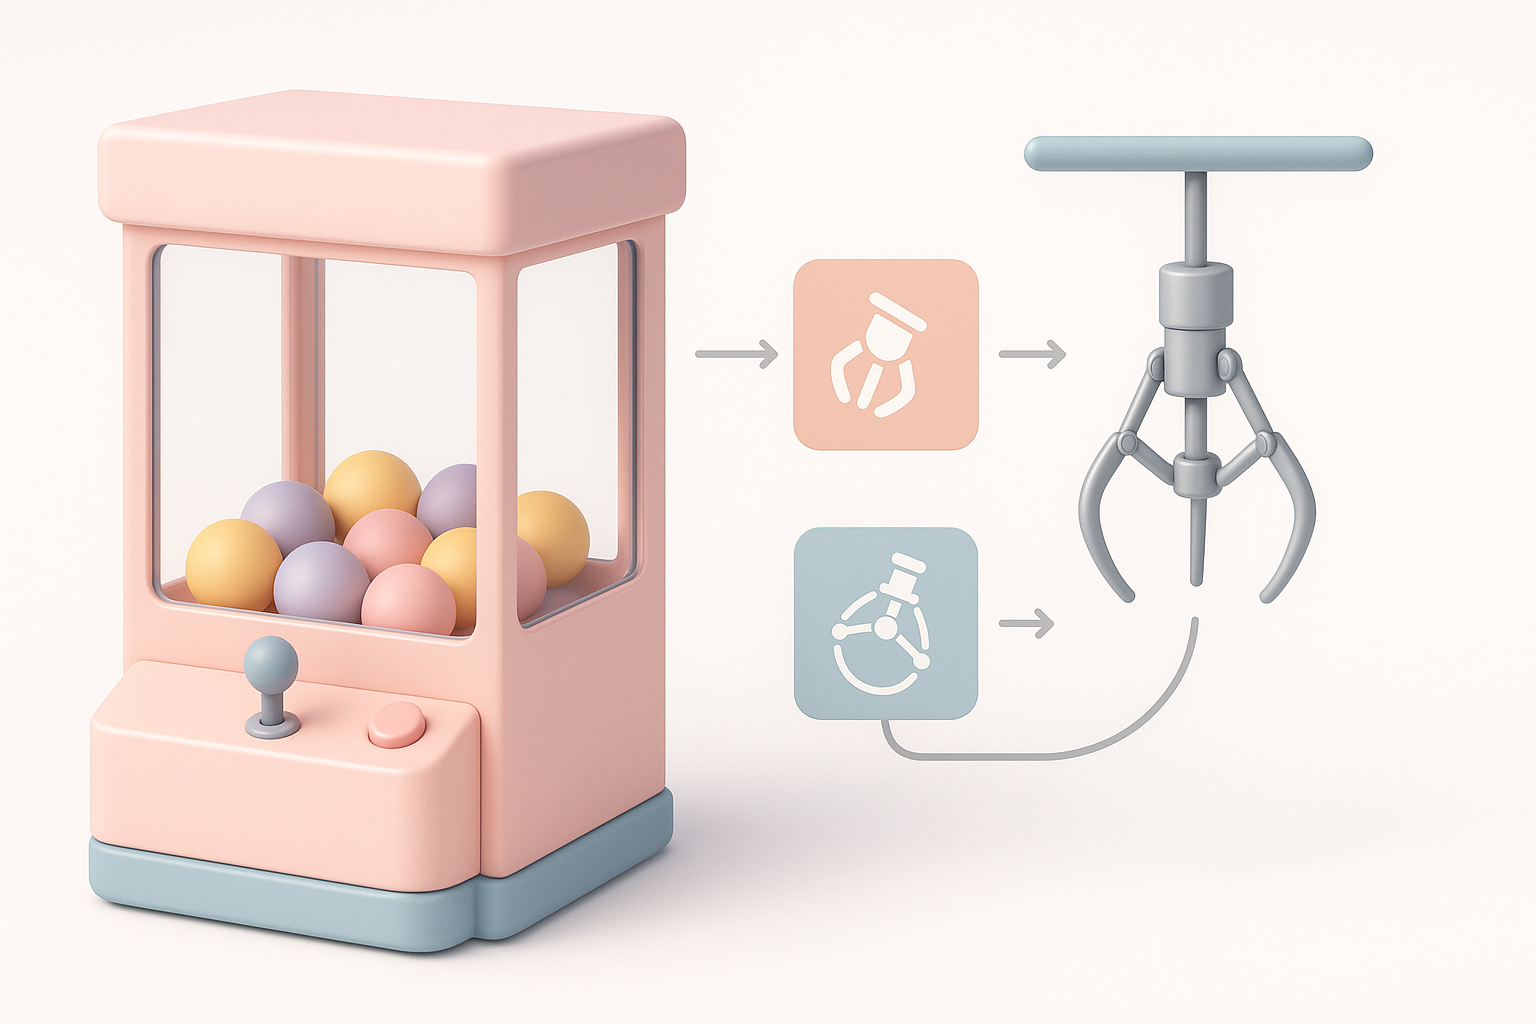
Rigging and Animation: Bringing the Claw to Life
Setting Up Basic Rigs for Claw Movement
Rigging the claw arm is all about clean, simple hierarchies. I use bones or parented empties for the arm, rails, and claw pincers. Constraints help limit movement to realistic ranges.
Checklist:
- Separate bones for rail, arm, and claw segments
- Limit rotations to mimic real-world mechanics
- Test articulation with simple keyframes
Animating Interactive Elements
Animating the claw’s movement—grabbing, dropping, returning—adds life to the model. I block out the main actions and polish timing for snappy, readable motion.
Tips:
- Use animation layers for complex sequences
- Bake keyframes for export to game engines
- Preview in context to ensure animations feel responsive
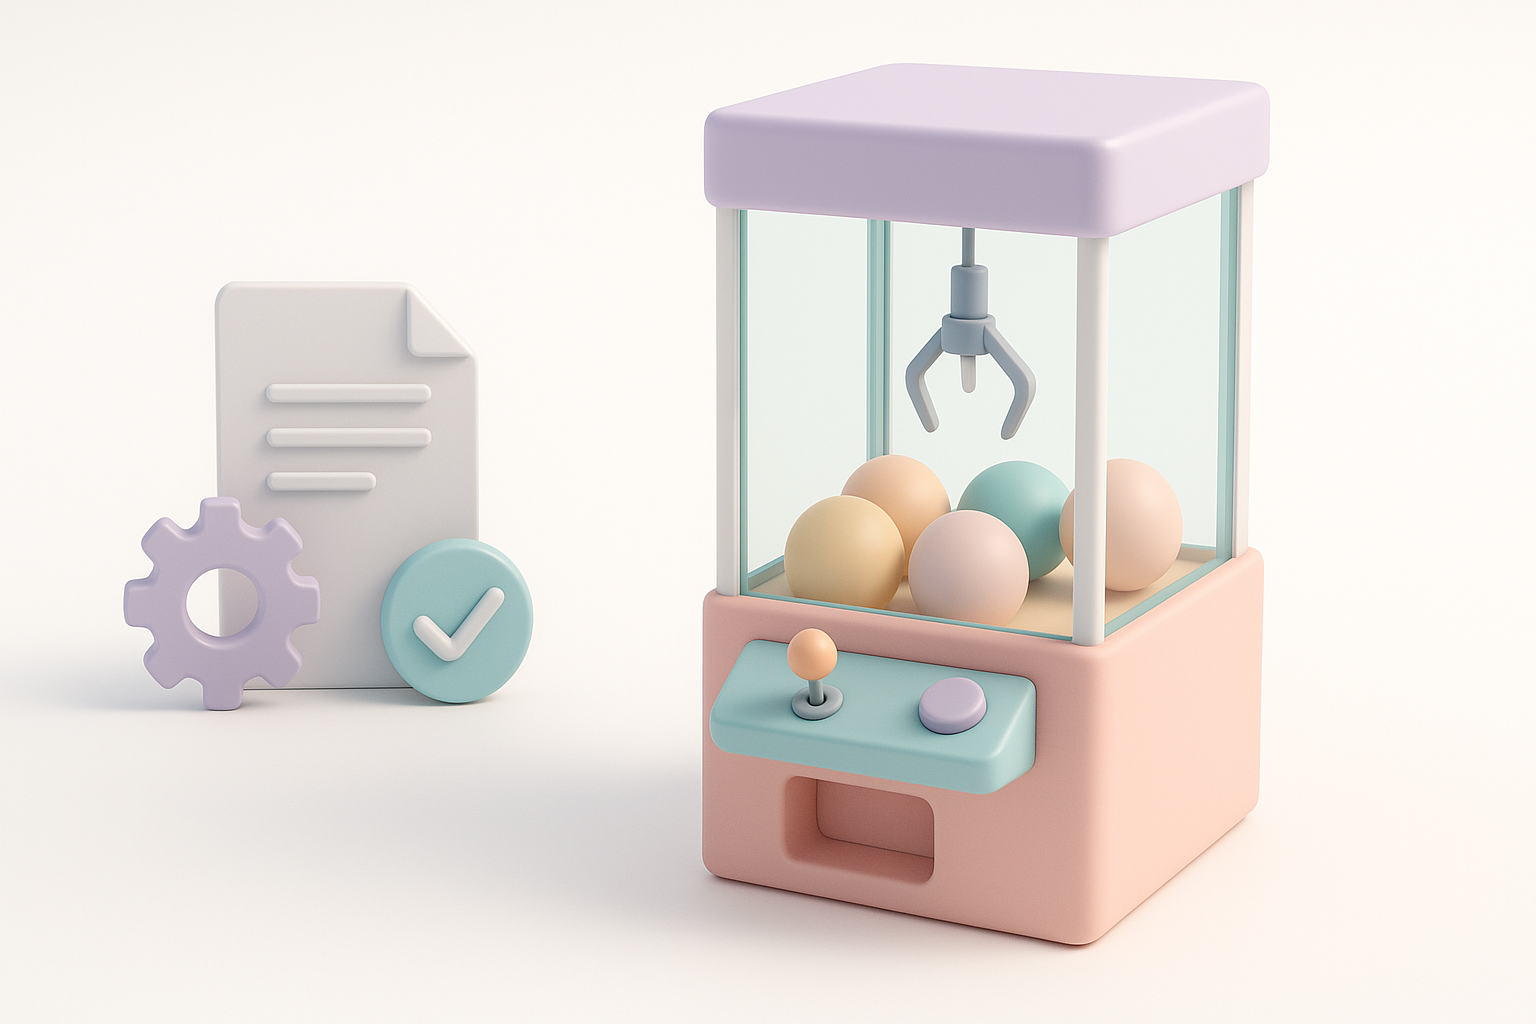
Best Practices and Lessons Learned from Real Projects
Common Pitfalls and How I Avoid Them
- Over-modeling details: I keep small parts modular or use textures to avoid unnecessary geometry.
- Ignoring scale: Always check dimensions against real-world references.
- Forgetting optimization: Test model performance early—especially transparency and reflections.
Tips for Achieving Production-Ready Results
- Iterate early and often—don’t wait until the end to test in your target environment.
- Use naming conventions and clean hierarchies for easy handoff.
- Leverage AI tools for repetitive tasks (UVs, texturing) but always review outputs manually.
Comparing AI-Powered and Traditional 3D Modeling Approaches
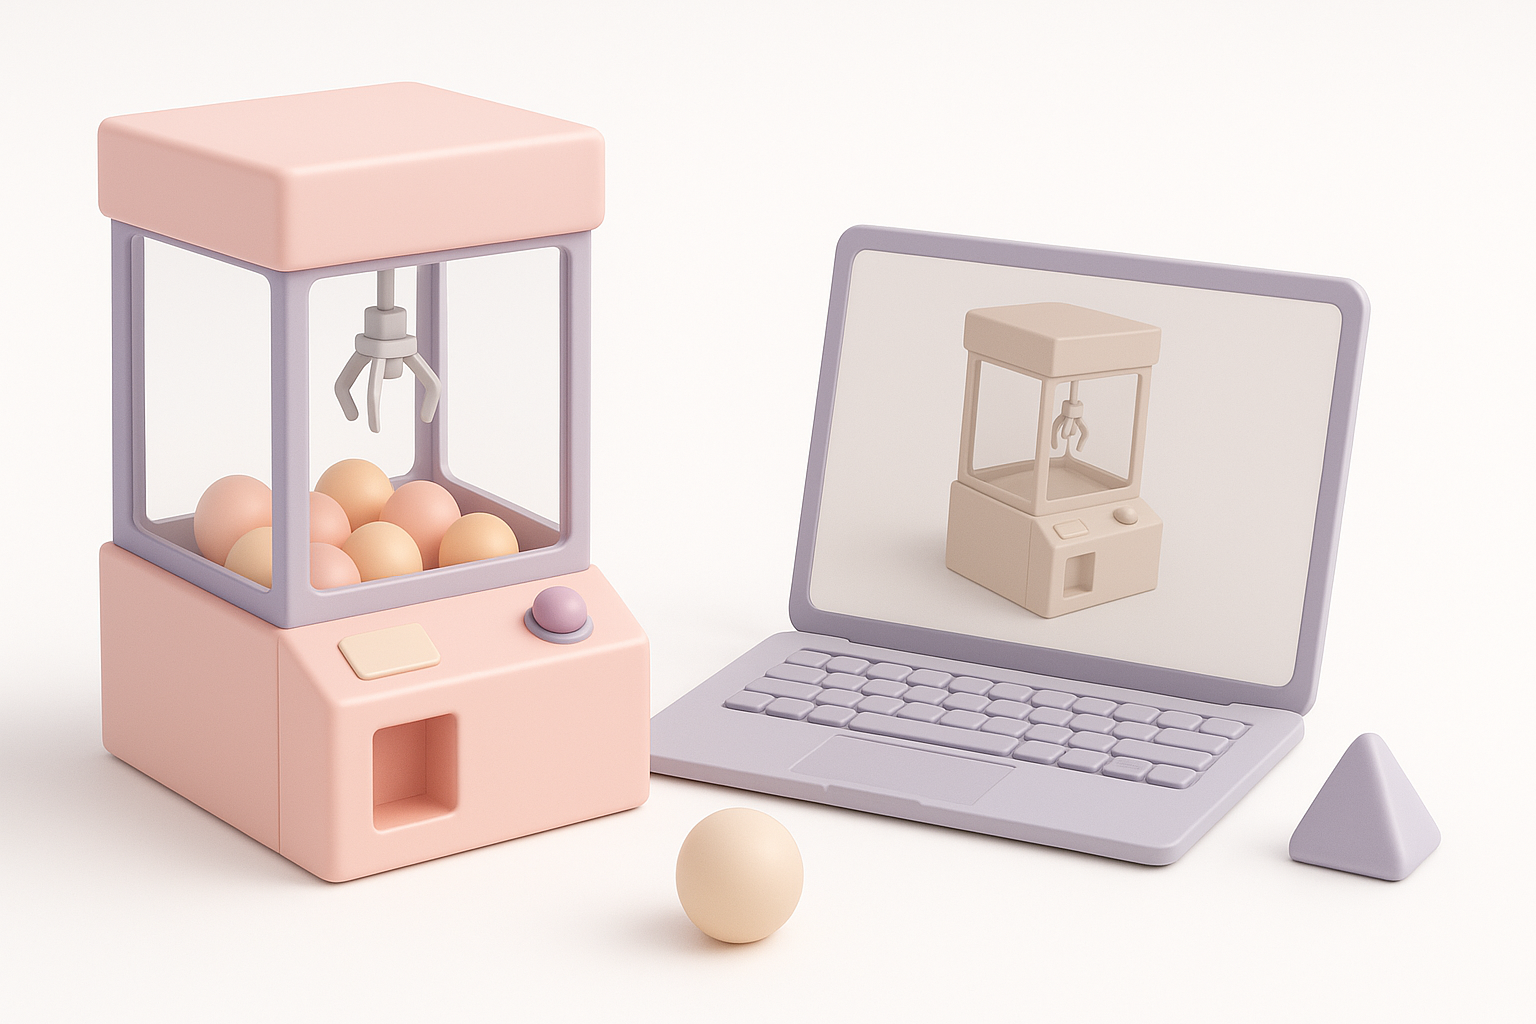
When to Use AI Tools for Claw Machine Models
AI-powered platforms like Tripo are ideal for:
- Rapid prototyping from sketches or text prompts
- Auto-segmenting and retopologizing complex shapes
- Generating base textures and materials
I use AI tools to get a solid base, then refine manually for final polish.
Integrating AI Workflows with Manual Techniques
The sweet spot is a hybrid approach: let AI handle repetitive, technical steps, then step in for creative decisions and fine-tuning. This saves time without sacrificing control.
Workflow Example:
- Generate base model and texture with AI
- Manually tweak proportions, UVs, and materials
- Rig and animate with traditional tools
This approach consistently delivers production-ready claw machine models with less grind and more creative focus.


