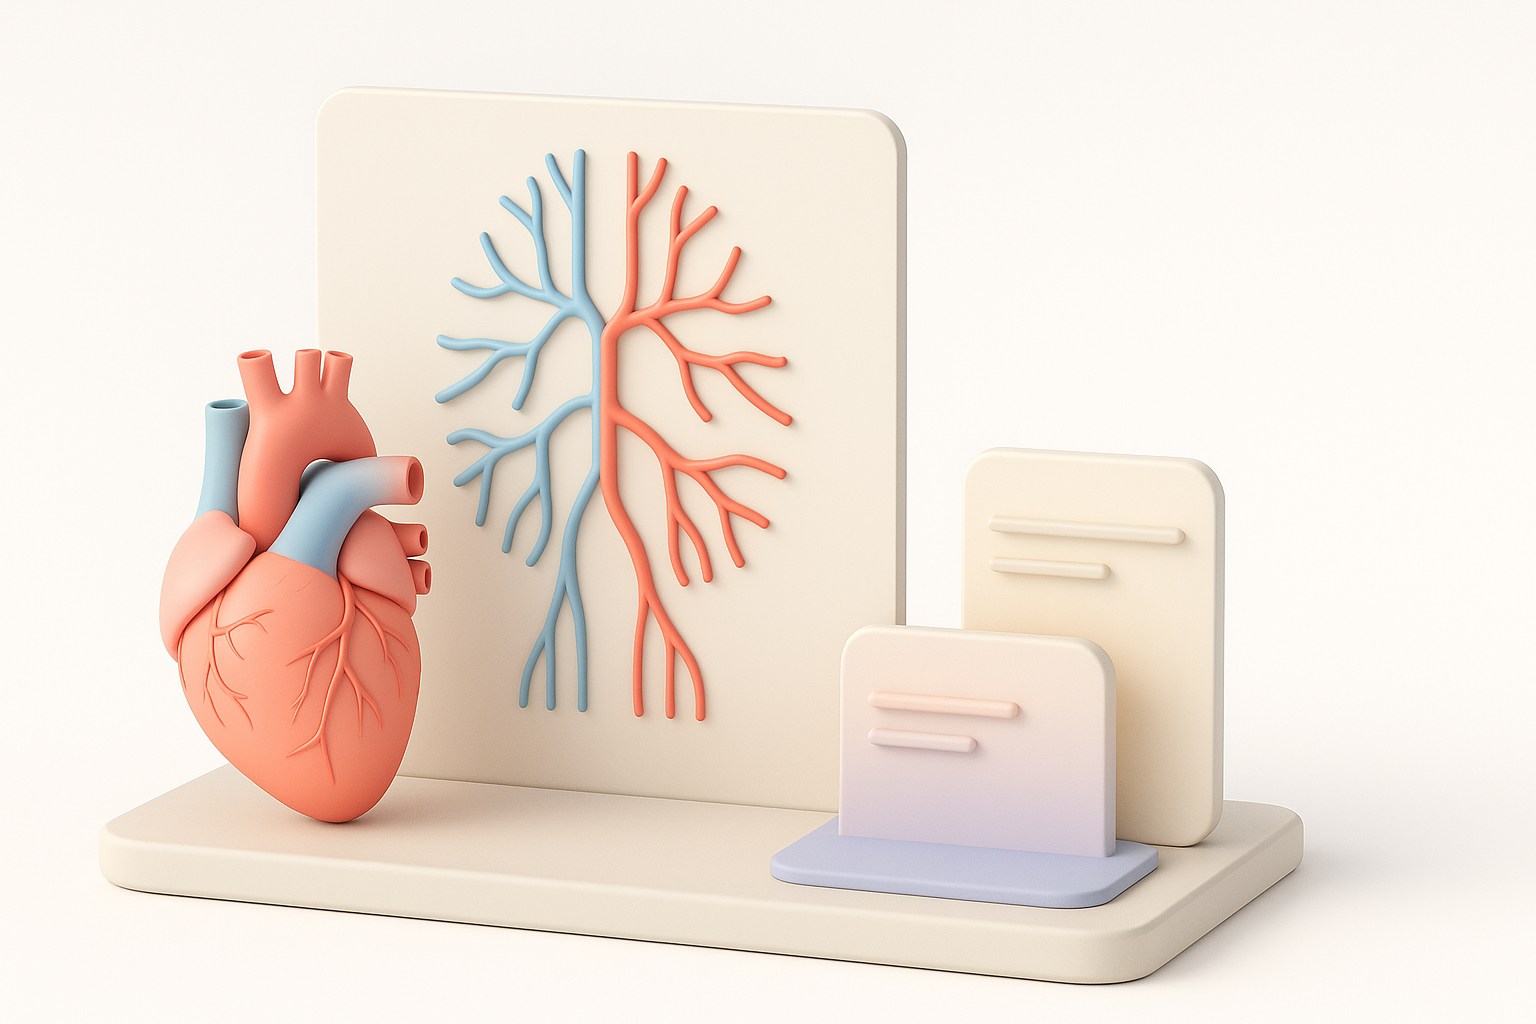
Creating a Realistic Circulatory System 3D Model: Expert Workflow
Building a highly realistic 3D circulatory system model is both a technical and creative challenge. In my experience, the right workflow combines anatomical accuracy, efficient modeling, and smart use of AI-powered tools. Whether you’re working for medical visualization, educational content, or interactive XR applications, streamlining the process is crucial. In this article, I break down my proven steps, highlight practical tips, and show how AI tools like Tripo can accelerate and enhance your results.
Key takeaways:
- Precise anatomical references are essential for realism and educational value.
- AI-powered segmentation and retopology can save hours and improve accuracy.
- Focus on clarity and visual hierarchy for educational and interactive use.
- Optimize models for target platforms (games, XR, education) early in the workflow.
- Manual sculpting is still vital for nuanced anatomical details.
- Integrating AI-generated assets requires careful quality control.
Executive Summary and Key Takeaways
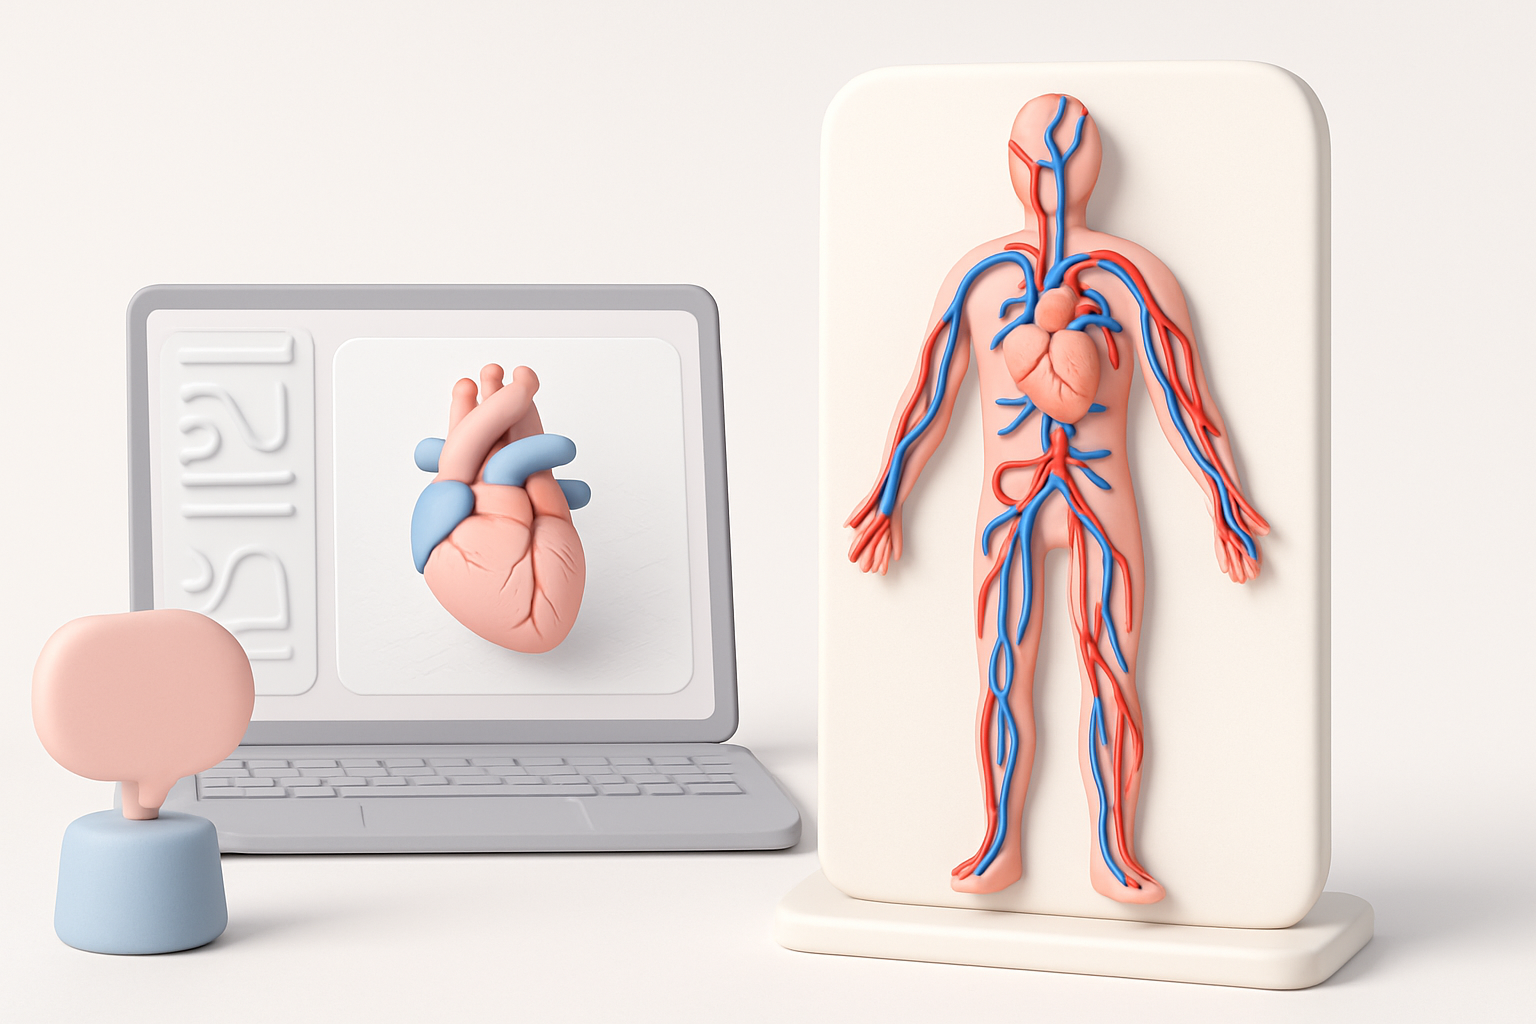
Why 3D circulatory models matter
3D models of the circulatory system are vital for medical training, patient education, and interactive simulations. They help users visualize complex anatomy and physiological processes in ways that textbooks cannot. In my workflow, realism and clarity are always balanced to serve the intended audience.
What you’ll learn from my workflow
You’ll see how I approach planning, reference gathering, modeling, texturing, and exporting. I’ll share how AI tools fit into each stage, and offer practical advice for making your circulatory system models production-ready.
Planning and Reference Gathering for Circulatory System Models
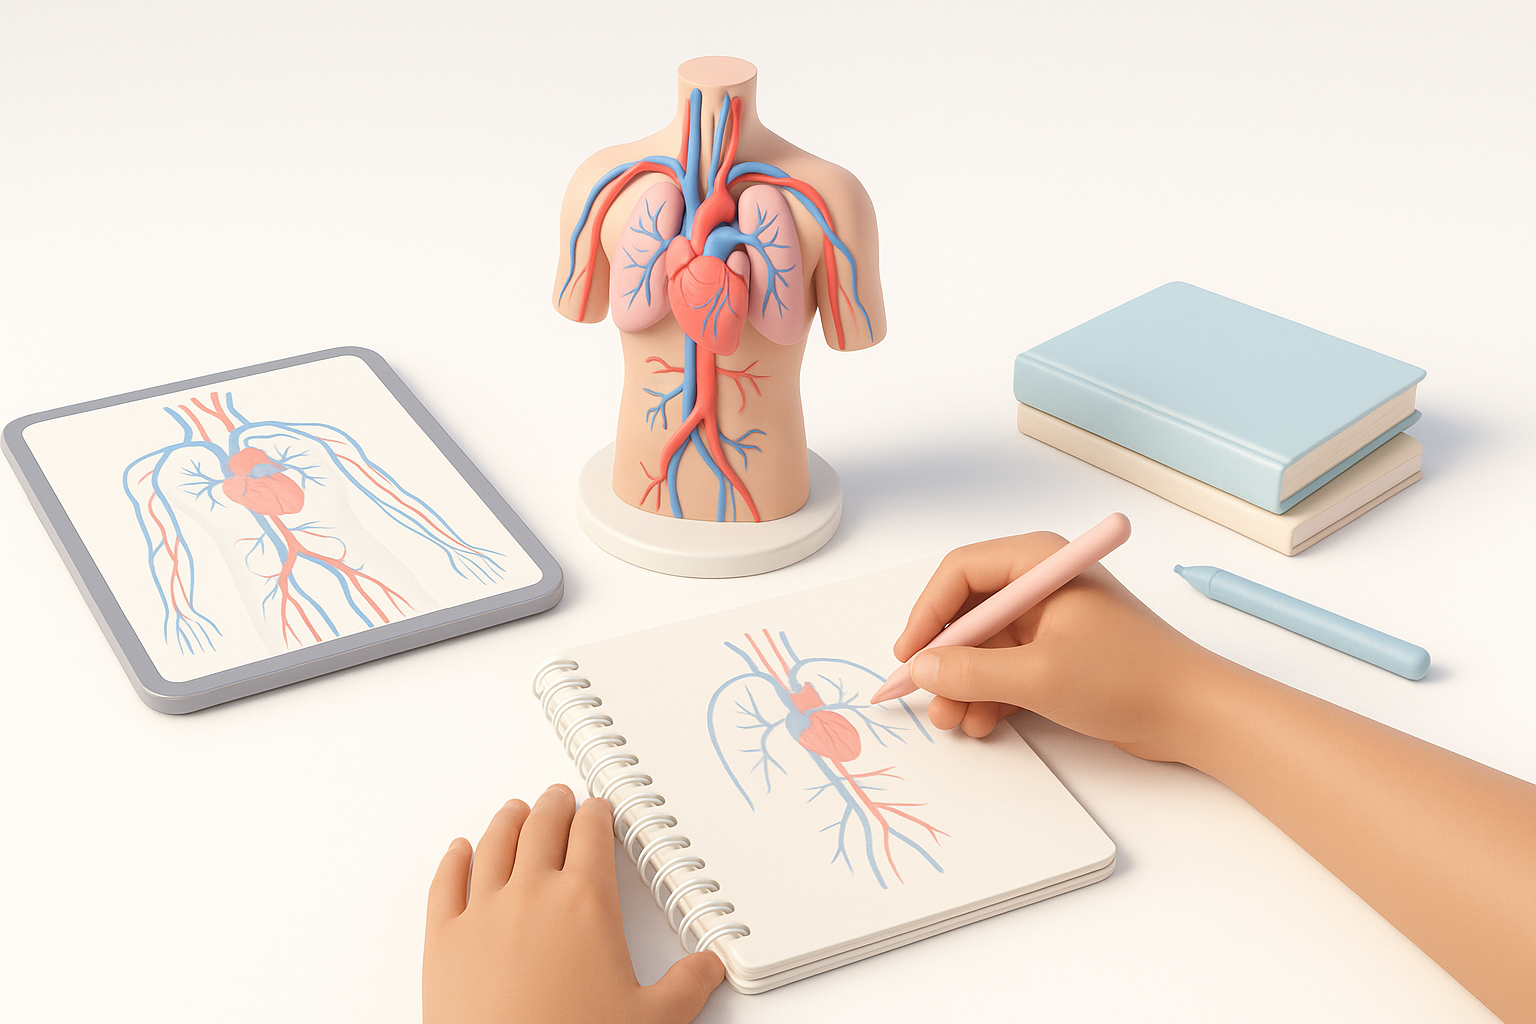
Selecting accurate anatomical references
I always start with authoritative medical references: anatomy atlases, peer-reviewed diagrams, and high-resolution scans. For complex systems like the circulatory network, I cross-check multiple sources to ensure vessel paths, heart chambers, and branching are correct.
Checklist:
- Use medical atlases and 3D anatomy apps for reference.
- Double-check vessel placement and scale.
- Gather separate references for arteries, veins, and capillaries.
Defining model scope and level of detail
It’s critical to define the model’s purpose early—will it be used for high-detail medical illustration, real-time VR, or a simplified game asset? I map out which vessels and structures to include, balancing polygon count and anatomical fidelity.
Pitfalls to avoid:
- Overcomplicating the model for real-time use.
- Missing key anatomical landmarks (e.g., major arteries, heart valves).
- Not planning for educational clarity (color coding, hierarchy).
Step-by-Step Workflow: Building the Circulatory System in 3D
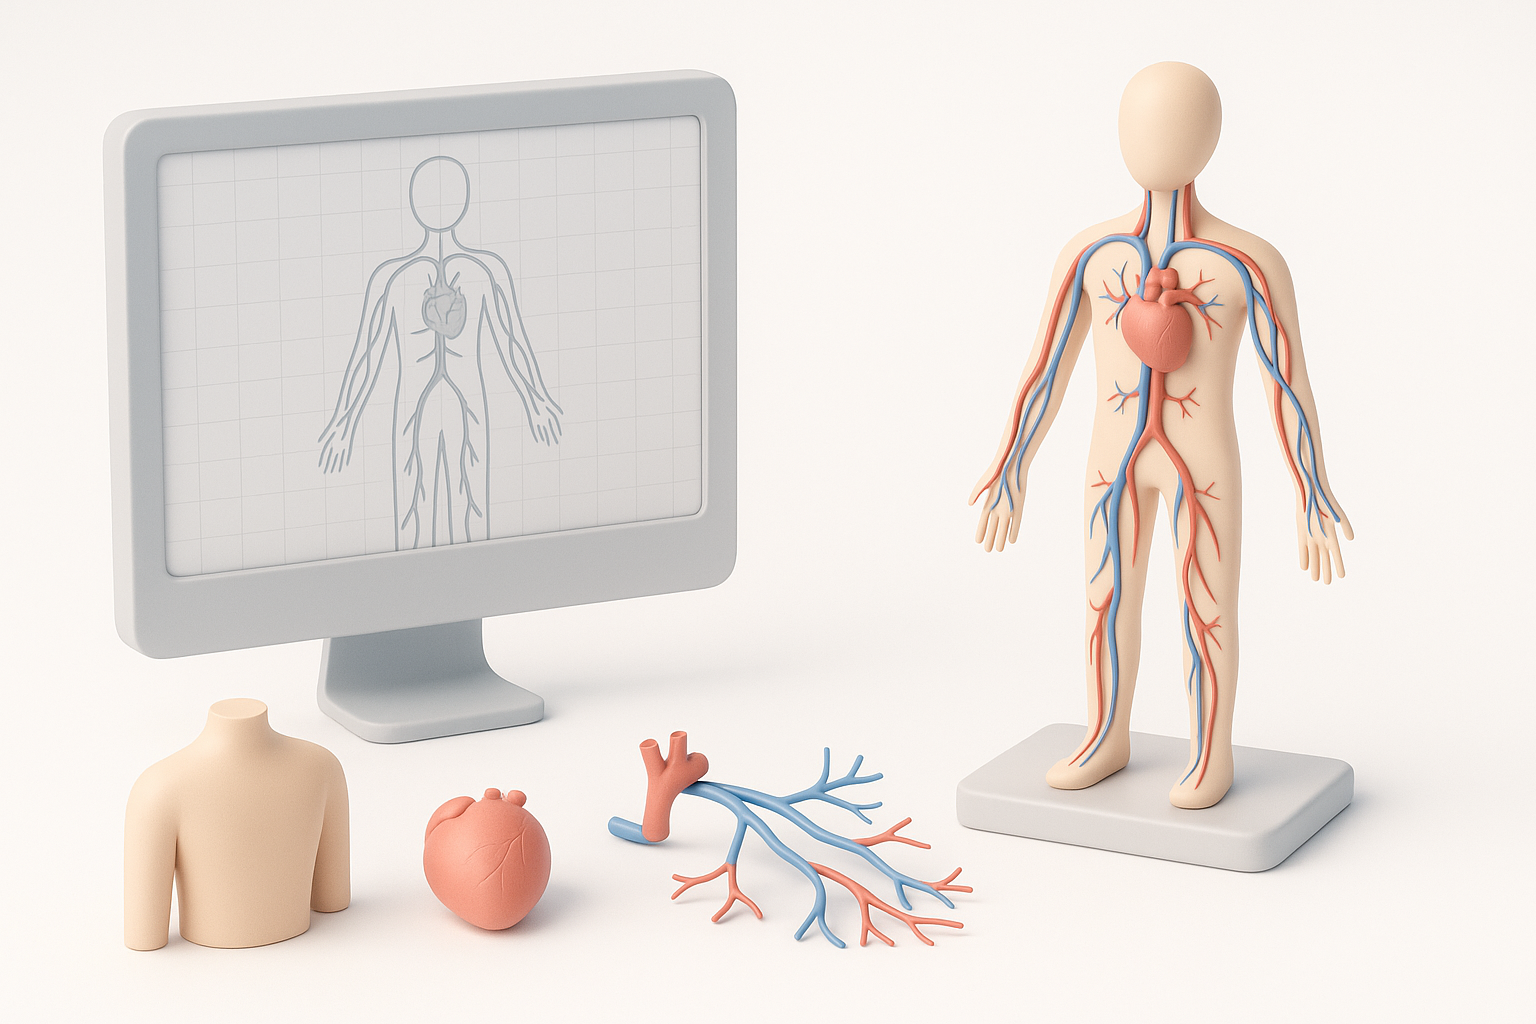
Blocking out primary vessels and heart structures
I begin with rough geometry for the heart and main vessels (aorta, vena cava, pulmonary arteries/veins). Using splines or mesh primitives, I lay out the basic paths.
Steps:
- Block out heart chambers as simple shapes.
- Position main vessels according to reference.
- Use splines or curves for vessel paths, then convert to geometry.
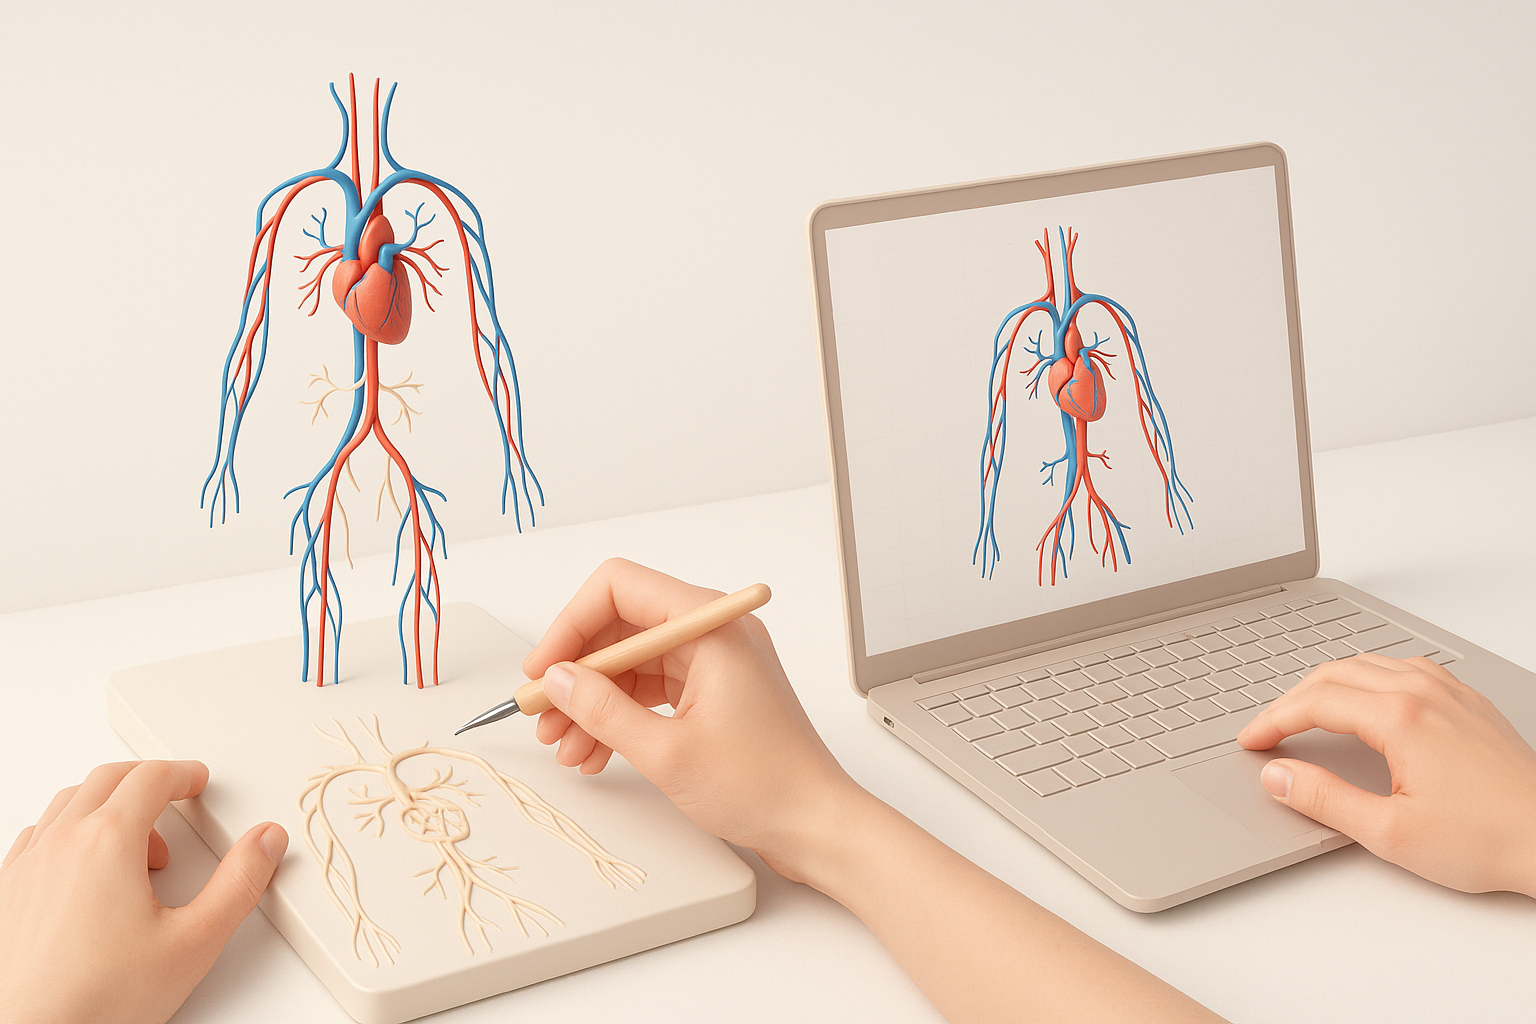
Refining topology and adding anatomical accuracy
After blocking, I refine the topology—especially at vessel junctions and heart valves. AI-powered retopology tools like Tripo streamline this, producing clean mesh flow and preserving anatomical detail.
Tips:
- Use intelligent segmentation for separating arteries/veins.
- Sculpt secondary vessels and capillaries with attention to branching patterns.
- Regularly check against anatomical references.
Texturing, Materials, and Realism Tips
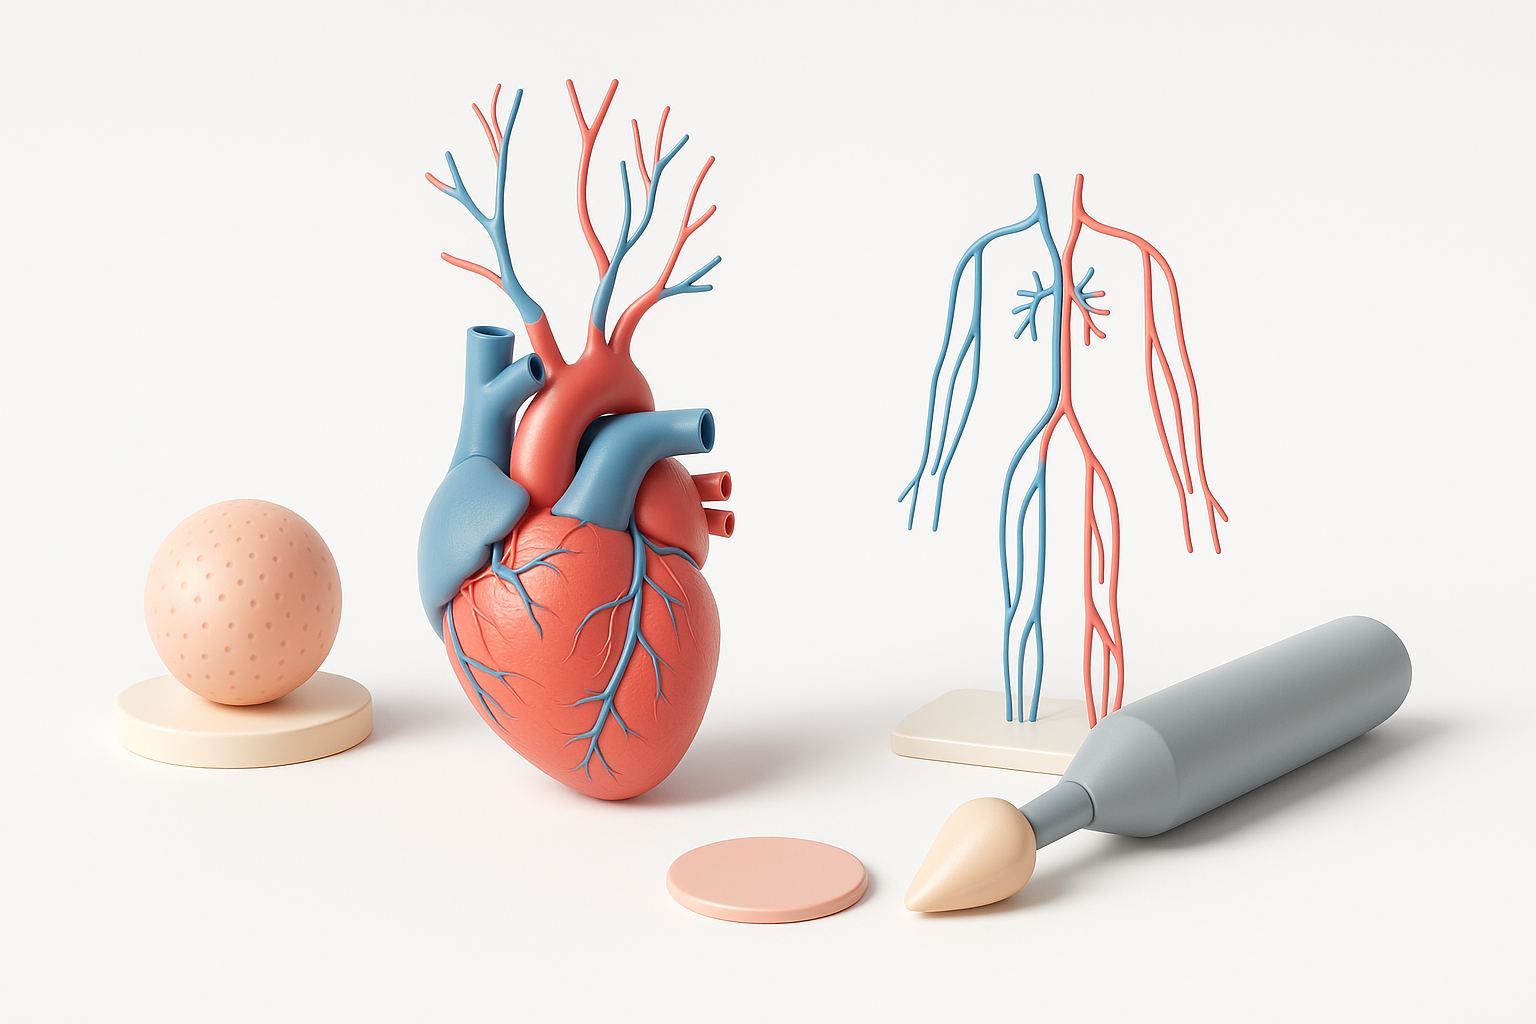
Applying realistic textures and shaders
For realism, I use high-resolution textures for vessel walls and heart muscle. Tripo’s AI texturing speeds up this step, generating base maps that I tweak for color accuracy and surface detail.
Best practices:
- Use subsurface scattering for soft tissue realism.
- Color-code arteries (red), veins (blue), capillaries (purple) for clarity.
- Adjust glossiness and bump maps for wet, organic look.
Best practices for visual clarity and educational use
Clarity is crucial, especially for educational content. I simplify textures if needed and highlight key structures with distinct colors or outlines.
Tips:
- Avoid visual clutter—hide or fade less-important vessels.
- Use annotation layers for interactive applications.
- Test readability in target environments (VR, mobile, desktop).
Streamlining the Process with AI-Powered Tools
How I use AI platforms for segmentation and retopology
AI tools like Tripo are invaluable for segmenting complex anatomy and automating retopology. I feed in sketches or reference images, and let the AI generate base meshes and clean topology, which I then refine manually.
Workflow:
- Input reference images or sketches into the AI platform.
- Use AI segmentation to isolate arteries, veins, heart chambers.
- Apply AI retopology for optimized mesh flow.
Integrating AI-generated assets into my workflow
I always review AI-generated assets for anatomical accuracy and mesh quality. After importing, I tweak geometry and textures to match references and project requirements.
Checklist:
- Inspect mesh for artifacts or anatomical errors.
- Adjust textures for color and material accuracy.
- Merge AI assets with manual sculpted details.
Exporting, Presentation, and Use Cases
Optimizing models for games, XR, and education
I export models in formats suited to their final use—FBX for games, GLTF for XR, OBJ for static renders. I optimize polygon count, bake textures, and ensure compatibility with target engines.
Tips:
- Test models in real-time engines for performance.
- Use LODs (Levels of Detail) for interactive apps.
- Package annotations or interactive elements for educational platforms.
Showcasing and sharing your circulatory system model
Presentation matters: I prepare renders, turntables, and annotated screenshots for portfolios or educational materials. For collaborative projects, I share models via cloud platforms or direct integration with asset libraries.
Best practices:
- Create clean, well-lit renders for documentation.
- Provide clear naming conventions and metadata.
- Share models with usage guidelines and educational notes.
Comparing Manual and AI-Assisted 3D Modeling Approaches
Pros and cons from my experience
AI-assisted workflows massively speed up segmentation, retopology, and texturing. Manual modeling is still essential for fine anatomical detail and creative control.
Pros of AI tools:
- Rapid asset generation
- Consistent mesh quality
- Lower technical barrier
Cons:
- May require manual correction for accuracy
- Less control over nuanced details
When to choose each method
I use AI tools for initial asset creation and segmentation, then switch to manual sculpting for medical-grade detail or custom requirements. For tight deadlines or large projects, AI is indispensable; for bespoke models, manual work is best.
Decision guide:
- Use AI for quick prototypes, educational content, or large asset sets.
- Choose manual methods for high-detail, custom, or research-grade models.
- Combine both for maximum efficiency and quality.
Slug suggestion: circulatory-system-3d-model-expert-workflow
Meta description: Learn how to create a realistic circulatory system 3D model using expert workflows, AI-powered tools, and best practices for accuracy and efficiency.
Keywords: circulatory system 3d model, 3d modeling workflow, anatomical modeling, ai 3d tools, medical visualization, tripo ai


