Creating a Celeste 3D Model: Workflow, Tips, and Best Practices
скачать 3d модель для chicken gun
Bringing a Celeste character to life in 3D requires more than technical skill—it’s about capturing the distinct style and spirit of the original game. In my experience, blending stylized design with production-ready workflows is key. I rely on AI-powered 3D creation platforms to accelerate the process, from initial concept to final export, while maintaining creative control. This guide is for artists, developers, and indie creators aiming to produce quality Celeste-inspired 3D models for games, XR, or animation, without getting bogged down in technical hurdles.
Key takeaways:
- Gather strong references and define your style up front.
- Use AI-assisted tools to speed up modeling, segmentation, and retopology.
- Prioritize clean topology and stylized texturing for the Celeste look.
- Plan for rigging and animation early—Celeste models rely on expressive poses.
- Optimize exports for your target engine or platform.
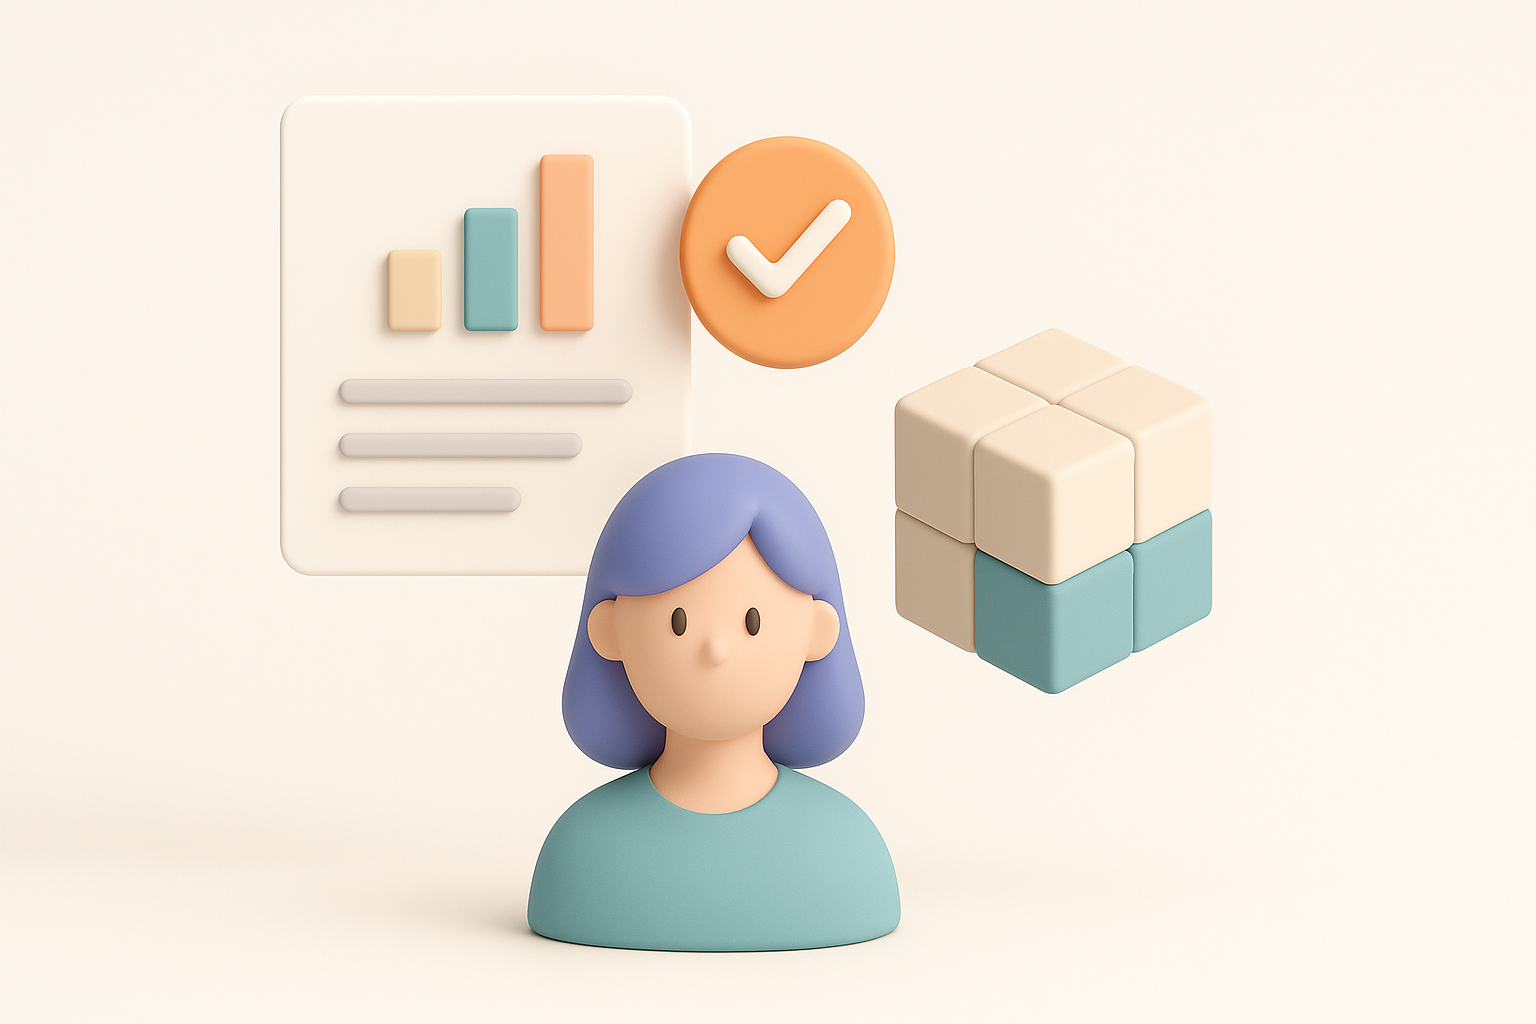
Executive Summary: Key Takeaways for Celeste 3D Modeling
What makes Celeste models unique
Celeste’s characters are iconic for their pixel-art charm and expressive, readable forms. When translating this into 3D, I focus on preserving proportions, exaggerating features (like hair and eyes), and maintaining clear silhouettes. The challenge is to evoke the same personality and emotion with simple, stylized geometry and materials.
Summary of recommended workflows
My recommended workflow begins with thorough planning and reference gathering, followed by rapid base mesh creation using AI-powered platforms. I then refine topology, apply stylized textures, and set up basic rigging and animation. Each step is streamlined to minimize manual labor while maximizing creative intent.
Planning and Reference Gathering for a Celeste 3D Model
Collecting visual references and concept art
I always start by collecting a wide range of images: in-game sprites, official concept art, fan interpretations, and even screenshots of key poses. This helps me understand character proportions, color palettes, and unique traits. I organize these references in a mood board for quick access during modeling.
Checklist:
- Official character sheets and sprite sheets
- Close-ups of face, hair, and hands
- Turnarounds (front, side, back views)
- References for key expressions and poses
Defining project scope and style
Before modeling, I clarify the model’s intended use—real-time game asset, cinematic, or XR avatar. For Celeste, I usually opt for a stylized, low- to mid-poly approach to stay true to the source. Defining the level of detail and technical constraints up front saves time and avoids rework later.
Tips:
- Decide on polycount and texture resolution early
- Specify animation requirements (idle, run, jump, etc.)
- Document style notes for consistency
Choosing the Right Tools and Platforms

Why I use AI-powered 3D creation platforms
AI-driven tools have transformed my workflow. With text or image prompts, I can generate a solid base mesh in seconds, freeing me to focus on creative refinement. Features like automatic retopology and intelligent segmentation are especially useful for stylized characters like Celeste.
Advantages:
- Rapid prototyping from sketches or descriptions
- Built-in segmentation for easy material assignment
- Automated retopology for clean, animation-ready meshes
Comparing traditional and AI-assisted workflows
Traditional modeling is hands-on and precise, but slow—especially for blocking out forms and retopology. AI-assisted platforms streamline these steps, letting me iterate quickly and avoid repetitive manual tasks. I still rely on traditional sculpting and editing for final tweaks, but the AI foundation saves hours.
Pitfalls to avoid:
- Over-reliance on AI output—always review and refine
- Ensure generated topology suits your rigging/animation needs
- Double-check scale and proportions
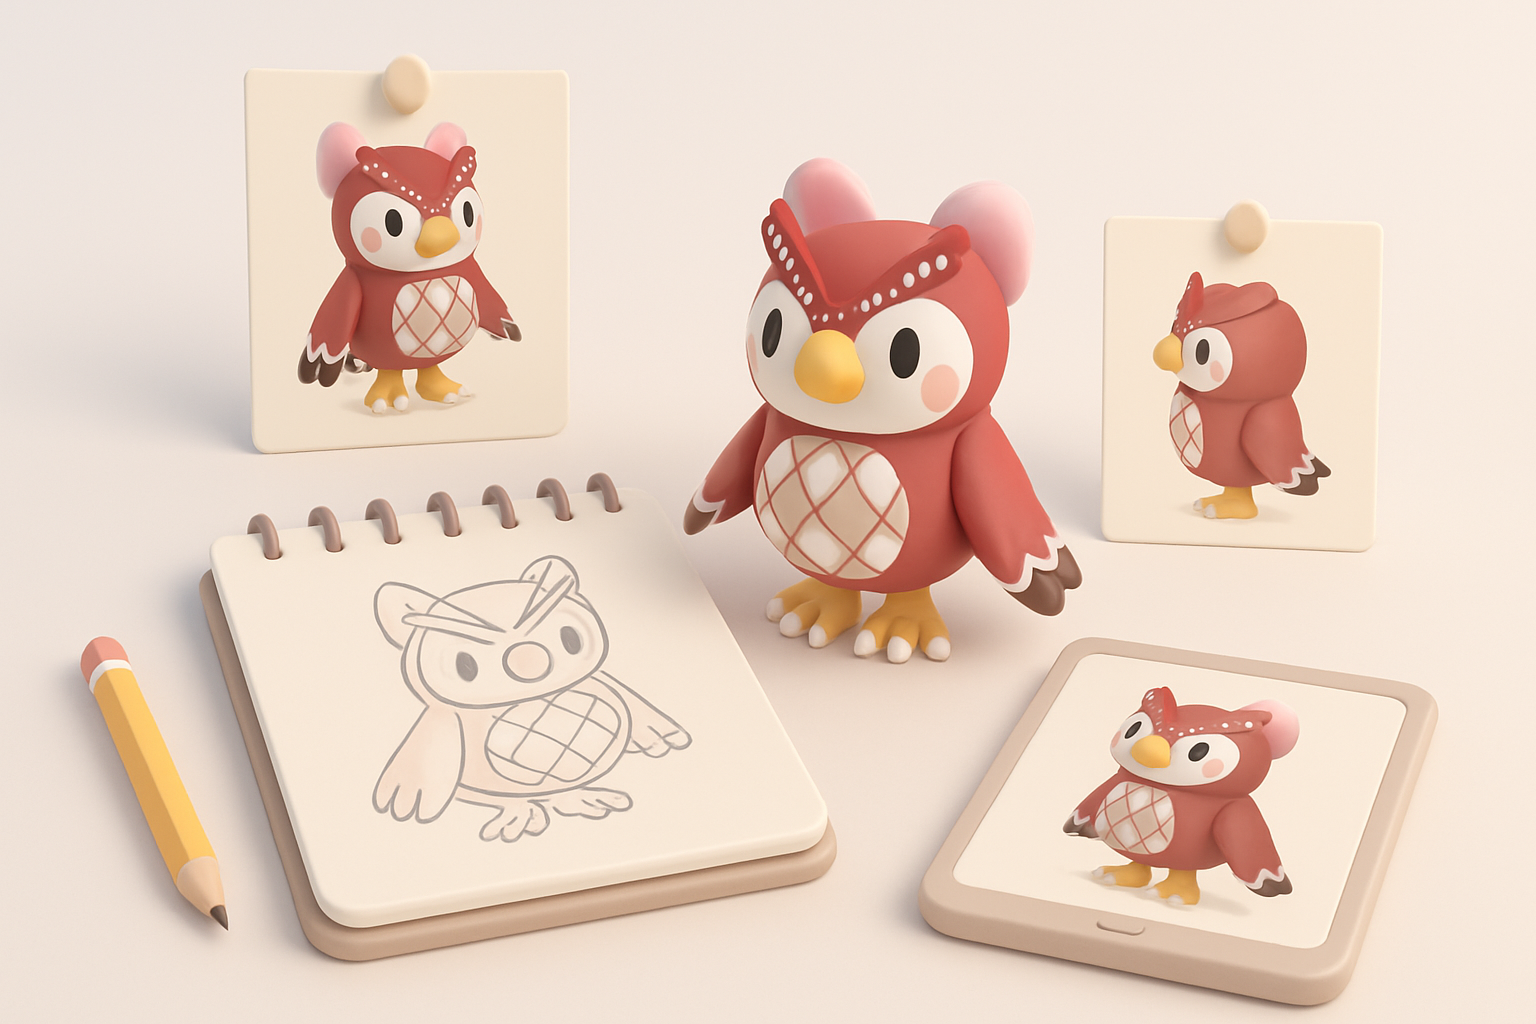
Step-by-Step Workflow: From Concept to Production-Ready Model

Blocking out the base mesh
I typically start with a rough blockout using AI tools, inputting reference images or sketches. This gives me a basic mesh with correct proportions and segmentation (head, body, limbs). For Celeste, I exaggerate key features—big hair, expressive eyes—right from the start.
Steps:
- Input prompt (description/image/sketch) into AI platform
- Review base mesh, adjust proportions if needed
- Segment main body parts for easier texturing later
Refining, retopology, and intelligent segmentation
Once the base mesh is set, I manually refine shapes in my 3D editor. I use automatic retopology to create clean, animation-friendly geometry, and intelligent segmentation to separate hair, clothes, and skin. This makes texturing and rigging much easier down the line.
Tips:
- Check edge flow around joints and face
- Use segmentation layers for modularity (e.g., swappable outfits)
- Test deformation with simple rig to catch problem areas early
Texturing, Rigging, and Animation for Celeste Models
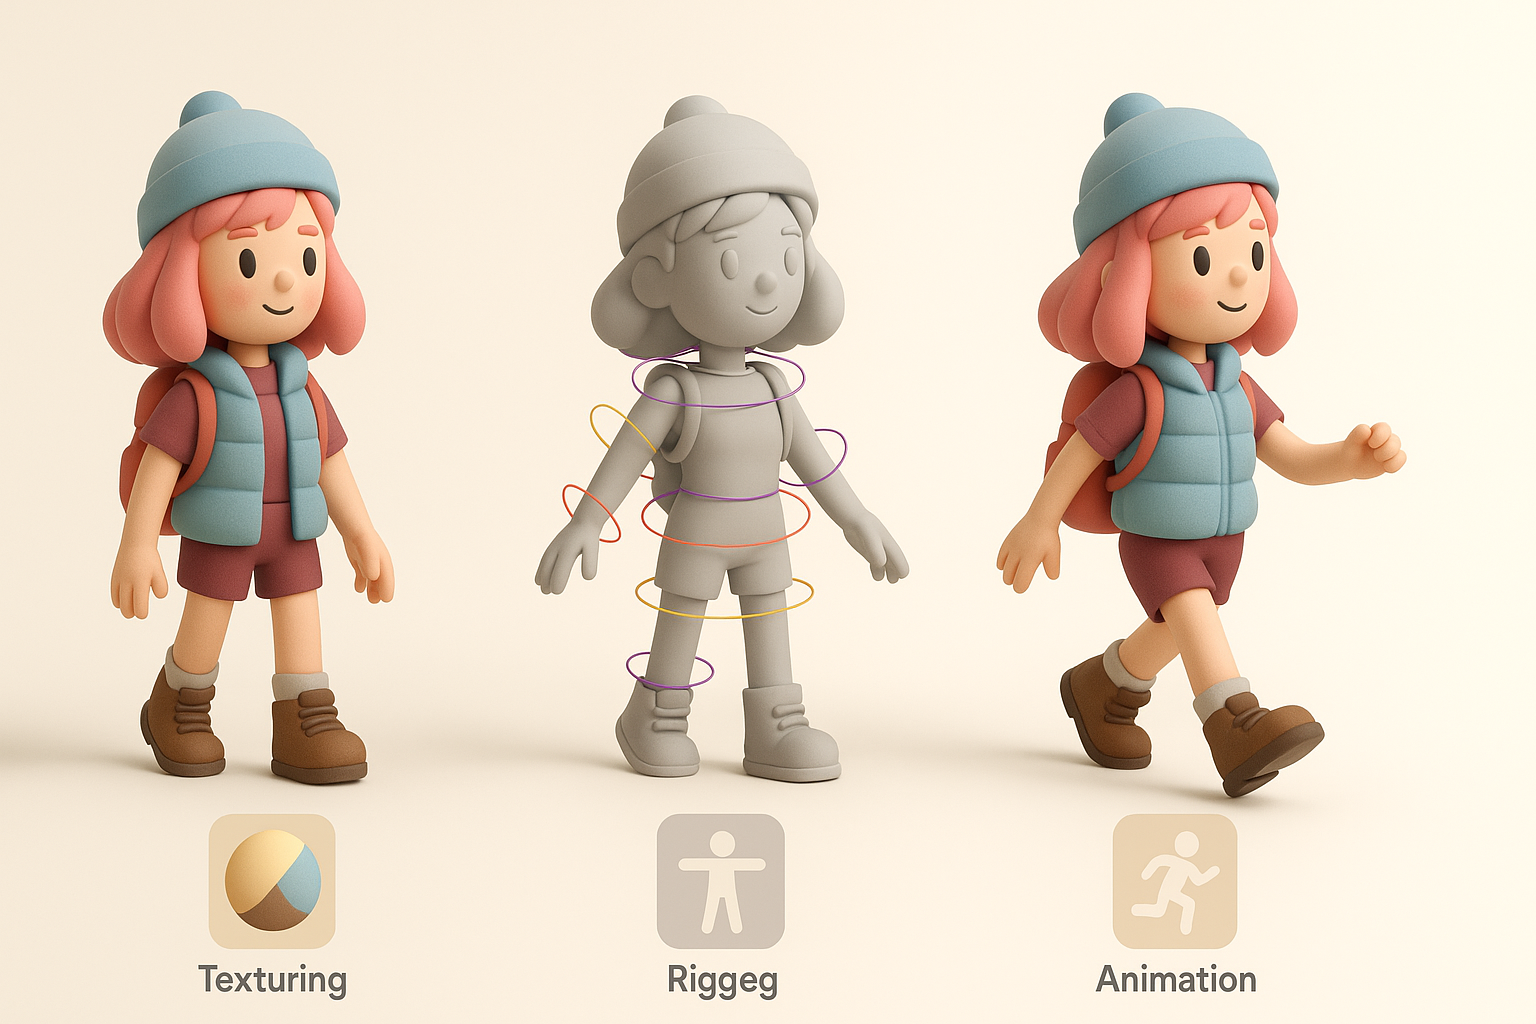
Applying stylized textures and materials
Celeste’s look is all about bold, flat colors and minimal detail. I hand-paint textures or use procedural methods to keep things simple and vibrant. For hair and clothing, I avoid photorealism—solid fills and subtle gradients work best.
Mini-checklist:
- UV unwrap with minimal seams
- Paint face and hair details by hand
- Use material overrides for eyes and highlights
Rigging and basic animation tips
I rig the model with a basic skeleton—spine, limbs, head, and facial controls if needed. Expressive poses are key for Celeste characters, so I prioritize flexible weighting and clean deformation. For animation, I block out simple loops (idle, jump, run) to test rig quality.
Advice:
- Keep rig simple for stylized characters
- Test extreme poses for mesh deformation
- Export animation clips for engine integration
Exporting, Optimization, and Integration

Export settings and best practices
I export models in FBX or GLTF format, depending on the target engine. I keep texture sizes optimized (usually 1k or 2k maps) and ensure all materials and bones are named clearly. Before final export, I remove unused meshes, apply transforms, and check for errors.
Best practices:
- Freeze transforms and apply scale
- Bake animations if needed
- Validate mesh in target engine or viewer
Integrating the model into games or XR projects
Once exported, I import the model into the engine (Unity, Unreal, etc.) and assign materials. I test animations and tweak shaders for the desired stylized look. For XR, I optimize further—reducing polycount and using lightweight materials.
Pitfalls to watch for:
- Mismatched scale between model and environment
- Animation import errors (check bone names and hierarchy)
- Performance issues with over-detailed meshes
Lessons Learned and Personal Tips

Common challenges and how I solve them
One recurring issue is maintaining the character’s personality in 3D—Celeste’s charm can get lost in translation. I combat this by constantly referencing original art and iterating on facial features and proportions. Another challenge is keeping topology clean for animation, which I solve with a mix of AI retopology and manual tweaks.
Other challenges:
- Achieving smooth deformations at joints
- Managing style consistency across multiple assets
Advice for creators new to 3D modeling
Start small: focus on nailing the character’s silhouette and pose before adding detail. Leverage AI tools for the heavy lifting, but always review and refine outputs. Don’t be afraid to iterate—Celeste’s appeal comes from expressive, simple design, not technical complexity.
My beginner tips:
- Use references constantly—don’t rely on memory
- Keep your workflow modular (separate body parts, clothes)
- Learn by deconstructing existing models and studying topology
With the right tools and a clear process, creating a Celeste 3D model can be both efficient and creatively rewarding. The blend of AI-powered platforms and hands-on artistry lets me focus on what matters: bringing characters to life with style and personality.


