Creating Breath of the Wild 3D Models: Expert Workflow & Tips
скачать 3d модели для chicken gun
Creating production-ready Breath of the Wild 3D models requires both an eye for stylized art and an efficient workflow. Over the years, I’ve refined my process to balance creative fidelity with technical requirements, using AI-powered tools to streamline segmentation, retopology, and texturing. Whether you’re building assets for games, XR, or fan projects, mastering the cel-shaded look and polygon efficiency is crucial. This guide covers my hands-on workflow, practical optimization tips, and where AI solutions fit in, so you can deliver models that look great and perform smoothly.
Key takeaways:
- Reference gathering and planning are essential for style consistency.
- AI tools can dramatically speed up segmentation and retopology.
- Cel-shaded textures require careful layering and edge highlights.
- Optimize polygons for performance without sacrificing visual quality.
- Rigging and animation should match the stylized, expressive feel of the original.
- Choose AI workflows when speed and scalability matter.
Overview: Breath of the Wild 3D Models and Their Uses
Common applications in games, XR, and fan projects
I often see Breath of the Wild style models used in indie games, VR/AR experiences, and fan-made animations. Their recognizable look makes them popular for prototyping, modding, and immersive environments. In my projects, these assets are ideal for rapid iteration and stylized storytelling.
Where I use them:
- Game levels and character prototypes
- XR demos and interactive exhibits
- Fan art, machinima, and modding communities
Key characteristics of Breath of the Wild art style
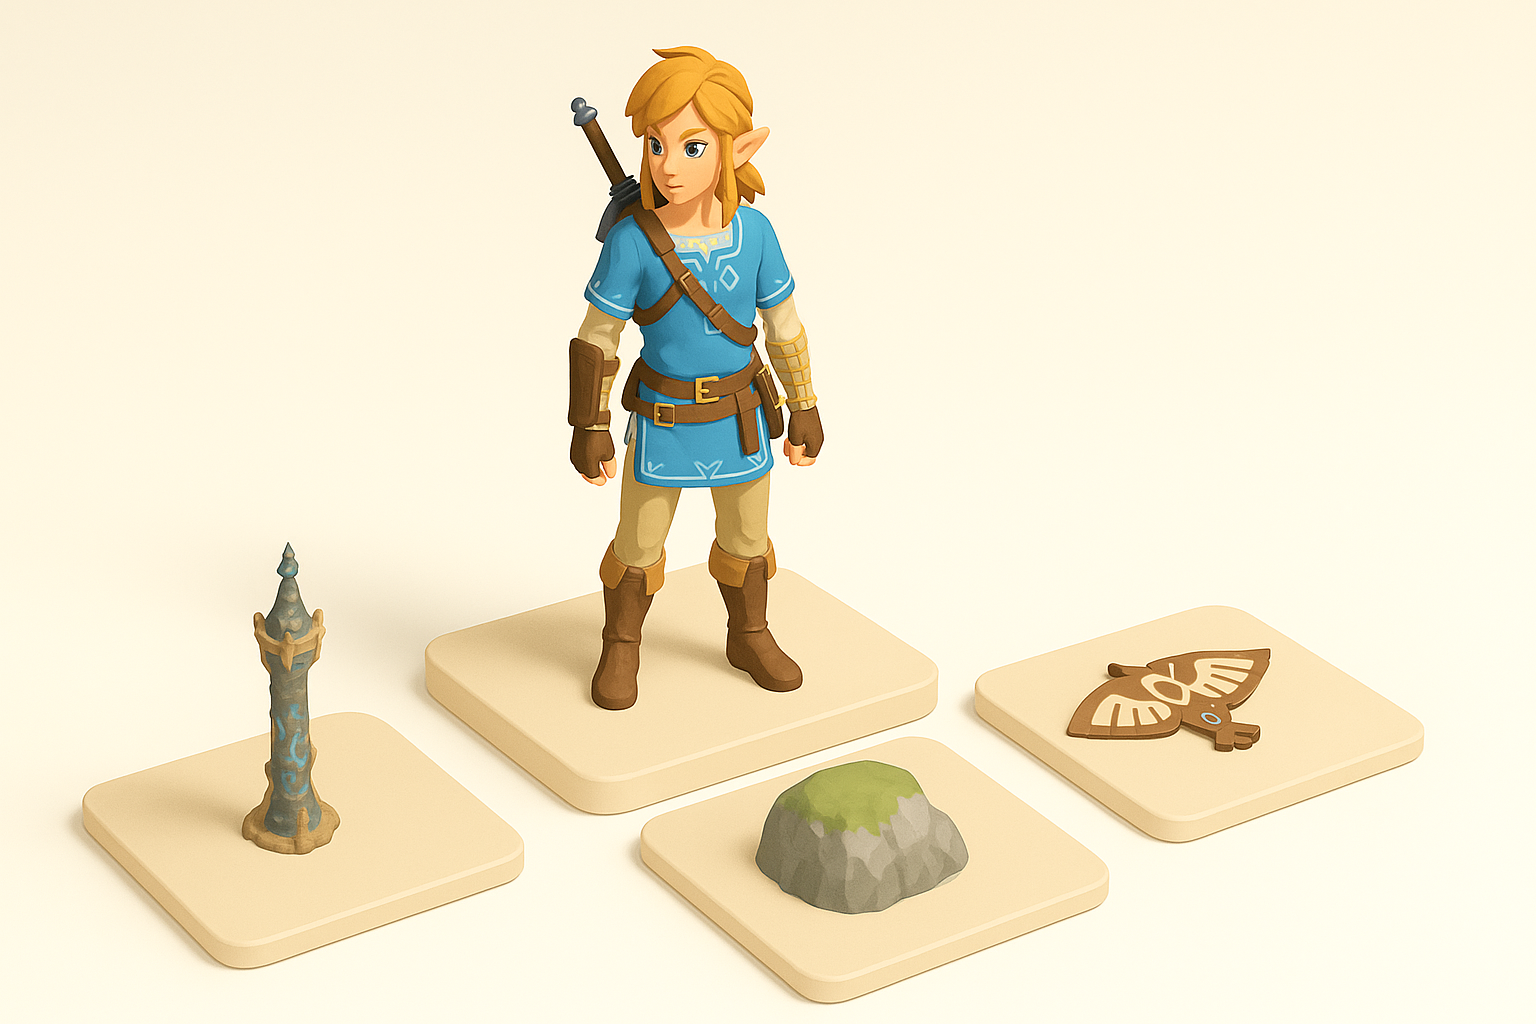
The art style is defined by hand-painted textures, bold color blocking, and soft cel-shading. Models typically feature simplified forms, clean silhouettes, and minimal detail noise, emphasizing readability and charm.
Style checklist:
- Strong silhouettes and clear shapes
- Painterly, non-photorealistic textures
- Subtle gradient shading with visible edge highlights
- Low- to mid-poly mesh counts for efficiency
My Step-by-Step Workflow for Breath of the Wild 3D Models
Gathering references and planning the model
I start by collecting screenshots, concept art, and fan interpretations. Planning includes sketching silhouettes and mapping out key proportions. This helps maintain style fidelity and prevents scope creep.
Reference gathering steps:
- Screenshot in-game assets at multiple angles
- Find official concept art and fan renditions
- Sketch or block out silhouettes before modeling
Choosing the right tools and platforms
For stylized modeling, I prefer platforms that support quick iteration and AI-assisted workflows. Tripo AI is my go-to for rapid segmentation and base mesh generation, saving hours on manual setup. I supplement with traditional DCC tools for refinement and animation.
Tool selection tips:
- Use AI platforms for base mesh and segmentation
- Switch to DCC tools for sculpting, UVs, and animation
- Ensure compatibility with your target engine (Unity, Unreal, etc.)
Best Practices for Modeling, Texturing, and Optimization
Maintaining style consistency and polygon efficiency
Consistency is key. I keep polygon counts low, focusing on shape over detail. Edge loops are placed to support expressive poses and clean silhouettes.
Modeling tips:
- Limit poly count: 2–4k for characters, 500–1k for props
- Prioritize silhouette and animation-friendly topology
- Avoid excessive micro-detail; let textures do the work
Texturing techniques for a cel-shaded look
Cel-shading relies on hand-painted textures and gradient ramps. I layer base colors, add subtle gradients, and highlight edges for that signature look.
Texturing workflow:
- Paint base color and subtle shading in 2D
- Overlay edge highlights (light yellow/white)
- Avoid photo textures; stick to painterly strokes
- Use gradient ramp shaders in-engine for final effect
AI-Powered Solutions: Accelerating the 3D Creation Process
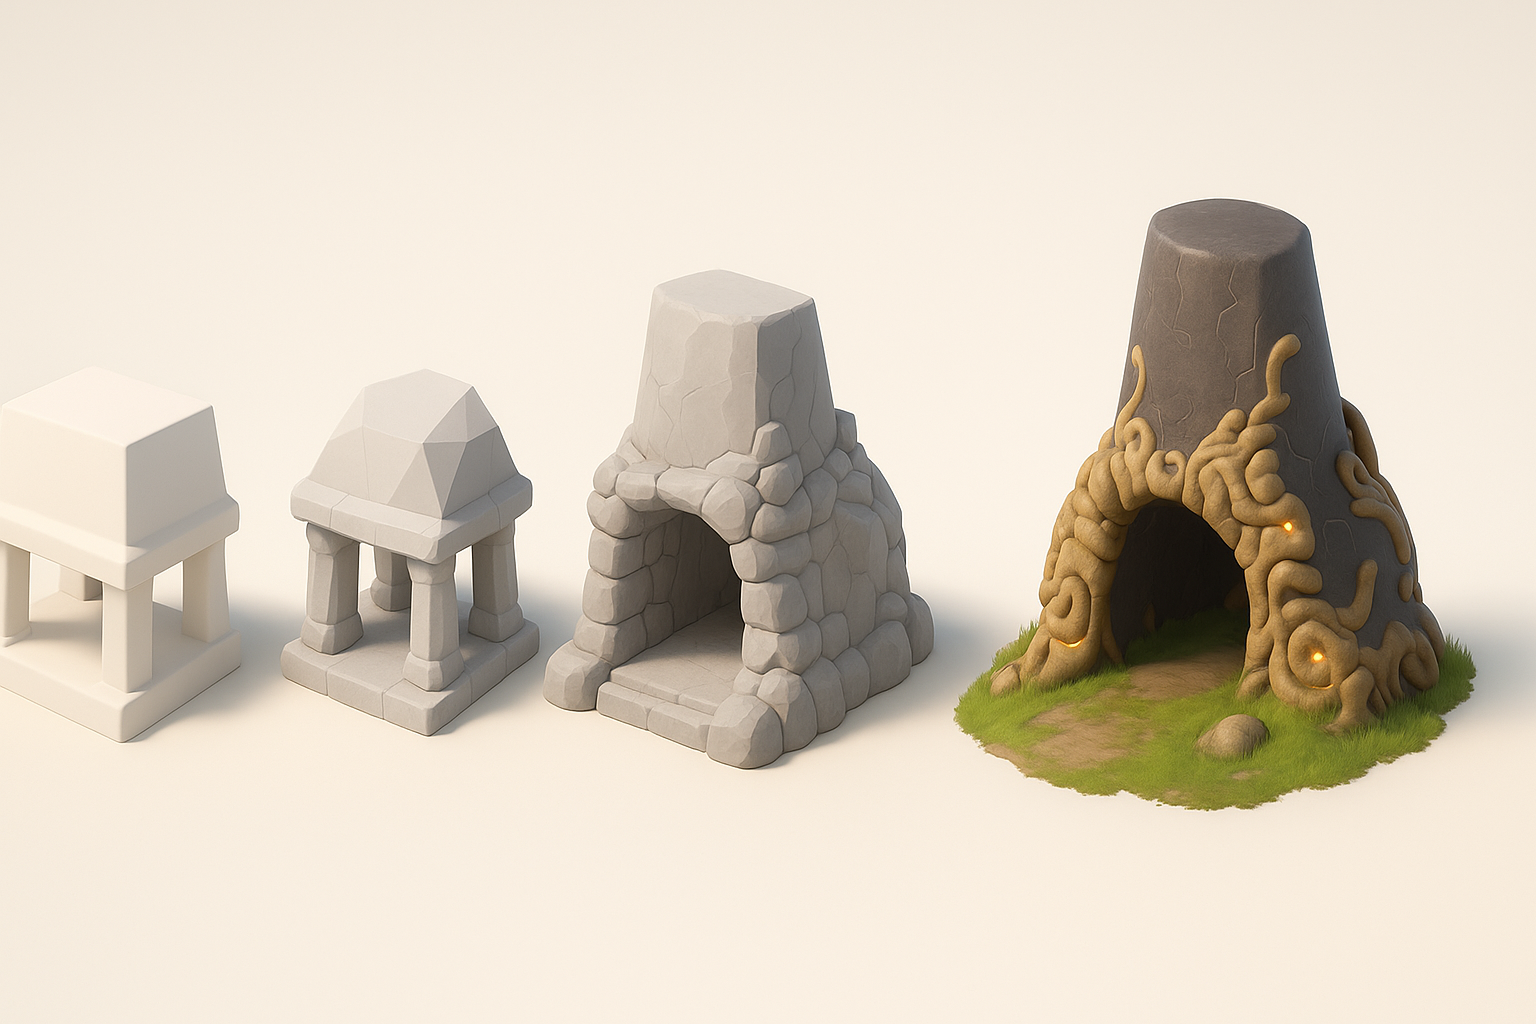
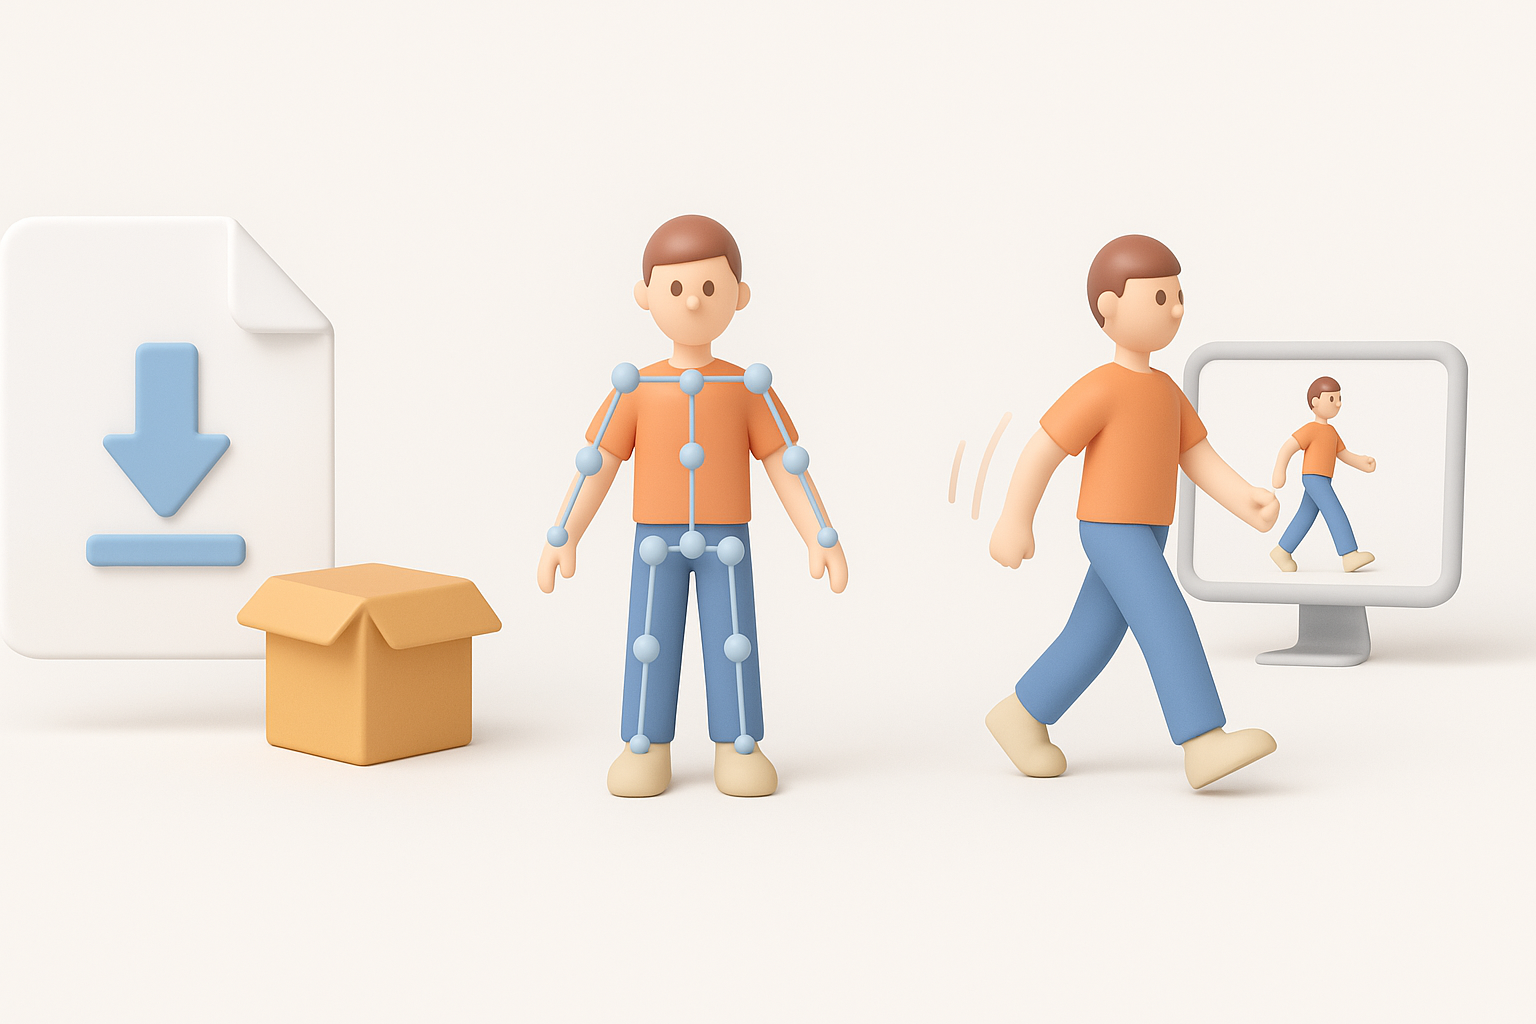
How I leverage AI tools for segmentation and retopology
AI segmentation lets me quickly isolate parts of a reference image or sketch. Retopology is automated, producing clean, animation-friendly meshes. This reduces manual labor and speeds up iteration.
AI workflow steps:
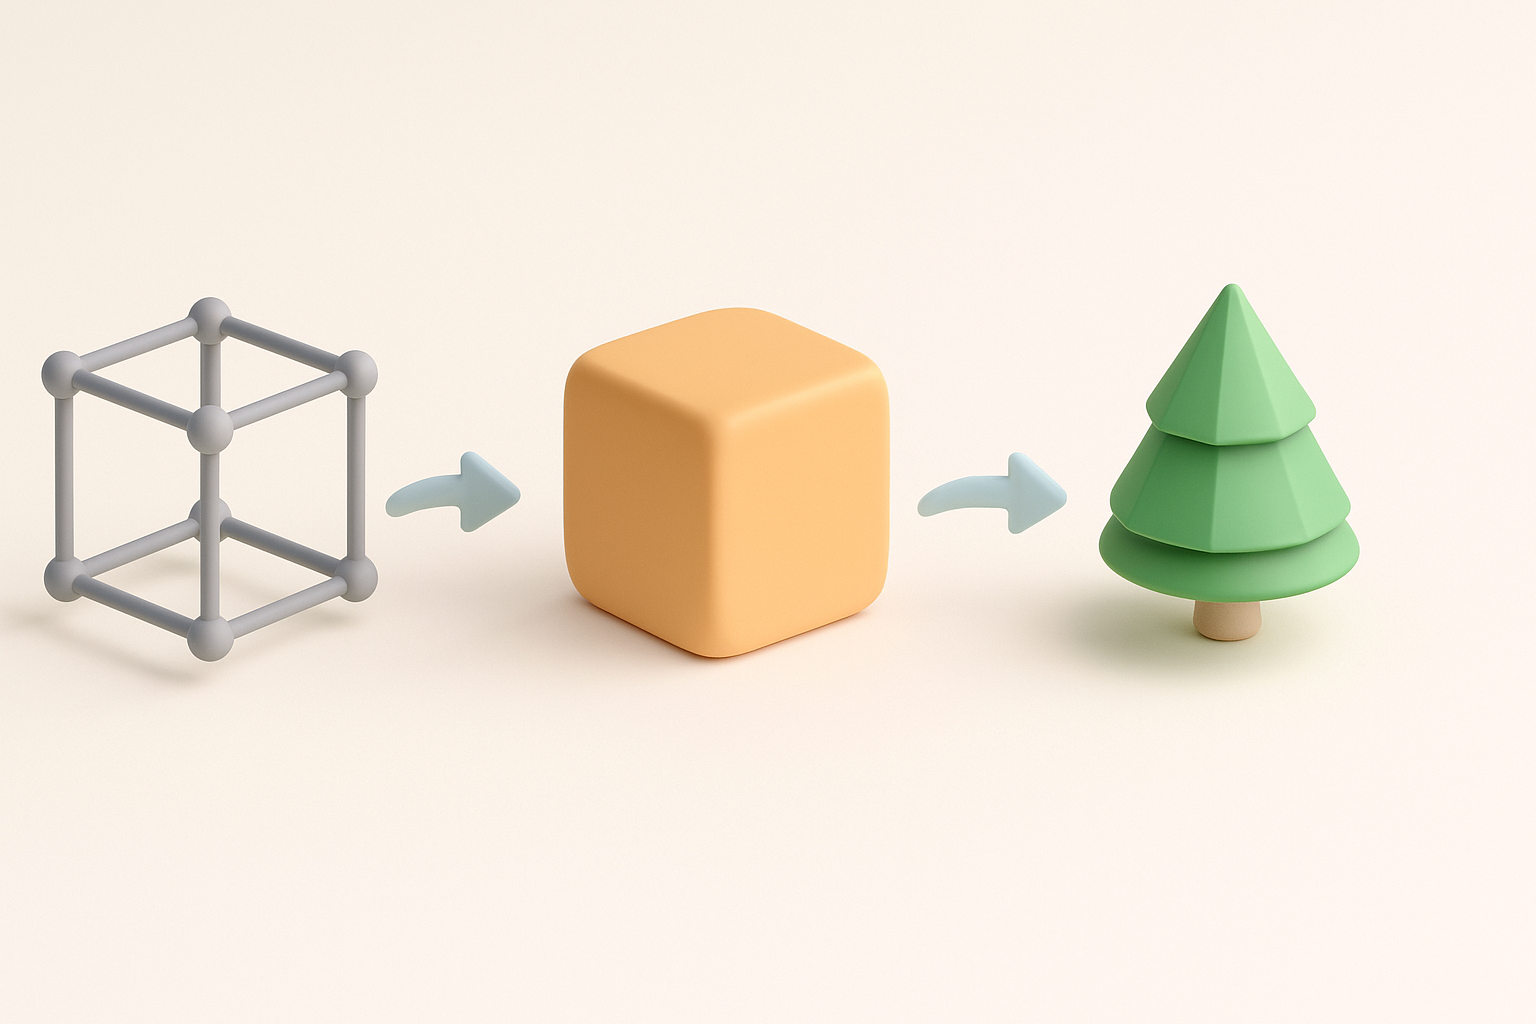
- Input text, sketch, or image to generate base mesh
- Use AI segmentation to separate components (hair, clothing, etc.)
- Auto-retopologize for optimized topology
Integrating AI-generated assets into my workflow
I import AI-generated meshes into my DCC tool, refine shapes, and adjust UVs. Texturing and rigging are handled manually for maximum control. AI outputs are a starting point, not the final product.
Integration tips:
- Always check and clean up AI-generated topology
- Re-map UVs if needed for texture quality
- Use AI assets for prototyping and iteration; polish manually for final
Exporting, Rigging, and Animating for Production Use
Preparing models for game engines and XR platforms
Exporting requires clean geometry, optimized textures, and proper scale. I test assets in-engine early to catch issues with shading or performance.
Export checklist:
- Apply correct scale and orientation
- Use efficient texture formats (PNG, TGA)
- Check mesh for non-manifold geometry and UV overlap
Tips for rigging and animation in the Breath of the Wild style
Rigging should support expressive, exaggerated poses. Animation focuses on fluid, readable movements. I use simple bone structures and minimal constraints for flexibility.
Rigging & animation tips:
- Keep bone count low for performance
- Add facial bones for stylized expressions
- Animate with broad gestures; avoid realism
Comparing Manual and AI-Assisted 3D Modeling Approaches
Strengths and limitations of each method
Manual modeling offers ultimate control and fine detail, but is time-consuming. AI-assisted workflows are fast and scalable, ideal for prototyping and bulk asset creation, though they may require cleanup.
Comparison:
- Manual: Best for hero assets, final polish, complex rigs
- AI-assisted: Fast for base mesh, segmentation, and iteration
When to choose AI-powered workflows
I recommend AI workflows when speed, scalability, or rapid prototyping are priorities. For final production assets, manual refinement is still essential.
Decision points:
- Use AI for concept, blocking, and quick iterations
- Switch to manual for final polish, animation, and custom details
Conclusion:
By combining stylized art principles with AI-powered tools, I can deliver Breath of the Wild 3D models efficiently and at high quality. Careful planning, smart optimization, and a balanced workflow ensure assets are ready for games, XR, and creative projects.


