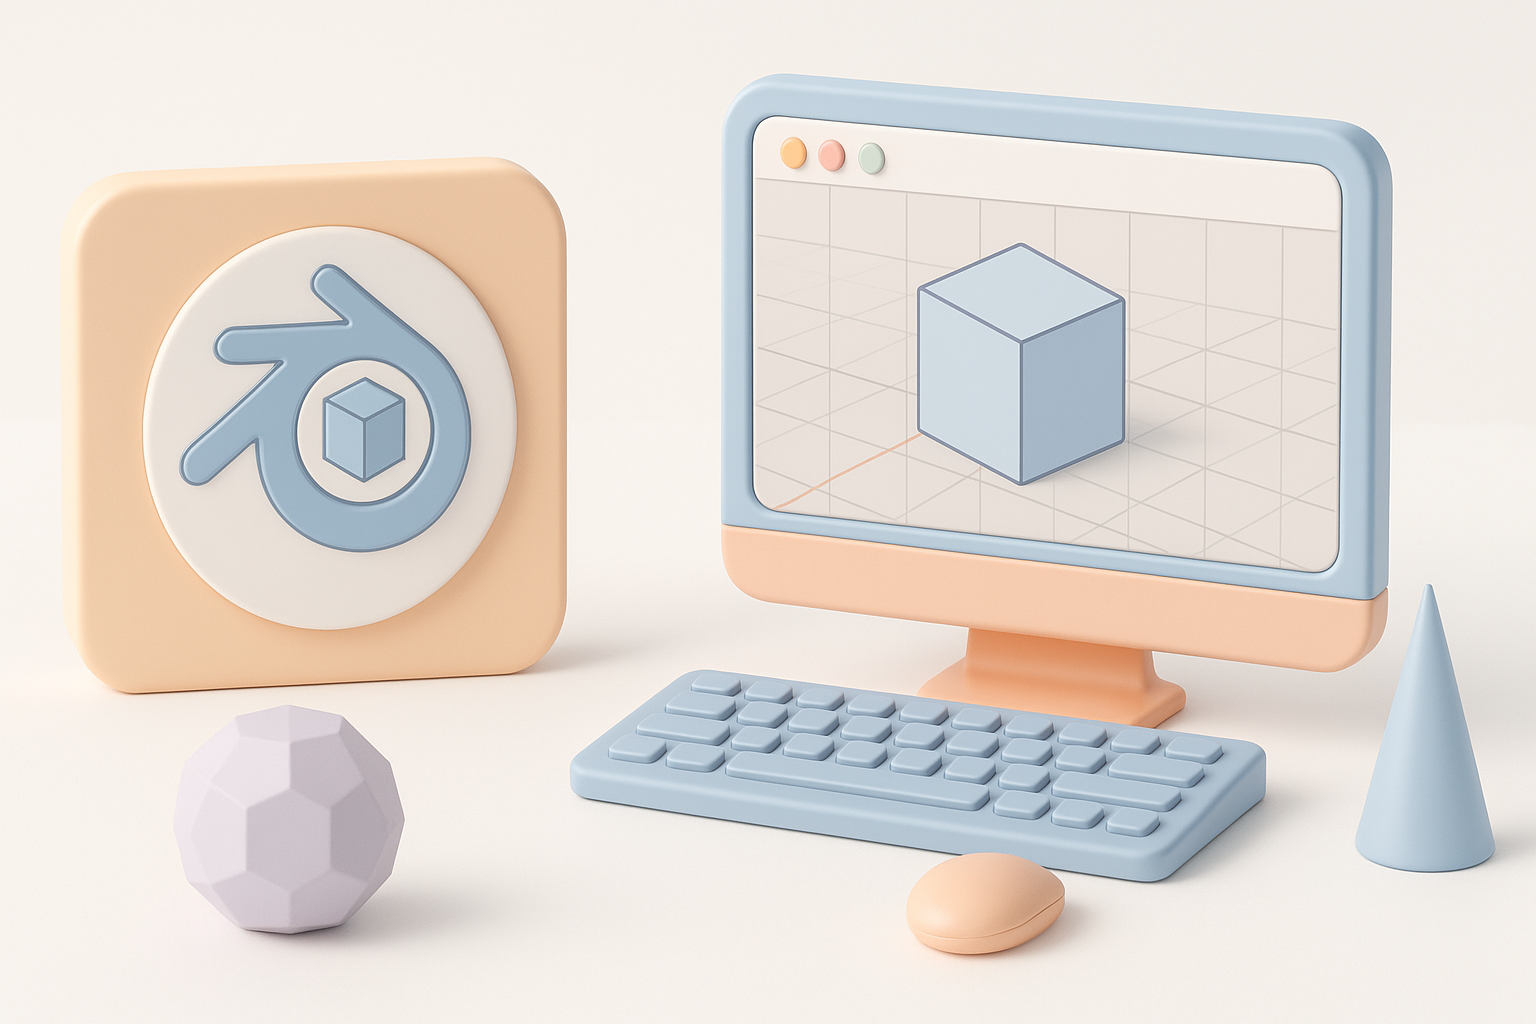
Blender 3D Modeling: Expert Workflows and Best Practices
скачать 3d модели для chicken gun
Blender has become my primary tool for 3D modeling thanks to its flexibility, open-source nature, and powerful feature set. In this article, I’ll break down my expert workflows, from initial setup to asset export, including how I integrate AI-powered tools like Tripo for rapid iteration. Whether you’re a game developer, designer, or XR creator, you’ll find actionable tips for cleaner topology, efficient texturing, and streamlined asset pipelines. My goal is to help you avoid common pitfalls and get the most out of Blender—while knowing when to reach for automation or alternative solutions.
Key takeaways
- Blender is a robust, adaptable platform for professional 3D modeling with a strong community and plugin ecosystem.
- Clean topology and non-destructive workflows are essential for production-ready assets.
- Combining manual techniques with AI-powered tools like Tripo can dramatically accelerate prototyping and texturing.
- Efficient UV unwrapping and material setup are critical for realistic, optimized models.
- Exporting and optimizing assets for games, XR, or animation requires attention to detail in file formats and polygon counts.
- Knowing when to use Blender versus other solutions depends on project needs, collaboration, and automation requirements.
Getting Started with Blender for 3D Modeling
Why I Chose Blender: Strengths and Limitations
Blender stands out for its zero-cost entry, active development, and a vast array of modeling, sculpting, and texturing tools. I value its openness—custom add-ons and scripts let me tailor workflows to any project. However, Blender’s learning curve can be steep, and some industry-standard features (like advanced CAD or certain animation pipelines) may require workarounds or plugins.
Strengths:
- Open-source and free
- Highly customizable (add-ons, scripting)
- Excellent for mesh modeling, sculpting, and texture painting
Limitations:
- Steeper learning curve for beginners
- Some features require add-ons or external tools
- Less direct support for certain proprietary formats
Setting Up Blender for Efficient Modeling
My first step in any project is configuring Blender for speed and comfort. I customize keymaps, set up custom workspaces (modeling, sculpting, UV editing), and install essential add-ons (like LoopTools, Node Wrangler, and Tripo integration).
Setup checklist:
- Adjust viewport navigation and hotkeys for efficiency
- Enable useful add-ons (e.g., for mesh editing or AI-assisted tools)
- Organize custom workspaces for modeling, UVs, and shading
- Set autosave and version control to avoid data loss
Pitfall:
Skipping these setup steps often leads to wasted time and avoidable mistakes down the line.
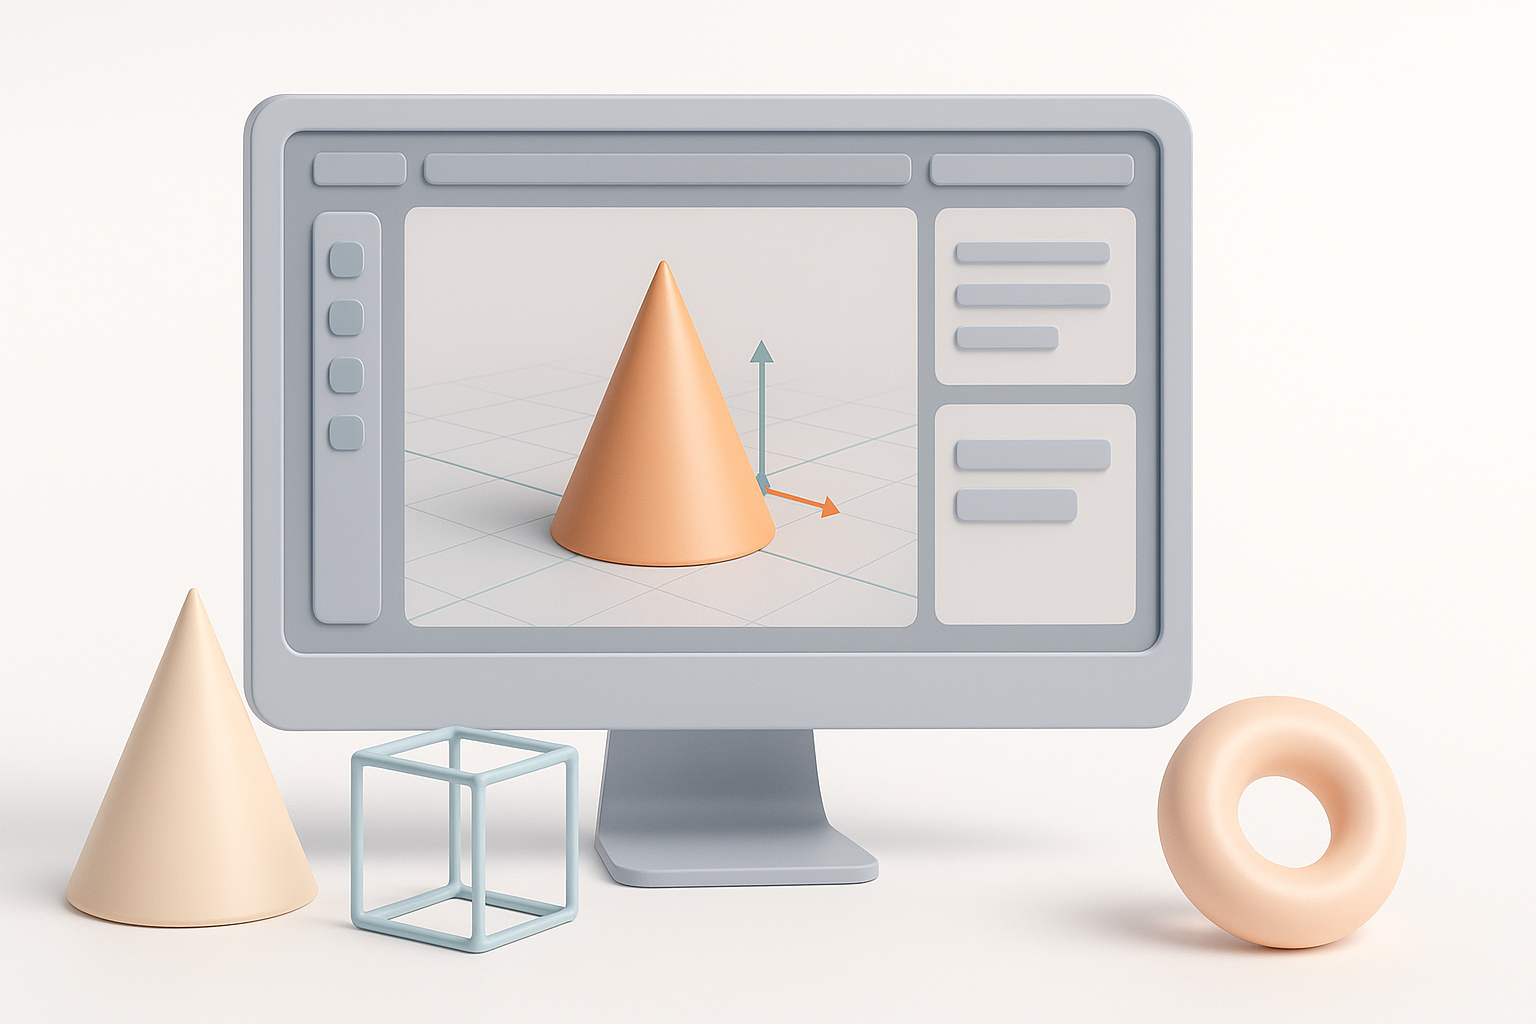
Core 3D Modeling Techniques in Blender
My Go-To Tools: Mesh Editing, Sculpting, and Modifiers
For most projects, I rely on Blender’s Edit Mode for precise mesh control, the Sculpt workspace for organic shapes, and modifiers for non-destructive changes. The Mirror, Subdivision Surface, and Boolean modifiers are staples in my workflow.
Typical workflow:
- Block out forms with basic meshes (cubes, spheres, planes)
- Use modifiers for symmetry and subdivision
- Refine with loop cuts, extrude, and proportional editing
- Switch to Sculpt Mode for high-detail work (if needed)
- Apply modifiers only when necessary to keep edits reversible
Tip:
Always keep a backup of the base mesh before applying destructive changes.
Tips for Clean Topology and Non-Destructive Workflows
Clean topology is vital for animation, deformation, and texturing. I focus on quad-based geometry, avoid n-gons, and use edge flow to support intended movement or shading.
Best practices:
- Use loop cuts and edge slides to control topology
- Regularly check for non-manifold edges and fix them early
- Favor modifiers (Mirror, Array, Subdivision) for iterative changes
- Apply modifiers only at major milestones
Common pitfalls:
- Rushing and applying modifiers too early
- Ignoring topology, leading to shading artifacts or rigging issues
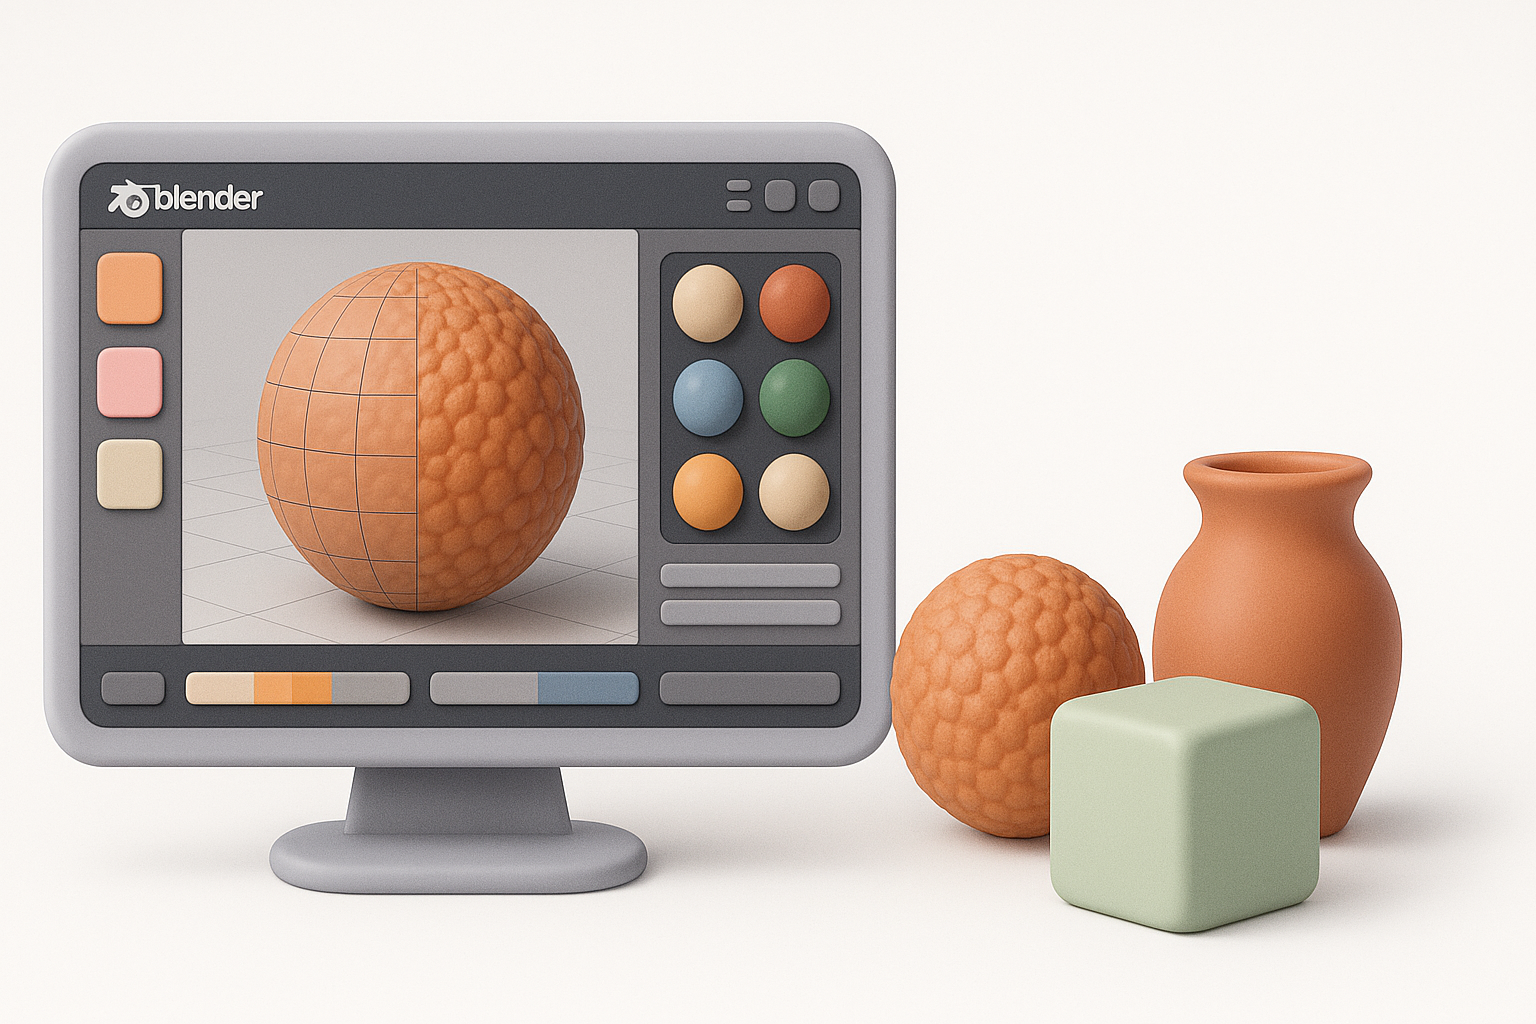
Texturing and Materials: Bringing Models to Life
UV Unwrapping and Texture Painting: My Approach
Efficient UV unwrapping is the foundation for good texturing. I mark seams logically (along hidden or natural breaks), use Blender’s Smart UV Project for quick iterations, and manually adjust islands for optimal texel density.
My steps:
- Mark seams along less visible edges
- Unwrap and check for stretching in the UV Editor
- Pack UV islands efficiently to maximize texture resolution
- Use Blender’s Texture Paint for custom details and touch-ups
Tip:
Always verify UVs with a checker texture before moving to final painting.
Integrating AI-Powered Texturing Tools
AI-powered solutions like Tripo have changed how I approach texturing—especially for base materials and rapid prototyping. I often generate base textures or material suggestions using AI, then refine them manually in Blender for artistic control.
Workflow:
- Export UV-mapped models
- Use Tripo to generate base textures or PBR maps from text/image prompts
- Import AI-generated textures into Blender’s Shader Editor
- Tweak materials and masks for final polish
Pitfall:
Relying solely on AI can result in generic looks—always customize and refine to fit your vision.
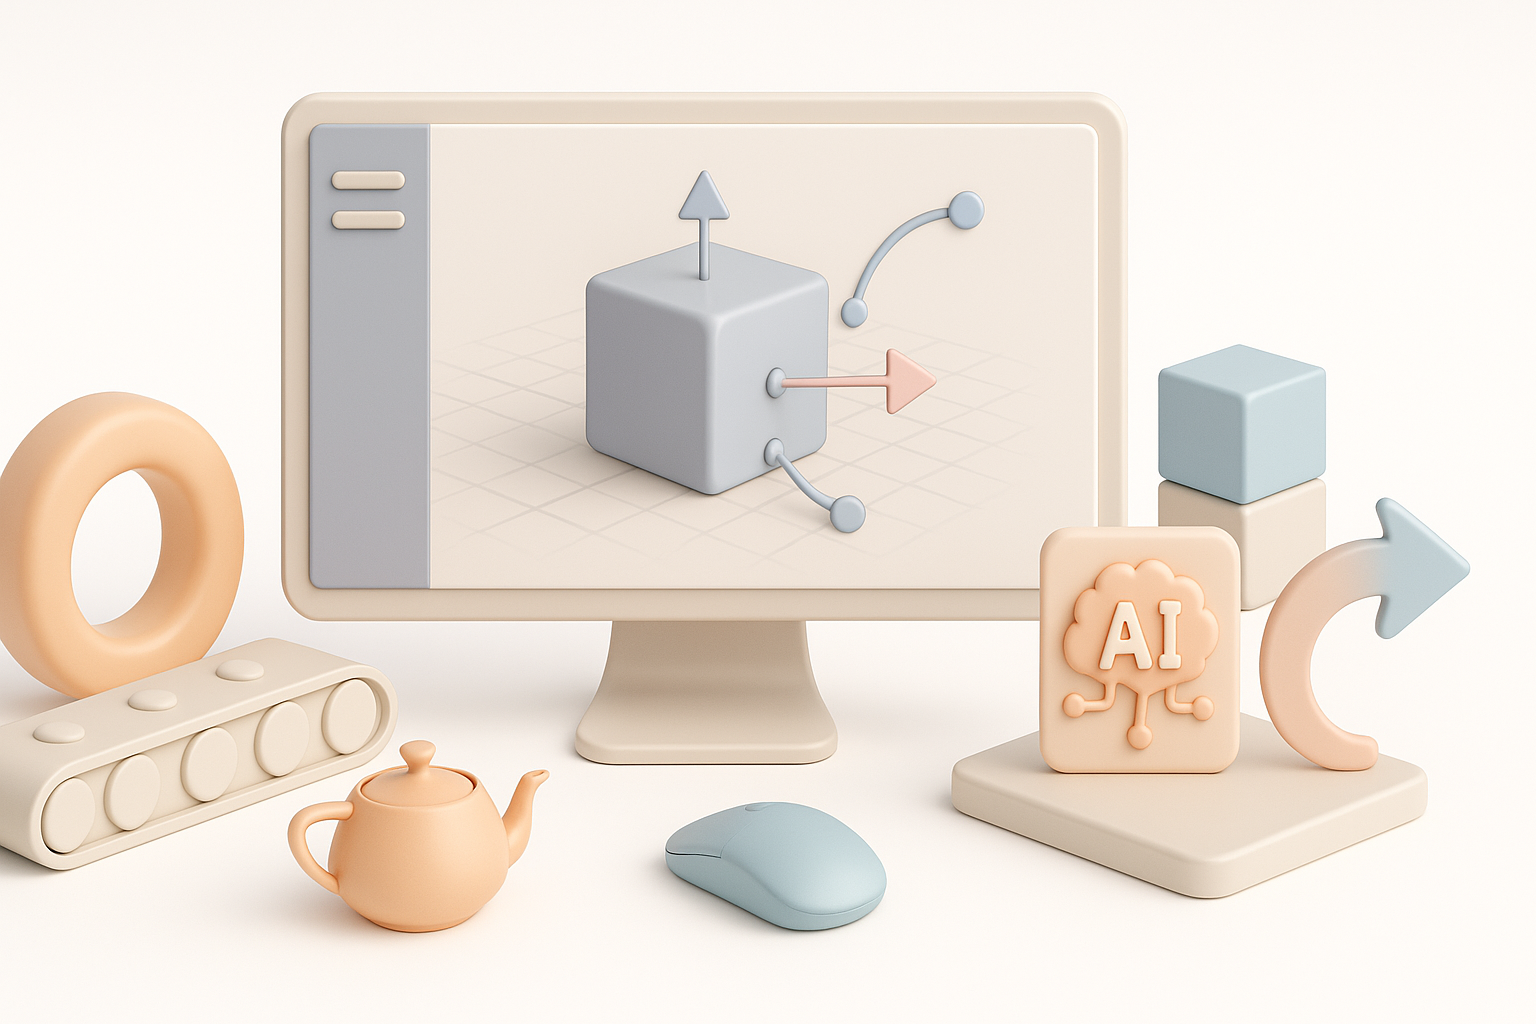
Accelerating Workflows with AI and Automation

How I Use Tripo and Other Tools for Rapid Prototyping
When speed is critical, I leverage Tripo for instant 3D asset generation from text or sketches. This is invaluable for blocking out concepts, creating variations, or generating placeholder assets for iteration.
Sample workflow:
- Generate a base model in Tripo using a text prompt or sketch
- Import the model into Blender for refinement and detailing
- Use Blender’s sculpting and retopology tools to finalize geometry
- Apply custom textures or materials as needed
Benefits:
- Drastically reduces time from concept to 3D prototype
- Great for ideation and client previews
Balancing Automation with Manual Control
While automation accelerates production, I always balance it with manual intervention to ensure quality. Automated tools handle repetitive tasks, but artistic decisions—like stylization, edge flow, and fine detail—are best made by hand.
Checklist:
- Use AI for base meshes, textures, or repetitive tasks
- Reserve manual work for detailing, corrections, and creative choices
- Regularly review AI outputs for artifacts or inconsistencies
Pitfall:
Over-reliance on automation can lead to bland or technically flawed assets—review everything before final export.
Exporting, Optimization, and Real-World Applications
Preparing Models for Games, XR, and Animation
Exporting models for real-time engines or animation pipelines requires careful attention to scale, orientation, and polygon count. I always test assets in the target environment before final delivery.
Steps I follow:
- Apply all transforms (Ctrl+A) before export
- Check scale and orientation (Blender uses Z-up; some engines use Y-up)
- Optimize mesh (decimate, merge vertices, remove doubles)
- Bake normal and ambient occlusion maps if needed
- Test in game engine or XR platform for compatibility
Tip:
Keep a clean outliner and naming convention—this saves time for everyone downstream.
Best Practices for File Formats and Asset Optimization
Choosing the right export format is crucial. I typically use FBX for games and animation, OBJ for static assets, and GLTF for web/XR. Each format has quirks—test exports to catch issues early.
My go-to formats:
- FBX: Best for animation, supports rigging and morph targets
- OBJ: Simple, widely supported, but no animation
- GLTF: Efficient for web/XR, supports PBR materials
Optimization tips:
- Limit texture sizes to what’s needed (2K for most assets, 4K for hero props)
- Remove hidden geometry and unused materials
- Use LODs (levels of detail) for complex scenes
Comparing Blender with Alternative 3D Modeling Solutions
When to Use Blender vs. Other Tools
While Blender is my default, I occasionally use other tools for specialized tasks (e.g., high-end sculpting, CAD, or proprietary pipelines). Blender shines for general modeling, rapid prototyping, and indie pipelines; for certain industry-specific workflows, alternative solutions may offer better integration.
Decision factors:
- Project requirements (animation, game, XR, CAD)
- Team skills and pipeline compatibility
- Need for automation or AI-assisted creation
My Lessons Learned from Real Projects
From client work to personal projects, the most successful outcomes have come from blending Blender’s flexibility with AI-powered tools and disciplined workflow management. The key is to stay adaptable—let the project’s needs dictate your toolset, and always prioritize quality over speed when it counts.
Final tips:
- Don’t be afraid to combine manual and automated processes
- Invest time in learning Blender’s shortcuts and add-ons
- Always test assets in their final context before delivery
By following these best practices and leveraging both Blender’s strengths and AI-powered tools like Tripo, I’ve consistently delivered high-quality 3D assets—faster and with fewer headaches.
