How to Download Blender 3D Models: Expert Workflow & Tips
As someone who works with Blender daily, I know finding and using quality 3D models can make or break your project. Whether you’re a game developer, designer, or hobbyist, downloading models efficiently—and knowing when to use AI tools—saves hours and boosts creativity. In this guide, I’ll walk through my proven workflow for sourcing, importing, and optimizing Blender 3D models, plus how I leverage AI-driven platforms like Tripo for custom assets. If you want to speed up your 3D pipeline and avoid common pitfalls, you’re in the right place.
Key takeaways:
- Reliable model sources and licensing checks are essential to avoid legal or technical issues.
- Importing models into Blender is straightforward with a clear step-by-step approach.
- Geometry and texture optimization is crucial for performance and visual quality.
- AI tools like Tripo can generate custom models quickly from text, images, or sketches.
- Choose between downloaded and AI-generated models based on your project’s needs and constraints.
Where to Find Blender 3D Models
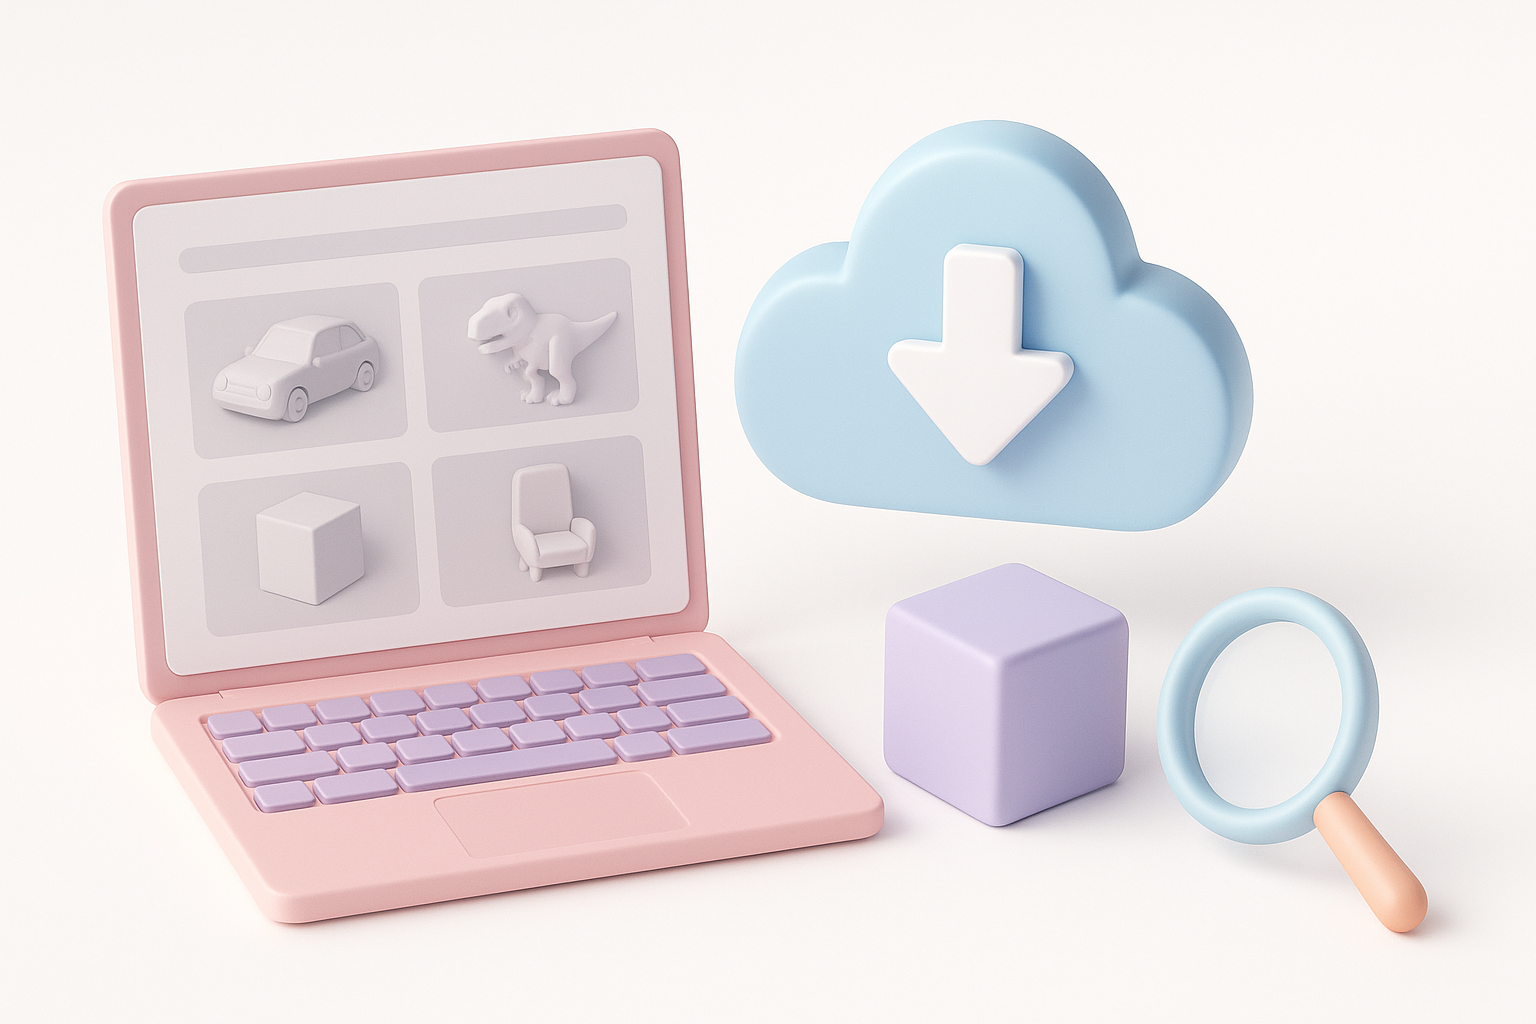
Trusted Sources for Free and Paid Models
Over the years, I’ve built a shortlist of reputable sites for Blender-compatible models. Free repositories are great for prototyping, while paid libraries often offer higher quality and support.
My go-to sources:
- Official Blender asset libraries and well-known 3D marketplaces.
- Community-driven sites with active moderation.
- AI-powered model generators like Tripo for custom, production-ready assets.
Tips:
- Stick to sources with clear licensing and download stats.
- Watch for Blender-native file formats (.blend), but also consider .fbx, .obj, or .glb.
Evaluating Model Quality and Licensing
Before downloading any model, I always check two things: quality and licensing. Poor geometry or unclear rights can cost more time than starting from scratch.
My checklist:
- Inspect preview renders for artifacting or low-res textures.
- Read user reviews or comments for hidden issues.
- Confirm the license allows for your intended use (commercial, modification, etc.).
Pitfalls to avoid:
- Models with missing textures or non-standard UVs.
- “Free” models with restrictive or unclear licenses.
How I Download and Import Blender 3D Models
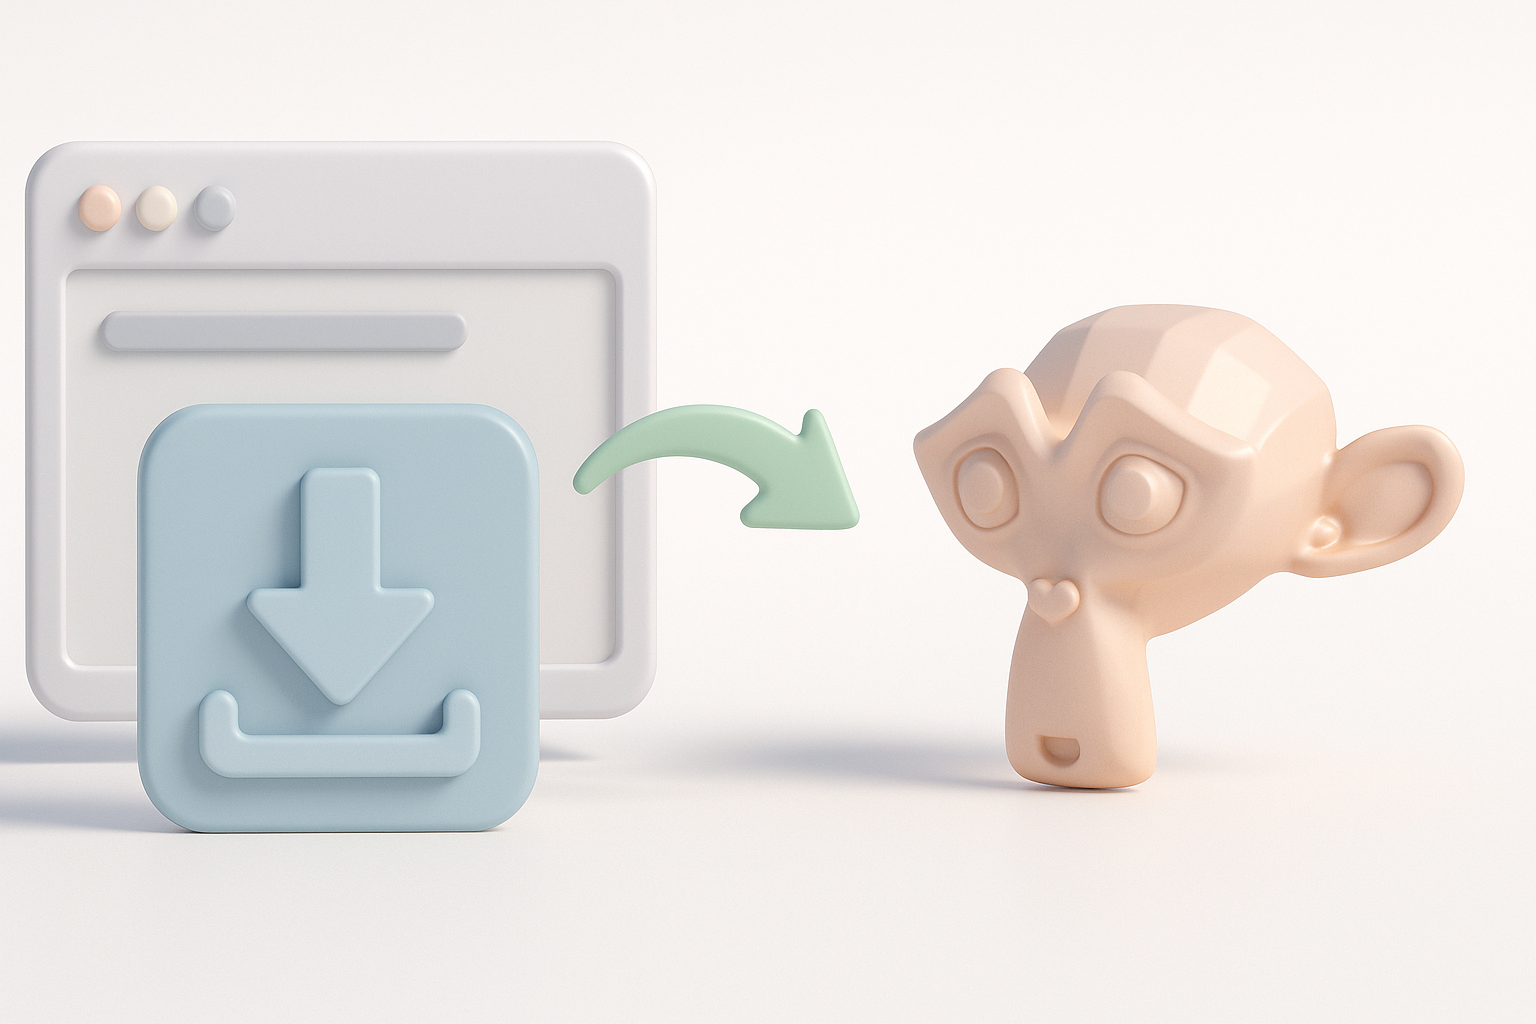
Step-by-Step Download Process
Downloading models is simple, but a few habits help me avoid headaches later.
My process:
- Select the correct file format for Blender (.blend preferred, but .obj/.fbx work too).
- Download and extract the model files, keeping textures and assets organized.
- Scan files for malware if the source is unfamiliar.
Pro tip: Keep a dedicated folder structure for models, textures, and references. It speeds up asset management.
Importing Models into Blender: My Workflow
Importing is usually seamless, but I always take a few extra steps to ensure compatibility.
How I import:
- Use
File > Importand choose the matching file type. - For .blend files, I often use
AppendorLinkto bring in specific objects or collections. - Check the model’s scale and orientation—many downloads use different units.
- Relink or repath missing textures as needed.
Pitfalls:
- Models may import with incorrect scale or axis alignment.
- Texture paths can break if files aren’t kept together.
Best Practices for Using Downloaded Blender Models
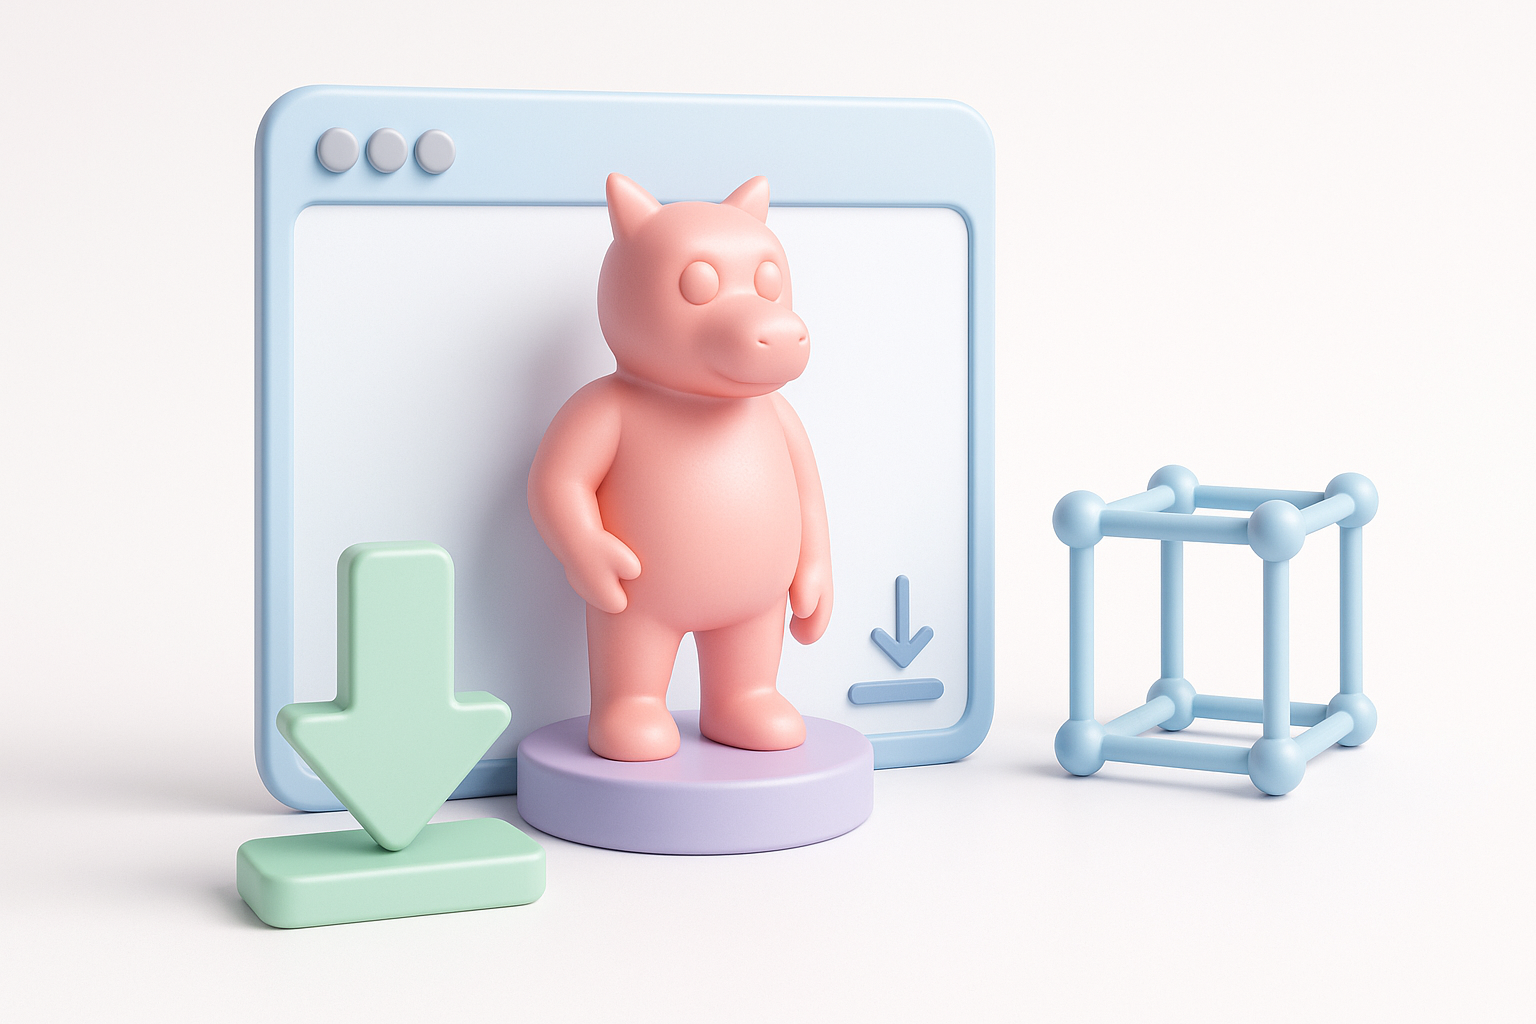
Optimizing Geometry and Textures
Downloaded models are rarely optimized out of the box. I always review geometry and textures before integrating them.
My optimization steps:
- Remove unnecessary subdivisions or hidden geometry.
- Merge duplicate vertices and clean up mesh topology.
- Compress or resize textures for real-time use, especially in games or XR.
Checklist:
- Check polycount against your project’s needs.
- Use Blender’s
DecimateorRemeshmodifiers for quick fixes.
Retopology, Rigging, and Preparing for Animation
If I need to animate or further edit a model, I make sure it’s ready for rigging and deformation.
What I do:
- Run a quick retopology pass if the mesh is dense or messy.
- Use Blender’s Rigify or similar tools for basic skeletons.
- Test simple deformations to catch issues early.
Tip: Platforms like Tripo often provide models with auto-retopology and basic rigging, which saves time if you need animation-ready assets.
Creating Custom 3D Models with AI Tools
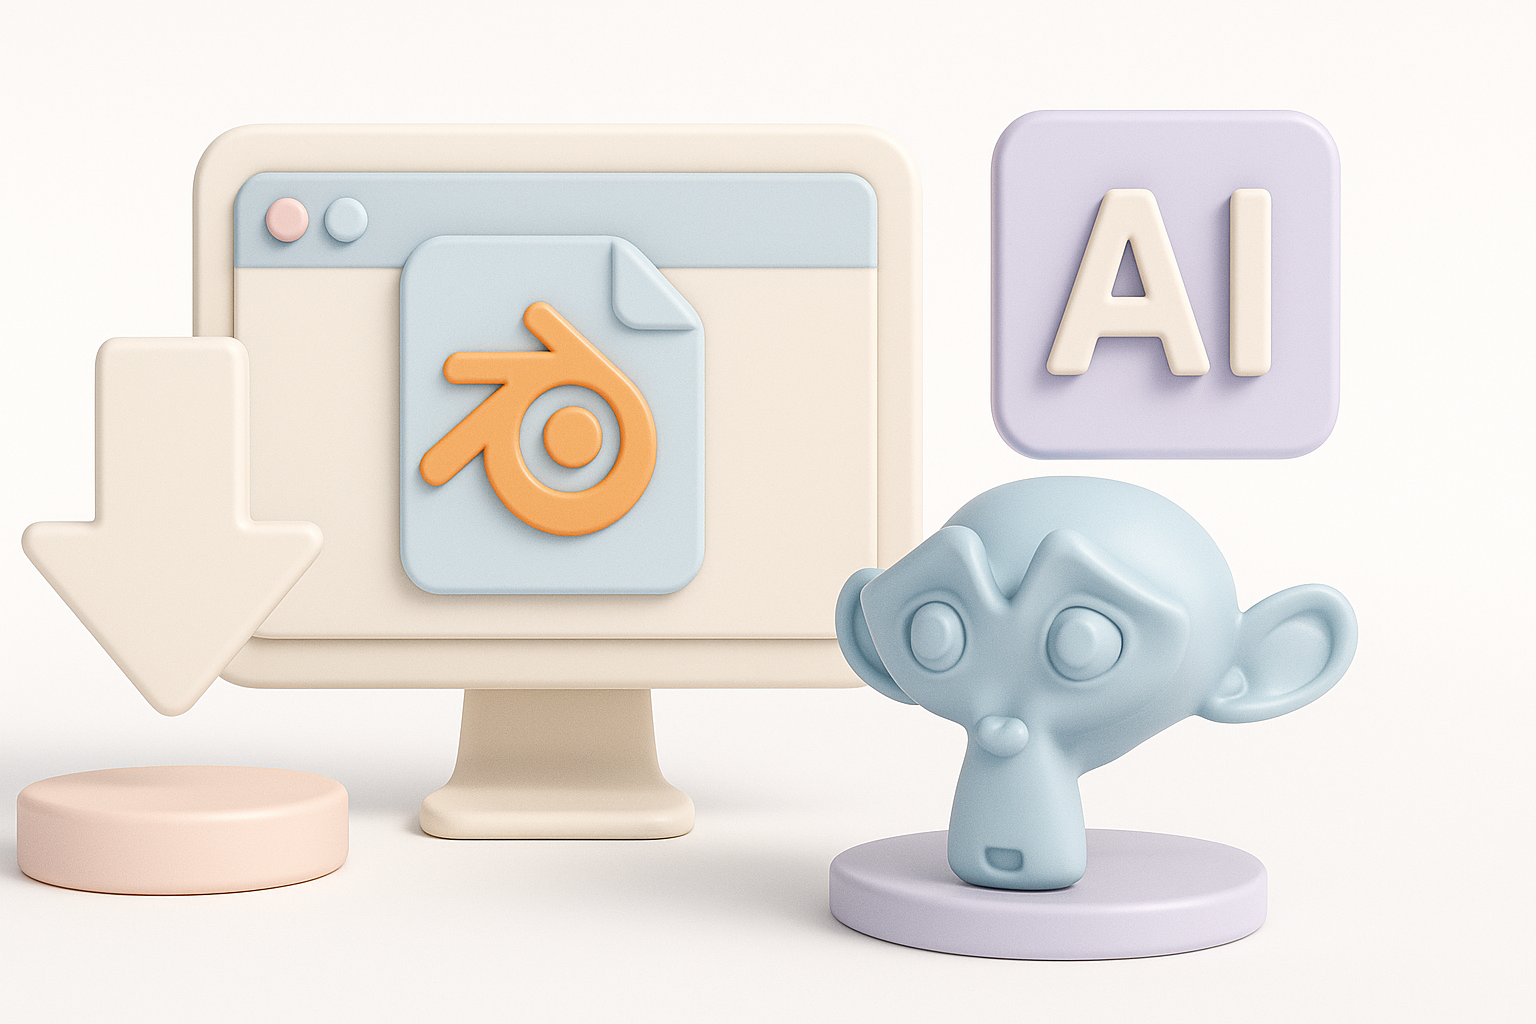
Generating Models from Text, Images, or Sketches
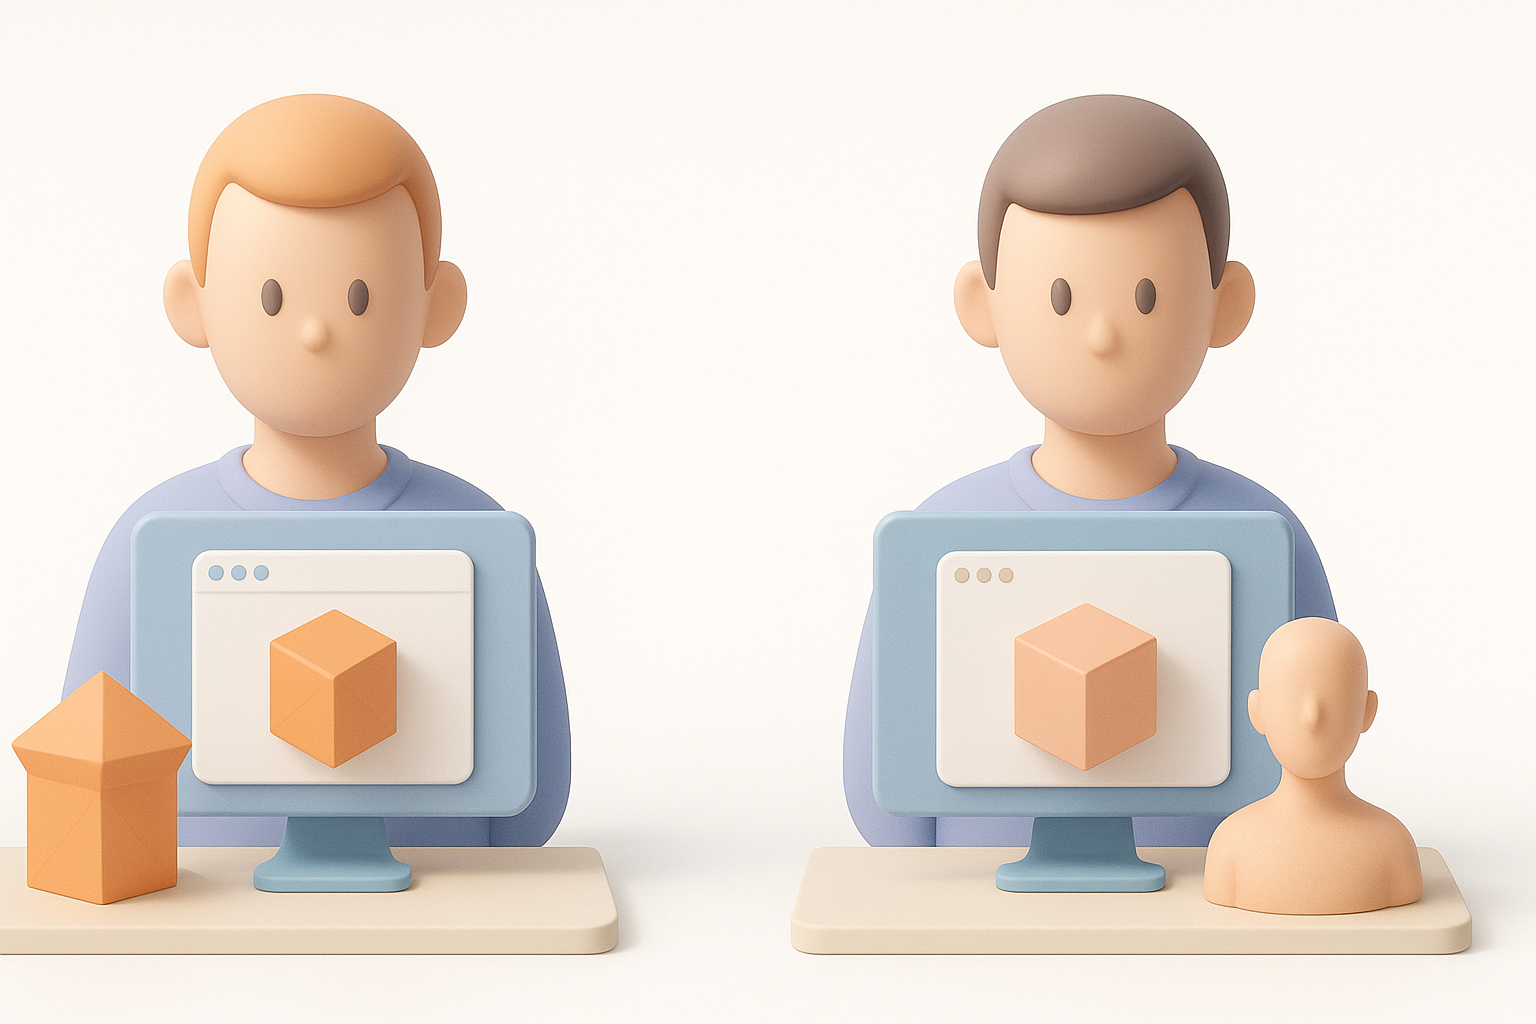
When I need something unique, I turn to AI-driven platforms. Tripo, for example, lets me generate 3D assets from a text prompt, reference image, or even a quick sketch.
How I use AI tools:
- Input a detailed prompt or upload a sketch/image.
- Tweak generation settings for style, complexity, or intended use.
- Download the model in a Blender-friendly format.
Benefits:
- Rapid prototyping for concept art or unique props.
- Bypasses the need for manual modeling for simple or repetitive assets.
Integrating AI-Generated Models into Blender Projects
AI-generated models usually need a quick check before use, but integration is similar to downloaded assets.
My workflow:
- Import the model as usual.
- Inspect geometry, UVs, and textures for compatibility.
- Use Blender’s tools for any final tweaks or optimizations.
Tip: AI-generated assets often come with clean topology and basic textures, but I always check for hidden n-gons or overlapping UVs.
Comparing Downloaded Models vs. AI-Generated Models
When to Use Each Approach
Based on my experience, the right choice depends on your project’s requirements:
- Downloaded models: Best for common objects, environments, or when you need highly polished, ready-made assets.
- AI-generated models: Ideal for unique props, rapid prototyping, or when you can’t find what you need elsewhere.
Decision factors:
- Time constraints and budget.
- Need for customization or originality.
- Technical requirements (polycount, rigging, etc.).
My Experience: Pros and Cons
Downloaded Models:
- Pros: Wide selection, often highly detailed, sometimes free.
- Cons: May need heavy optimization, licensing can be tricky, less customizable.
AI-Generated Models:
- Pros: Fast turnaround, customizable, good for unique or niche assets.
- Cons: May require manual cleanup, results can vary with prompt quality.
In summary:
A streamlined workflow for sourcing, importing, and optimizing Blender 3D models—combined with the power of AI-driven tools—can dramatically speed up your creative process. Whether you’re using downloaded assets or generating your own, always check quality, licensing, and project compatibility. This approach has saved me countless hours and helped me deliver better results, faster.
