Creating and Optimizing Beta Samati 3D Models: Expert Workflow
Building accurate and production-ready 3D models of Beta Samati requires a blend of historical research, careful reference selection, and efficient use of AI-powered tools. In my workflow, I prioritize fidelity to the archaeological record while leveraging automation to handle segmentation, retopology, texturing, and rigging. This guide is for 3D artists, game developers, and XR creators who want to streamline their Beta Samati projects without sacrificing detail or compatibility. Below, I share my hands-on process, common pitfalls, and practical checklists for each stage of the pipeline.
Key takeaways
- Start with strong references: Historical accuracy depends on reliable images, sketches, and documentation.
- Use AI tools for speed and consistency: Modern platforms like Tripo AI can automate segmentation, retopology, and texturing with high quality.
- Manual checks remain essential: Always review auto-generated outputs for errors, especially in culturally significant details.
- Optimize for your target engine: Proper export settings and file formats prevent downstream issues in games or XR.
- Rigging and animation prep should happen before export: Ensures smooth integration into real-time environments.
Understanding Beta Samati and Its 3D Modeling Needs
Historical and Cultural Context
Beta Samati is an ancient archaeological site with unique artifacts and architecture. My experience has shown that understanding the site's historical context is essential before starting any 3D modeling project. I usually study excavation reports, museum collections, and academic articles to grasp the cultural significance of the objects or structures I’m recreating.
Key Features for Accurate Representation
Capturing Beta Samati’s distinct features—like masonry patterns, artifact wear, and iconography—requires attention to detail. I focus on:
- Characteristic shapes and proportions
- Surface textures (stone, ceramics, metal)
- Decorative motifs and inscriptions
Missing these can result in models that feel generic or inaccurate, so I cross-reference details at each step.
My Approach to Generating Beta Samati 3D Models
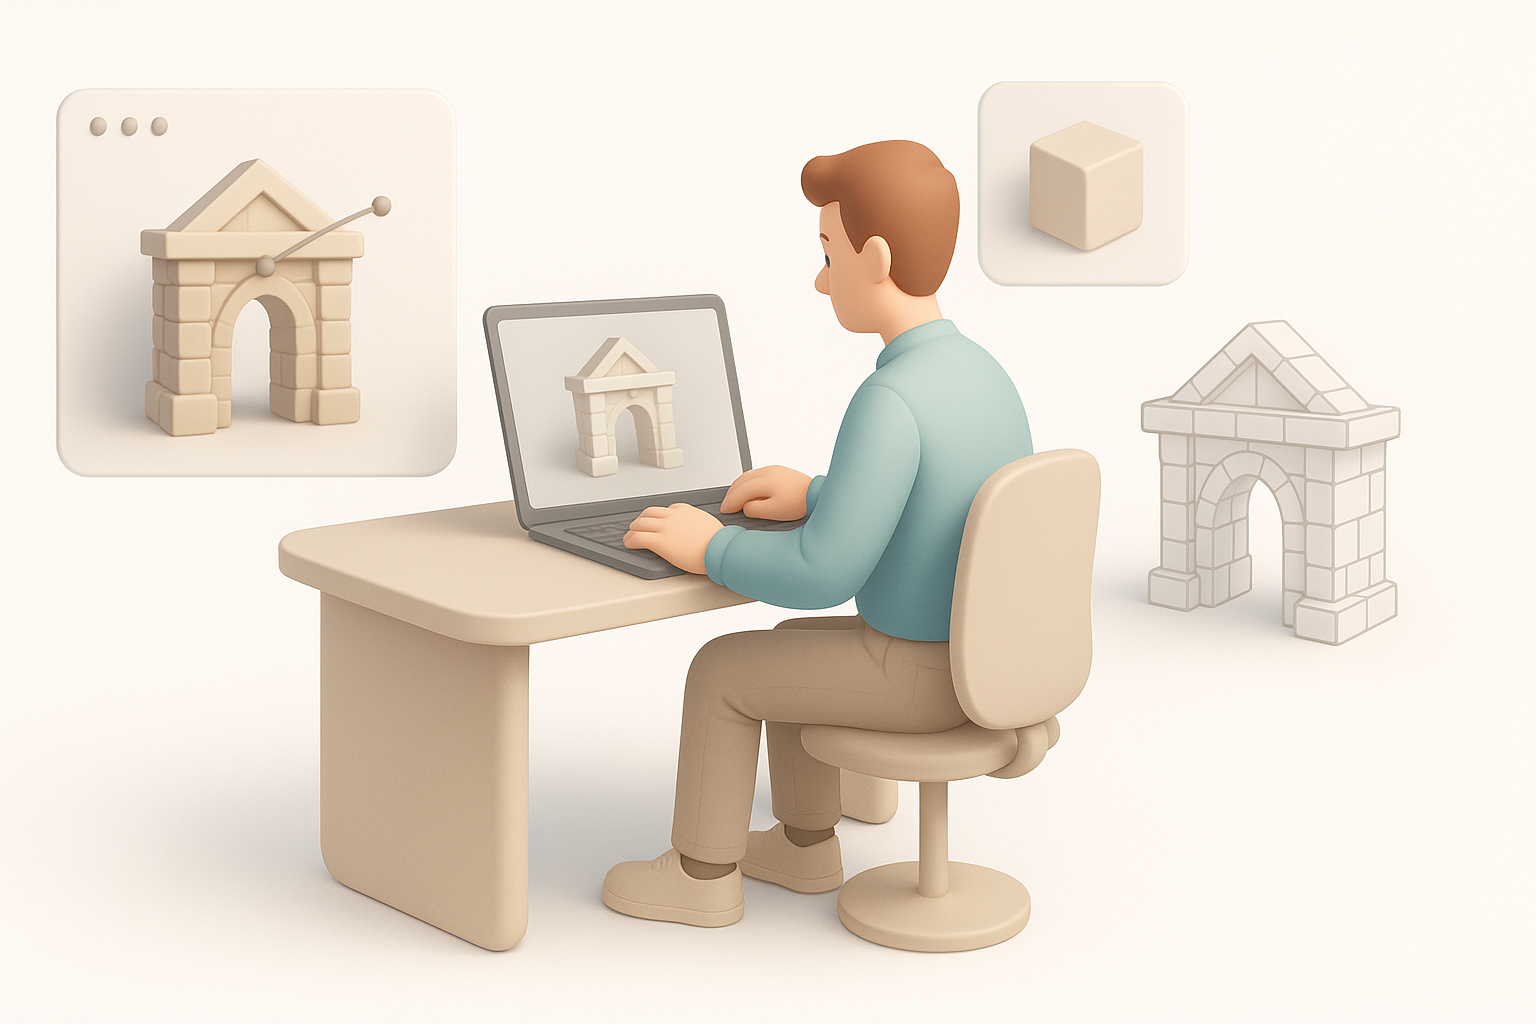
Choosing Reference Materials
I begin by gathering high-resolution images, sketches, and any available 3D scans. My checklist includes:
- Multiple angles per object/structure
- Scale references (rulers, known objects)
- Lighting consistency for texture extraction
I avoid relying on a single source, as composite references reduce errors and fill gaps.
Selecting the Right AI-Powered Tools
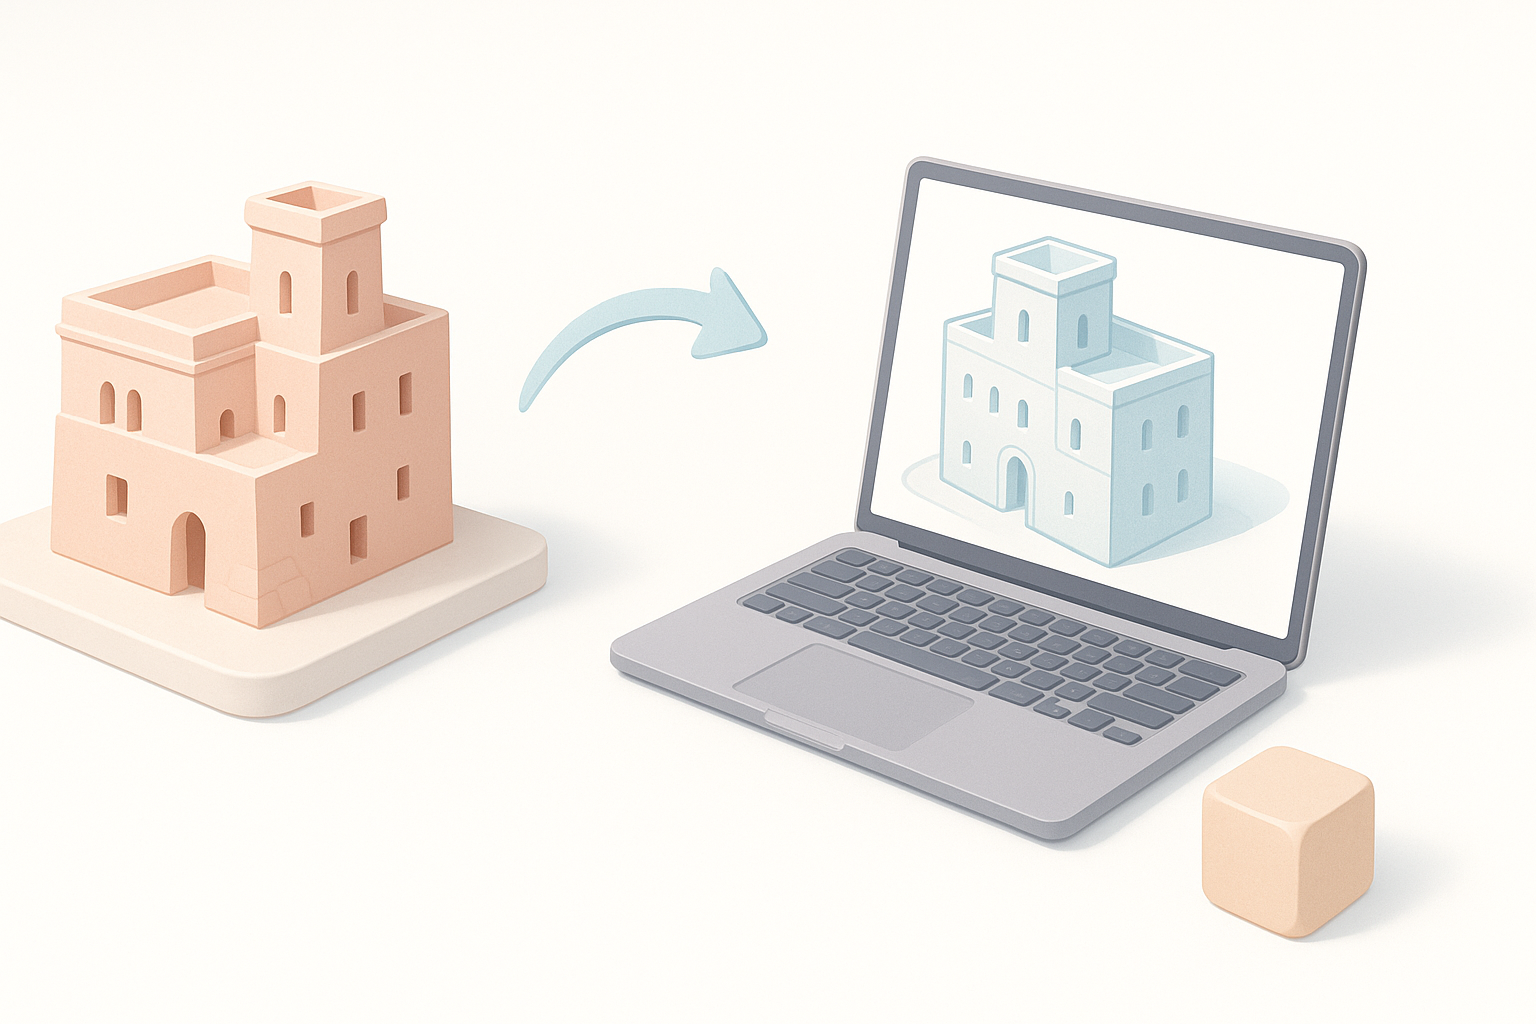
For speed and repeatability, I use platforms like Tripo AI to generate base meshes and apply textures from my references. What I’ve found effective:
- Start with clear, well-lit images or line sketches for best results
- Use built-in segmentation to isolate complex objects from backgrounds
- Test multiple prompts or input variations to improve output fidelity
If the AI output misses critical details, I supplement with manual sculpting or texture painting.
Best Practices for Segmentation, Retopology, and Texturing
Intelligent Segmentation Techniques
Accurate segmentation is crucial, especially for artifacts with intricate outlines. My process:
- Use AI segmentation to extract the subject from cluttered backgrounds.
- Manually refine masks for objects with fine details or overlapping elements.
- Check for missing parts—AI can sometimes omit thin features or holes.
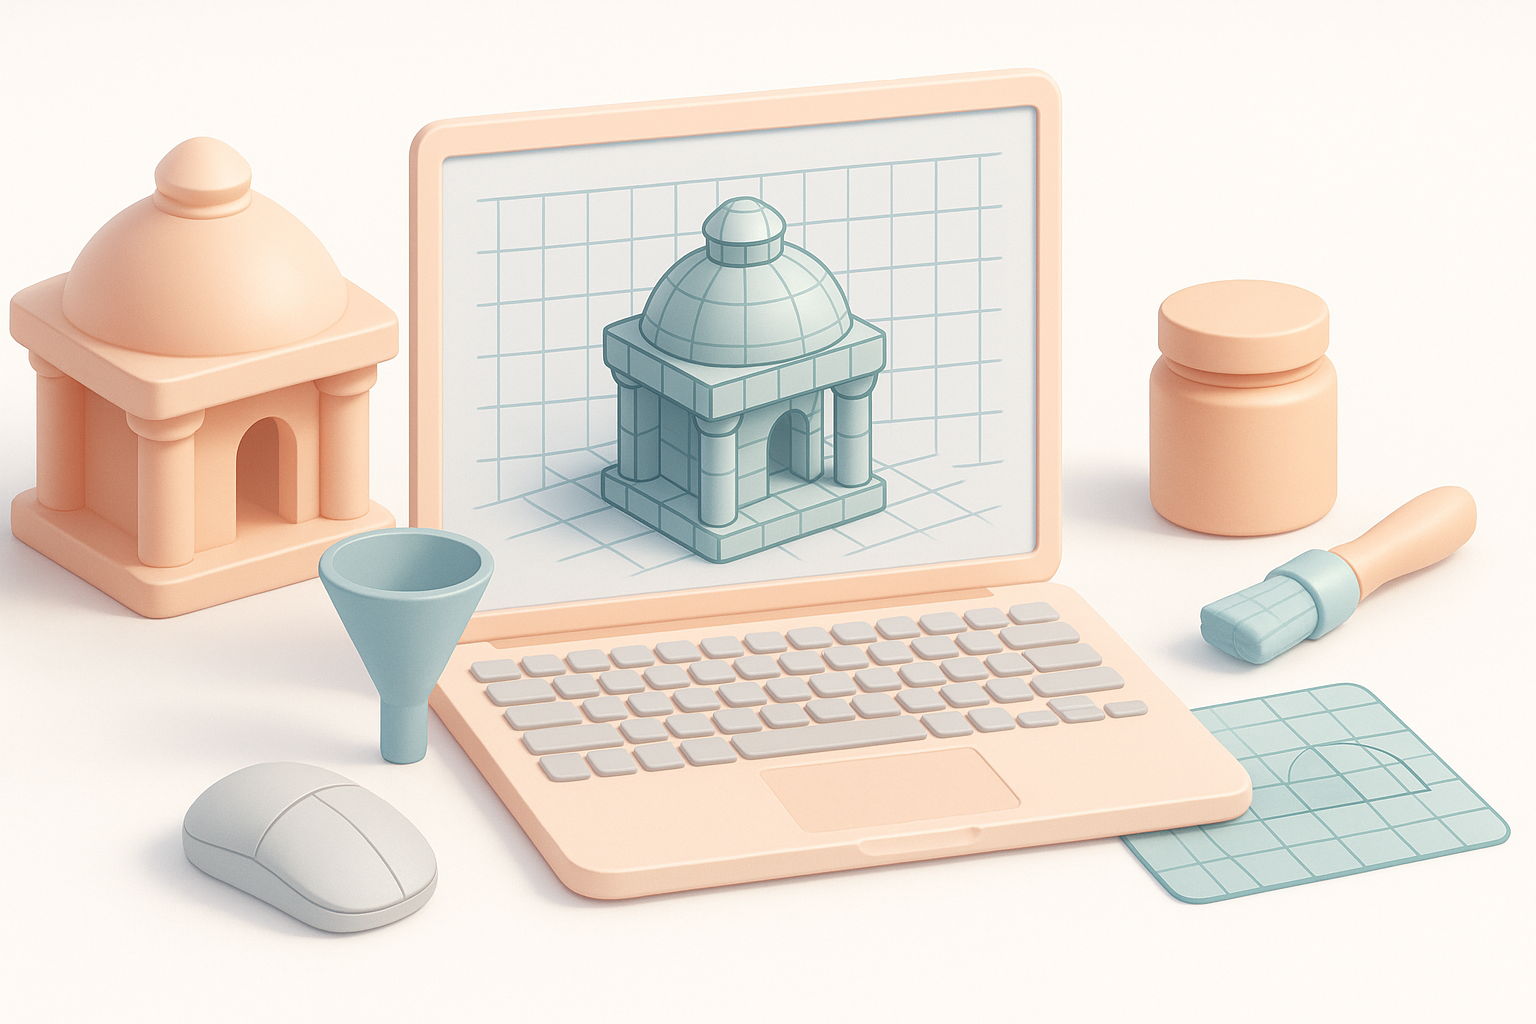
Efficient Retopology and Texture Mapping
Efficient retopology ensures models are lightweight but detailed. I typically:
- Let the AI auto-retopologize, then inspect edge flow and polygon count
- Adjust topology for animation needs (e.g., add loops at joints)
- Use AI-generated texture maps as a base, but tweak UVs for seamlessness
Common pitfall: ignoring UV stretching, which can ruin artifact inscriptions or patterns.
Rigging and Animation for Beta Samati Models
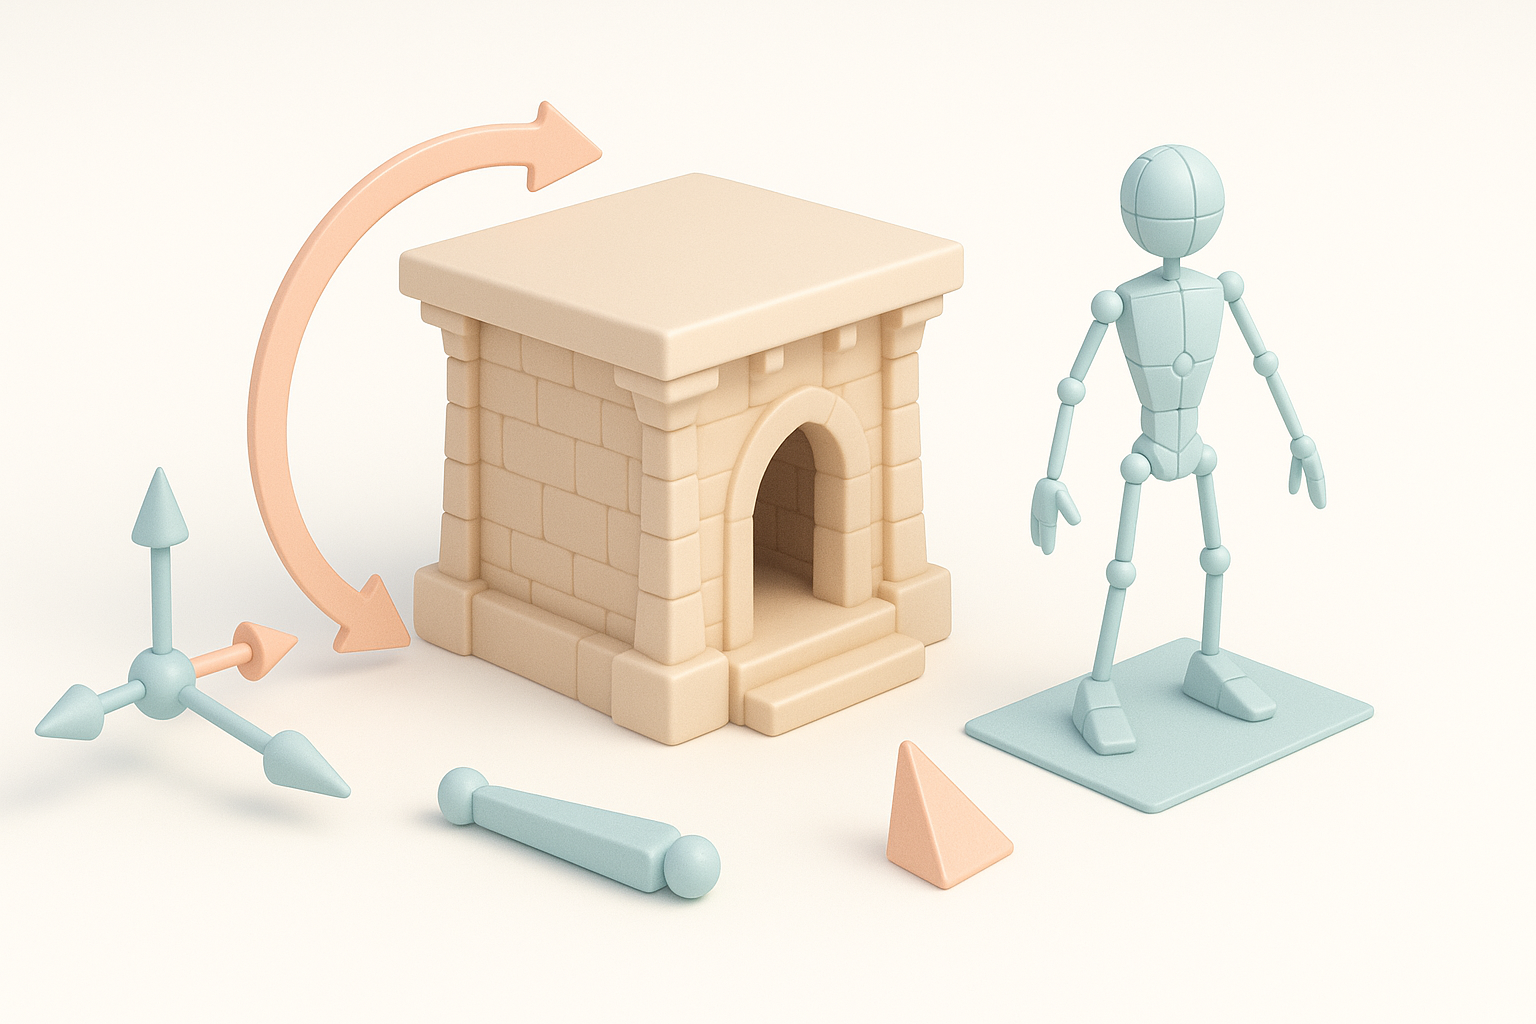
Preparing Models for Animation
Not every Beta Samati model needs animation, but for interactive experiences, I:
- Simplify geometry where deformation is required (e.g., moving doors or lids)
- Separate rigid and flexible parts in the model hierarchy
- Test basic deformations before rigging
Integrating Rigging Workflows
I use automated rigging when possible, then manually adjust bone placement for artifacts with unusual shapes. My tips:
- Use AI tools for initial skeleton generation
- Manually weight-paint vertices to avoid unwanted distortions
- Export test animations to catch errors early
Comparing AI-Driven and Traditional 3D Modeling Methods
Speed and Quality Differences
AI-driven workflows like those with Tripo AI are dramatically faster—models that once took days now take minutes. However:
- AI excels at base meshes and repetitive tasks
- Traditional methods are better for custom sculpting and fine-tuning
I often blend both, using AI for 80% of the work and finishing by hand.
When to Use Alternative Methods
If the model requires extreme fidelity (museum display, scientific visualization), I lean on traditional modeling and photogrammetry. For most game/XR use cases, AI-generated models are more than sufficient, provided I review and polish them.
Tips for Production-Ready Output and Export
Ensuring Compatibility with Game Engines and XR
Before export, I always:
- Check polycount and texture sizes against engine limits
- Test model imports in the target environment (Unity, Unreal, WebXR)
- Bake lighting or normal maps if needed for real-time rendering
Optimizing File Formats and Asset Delivery
I export in widely compatible formats (FBX, GLB, OBJ) and include all texture maps. My best practices:
- Name files and texture sets clearly (e.g.,
betasamati_stela_diffuse.png) - Compress textures without visible quality loss
- Document scale and orientation for downstream users
By following these steps, I consistently deliver Beta Samati 3D models that are both authentic and ready for production—whether for games, XR, or educational visualization.


