How to Create and Use 3D Models for BeamNG.drive
Creating 3D models for BeamNG.drive can be both rewarding and technically demanding. In my experience, success hinges on understanding the game’s requirements, optimizing assets for real-time performance, and leveraging modern tools—including AI-powered platforms—to accelerate the process. This guide is for modders, artists, and developers who want to efficiently create, import, and optimize 3D models for BeamNG.drive. I’ll walk you through my workflow, highlight common pitfalls, and share practical tips for integrating AI-generated assets.
Key takeaways
- BeamNG.drive requires specific file formats and optimized assets for smooth gameplay.
- Proper planning and reference gathering streamline the modeling process.
- Retopology and texture optimization are crucial for real-time performance.
- AI-powered tools like Tripo can speed up asset creation while retaining creative control.
- Always test and troubleshoot models in-game for compatibility and performance.
- Engage with the BeamNG.drive modding community for support and resources.
Understanding BeamNG.drive 3D Model Requirements
Supported file formats and polycount guidelines
BeamNG.drive primarily supports the .dae (Collada) format for importing 3D models. I’ve found that keeping models under 100,000 triangles per vehicle (preferably much lower) ensures stable performance, especially for complex scenes or multiplayer.
Mini-checklist:
- Export models as
.daefiles. - Keep individual meshes well below 50,000 triangles.
- Use 2K or smaller textures for most assets.
Common challenges and compatibility tips
Common issues include missing textures, broken normals, or models not appearing in-game. These usually stem from incorrect export settings or unsupported material setups.
What I’ve learned:
- Always apply scale and transforms before export.
- Use simple, game-friendly materials (avoid complex shaders).
- Double-check texture paths—relative paths work best.
My Workflow for Creating BeamNG.drive 3D Models
Concept to model: Planning and reference gathering
Before touching any modeling software, I gather real-world references and sketch out rough concepts. This helps me define the model’s proportions and unique features.
My process:
- Collect blueprints, photos, or in-game references.
- Sketch key angles and details.
- Outline required parts (body, wheels, interior, etc.).
Modeling, retopology, and texturing best practices
I start with a high-poly sculpt or blockout, then retopologize for game-ready geometry. For retopology and UV unwrapping, I prefer tools that offer automation with manual override—Tripo AI has been effective for quick, clean base meshes.
Tips:
- Prioritize clean edge flow for deformation (especially vehicles).
- Use automated retopology for base meshes, then refine manually.
- Bake normal and AO maps from high to low poly.
- Keep texture atlases organized and efficient.
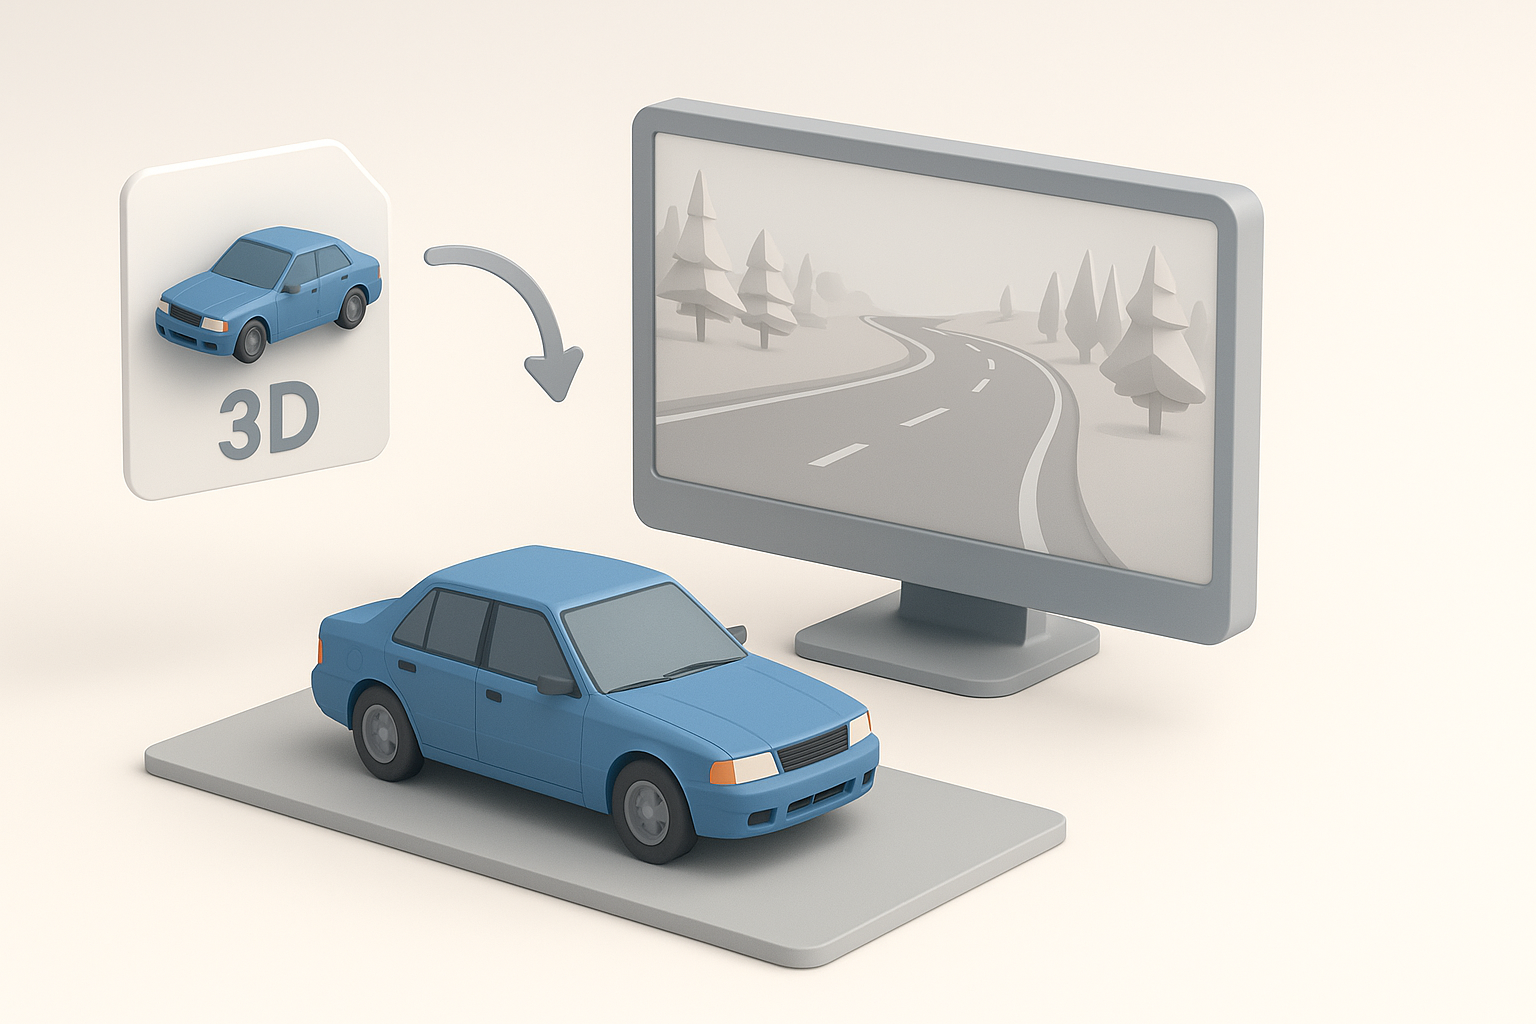
Importing and Testing 3D Models in BeamNG.drive
Preparing files for import
After modeling and texturing, I prep the asset for BeamNG.drive:
- Freeze all transforms and apply correct scale (usually 1 unit = 1 meter).
- Name objects and materials clearly.
- Export as
.dae, ensuring all textures are in the correct directory.
Checklist:
- Double-check UVs and normals.
- Test material assignments in a 3D viewer before import.
In-game testing and troubleshooting
Once imported, I test the model in BeamNG.drive’s editor:
- Check for missing parts, flipped normals, or texture issues.
- Test collisions and physics (especially for vehicles).
- Adjust JBeam files for correct behavior.
Common pitfalls:
- Overlapping vertices causing shading errors.
- Incorrect collision meshes leading to buggy physics.
Optimizing 3D Models for Performance
Reducing polycount and optimizing textures
Performance is key in BeamNG.drive. I decimate unnecessary geometry and use texture baking to simulate detail.
What works for me:
- Use LODs (Level of Detail) for complex assets.
- Compress textures without significant quality loss.
- Remove hidden or internal faces.
Balancing detail and performance
Finding the sweet spot between fidelity and speed is crucial. I focus detail where it matters (exterior, cockpit) and simplify less-visible areas.
Best practices:
- Prioritize silhouette and major forms.
- Use normal maps for small details.
- Profile assets in-game to spot bottlenecks.
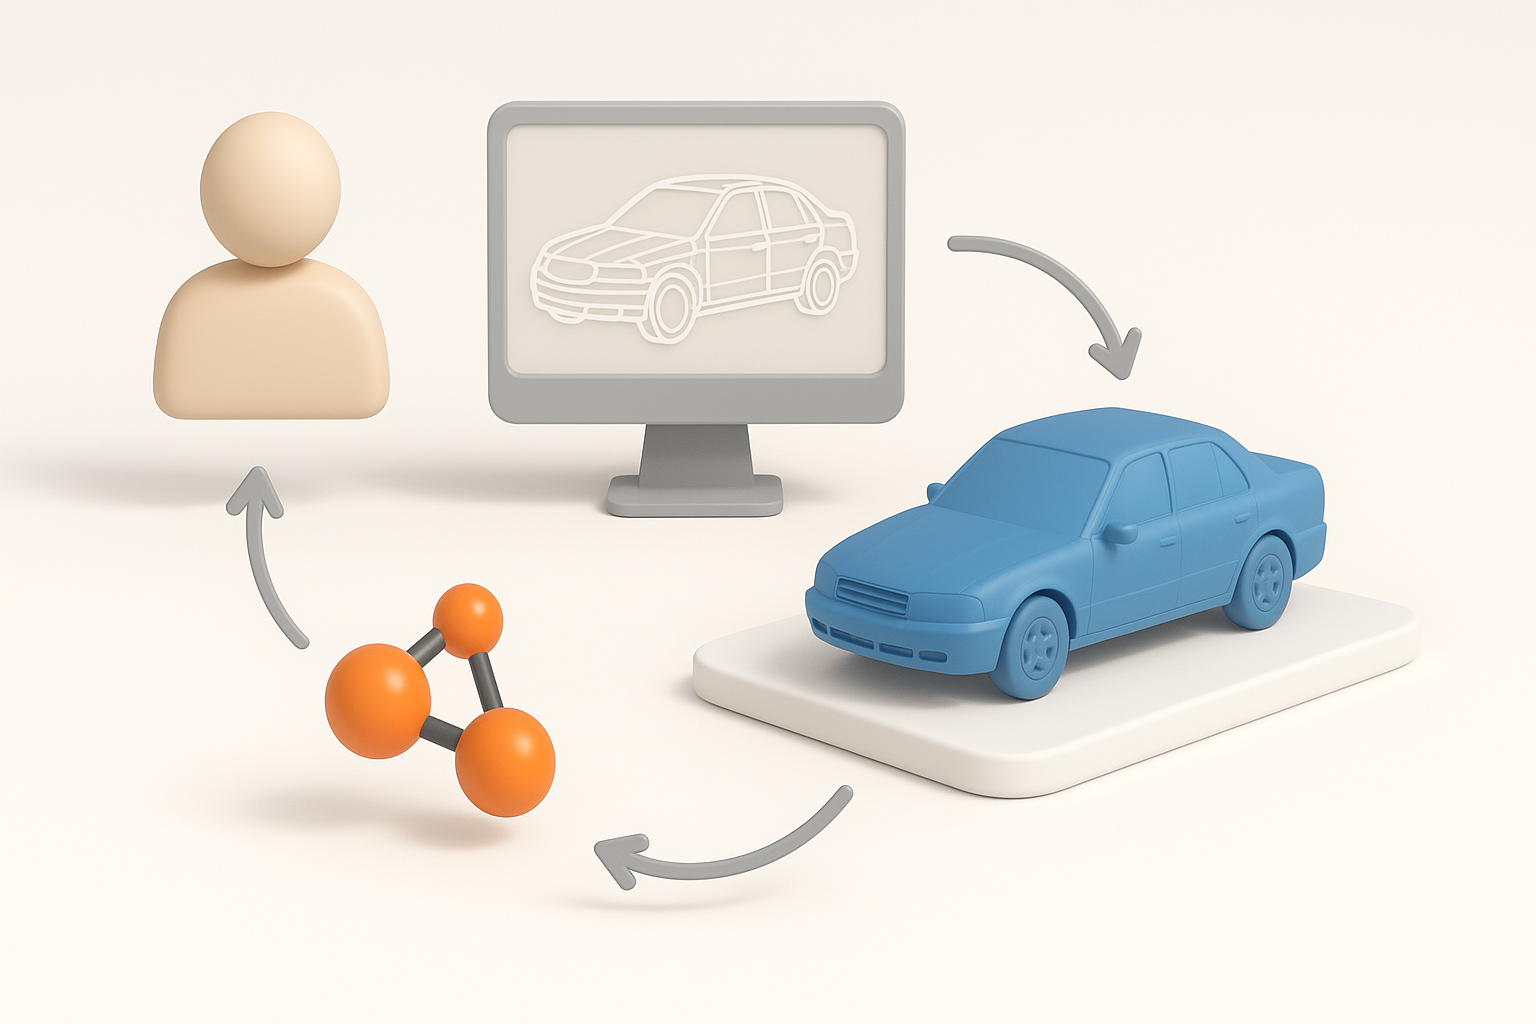
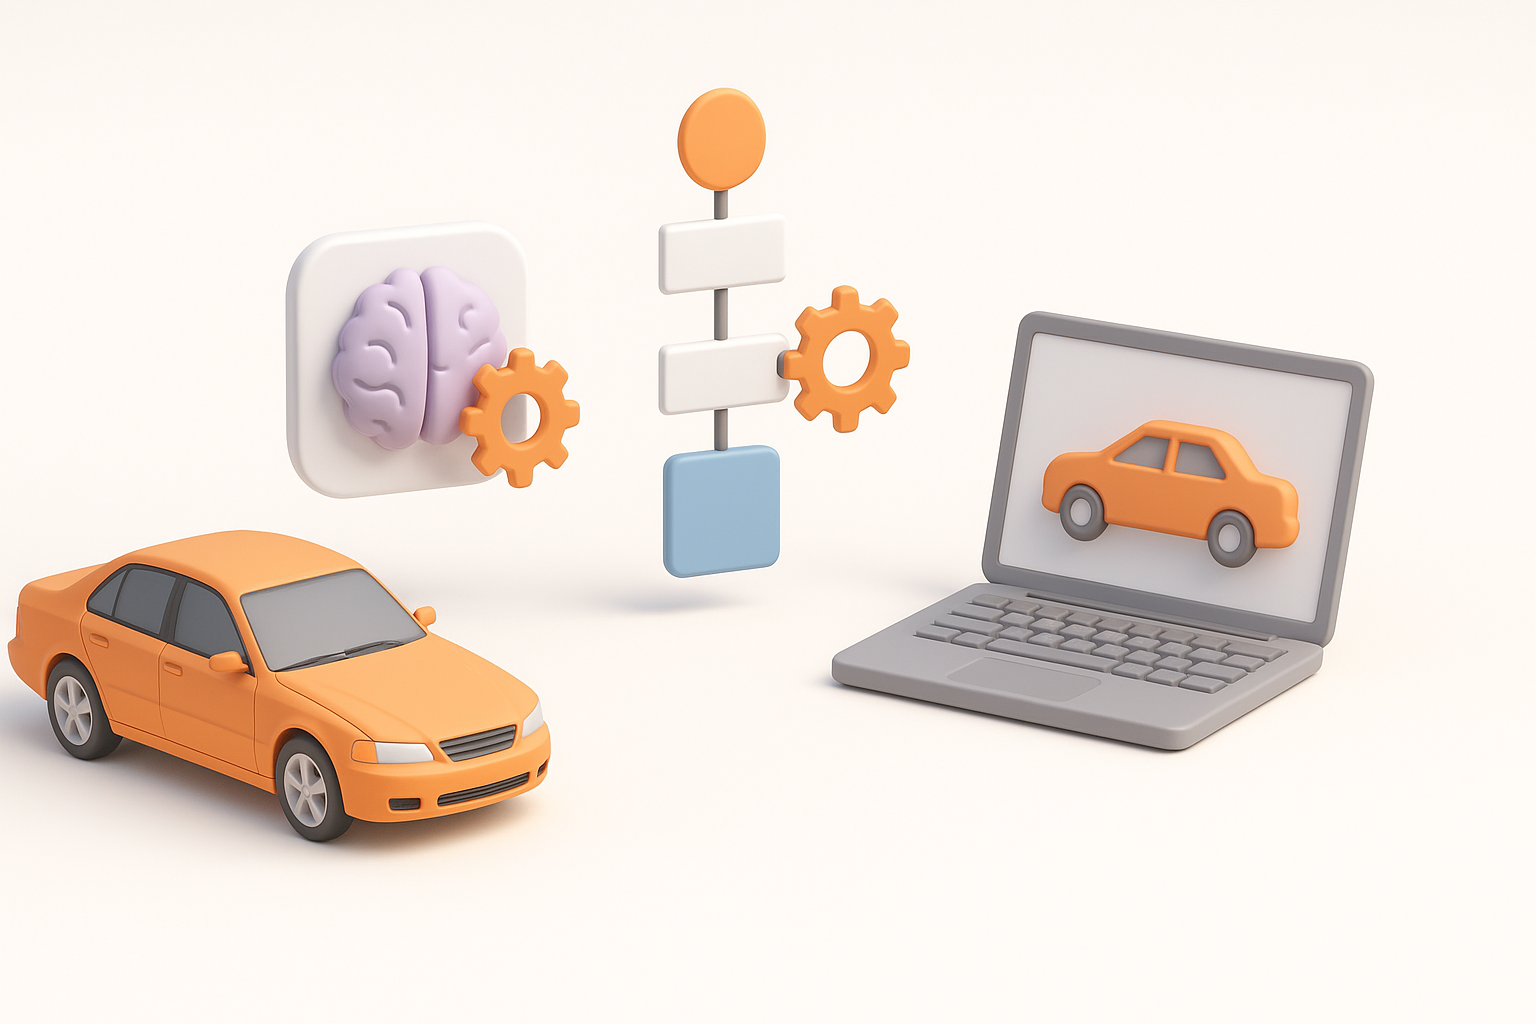
AI Tools and Automation in the BeamNG.drive Workflow

How I use AI-powered platforms for faster modeling
AI-driven platforms like Tripo have streamlined my workflow, especially for rapid prototyping and creating base meshes from text or sketches. These tools handle segmentation, retopology, and texturing, letting me focus on refinement and customization.
How I use them:
- Generate initial meshes from prompts or references.
- Quickly retopologize and unwrap UVs.
- Use AI-generated textures as a starting point.
Integrating AI-generated assets with manual adjustments
While AI tools save time, manual tweaking is essential for game-ready results. I always review and adjust geometry, materials, and UVs before final export.
My approach:
- Refine AI-generated topology for deformation and physics.
- Adjust textures to match BeamNG.drive’s requirements.
- Test and iterate in-game for seamless integration.
Alternative Methods and Community Resources
Other tools and plugins I’ve tried
Beyond AI platforms, I’ve experimented with various modeling suites and plugins for export, UV mapping, and texture baking. Each tool has its strengths, but integration and export compatibility are always top priorities.
Consider:
- Plugins for direct
.daeexport. - Automated UV packing tools.
- Custom scripts for batch processing.
Learning from the BeamNG.drive modding community
The BeamNG.drive modding community is an invaluable resource. Forums, Discord servers, and documentation often provide solutions to niche problems and showcase innovative workflows.
My advice:
- Share your work and ask for feedback.
- Study open-source mods for best practices.
- Stay updated on game engine changes and requirements.
By following these steps and leveraging both manual and AI-assisted workflows, I’ve been able to create high-quality, optimized assets for BeamNG.drive. The key is balancing creativity with technical constraints—and always testing your models in-game before release.


