Creating and Optimizing Arm 3D Models: Expert Workflow
скачать 3d модели для chicken gun
As someone who’s built 3D arms for games, film, and XR, I know the process can be both technical and creative. This article walks through my practical workflow for modeling, texturing, rigging, and animating arm 3D models—whether you’re working manually or using AI-powered tools like Tripo. I’ll cover key technical considerations, best practices for production-ready assets, and how automation fits into a modern 3D pipeline. If you need reliable, animation-ready arm models—fast—this guide is for you.
Key takeaways
- Start with strong references and clear requirements for the final use case.
- Prioritize clean topology and proportion accuracy early in the modeling process.
- Use retopology and texturing techniques that suit your style (realistic or stylized).
- Rigging and skinning require careful attention to joint placement and deformation.
- AI-powered tools like Tripo can accelerate asset creation, but manual refinement is often necessary.
- Always prepare models for the intended engine or platform, with optimized exports and asset management.
Understanding Arm 3D Models: Applications and Requirements
Common uses in games, film, and XR
In my experience, arm 3D models are everywhere—from first-person games to animated films and XR applications. Each context has unique demands:
- Games: Require low to mid-poly arms with good deformation for animation.
- Film/VFX: Higher poly counts, more detail, and often more complex shaders.
- XR/VR: Focus on performance and real-time interaction, sometimes with simplified geometry.
Key technical considerations for arm models
Before starting, I always clarify:
- Intended use: Animation, static render, or real-time?
- Polycount targets: Based on platform and performance needs.
- Topology flow: Especially around joints (elbow, wrist) for smooth bending.
- UV layout: Efficient use of texture space with minimal stretching.
My Step-by-Step Workflow for Modeling an Arm in 3D
Reference gathering and concept planning
Good reference is non-negotiable. I gather:
- Multiple angles (photos, anatomy diagrams, 3D scans)
- Style references (realistic, stylized, robotic, etc.)
- Contextual shots (how the arm connects to the body or holds objects)
Checklist:
- Real-world anatomy references
- Style guides from the project
- Clear silhouette and proportion targets
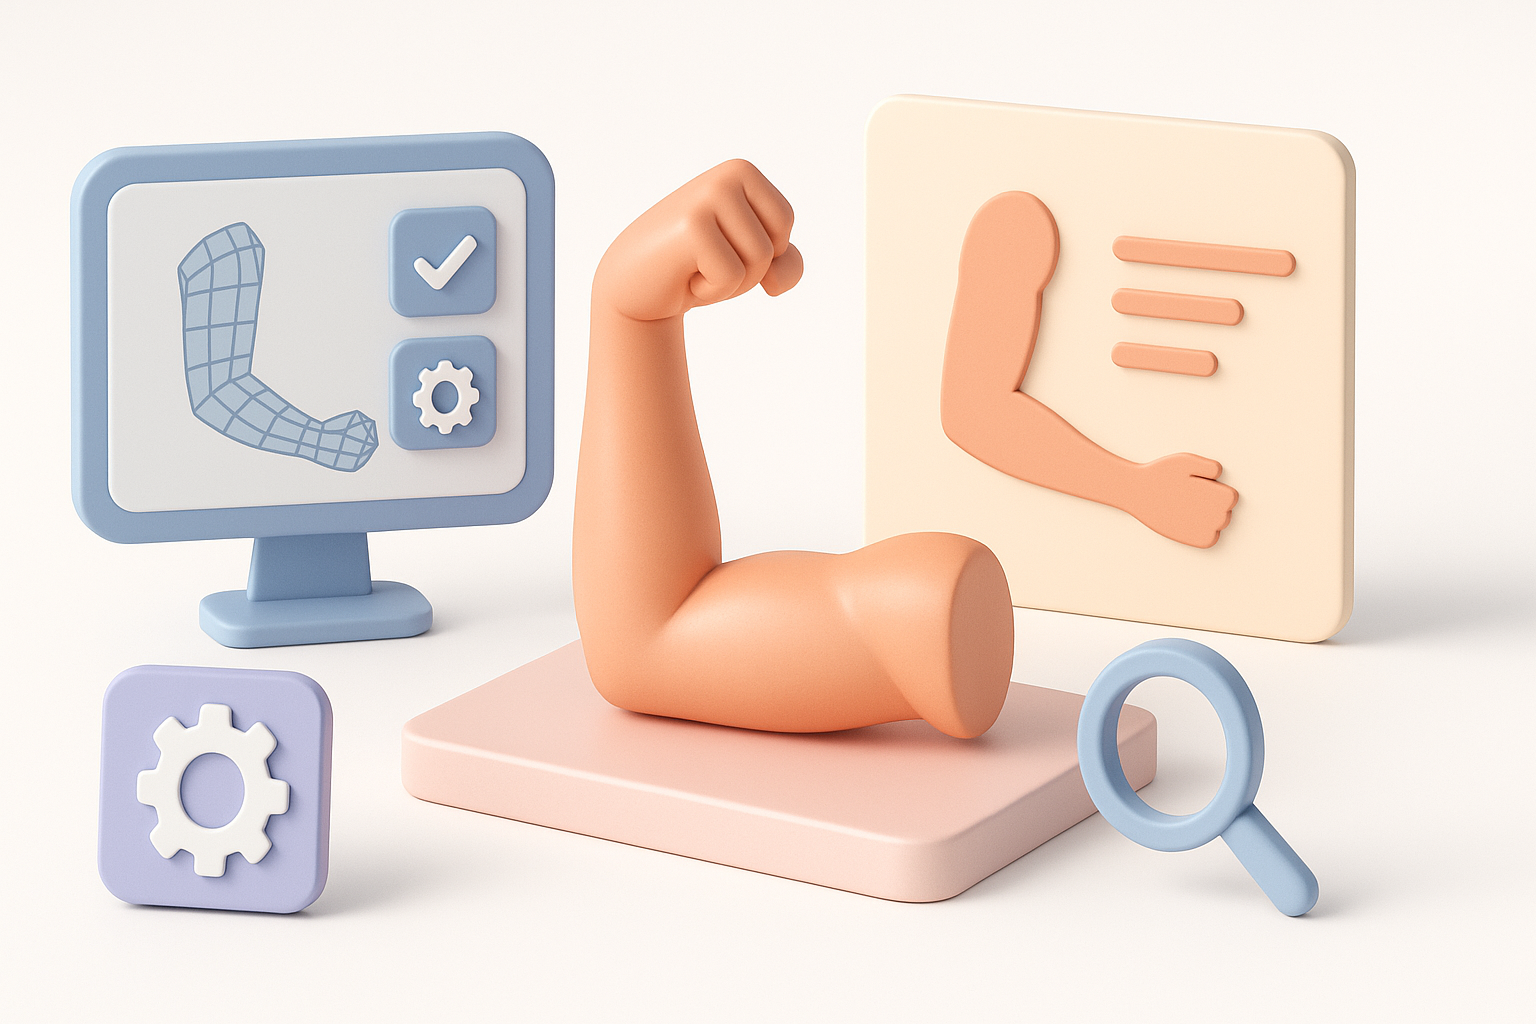
Blocking out the arm: Shape and proportions
I start with basic shapes—cylinders or cubes—to block out the arm’s main volumes. Key steps:
- Establish shoulder, elbow, wrist, and hand landmarks.
- Adjust proportions to match reference.
- Keep geometry simple (8–16 sides for cylinders at this stage).
Pitfalls:
- Overcomplicating early geometry
- Ignoring natural muscle flow or joint placement
Texturing, Retopology, and Detailing: Best Practices
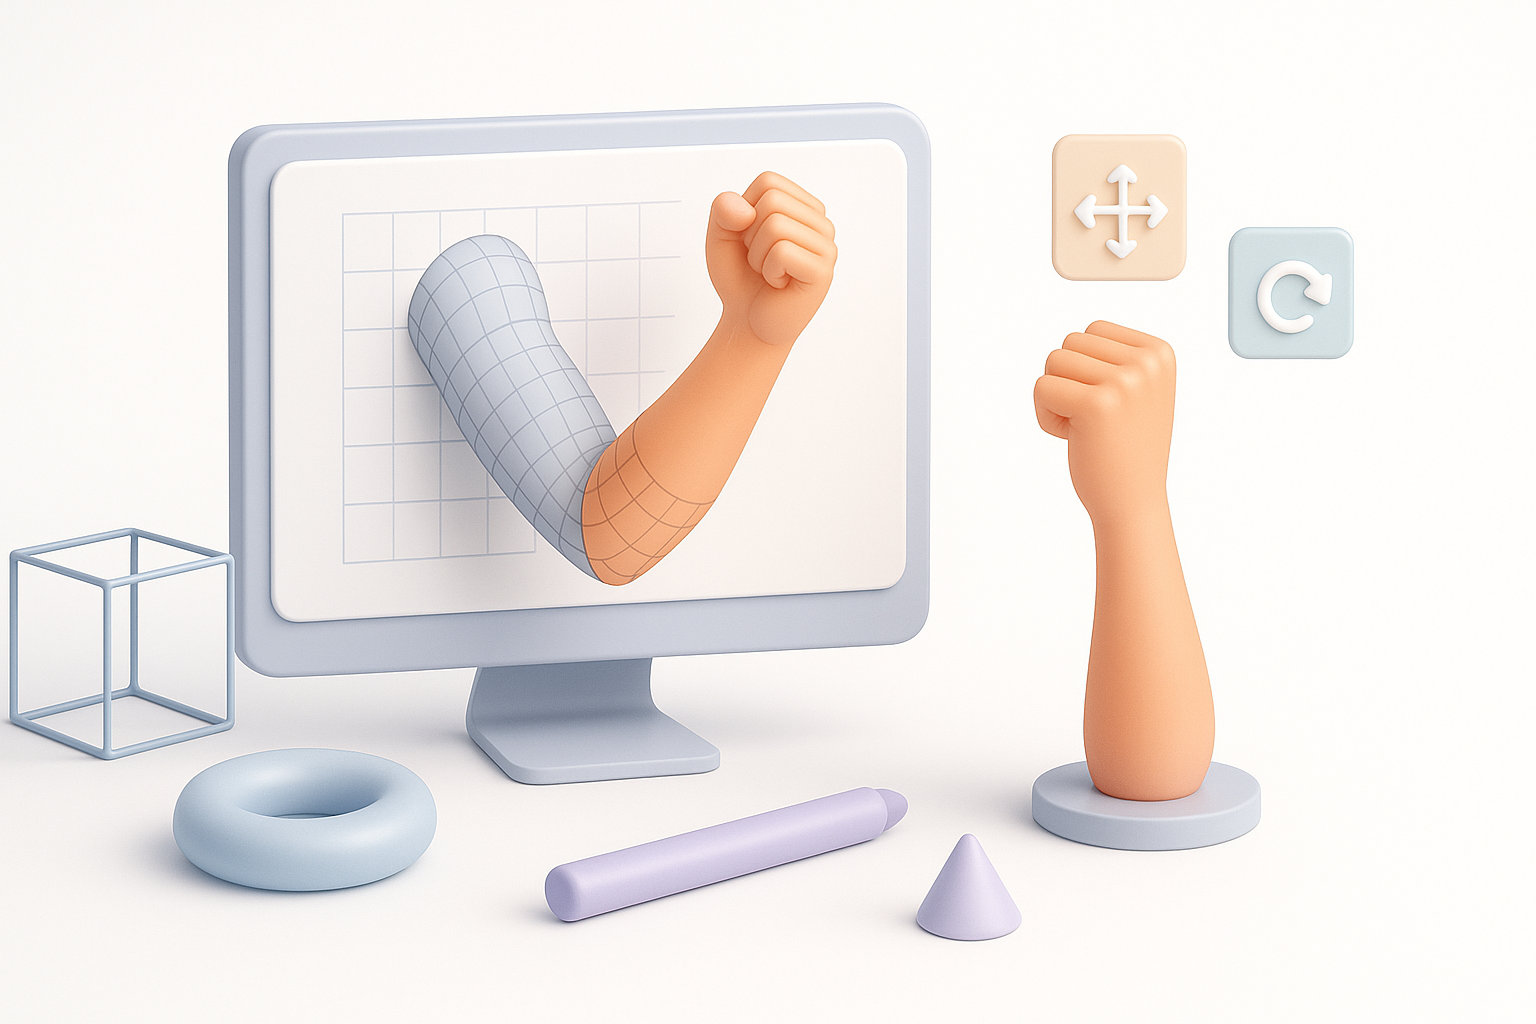
Efficient retopology for animation-ready arms
Clean topology is crucial for deformation. My routine:
- Use quad-based topology, especially around elbows and wrists.
- Add edge loops where bending occurs.
- Use retopology tools (manual or AI-powered) for speed.
Mini-checklist:
- Evenly spaced quads
- Extra loops at joints
- No poles or n-gons on bending surfaces
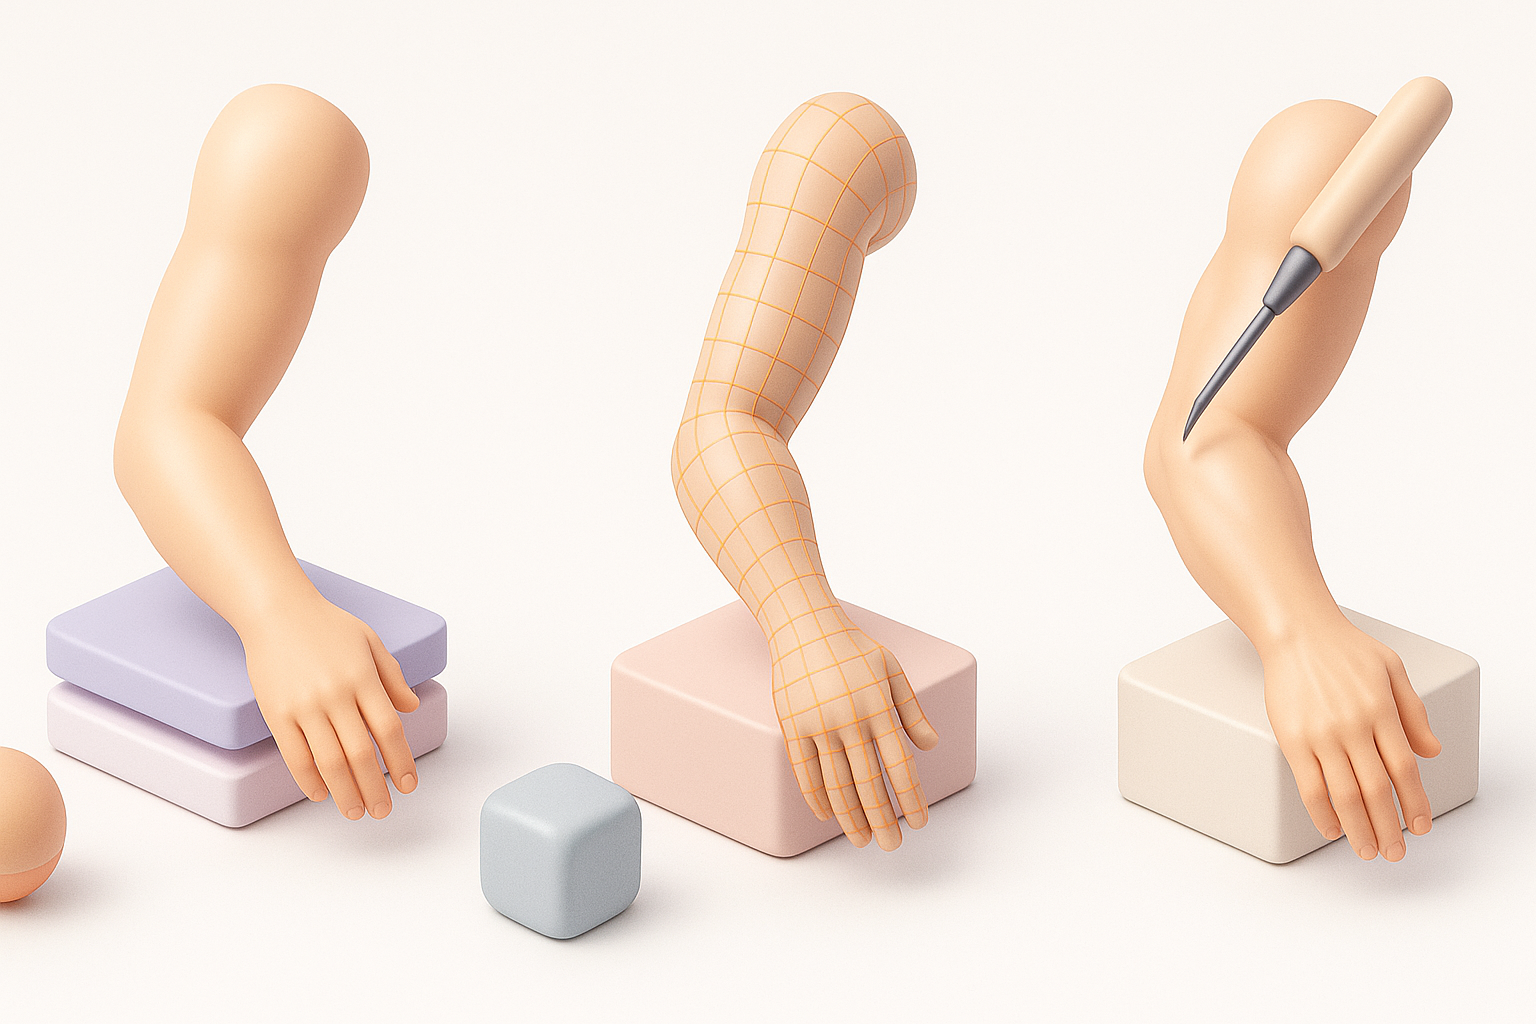
Texturing tips for realistic or stylized results
For texturing, I decide early on the style:
- Realistic: Use high-res photo references, bake normal maps, and pay attention to skin details.
- Stylized: Focus on bold shapes, color blocking, and hand-painted details.
Workflow:
- UV unwrap with minimal stretching.
- Paint or bake textures (using Substance, Photoshop, or Tripo’s built-in tools).
- Preview in engine or renderer to check for artifacts.
Rigging and Animating Arm Models: What I’ve Learned
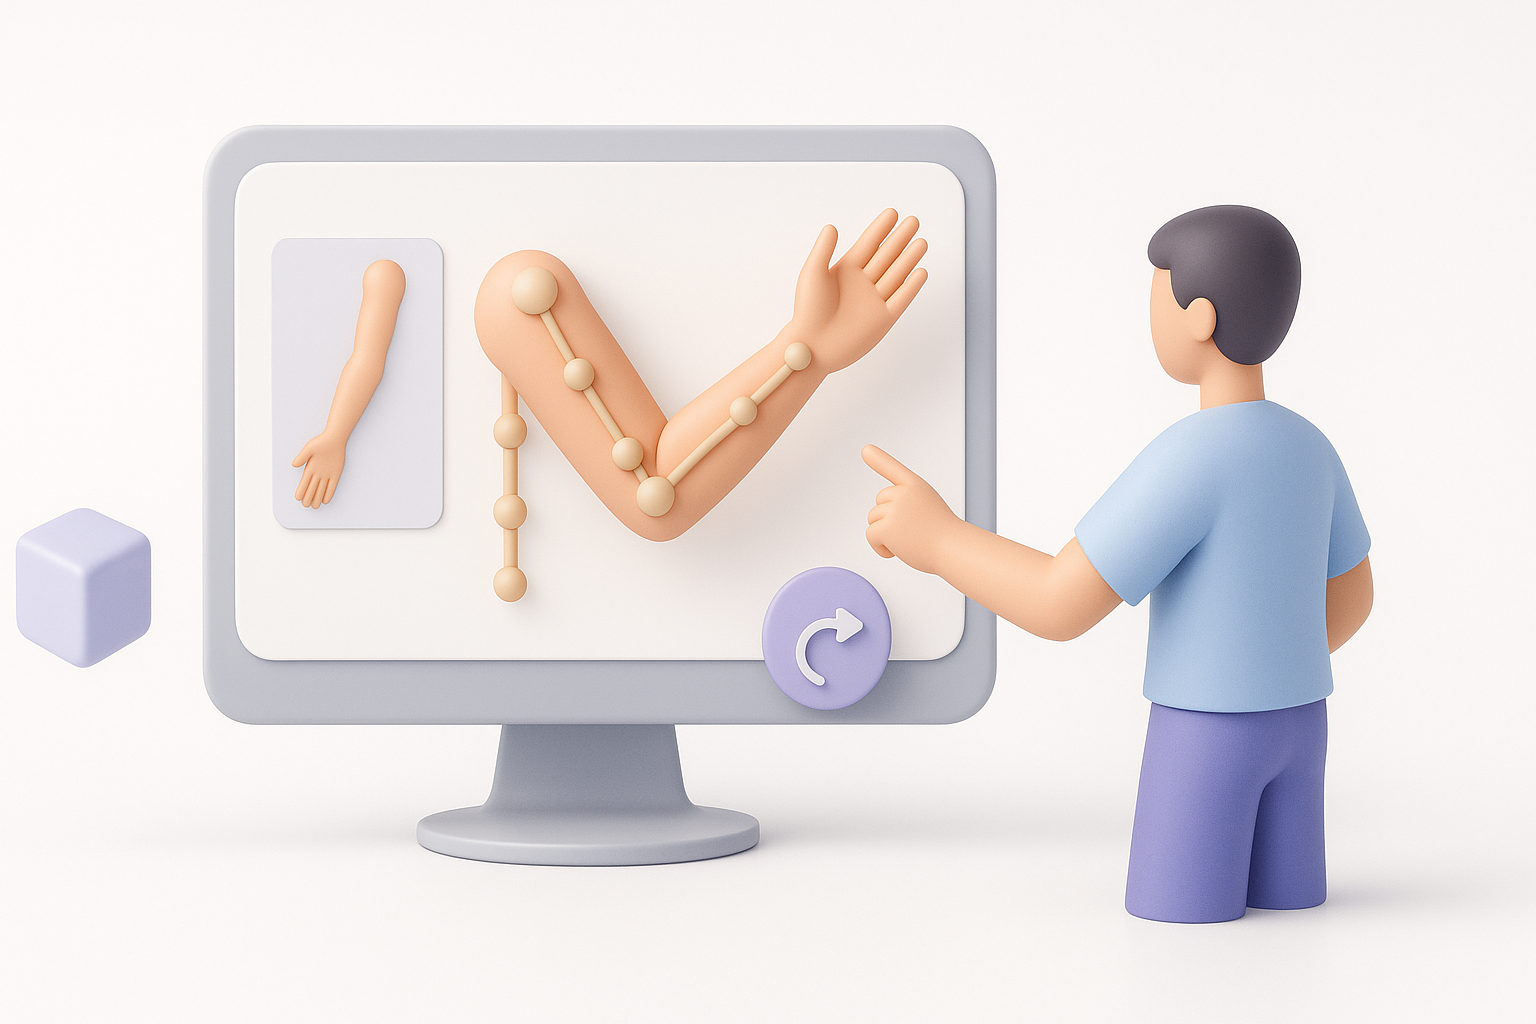
Setting up joints and skin weights
Rigging requires precision:
- Place joints at anatomical pivot points.
- Orient bones consistently (especially for export).
- Use smooth skinning, but manually adjust weights at elbows and wrists.
Tips:
- Test deformation with extreme poses.
- Avoid “candy-wrapper” twisting at the forearm.
Testing and refining arm animations
After rigging, I run quick animation cycles:
- Flexion/extension at elbow
- Wrist rotation
- Hand/finger poses (if included)
I iterate skin weights and topology based on test results—small tweaks here pay off in production.
AI-Powered Tools and Automation in Arm 3D Modeling
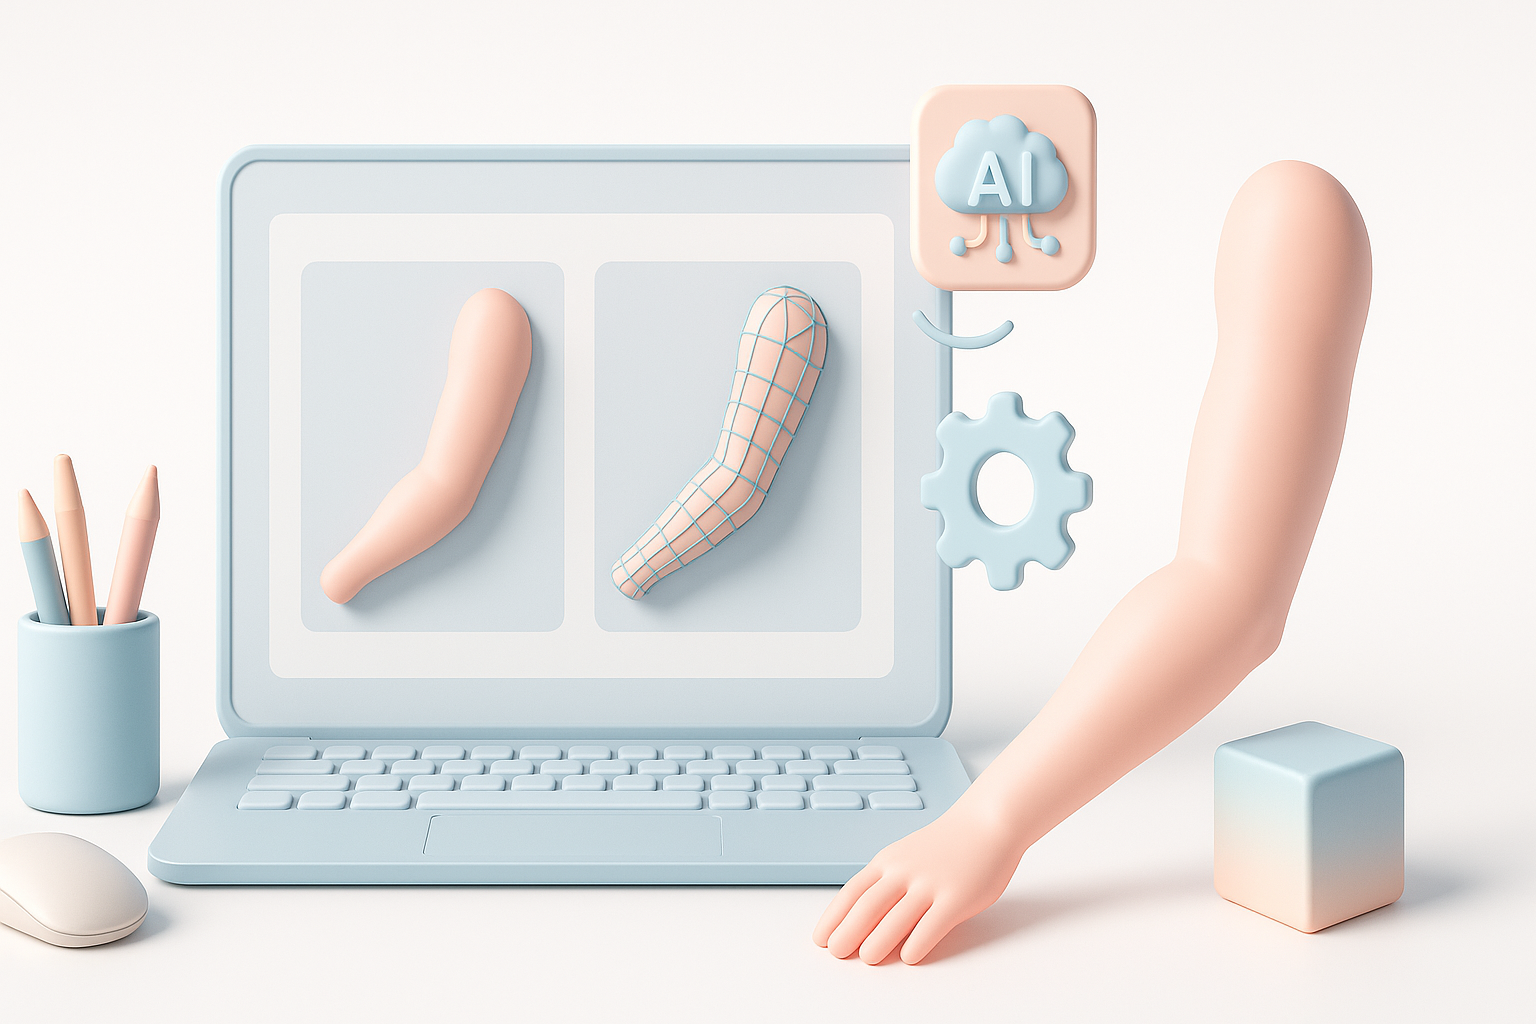
How I leverage Tripo for rapid arm model creation
Tripo’s AI speeds up the blocking and detailing phases:
- Generate base arm meshes from text or sketches.
- Use built-in segmentation and retopology for clean, animation-ready topology.
- Quickly iterate on style and proportion with AI-assisted adjustments.
Integrating AI tools with traditional workflows
I often blend AI and manual steps:
- Start with an AI-generated base, then refine in my DCC tool.
- Use AI for repetitive tasks (retopology, basic texturing), but hand-tune areas that need artistic control.
- Export intermediate results for feedback and iteration.
Comparing Manual and Automated Arm Modeling Approaches

Strengths and limitations of each method
Manual modeling:
- Maximum control over shape, style, and topology
- Slower, but essential for unique or highly detailed assets
Automated/AI-assisted:
- Fast generation of base meshes and textures
- Great for prototyping, but may require cleanup or style matching
When to choose automation vs. hands-on modeling
- Prototype or background assets: AI is a huge time-saver.
- Hero assets or unique styles: Manual modeling (with AI as a helper) delivers the best results.
- Tight deadlines: AI can generate a solid starting point, but always budget time for refinement.
Exporting, Sharing, and Using Arm 3D Models in Projects
Preparing models for game engines and XR
I always:
- Export in engine-friendly formats (FBX, OBJ, GLTF)
- Check scale and orientation
- Bake and pack textures efficiently (PBR maps if needed)
- Test imports in the target engine (Unity, Unreal, WebXR)
Checklist:
- Clean mesh, no stray vertices
- Correct bone hierarchy and naming
- Optimized UVs and texture sizes
Tips for collaboration and asset management
- Use clear naming conventions (e.g., “arm_left_v03.fbx”)
- Store assets in shared repositories (with version control)
- Document any custom rigging or shader setups for team members
Conclusion
Whether you’re building arms for real-time games, film, or immersive XR, a structured workflow—augmented by the right tools—makes all the difference. AI platforms like Tripo can dramatically speed up early-stage modeling, but expert oversight and manual refinement are still key for production-ready results. Focus on clean topology, thoughtful texturing, and careful rigging, and your arm models will be ready for any pipeline.


