Creating and Using 3D Models for Ark: Survival Evolved
скачать 3d модель для chicken gun
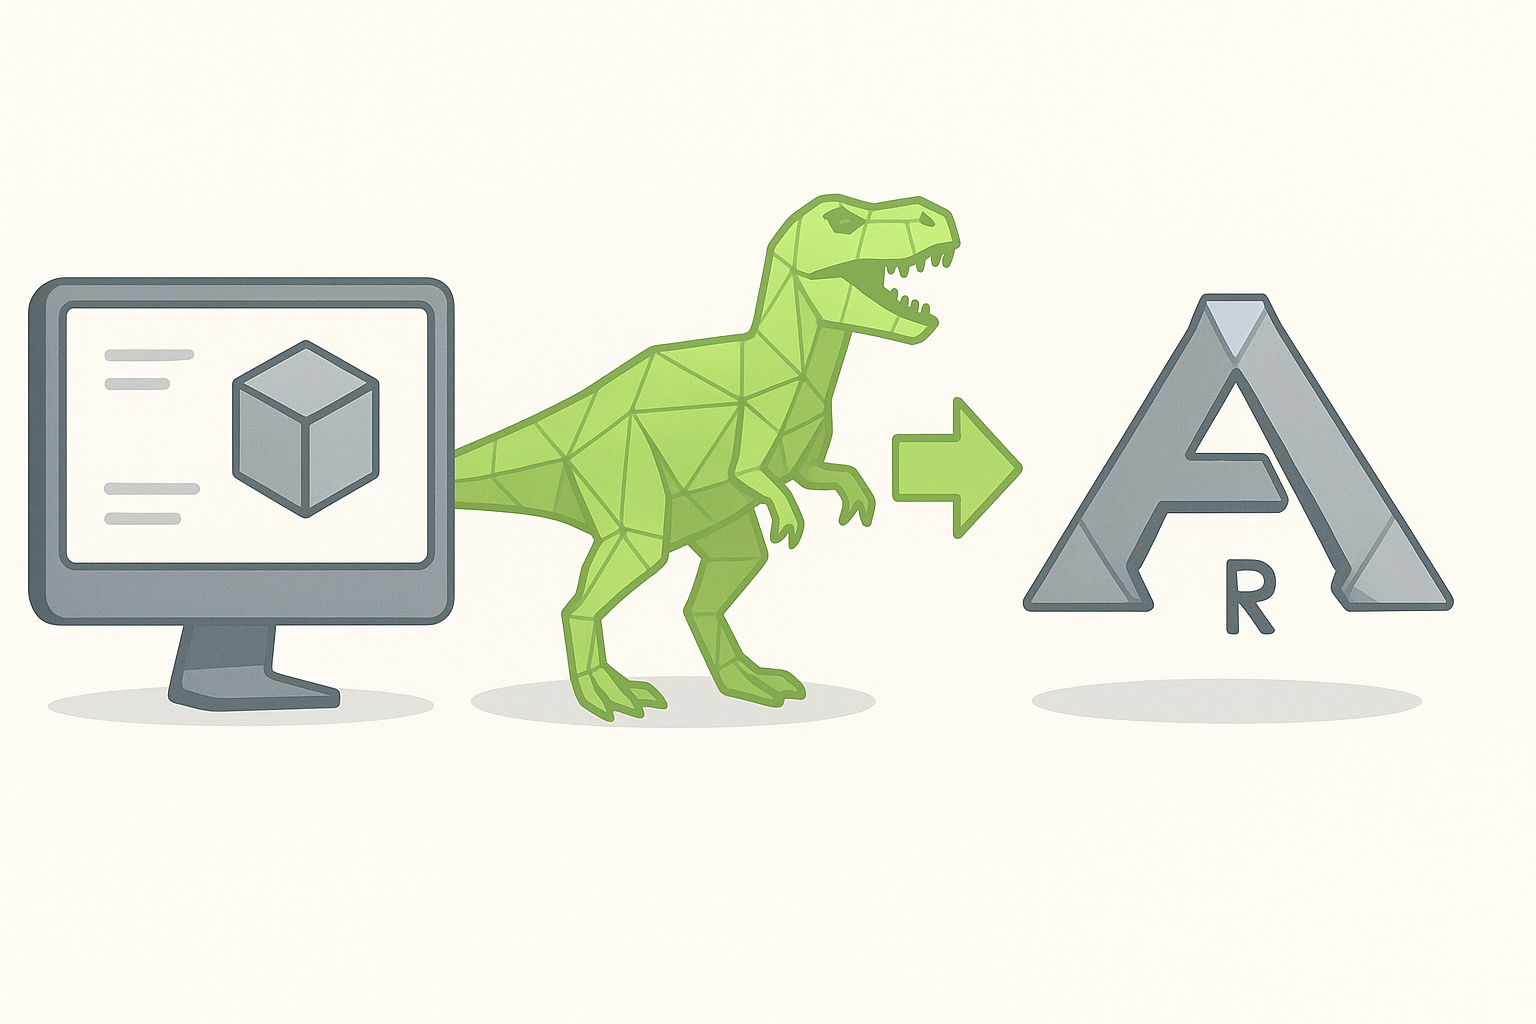
Creating 3D models for Ark: Survival Evolved is a rewarding but technically demanding process. Over the years, I’ve refined a streamlined workflow—from initial concept to game-ready asset—that balances creativity, optimization, and compatibility. In this guide, I’ll share my practical steps, tool recommendations, and best practices for generating, texturing, rigging, and importing custom models into Ark. This is for modders, game artists, and anyone looking to bring new content into Ark with minimal friction.
Key Takeaways
- Start with clear requirements for Ark-compatible models (scale, topology, texture limits)
- Use AI-powered tools like Tripo to accelerate model creation and reduce manual steps
- Optimize geometry and textures early to avoid in-game performance issues
- Rig and animate models with Ark’s skeletons for seamless integration
- Test thoroughly in-game and iterate based on performance and visual feedback
Understanding 3D Models in Ark: Survival Evolved
What Makes a Good Ark 3D Model
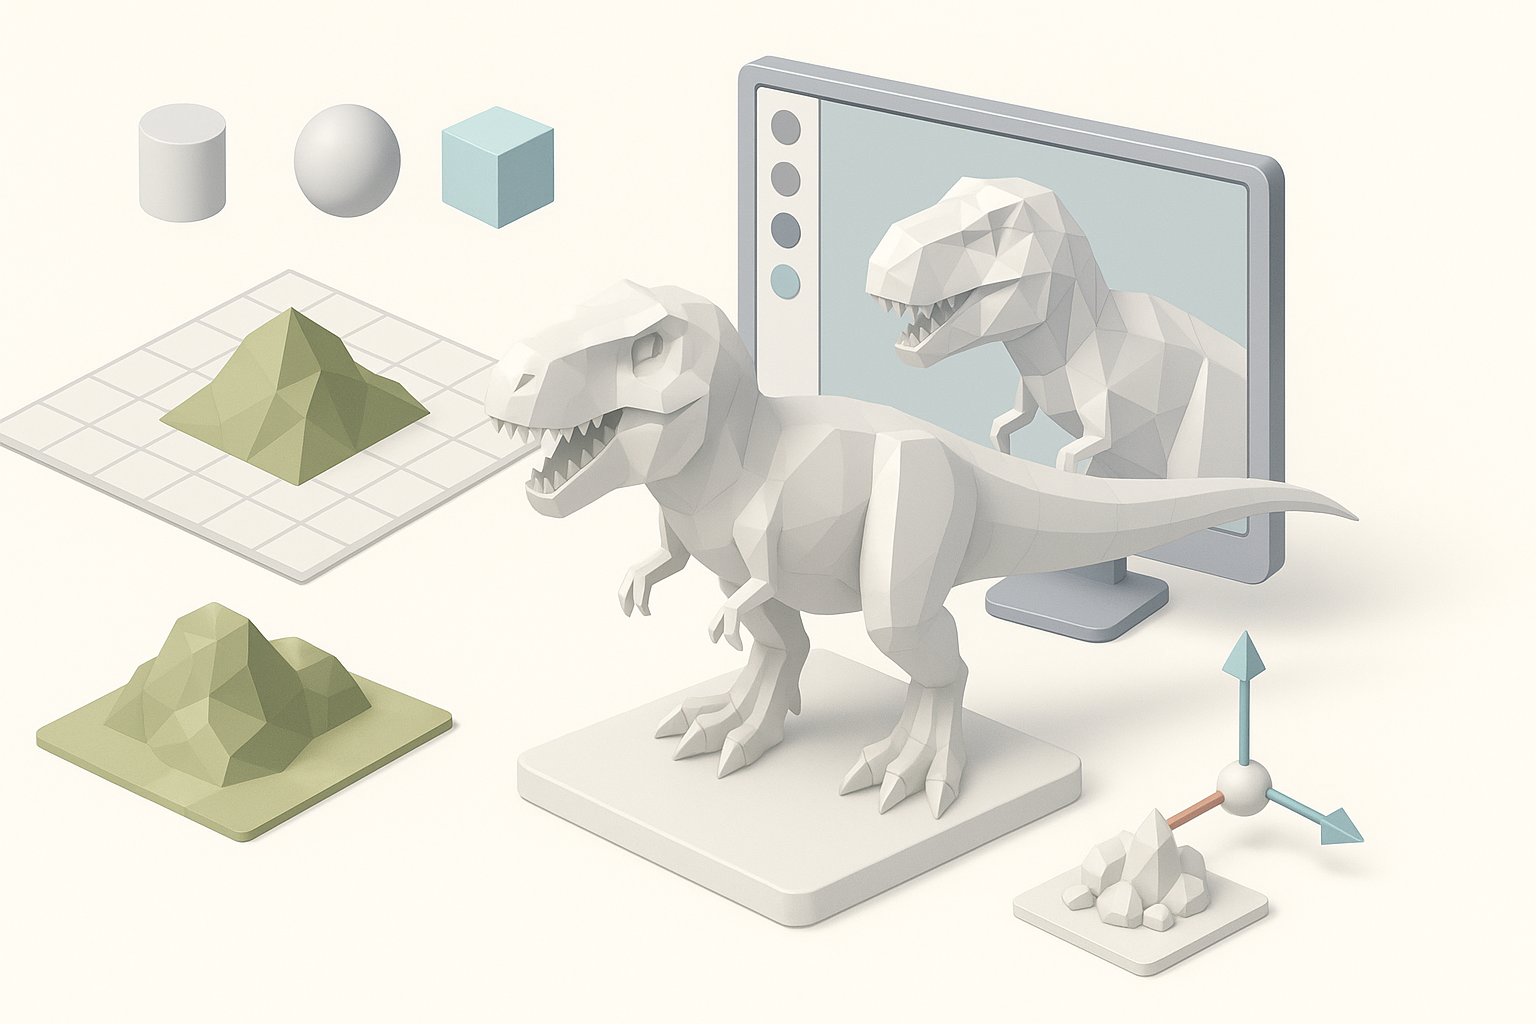
A good Ark 3D model is more than just visually appealing—it must be optimized for real-time rendering and compatible with Ark’s asset pipeline. From my experience, models should have clean, quad-based topology, manageable polygon counts (usually under 50k for most creatures and props), and UVs laid out for efficient texturing. Consistent scaling is crucial; I always match the model’s size to Ark’s in-game units to avoid placement issues.
Checklist for Good Models:
- Clean, non-overlapping UVs
- Reasonable polygon count (avoid unnecessary detail)
- Consistent scale and orientation
- Exported in formats supported by Ark (FBX preferred)
Common Use Cases and Limitations
Most Ark mods involve creatures, structures, weapons, or environmental props. Each has its own requirements: creatures need rigging and animation, while props can be static. A key limitation is that Ark’s engine can be picky about mesh complexity and texture sizes—large assets can cause crashes or performance drops.
Pitfalls to Avoid:
- Overly dense meshes (hard on performance)
- High-res textures beyond Ark’s limits
- Unsupported file formats or animation rigs
My Workflow for Generating Ark-Compatible 3D Models
Step-by-Step Model Creation Process
Here’s how I typically generate a new model for Ark:
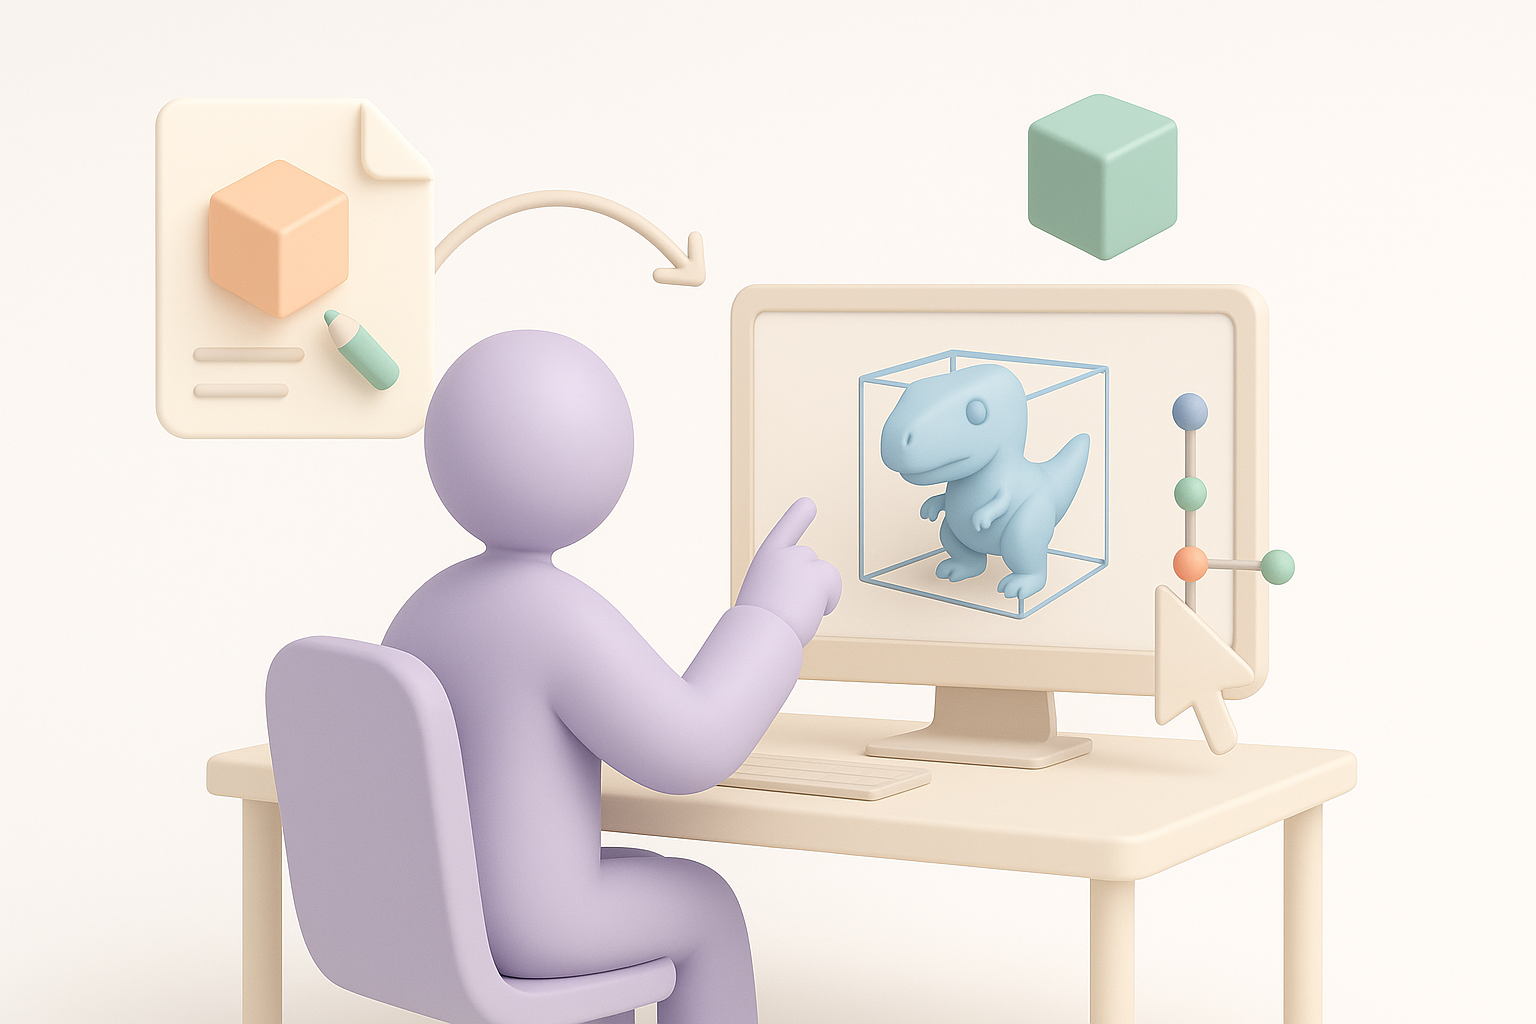
- Concepting: Start with sketches or reference images.
- Model Generation: Use a tool like Tripo to quickly block out the base mesh from text, images, or sketches.
- Manual Refinement: Tweak geometry in a DCC app (Blender, Maya) for final shape and topology.
- Export: Save as FBX, ensuring correct scale and orientation.
Pro Tip: Tripo’s segmentation and retopology tools help me go from rough concept to clean, game-ready mesh in minutes, saving time on repetitive cleanup.
Best Practices for Optimization and Compatibility
I always optimize before importing:
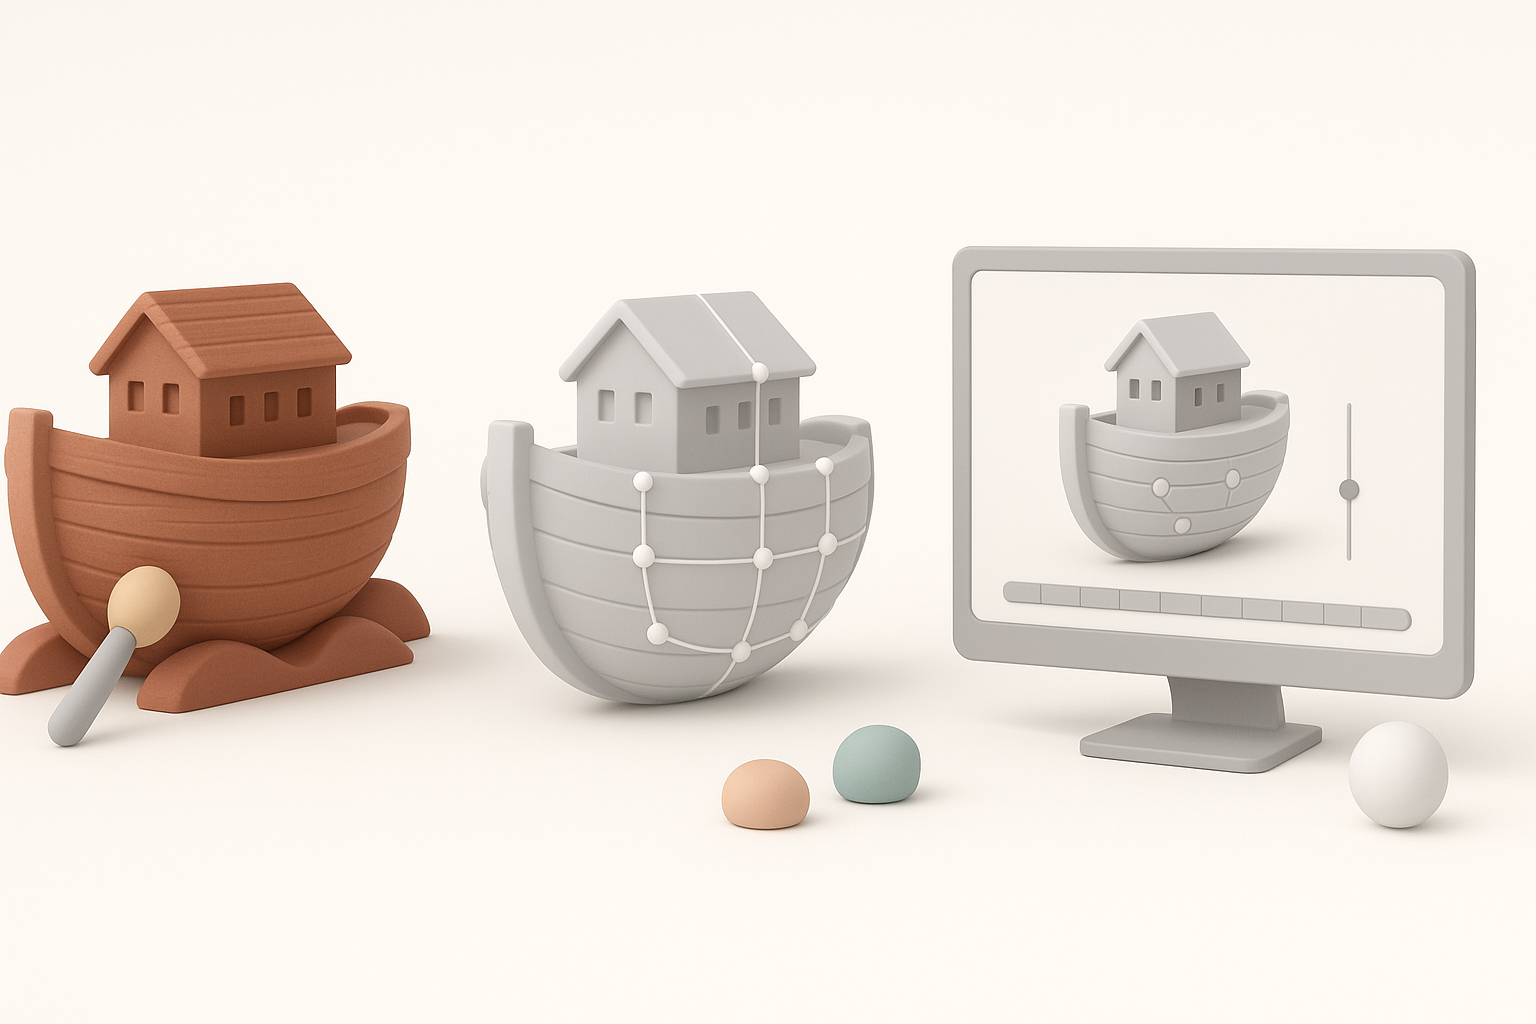
- Decimate or retopologize to keep polygon count low
- Bake normal maps for detail without geometry overhead
- Use Ark’s material and texture size guidelines (usually 2K max)
- Test export with a basic animation to spot rigging issues early
Optimization Mini-Checklist:
- Polycount under 50k (creatures), under 10k (props)
- 1–2 UV sets, non-overlapping islands
- Textures in power-of-two dimensions
Texturing, Rigging, and Animating Ark 3D Models

Efficient Texturing Techniques
I prefer baking high-res details into normal and AO maps, then painting textures in Substance Painter or similar apps. For AI-generated models, I often refine the auto-generated textures—Tripo’s texturing gets me 80% there, but I adjust roughness and color for Ark’s look.
Tips:
- Use 2K textures for main assets, 1K for small props
- Bake as many details as possible (normals, AO, curvature)
- Export textures as PNG or TGA for best compatibility
Rigging and Animation Tips for Game Integration
Ark uses a specific skeleton structure for creatures. I always rig new models to match these skeletons, using Blender’s rigging tools. For custom animations, I keep the timeline short and test each action in the Ark Dev Kit.
Rigging Pitfalls:
- Incorrect bone names or hierarchy (causes animation errors)
- Missing root bone (breaks in-game movement)
Quick Steps:
- Align mesh to Ark skeleton
- Weight paint carefully (no unassigned verts)
- Export with animation baked into FBX
Tools and Platforms for Ark 3D Model Creation
Using AI-Powered Solutions Like Tripo
Tripo has become my go-to for rapid prototyping. I can generate a base mesh from a prompt or sketch, get automatic retopology, and even basic texturing—all in one pass. This saves hours compared to manual modeling, especially for creatures or complex props.
When I Use Tripo:
- Fast asset iteration for mods
- Blocking out creatures or unique structures
- When I need production-ready topology with minimal manual cleanup
Alternative Methods and Manual Approaches
For highly custom or stylized assets, I still use traditional DCC tools (Blender, Maya, ZBrush). Manual modeling gives me full control over topology and detail. Sometimes, I’ll use photogrammetry for environmental assets, then retopologize for game use.
When to Go Manual:
- Unique stylization or topology needs
- Highly optimized assets for multiplayer mods
- Complex rigs or animation requirements
Importing and Testing 3D Models in Ark: Survival Evolved
Import Workflow and Troubleshooting
Importing into Ark usually involves the Ark Dev Kit:
- Import FBX into the Dev Kit
- Set up materials and assign textures
- Attach skeleton and animations
- Place in test level for validation
Common Issues:
- Scale mismatches (fix in DCC before re-import)
- Texture paths broken (ensure relative paths)
- Animation not playing (check skeleton compatibility)
Performance Testing and Quality Assurance
After import, I always test in-game:
- Check for visual glitches, shading errors, or seams
- Monitor FPS and memory usage with new assets
- Playtest with multiple instances to spot performance bottlenecks
QA Checklist:
- No crashes or errors in Dev Kit logs
- Consistent look with vanilla assets
- Acceptable performance impact on target hardware
By following this workflow and leveraging AI-powered tools where appropriate, I can consistently deliver Ark-ready 3D models that look great, perform well, and integrate smoothly. Whether you’re a solo modder or part of a larger team, these steps will help you avoid common pitfalls and maximize your creative output.


