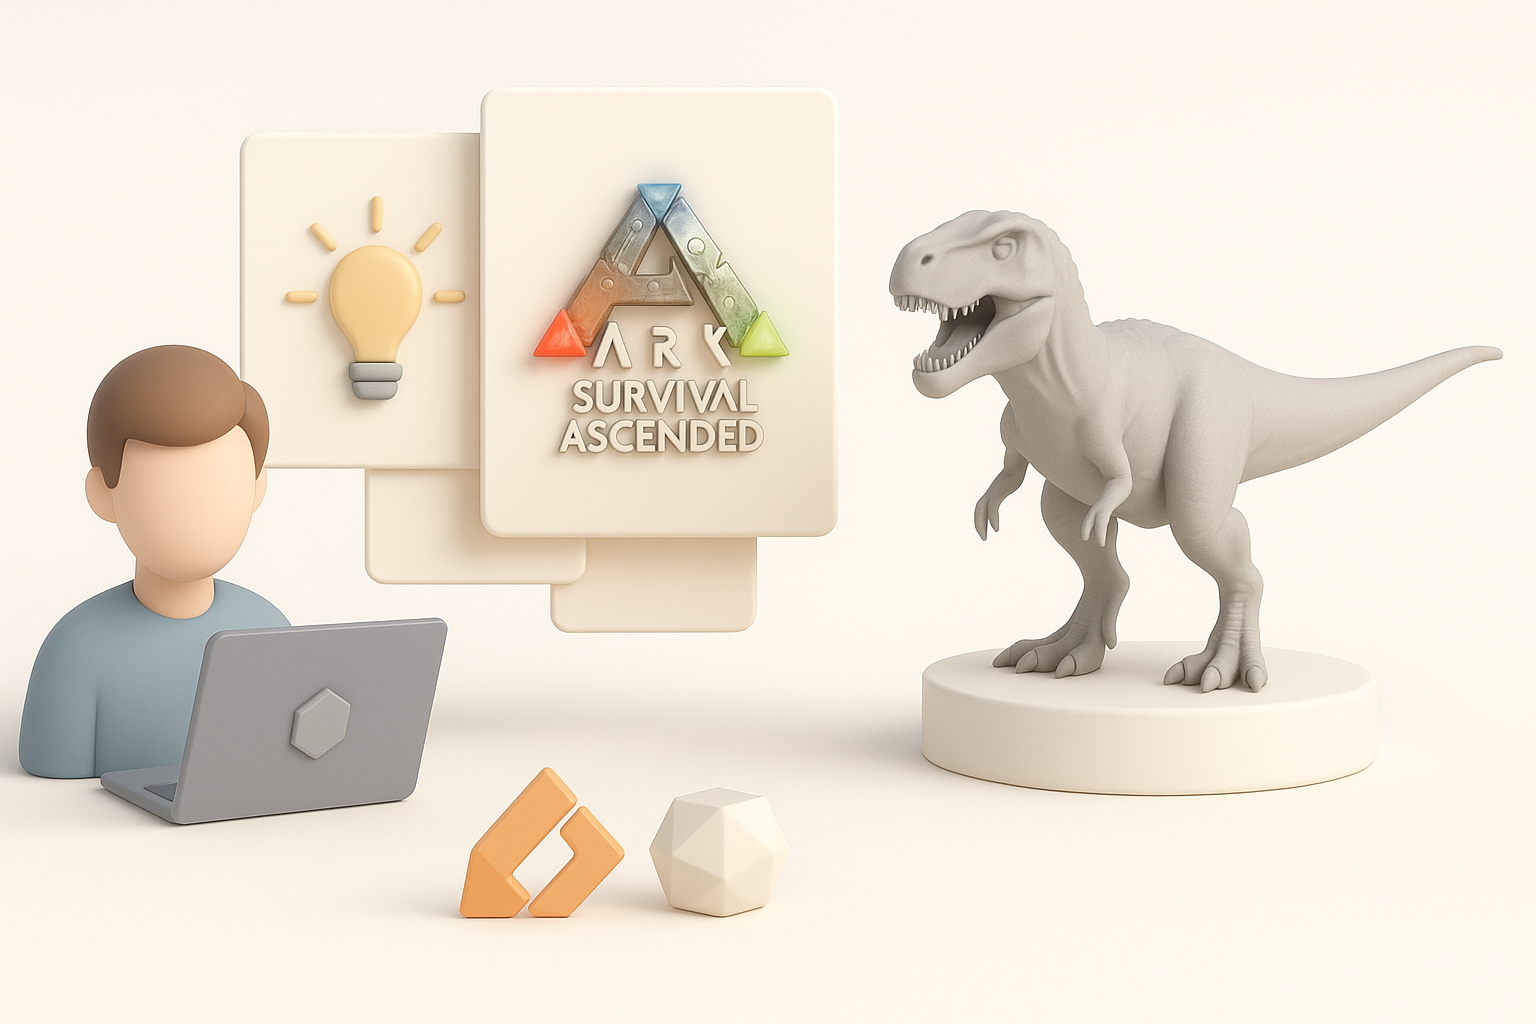
Creating and Optimizing 3D Models for Ark: Survival Ascended
When building 3D models for Ark: Survival Ascended, I focus on balancing visual fidelity with real-time performance. My workflow blends hands-on modeling, smart optimization, and leveraging AI tools like Tripo to speed up production. This guide is for artists, modders, and developers who want reliable, game-ready assets—whether you’re new to game modeling or looking to refine your process. Below, I’ll share practical steps, pitfalls to avoid, and how I integrate models into the game engine.
Key takeaways

- Prioritize game engine compatibility and follow Ark’s asset guidelines.
- Start with strong references and efficient blockouts to save time later.
- Use AI tools like Tripo for rapid prototyping and production-ready outputs.
- Optimize UVs, textures, and polygon counts for smooth in-game performance.
- Test assets in-game early to catch integration issues.
- Keep learning from community feedback and troubleshoot iteratively.
Understanding 3D Model Requirements for Ark: Survival Ascended
Game Engine Compatibility and Asset Guidelines
Ark: Survival Ascended runs on Unreal Engine, so all assets must fit Unreal’s import standards—FBX for meshes, PNG/TGA for textures, and specific naming conventions. I always check the latest modding documentation for scale, pivot, and LOD requirements. Keeping to the engine’s preferred axis orientation and unit scale (usually centimeters) prevents import headaches.
Checklist:
- Export models as FBX (2014/2015 version for best compatibility)
- Use power-of-two textures (e.g., 1024x1024, 2048x2048)
- Name meshes and textures clearly (e.g., “TRex_Head_LOD0”)
- Set correct pivot points for placement and animation
Common Model Types and Use Cases
Most requests I get are for creatures, structures, weapons, and environmental props. Each has unique needs—creatures require rigging and animation, props need collision meshes, and structures must snap correctly in-game. I tailor my approach depending on whether the asset is static or animated.
What works well:
- For creatures: focus on clean topology and joint placement
- For props: ensure collision meshes are simple but accurate
- For modular structures: test snapping and scaling in-editor
My Workflow for Designing Ark: Survival Ascended 3D Models

Concept to Blockout: Planning and References
I never skip the reference phase—collecting concept art, screenshots, and real-world analogs. For blockouts, I use simple shapes to nail down proportions and silhouette. This phase is where I clarify scale and function, which avoids major rework later.
Steps:
- Gather visual references (game lore, real animals, blueprints)
- Sketch or use basic 3D primitives for blockout
- Validate scale in-engine if possible
Modeling Techniques and Best Practices
Once the blockout feels right, I move to high-poly sculpting or low-poly modeling depending on the asset. I focus on clean edge flow, especially for organic models. For hard-surface assets, I use modular parts to speed up iteration. I often use Tripo to generate base meshes from descriptions or sketches, then refine them manually.
Tips:
- Maintain quads for easier UVs and deformation
- Use symmetry and instancing where possible
- Regularly check mesh density—don’t over-model details
Texturing, Retopology, and Optimization Tips
Efficient UV Mapping and Texture Creation
I keep UVs non-overlapping and aligned for tiling. For organic models, I use seams along natural folds; for props, I stack UVs for repeated elements. I bake maps (normal, AO) from high to low poly, then paint textures in Substance or similar tools. Tripo’s auto-UV and texturing features can save hours, but I always review the output for stretching or seams.
Mini-checklist:
- Use one UV set per material slot
- Avoid tiny, wasted UV islands
- Check for texel density consistency across the model
Polygon Count, LODs, and Performance Considerations
Ark assets need to balance detail and performance. I target reasonable polycounts (e.g., 10–20k for main creatures, <5k for props) and always create LODs. I decimate meshes manually or use Tripo’s retopology tools for quick, clean results. Testing assets in dense scenes helps catch performance bottlenecks.
Pitfalls:
- Forgetting LODs leads to frame drops
- Overly dense collision meshes can cause physics bugs
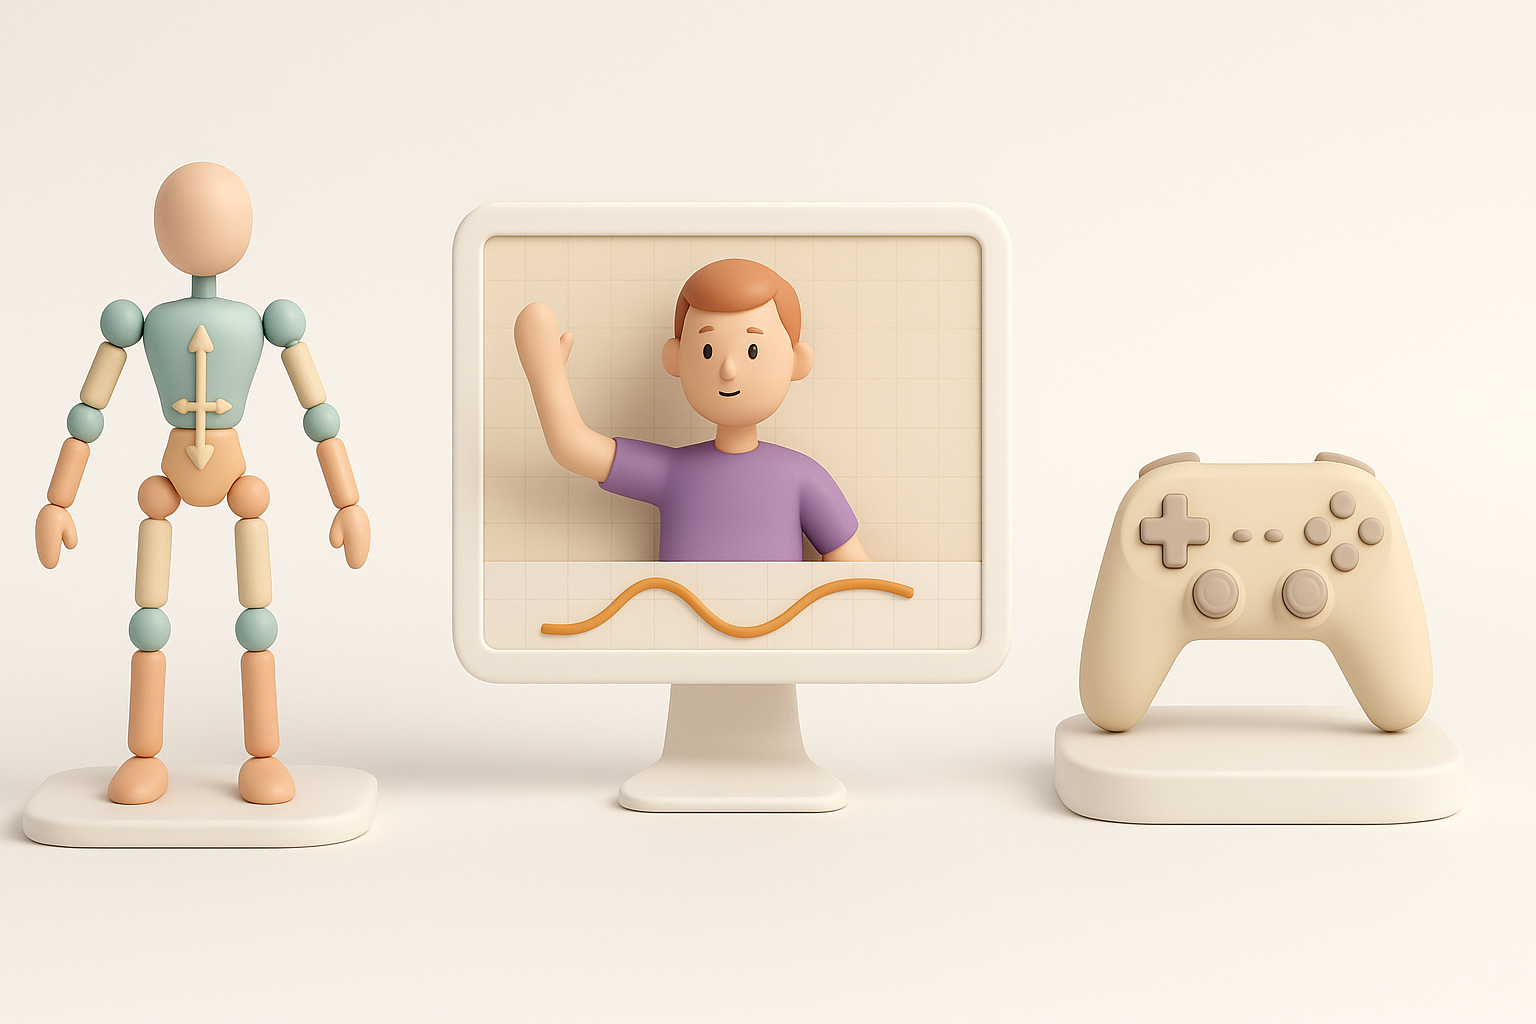
Rigging, Animation, and Game Integration

Preparing Models for Animation
For creatures and anything with moving parts, I ensure the mesh is skinned to a compatible skeleton. I match bone names and hierarchy to what Ark expects. Weight painting is critical—bad weights cause ugly deformations. I test basic poses before exporting.
My steps:
- Align mesh to skeleton in T-pose or A-pose
- Weight paint major joints carefully
- Export with correct bone order and naming
Importing and Testing in Ark: Survival Ascended
I import assets into Unreal Editor, assign materials, and set up physics. I check scale, pivot, and collision in a test map. For animated assets, I preview animations and look for mesh breaks or jitter. Iterative testing is key—small fixes in the editor save huge headaches later.
What I check:
- Materials and textures display correctly
- Collision matches the visual mesh
- Animations loop and blend as expected
AI Tools and Automation in the 3D Workflow

How I Use Tripo AI for Faster Model Creation
Tripo lets me generate base meshes, UVs, and textures from text prompts or sketches—especially useful for rapid prototyping or filling out asset libraries. I often start with a Tripo-generated mesh, then tweak topology and details manually. The segmentation and retopology tools are reliable for getting clean, game-ready outputs.
My workflow:
- Input concept or sketch into Tripo
- Review and edit generated mesh
- Use auto-UV and texture features, then polish in other tools as needed
Comparing Manual and AI-Assisted Methods
Manual modeling gives full control but is time-consuming. AI-assisted workflows (like with Tripo) speed up repetitive tasks and blockout phases, letting me focus on creative decisions. However, I always review and clean up AI outputs—automation isn’t a substitute for hands-on quality control.
Pros and cons:
- AI tools: fast, great for ideation, but may need cleanup
- Manual: slower, but precise and fully customizable
Troubleshooting and Lessons Learned
Common Pitfalls and How I Overcome Them
I’ve run into issues like broken imports, bad UVs, or animation glitches. Most stem from mismatched scale, bad naming, or skipped LODs. I keep a checklist for each export, and always test assets in a clean project before full integration.
Quick fixes:
- Double-check scale and orientation before export
- Use consistent naming conventions
- Test collisions and physics early
Community Resources and Ongoing Learning
The Ark modding community is invaluable—forums, Discords, and official docs answer most questions. I learn a lot from reverse-engineering official assets and sharing feedback. Staying active in these spaces keeps me up-to-date on engine updates and best practices.
Resources I use:
- Official Ark modding documentation and sample assets
- Community forums and Discord servers
- YouTube breakdowns and workflow guides
By following these steps and continually refining my process, I’m able to create optimized, game-ready models for Ark: Survival Ascended—faster and with fewer headaches.


