How to Create an Anime Girl 3D Model: Expert Workflow & Tips
Creating a high-quality anime girl 3D model is both an art and a technical challenge. Over the years, I’ve refined my workflow to balance creativity with efficiency—leveraging AI tools like Tripo for speed, but always keeping artistic intent at the core. Whether you’re a game developer, animator, or hobbyist, the right approach can save you hours and yield production-ready results. In this guide, I’ll break down my end-to-end process, highlight best practices, and share practical tips for texturing, rigging, and optimizing anime-style models for any platform.
Key takeaways:
- Reference and stylization are crucial—don’t skip the concept phase.
- AI tools can dramatically speed up base mesh and texturing, but manual tweaks are still essential.
- Anime-style texturing relies on clean UVs and hand-painted details.
- Rigging and expressive animation require careful joint placement and blendshapes.
- Export and optimize models specifically for your target platform (games, XR, or film).
Overview: Anime Girl 3D Modeling Essentials
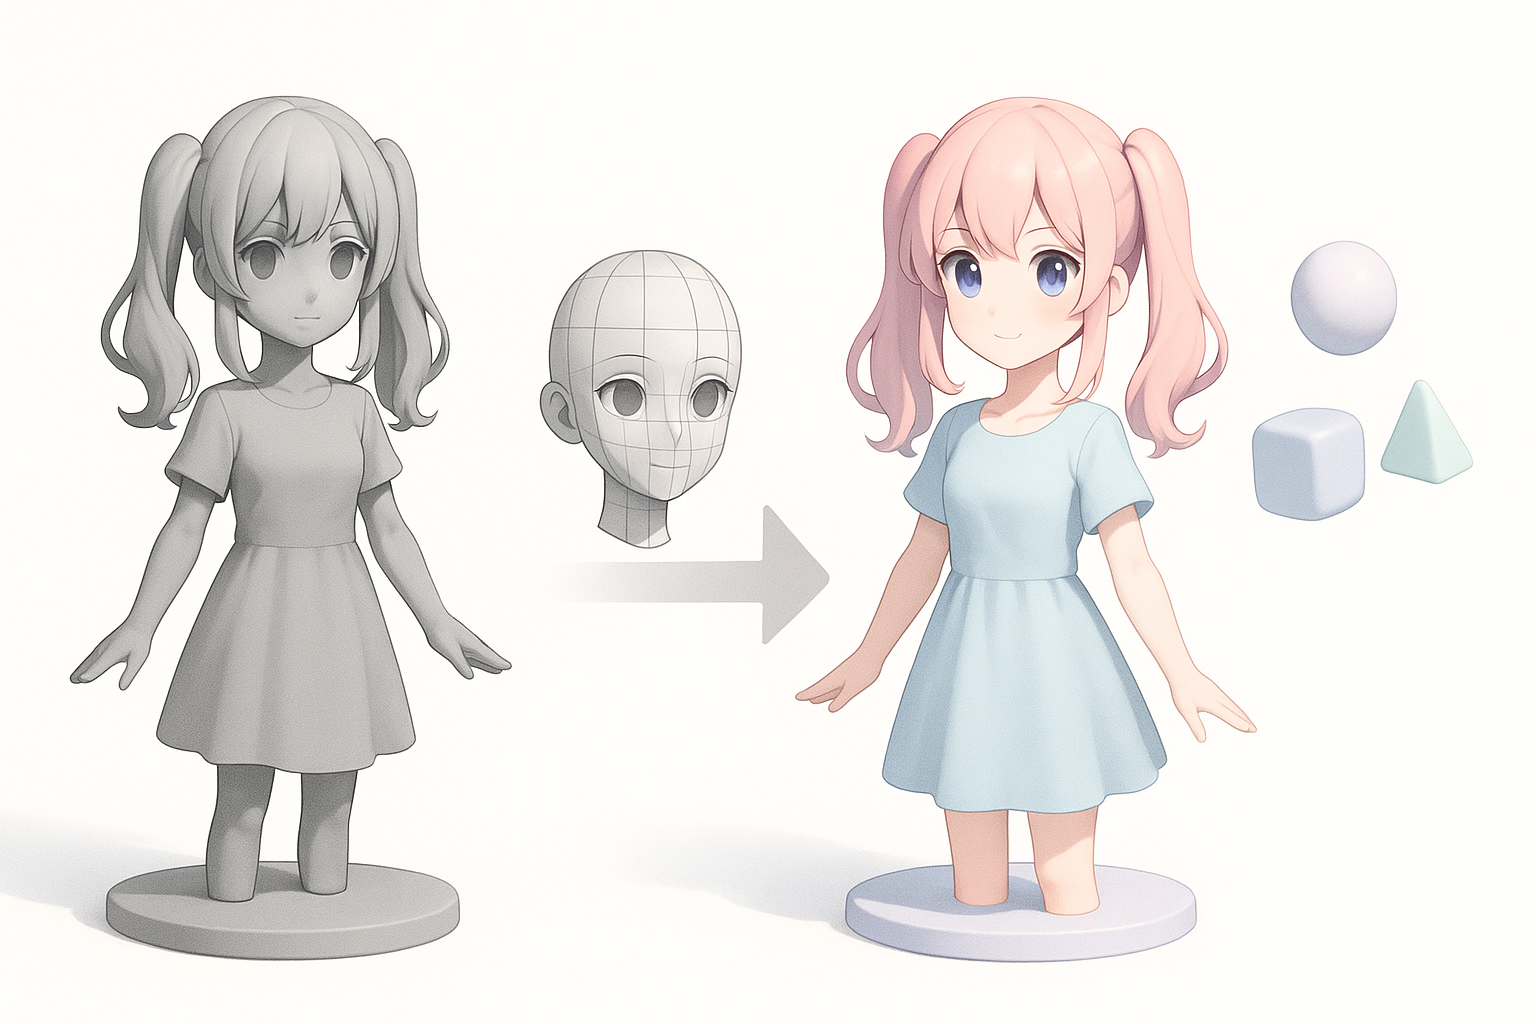
What Makes Anime Girl Models Unique
Anime girl models stand out due to their stylized proportions, expressive faces, and simplified yet impactful textures. The focus is often on large eyes, small noses, and exaggerated hair shapes. What I’ve found is that even small deviations from these conventions can break the “anime” feel—so precision in proportions is key.
- Emphasize facial features: Large, detailed eyes and minimal noses/mouths.
- Hair is often modeled in large, segmented clumps rather than individual strands.
- Outfits tend to have bold silhouettes and simple, readable folds.
Key Considerations Before Starting
Before jumping in, I always clarify the intended use (game, animation, XR) and style reference (classic, modern, chibi, etc.). This informs everything from polycount to rig complexity.
- Define the target platform and technical limits.
- Gather style references and mood boards.
- Decide if you’ll use AI tools for base creation or go fully manual.
Step-by-Step Workflow for Anime Girl 3D Modeling
Concept Art and Reference Gathering
I never skip this step. Good reference makes everything downstream easier and more consistent. I’ll usually collect:
- Front, side, and 3/4 concept sketches.
- Close-ups of faces, hair, and costumes.
- Screenshots from favorite anime or games for inspiration.
Checklist:
- At least one orthographic view.
- Color palette references.
- Detail shots for accessories/hair.
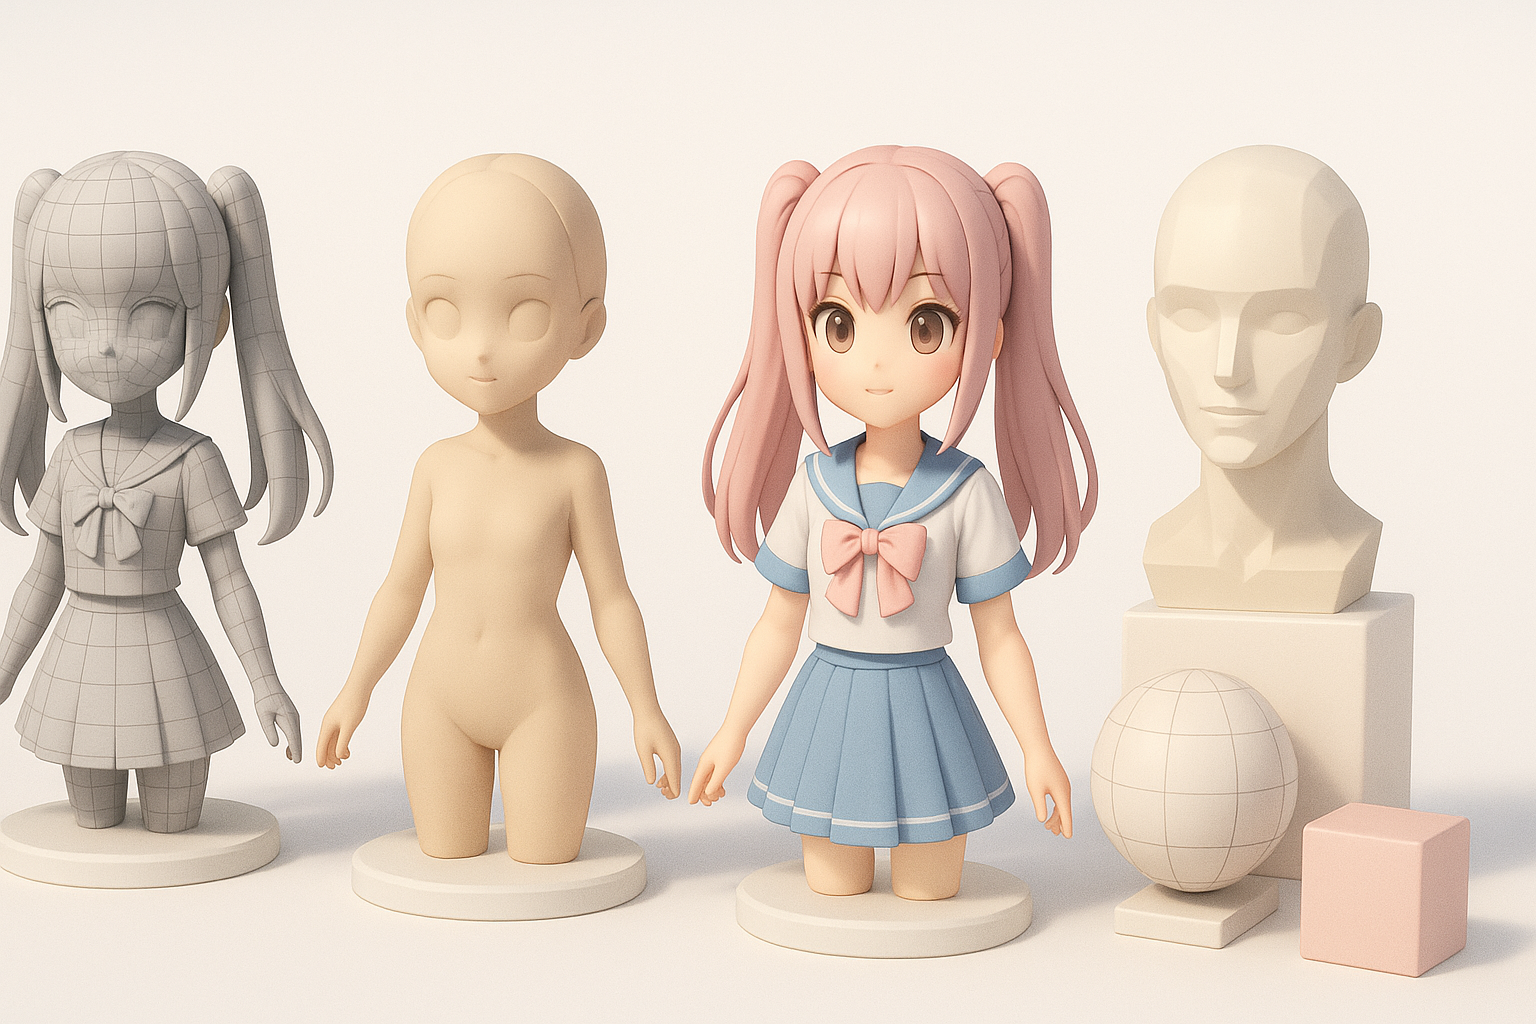
Blocking Out the Base Mesh
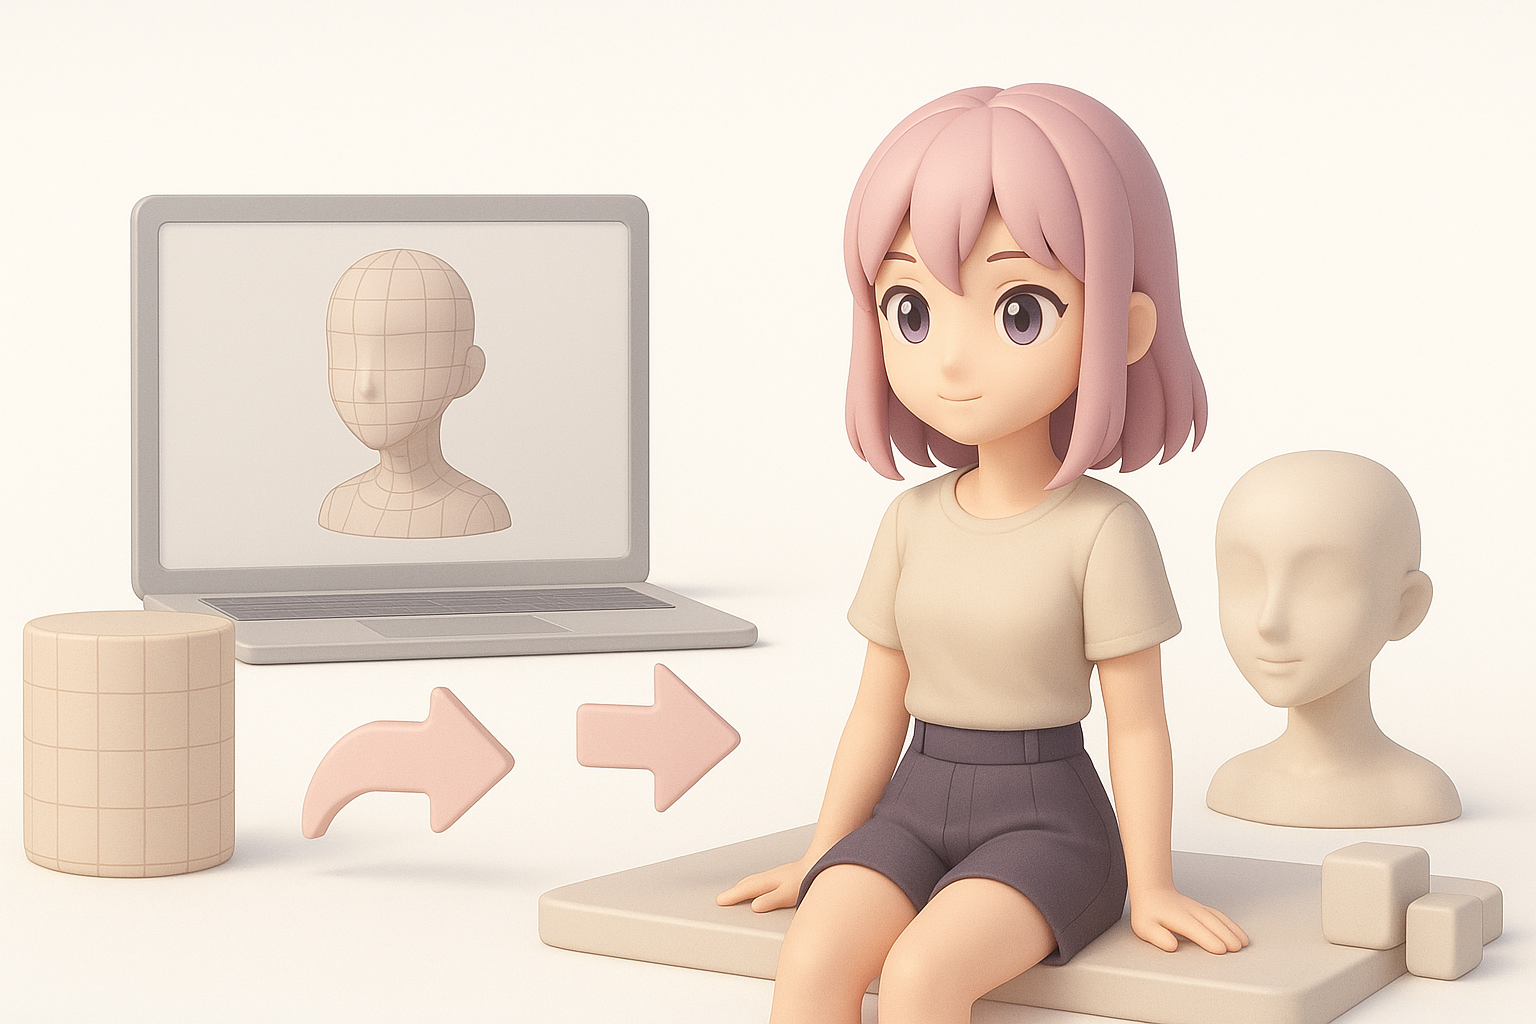
For the base mesh, I often use AI platforms like Tripo to quickly generate a rough form from sketches or text prompts. This saves hours versus manual box modeling, especially for stylized proportions.
- Import reference images into your 3D tool.
- Use AI-generated base mesh as a starting point.
- Manually adjust anatomy and proportions to match references.
- Block out major hair and clothing shapes.
Pitfall: Don’t rely solely on AI output—always refine the mesh for anatomy and style accuracy.
Texturing, Rigging, and Animation Best Practices

Anime-Style Texturing Techniques
Anime textures are typically hand-painted or use flat, gradient shading. I focus on clear UV layout and minimal texture stretching.
- Unwrap UVs with seams hidden in less visible areas.
- Bake ambient occlusion for subtle shadowing.
- Hand-paint eyes, blush, and highlights.
- Use cel-shading shaders for the final look.
Tip: Keep texture resolution consistent (e.g., 1024x1024 for faces) to avoid blurry details.
Efficient Rigging and Expressive Animation
Rigging anime models is all about expressive faces and flexible poses. I prioritize:
- Clean joint placement, especially in the shoulders and hips.
- Blendshapes/morph targets for mouth, eyes, and brows.
- Lightweight rigs for games, more complex setups for film/XR.
Checklist:
- Test deformations in extreme poses.
- Add controls for hair and skirt if needed.
- Use reference animations to test expressiveness.
Using AI Tools for Faster Anime Girl 3D Creation
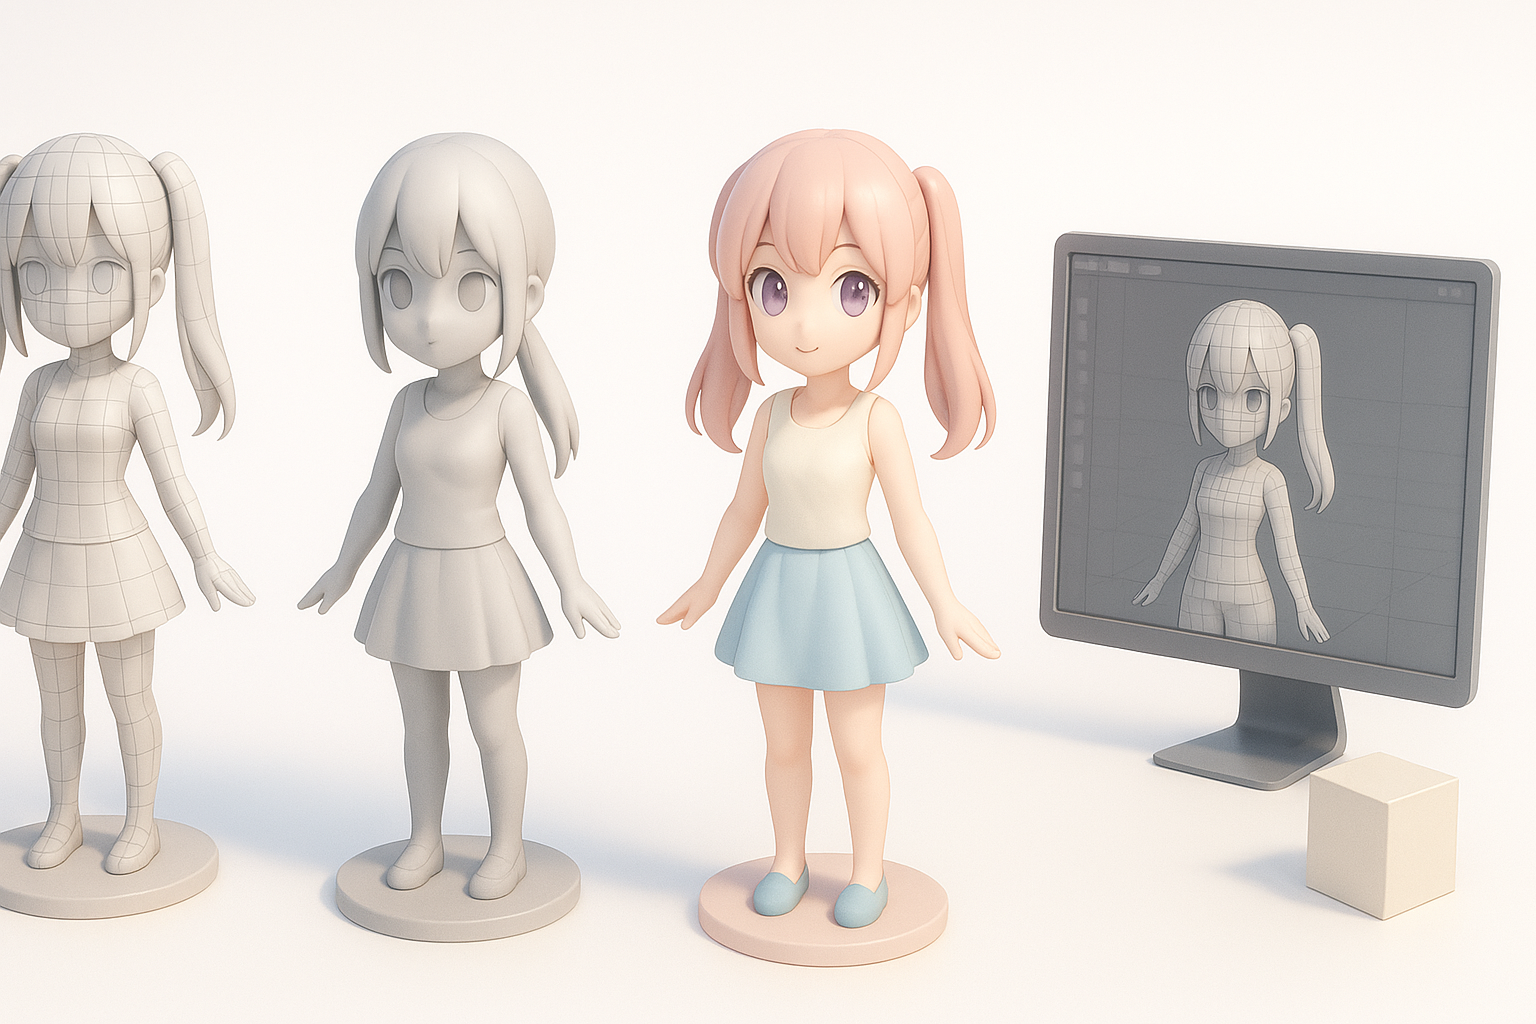
How I Integrate AI Platforms into My Workflow
AI tools like Tripo have become a core part of my modeling pipeline. I typically:
- Generate a base mesh from text or sketch input.
- Use built-in segmentation to separate hair, body, and clothing.
- Auto-retopologize for clean geometry.
- Export for further manual refinement in my main 3D app.
Tip: Use AI for repetitive or time-consuming tasks, but always review and polish the results.
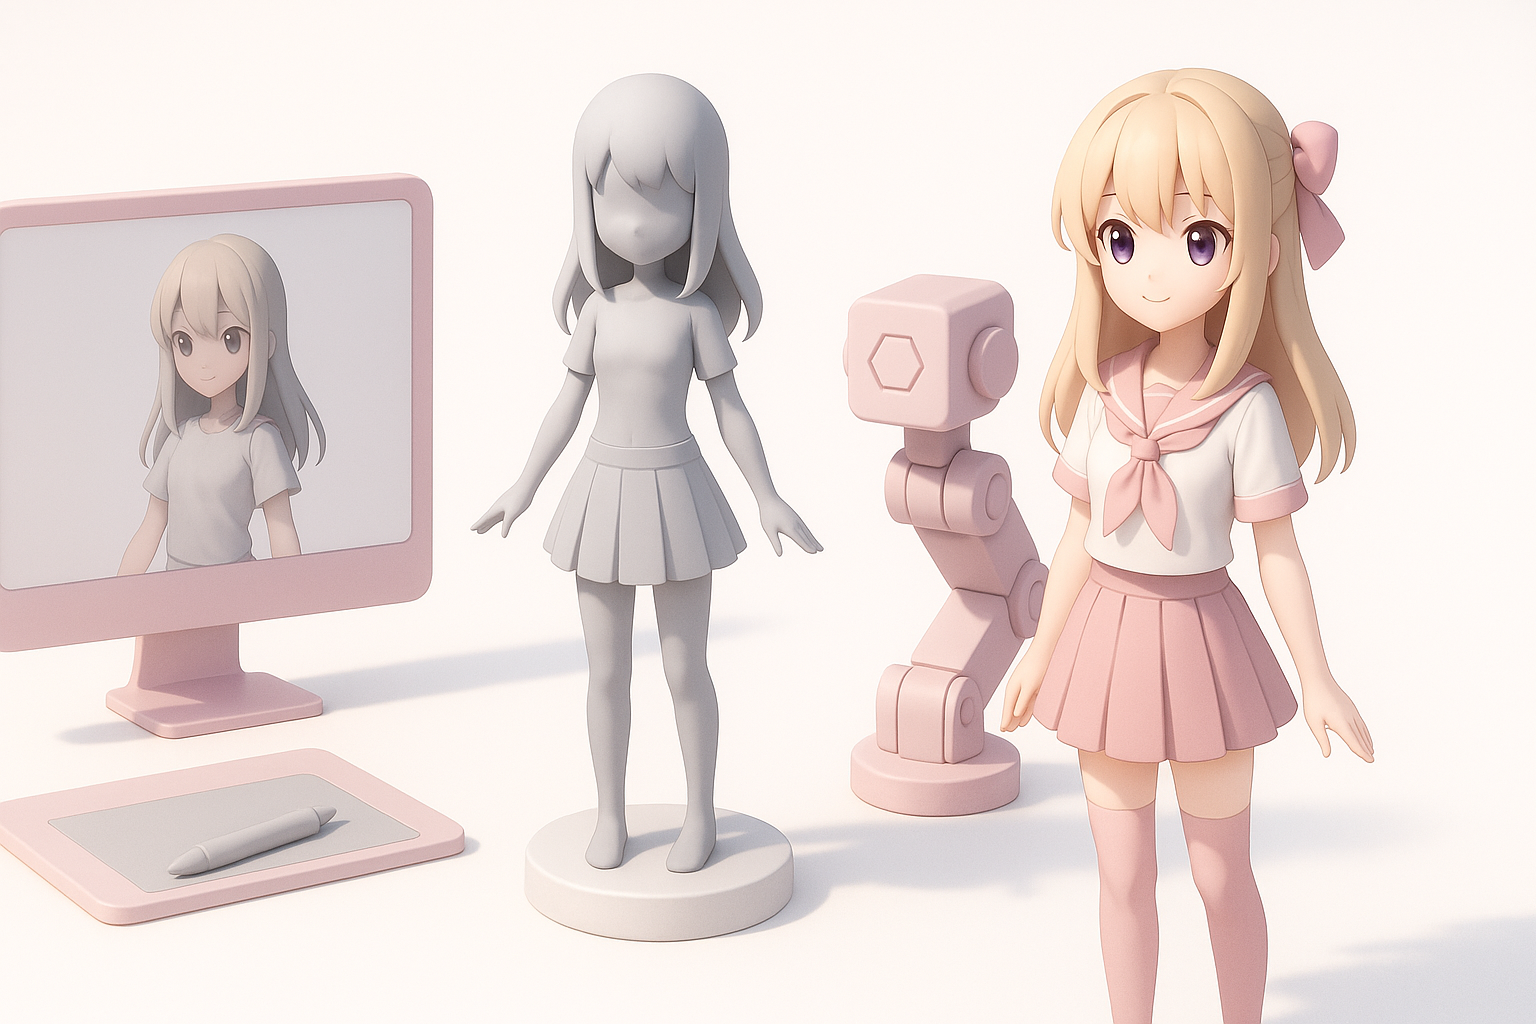
Tips for Achieving Production-Ready Results
AI speeds up the process, but quality control is essential. My approach:
- Inspect topology for artifacts or non-manifold edges.
- Clean up UVs and check for stretching.
- Repaint or touch up textures as needed.
- Test the model in the target engine or renderer.
Pitfall: Overreliance on AI can lead to generic or off-style results—always inject your own artistic choices.
Comparing Manual and AI-Assisted Methods
Pros and Cons from My Experience
Manual Modeling:
- Pros: Full control, unique style, deep learning experience.
- Cons: Time-consuming, higher skill barrier.
AI-Assisted:
- Pros: Rapid prototyping, lowers entry barrier, great for iteration.
- Cons: May require significant cleanup, less control over nuances.
Choosing the Right Approach for Your Project
I pick my workflow based on deadlines, budget, and project scope:
- For rapid prototyping or when speed is critical, I lean on AI-assisted workflows.
- For hero assets or when style is paramount, I invest more time in manual modeling and texturing.
Tip: Hybrid workflows—AI for base, manual for polish—often provide the best results.
Exporting and Optimizing for Games, XR, and Film
Export Settings and File Formats
Export settings matter. I tailor them to the final platform:
- Games: FBX or glTF, triangulated meshes, baked textures.
- XR: Optimize for low poly, use efficient formats like glTF.
- Film: OBJ or FBX, higher polycount, layered textures.
Checklist:
- Check scale and orientation.
- Embed textures or provide separate maps as needed.
- Test import in the target engine.
Optimization Tips for Different Platforms
Optimization is critical for performance and compatibility:
- Reduce polycount without sacrificing silhouette.
- Bake normal and occlusion maps for detail.
- Compress textures appropriately (e.g., 512x512 for mobile).
- Remove unused bones, morphs, and materials.
Pitfall: Over-optimizing can strip away style—always balance performance with visual fidelity.
By following this workflow and adapting it to your needs, you can efficiently create appealing, production-ready anime girl 3D models—whether you’re working solo or in a studio pipeline.


