How to Create a Labeled 3D Model of an Animal Cell
Creating a labeled 3D model of an animal cell is one of the most effective ways to visualize and teach complex biology concepts. In my experience, leveraging AI-powered tools like Tripo streamlines the process from concept to completion, making it accessible for educators, students, and creators alike. This guide covers my full workflow—from gathering references and modeling, to labeling, texturing, and sharing—along with practical insights on balancing AI and manual techniques. Whether you’re building for a classroom, interactive app, or personal project, these steps will help you produce clear, accurate, and visually engaging results.
Key takeaways
- AI-powered platforms like Tripo drastically reduce the time to create detailed, labeled 3D animal cell models.
- Start with solid references and a clear plan to maintain biological accuracy.
- Effective labeling and texturing are critical for both educational value and visual clarity.
- Export settings and platform optimization ensure your model is accessible and shareable.
- AI tools excel for speed and accessibility, but manual refinement often elevates realism and educational effectiveness.
Overview of Animal Cell Structure in 3D
Key Organelles and Their Functions
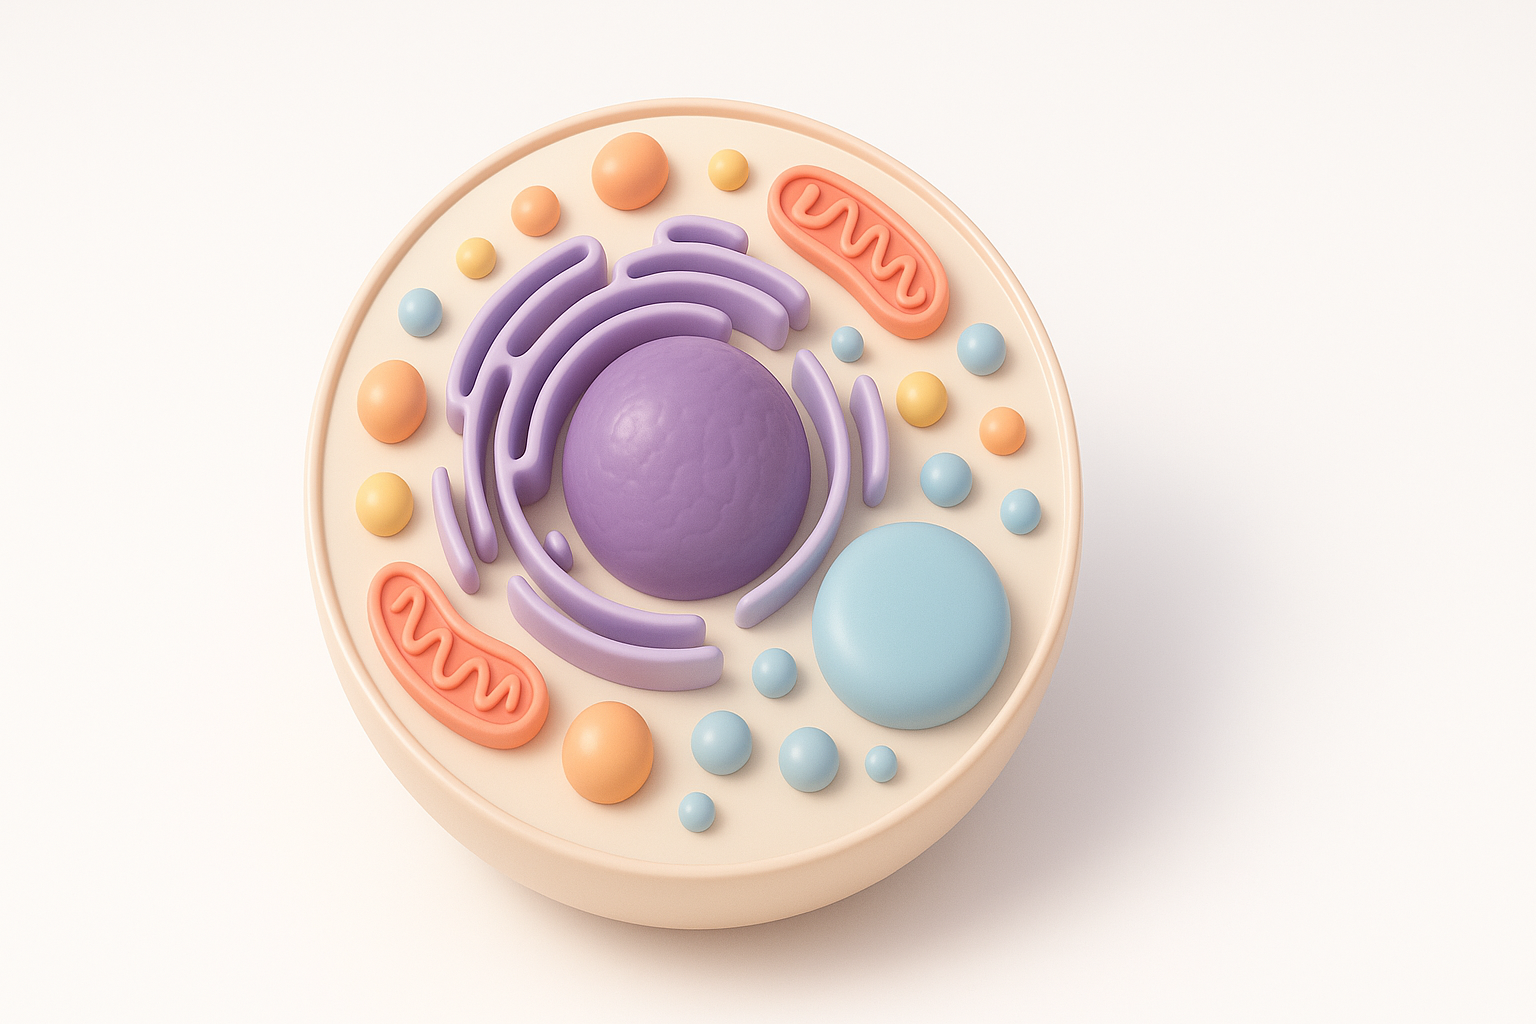
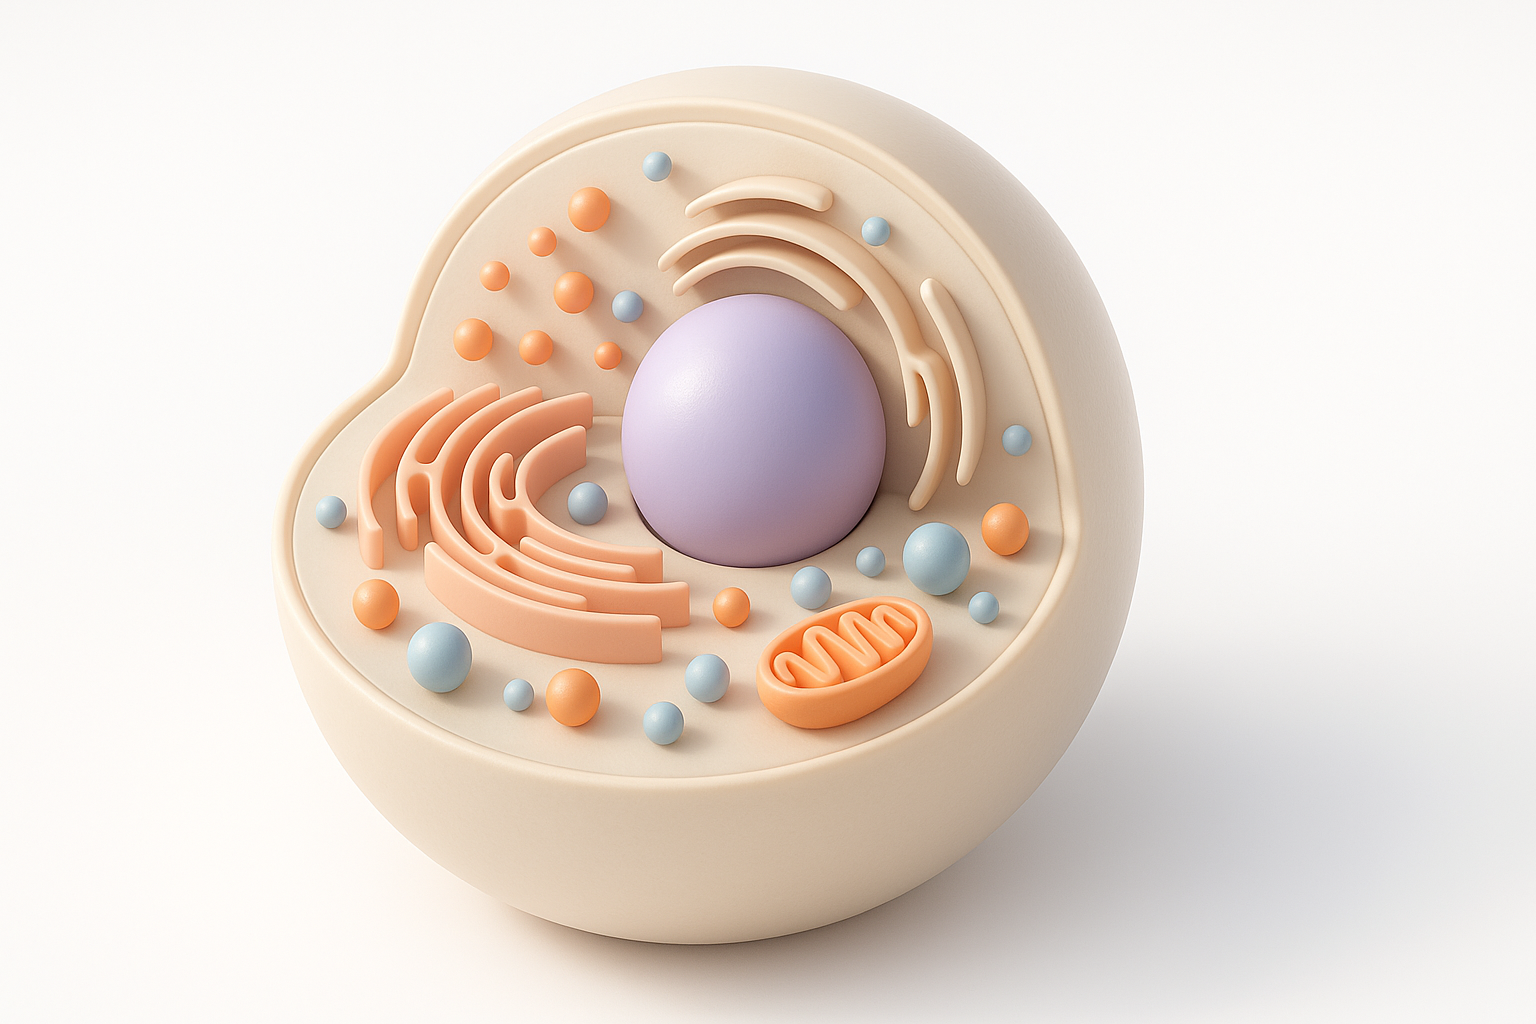
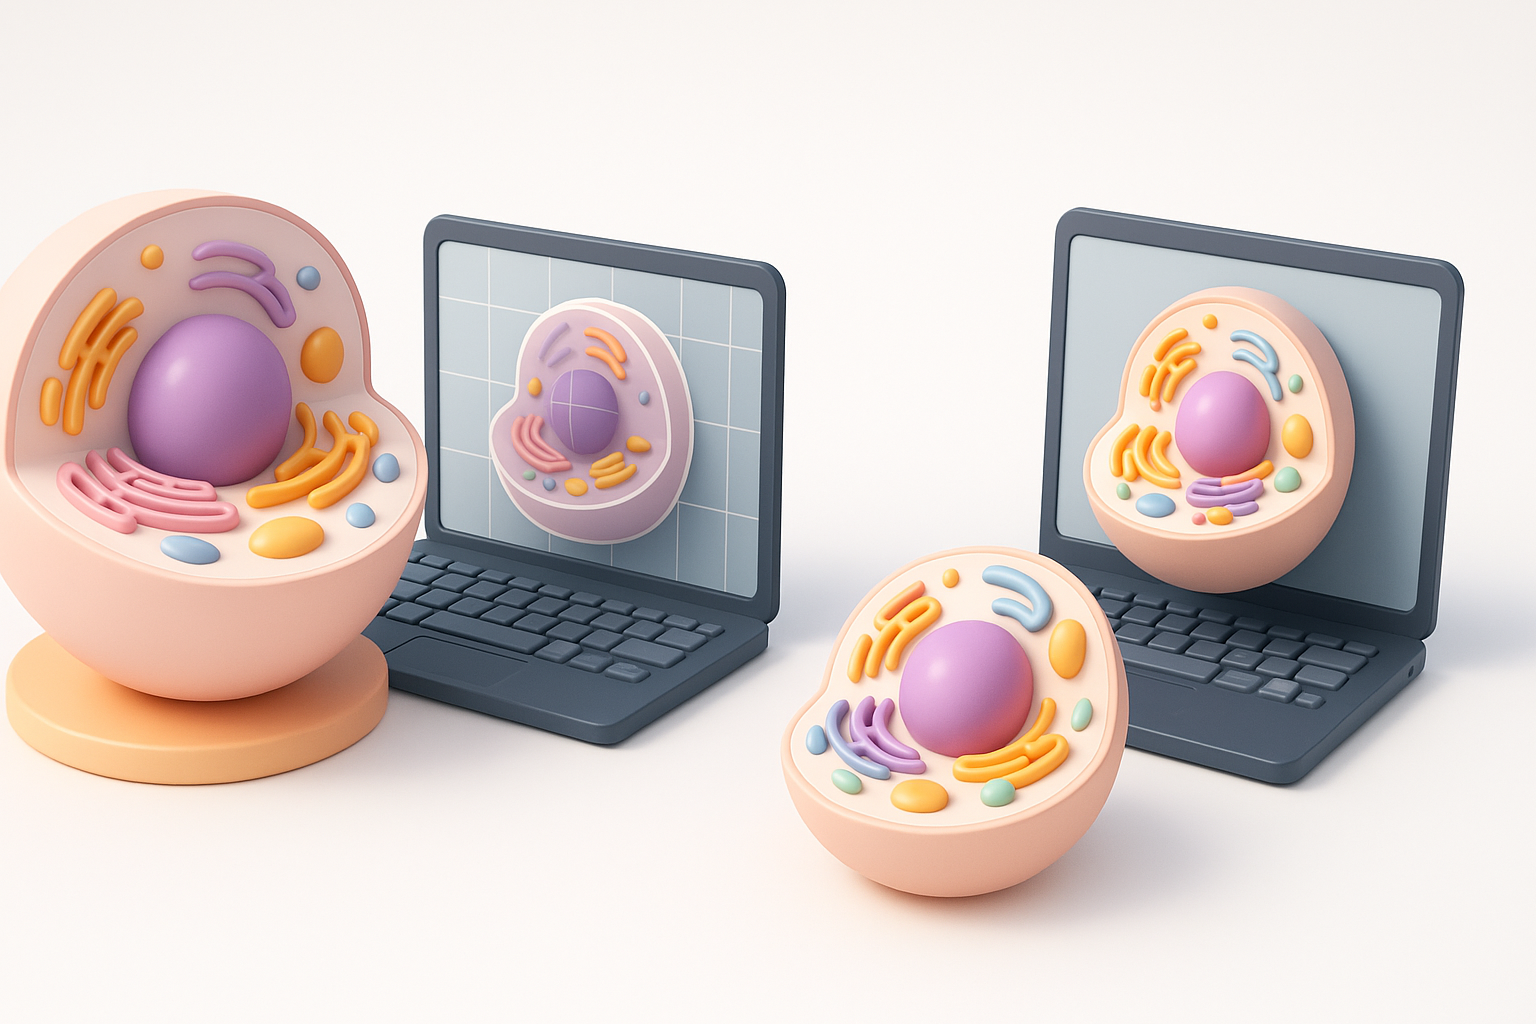
When I build an animal cell model, I focus on representing the main organelles: nucleus, mitochondria, endoplasmic reticulum, Golgi apparatus, lysosomes, and cell membrane. Each organelle has distinct shapes and textures that are important for both realism and educational clarity.
- Nucleus: Contains genetic material, usually spherical with a visible nucleolus.
- Mitochondria: Bean-shaped, with inner folds (cristae) that are often highlighted.
- Endoplasmic Reticulum (ER): Network of tubes; smooth and rough ER can be differentiated by surface texture.
- Golgi Apparatus: Stack of membrane-bound sacs, often curved.
- Lysosomes: Small, spherical vesicles.
- Cell Membrane: Semi-transparent boundary, sometimes with embedded proteins.
Checklist for accuracy:
- Cross-check reference images with scientific diagrams.
- Keep organelle proportions and positions realistic but not overcrowded.
Why 3D Visualization Enhances Learning
From my experience, 3D models allow learners to explore spatial relationships and organelle interactions, which are hard to grasp in 2D diagrams. Interactive 3D models make it easy to rotate, zoom, and isolate structures, deepening understanding.
- Tip: Use color coding and labeling to reinforce organelle identification.
- Pitfall: Avoid over-complicating the model—clarity trumps hyper-detail for educational use.
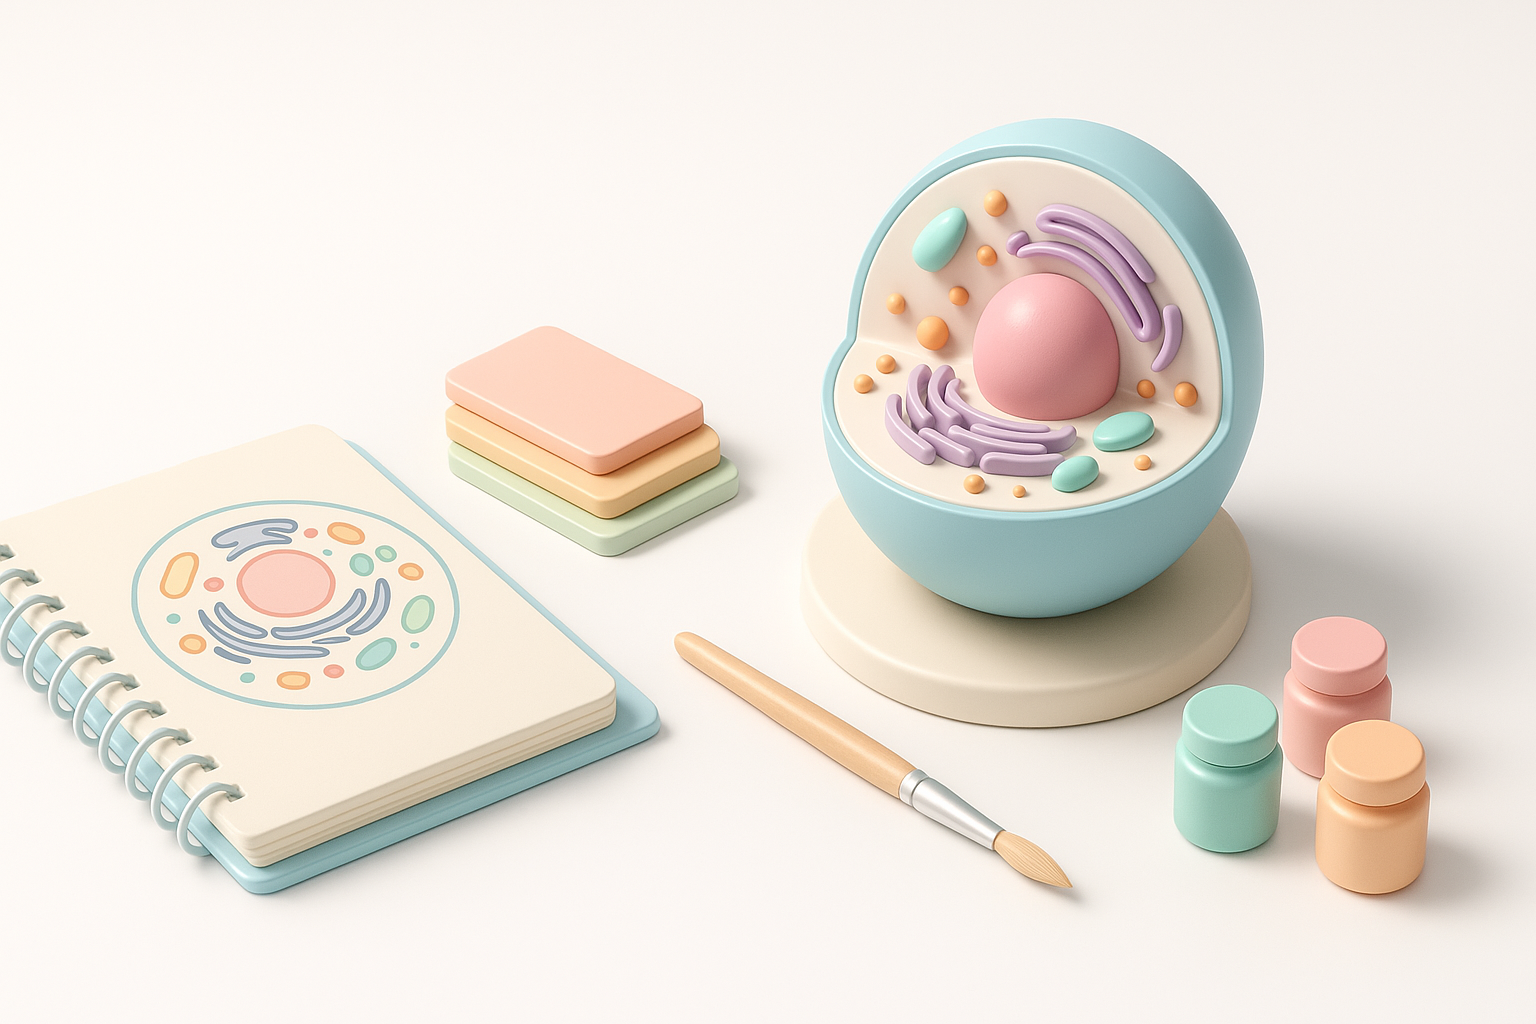
Step-by-Step Workflow for Building a Labeled 3D Animal Cell Model
Gathering References and Planning the Model
Before modeling, I gather multiple reference images—textbook diagrams, microscope images, and reputable online resources. I sketch a rough layout to plan organelle placement and labeling.
My planning steps:
- Collect 3–5 reference images for each organelle.
- Sketch a top-down and side view to map organelle positions.
- Decide on the level of detail needed for your audience.
Pitfall: Skipping this step often leads to inaccurate or overcrowded models.
Using AI Tools and Manual Techniques for Modeling
I typically start with an AI-powered 3D generation tool like Tripo. By inputting a detailed text prompt (e.g., “animal cell with labeled nucleus, mitochondria, ER, Golgi apparatus…”), I get a solid base mesh with basic organelle segmentation.
- AI workflow:
- Input prompt or upload a reference sketch.
- Refine organelle shapes using built-in segmentation tools.
- Use auto-retopology for clean, editable geometry.
- Manual refinement:
- Adjust organelle positions for clarity.
- Add or tweak details (e.g., cristae in mitochondria) in your 3D editor of choice.
Tip: Don’t hesitate to mix AI and manual steps—the combination yields the best results.
Best Practices for Labeling and Texturing
Effective Label Placement for Clarity
In my workflow, clear and readable labels are essential. I use 3D text objects or annotation tools to attach labels directly to organelles, avoiding overlap and clutter.
Labeling checklist:
- Use consistent font size and color.
- Place labels slightly above or beside each organelle, connected with leader lines.
- Group related labels for complex structures.
Pitfall: Overlapping labels or inconsistent placement confuse viewers—test your model from multiple angles.
Texturing Tips for Realistic and Educational Models
For educational models, I prioritize color coding (e.g., blue for nucleus, orange for mitochondria) and simple, non-photorealistic textures that highlight organelle boundaries.
- Use Tripo’s built-in texturing or export UV maps for custom painting.
- Avoid overly glossy or dark textures—clarity is key.
- Add subtle surface details (e.g., membrane patterns) for realism without distraction.
Tip: Preview your textures in the target environment (e.g., web, VR) to ensure they read well.
Exporting, Sharing, and Presenting Your 3D Animal Cell
Optimizing for Different Platforms
I always optimize my models based on where they’ll be used—web, AR/VR, or print. Tripo and similar tools offer export presets (GLB, FBX, OBJ) and polygon reduction for compatibility.
Optimization steps:
- Check polygon count and reduce if targeting web or mobile.
- Bake textures to minimize file size.
- Test export in your target viewer before sharing.
Pitfall: High-poly models can lag or fail to load on some platforms—balance detail and performance.
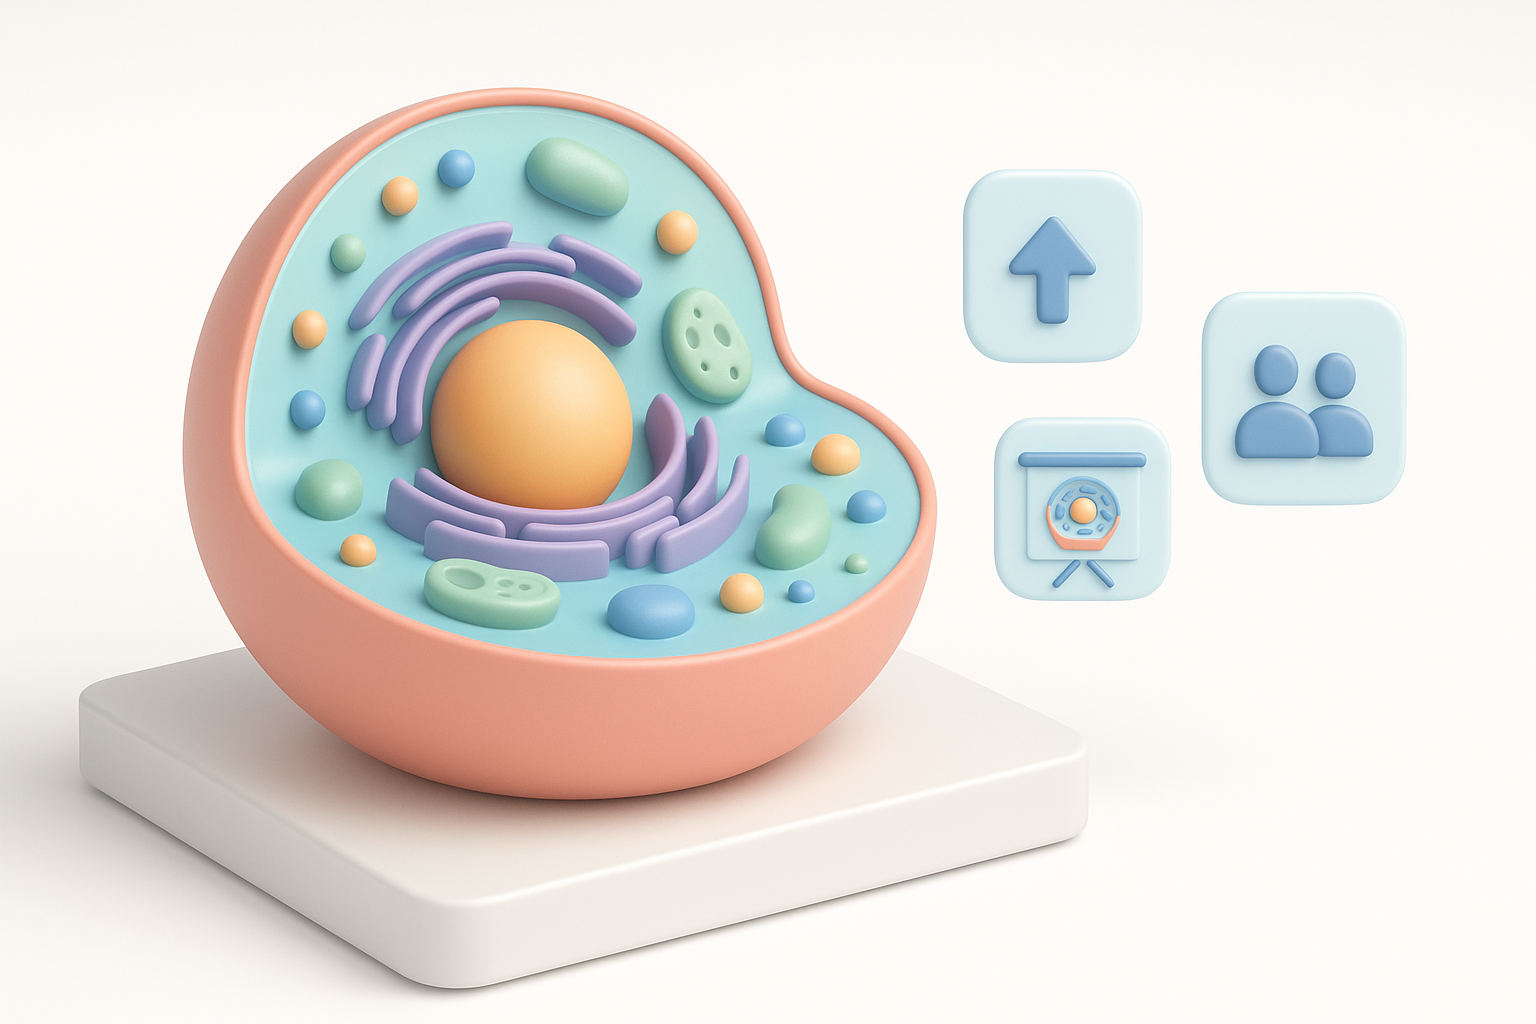
Showcasing and Collaborating with Others
Sharing is straightforward: I use platform-specific viewers or embed 3D models on educational websites. For collaboration, I share editable files or use cloud-based review tools.
- Add clear instructions for navigation if sharing with non-3D users.
- Encourage feedback from educators or peers to improve clarity.
Tip: Annotated screenshots or short videos can supplement interactive models for presentations.
Comparing AI-Powered and Traditional 3D Modeling Methods
Speed, Accuracy, and Usability Insights
In my hands-on experience, AI-powered tools like Tripo reduce modeling time from hours to minutes, especially for complex, segmented structures like cells. The base accuracy is high, but manual tweaks are often needed for scientific precision.
- AI strengths: Speed, accessibility for beginners, auto-labeling, and segmentation.
- Traditional strengths: Full control over geometry, detail, and custom workflows.
Pitfall: Relying solely on AI can lead to generic or biologically inaccurate results—always review and refine.
When to Use AI Tools vs. Manual Approaches
I use AI tools for rapid prototyping and when time is short. For high-stakes educational or research projects, I combine AI-generated bases with manual refinement for maximum accuracy and clarity.
- Use AI when: You need a fast, clear model for teaching or prototyping.
- Go manual when: Scientific accuracy, unique features, or high realism are required.
Tip: The most effective workflow blends both—let AI handle the groundwork, then add your expertise.
By following these steps and best practices, you can efficiently create a labeled 3D animal cell model that’s both visually engaging and scientifically accurate—whether you’re an educator, developer, or creative professional.


