Creating and Using Alan Wake 2 3D Models: Expert Workflow
скачать 3d модели для chicken gun
Creating production-ready 3D models inspired by Alan Wake 2 requires a blend of artistic sensibility and technical rigor. In my workflow, I prioritize reference gathering, efficient modeling, and leveraging AI-driven tools to accelerate the process without sacrificing quality. Whether you’re building game assets, cinematic props, or immersive environments, my approach ensures results that are both visually compelling and technically robust. This article is for artists, developers, and studios aiming to streamline their 3D pipeline for Alan Wake 2–style assets.
Key takeaways
- Reference gathering and planning are essential for authentic Alan Wake 2 models.
- Combining AI-powered and traditional modeling tools can dramatically speed up asset creation.
- Production-ready models require attention to topology, texturing, and optimization for real-time use.
- Exporting with correct file formats and settings avoids integration headaches later.
- Realistic materials and lighting elevate the final presentation and in-game appearance.
Overview of Alan Wake 2 3D Models
Key features and visual style
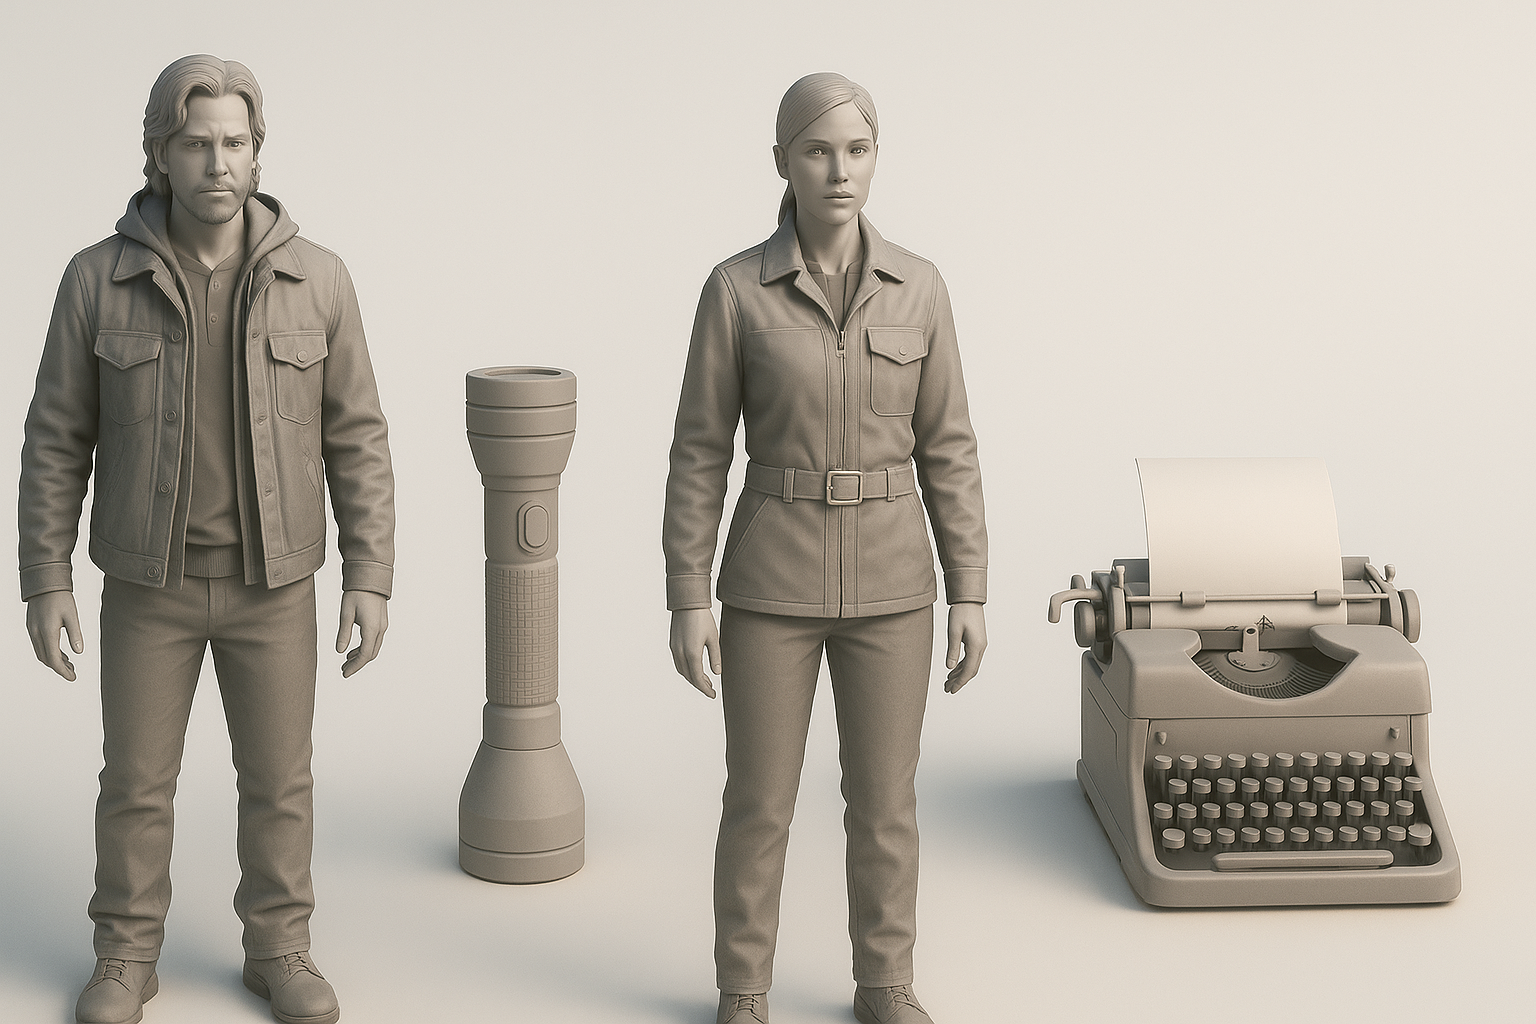
Alan Wake 2’s 3D assets are defined by a grounded, atmospheric realism—think moody lighting, weathered surfaces, and cinematic silhouettes. Characters and props often feature detailed normal maps, subtle wear, and layered textures that evoke the game’s psychological horror tone. In my experience, focusing on believable imperfections and nuanced materials is key.
Common use cases in games and media
These models are used for:
- Real-time game environments (levels, props, architecture)
- Cinematic cutscenes and trailers
- Marketing renders and promotional art
- XR experiences and VR walkthroughs
What I’ve found is that maintaining consistent scale, modularity, and texture resolution is crucial for seamless integration across these contexts.
My Workflow for Creating Alan Wake 2 3D Models
Gathering references and planning
I always start by collecting high-quality references: official screenshots, concept art, and breakdowns from the game. I organize these into mood boards and annotate key details—like material types, lighting direction, and unique design motifs.
My checklist:
- Gather at least 10–15 reference images per asset
- Note scale, silhouette, and color palette
- Identify signature weathering or storytelling elements
Choosing the right tools and platforms
For modeling, I use a mix of traditional DCCs and AI-powered solutions. Tripo AI is my go-to for rapid prototyping, especially when I need a base mesh from text or sketches. I then refine in my main 3D app, ensuring full control over topology and UVs.
Practical tip:
I always check that my chosen tools support the necessary file formats and shader workflows for my target engine (e.g., Unreal or Unity).
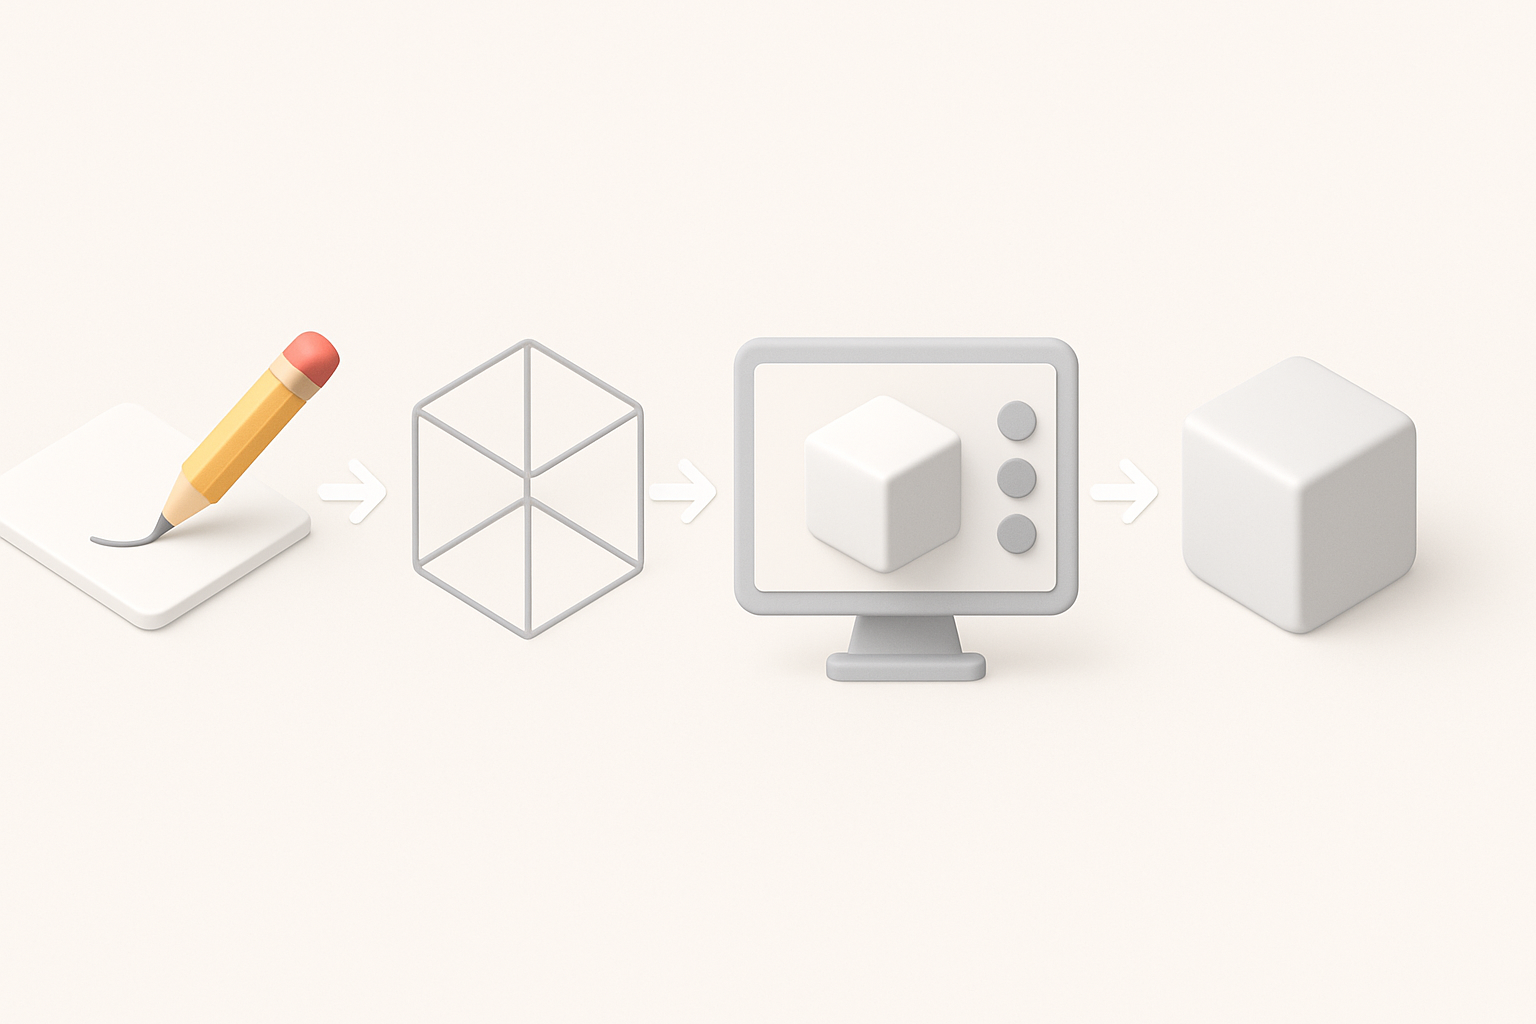
Step-by-Step 3D Model Creation Process

Modeling and sculpting techniques
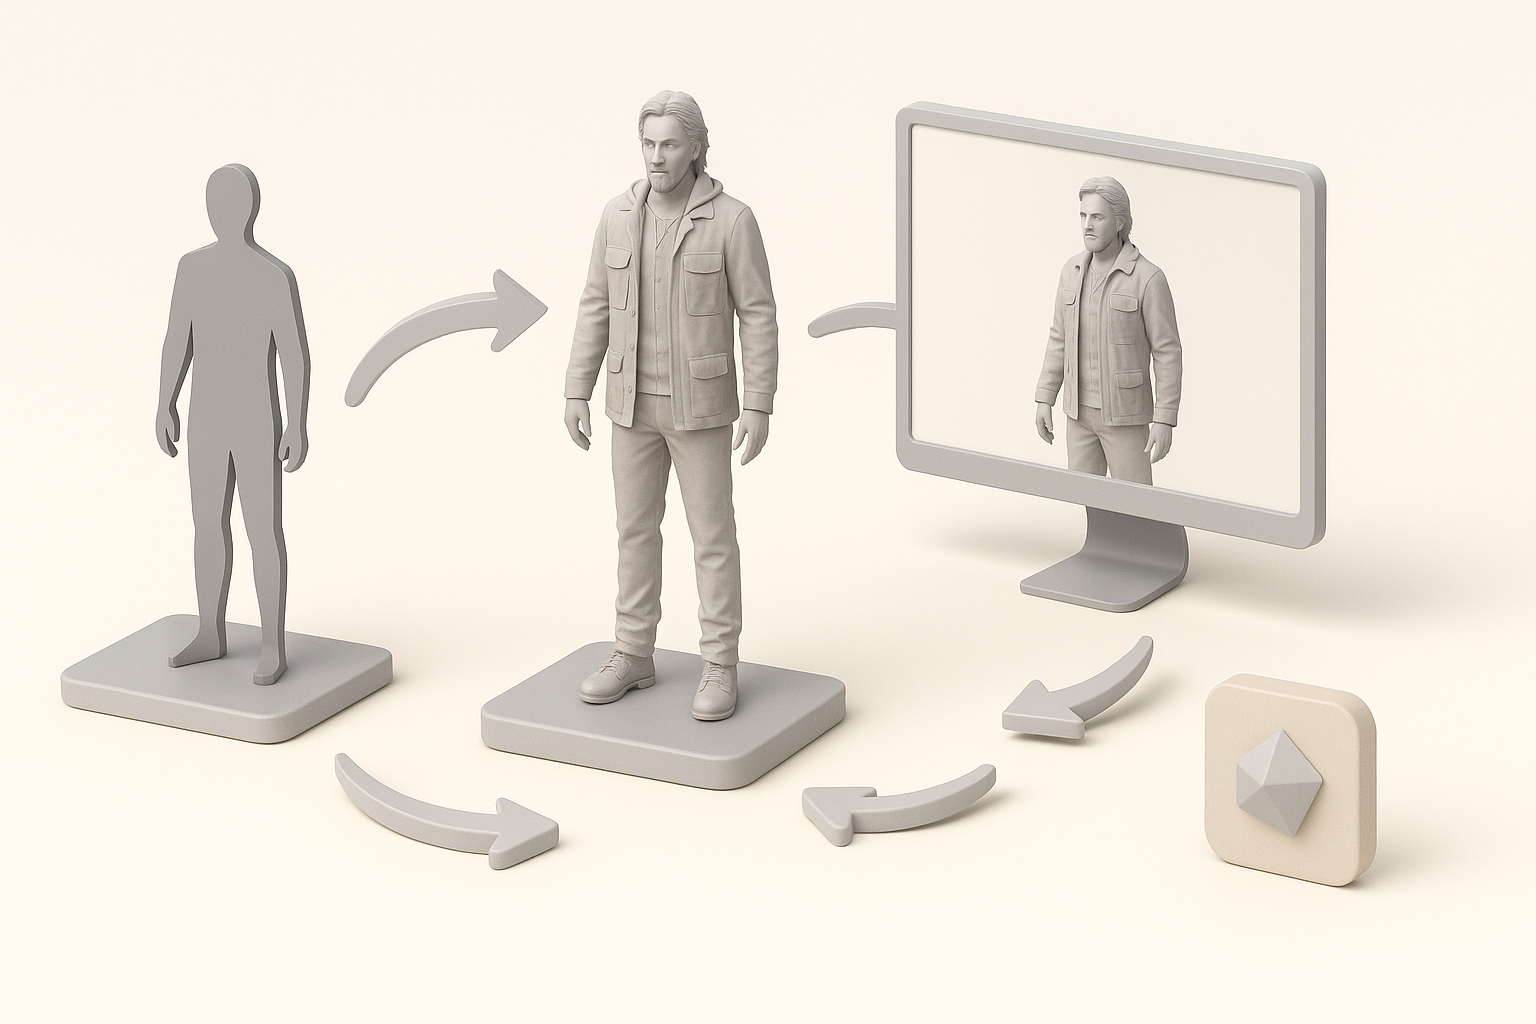
I block out primary forms first, focusing on proportions and silhouette. For organic assets, I’ll sculpt high-frequency details; for hard-surface props, I rely on precise edge control and beveling.
My steps:
- Start with a low-poly blockout (AI-generated or manual)
- Refine shapes, keeping polycount efficient
- Add secondary and tertiary details via sculpting or normal maps
Texturing, retopology, and optimization
After modeling, I retopologize for clean, animation-ready geometry. Tripo AI’s built-in retopology is a time-saver here. For texturing, I bake high-to-low maps and use physically based materials, layering dirt, grime, and wear for realism.
Pitfalls to avoid:
- Overly dense meshes (hurts performance)
- Unoptimized UV layouts (causes texture stretching)
- Ignoring texel density (inconsistent texture quality)
Best Practices for Production-Ready Models

Ensuring compatibility and performance
I always check that my models meet engine requirements—polygon limits, texture sizes, and correct pivot placement. I test assets in context to catch any scale or lighting mismatches early.
Quick checklist:
- Polycount within target platform specs
- Proper naming conventions and hierarchy
- Clean, non-overlapping UVs
Tips for realistic materials and lighting
Realism comes from nuanced materials and thoughtful lighting. I use layered shaders for complex surfaces (e.g., wetness, subsurface scattering) and match lighting setups to the Alan Wake 2 mood—soft, directional, with subtle color grading.
What works for me:
- Reference real-world materials, not just game art
- Use baked ambient occlusion for added depth
- Preview assets under multiple lighting scenarios
Comparing AI-Powered and Manual 3D Workflows

When to use AI-driven tools
AI tools like Tripo AI are invaluable for rapid prototyping, generating base meshes, and even auto-texturing. I use them when speed is critical or when iterating on multiple asset variations.
Best use cases:
- Early concept exploration
- Batch asset generation
- Filling out large environments quickly
Pros and cons of alternative methods
AI-powered workflows:
- Pros: Fast, accessible, great for ideation
- Cons: May require manual cleanup for production
Manual workflows:
- Pros: Full creative control, precise optimization
- Cons: Time-consuming, steeper learning curve
In practice, I blend both—using AI for the heavy lifting and manual tweaks for polish.
Exporting, Sharing, and Using Alan Wake 2 3D Models
File formats and integration tips
I export in formats like FBX or OBJ for compatibility with major engines. Tripo AI supports these, making handoff seamless. I always double-check scale, orientation, and material assignments before import.
Tips:
- Embed textures when possible
- Use consistent naming for easy batch imports
- Test in-engine for lighting and collision
Showcasing and collaborating with others
For team projects, I use cloud platforms or asset managers to share models. Annotating assets with notes on usage, scale, and material setup avoids confusion down the line.
What’s worked for me:
- Provide preview renders for quick reviews
- Document any custom shader or rig setups
- Encourage feedback early to catch issues
By following this workflow, I consistently deliver Alan Wake 2–style 3D models that are both visually compelling and technically sound—ready for integration into games, cinematics, or XR experiences.


