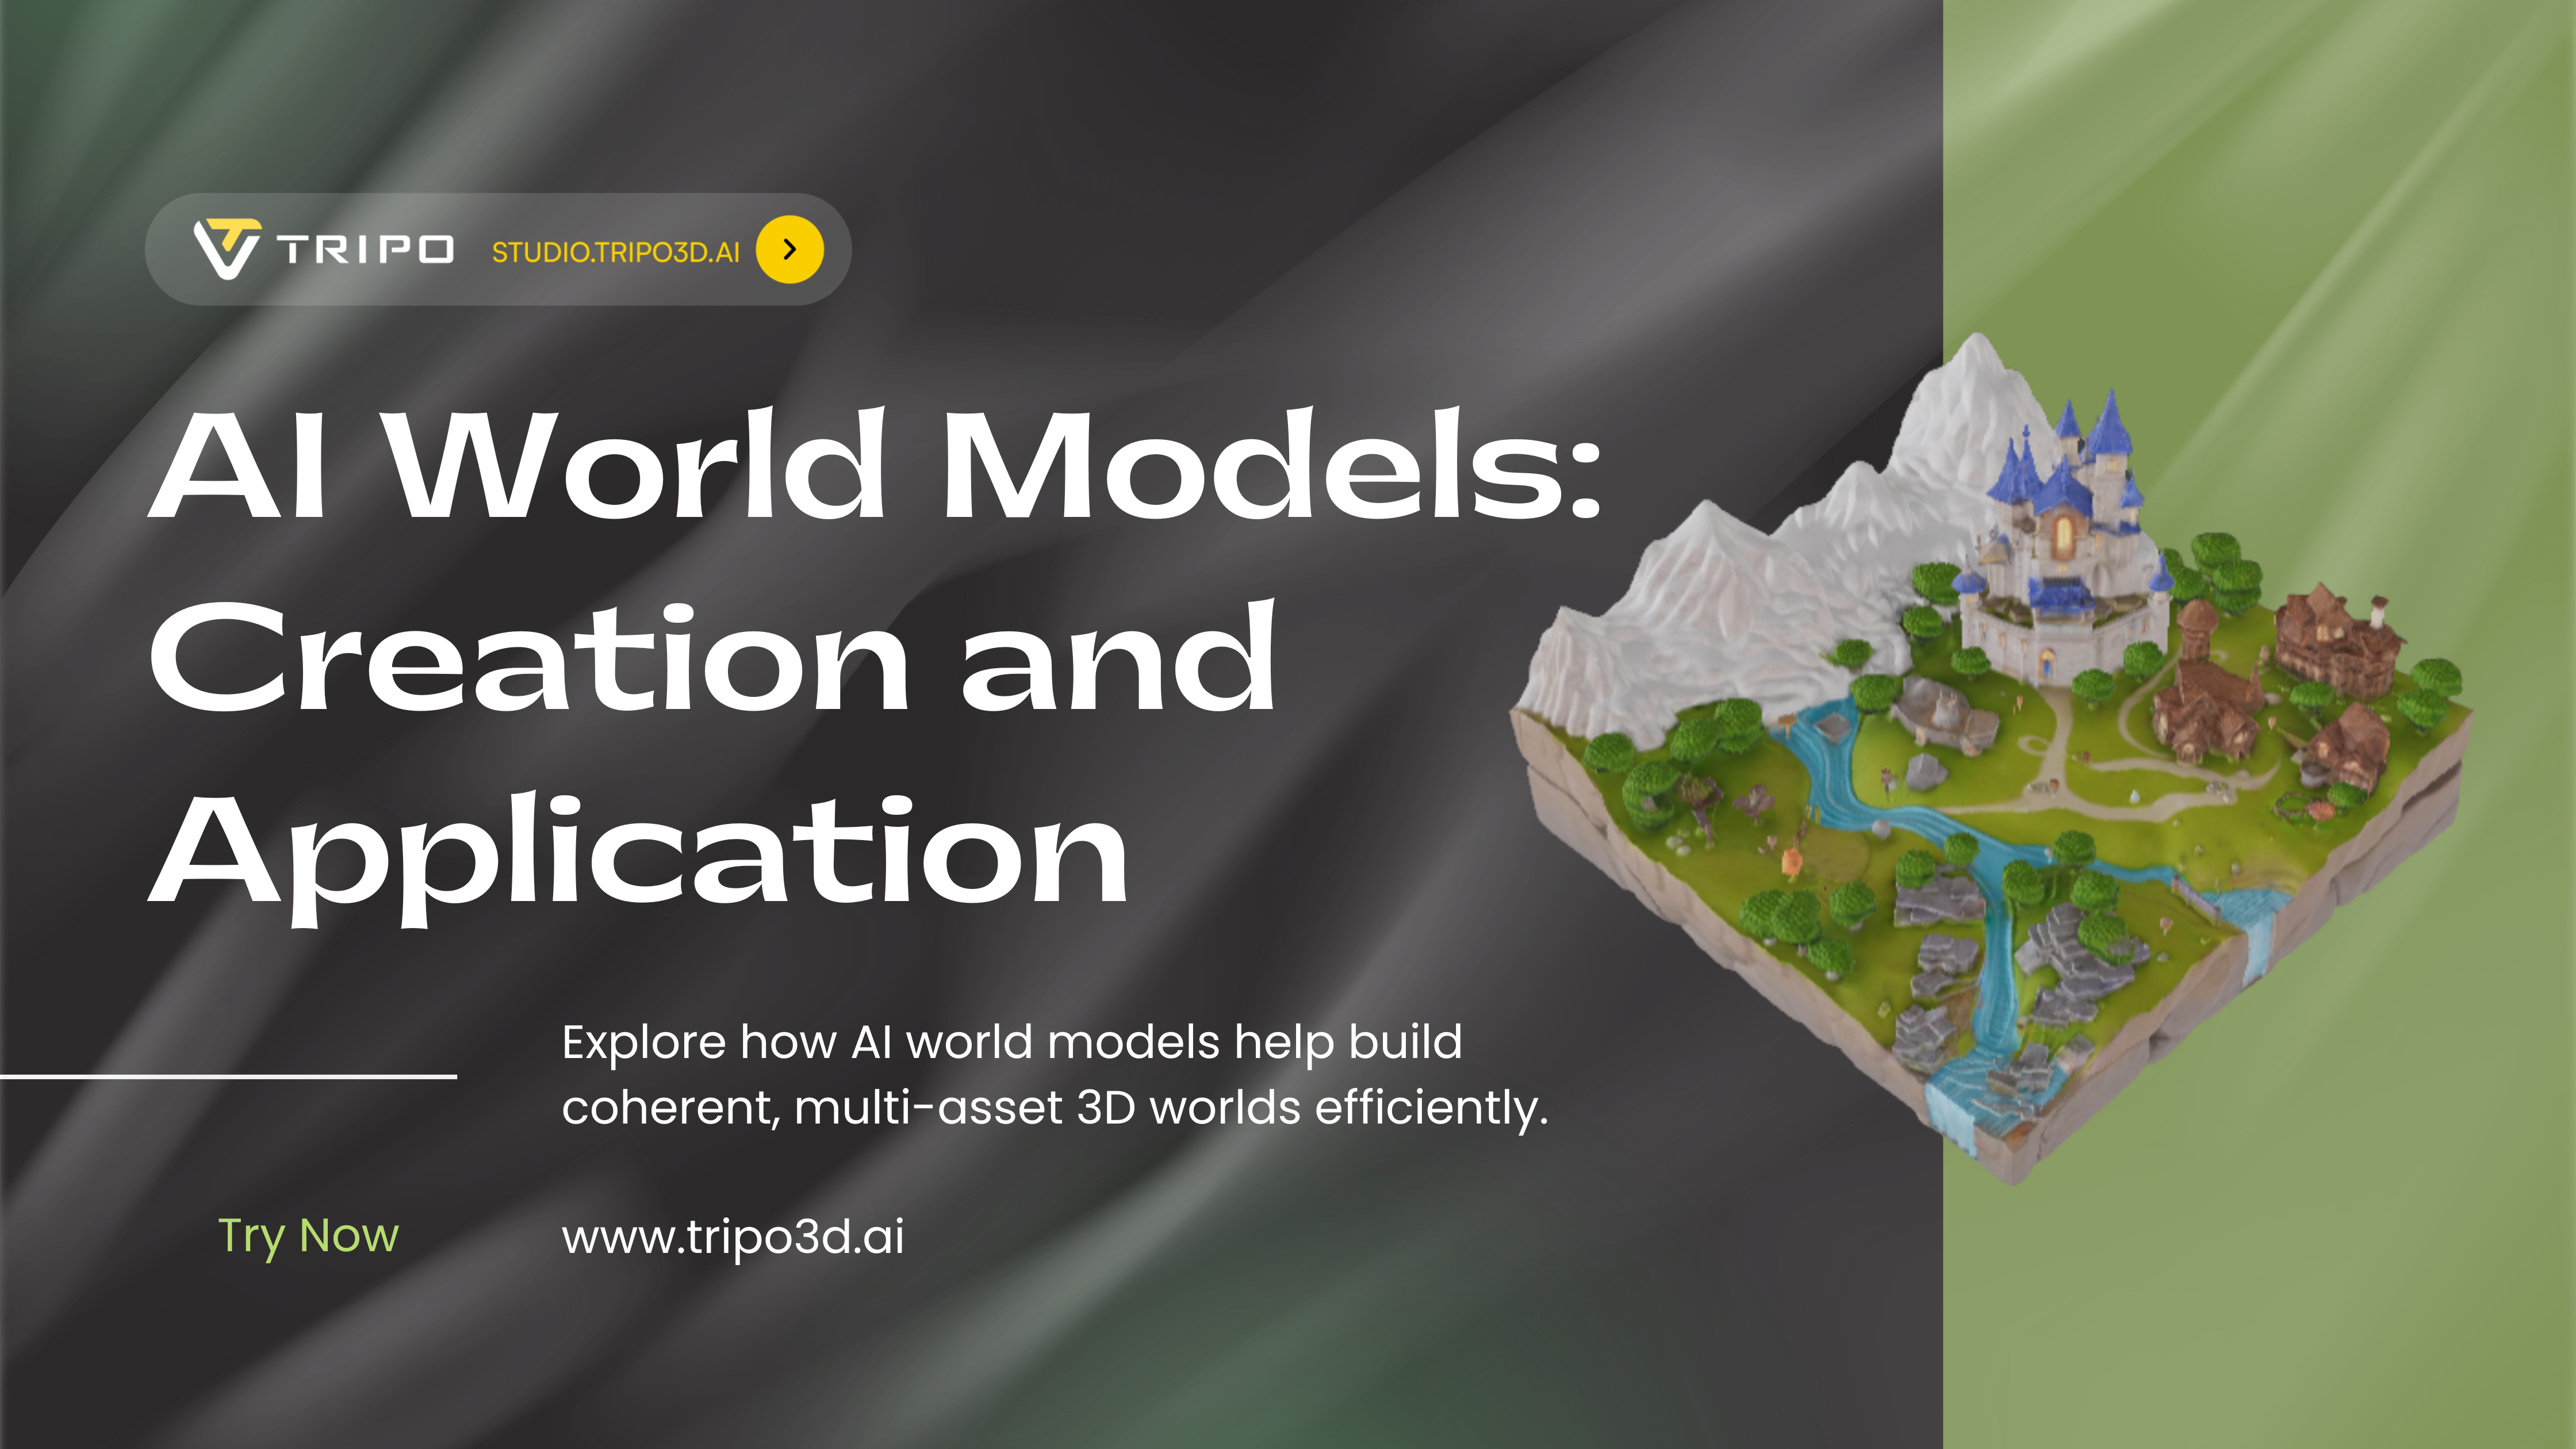
AI World Models: A Full Guide to Creation & Application
In my practice, AI world models represent the next logical leap from single-object generation: they are coherent, multi-asset 3D environments created or structured by artificial intelligence. I use them to rapidly prototype expansive scenes, establish visual tone, and generate vast amounts of contextual geometry that would be prohibitive to model by hand. This guide is for 3D artists, game developers, and XR creators who want to integrate this powerful accelerant into their professional pipelines without sacrificing final-quality control. The key is understanding that AI generates the raw material; your expertise shapes it into a usable world.
Key takeaways:
- AI world models are systems for generating or assembling coherent multi-asset environments, not just random object collections.
- They excel at rapid ideation and populating large spaces, but require an artist's eye for scale, style, and narrative cohesion.
- A hybrid pipeline, using AI for bulk generation and traditional tools for hero assets and refinement, delivers the best professional results.
- Success hinges on robust data preparation, iterative refinement, and optimization for your target platform (game engine, renderer, etc.).
What Are AI World Models? My Core Understanding
Defining the Concept: Beyond Single Objects
When I talk about an AI world model, I'm not referring to a single AI-generated statue or chair. I'm describing a coherent system—a scene, level, or environment where the components relate to each other logically in scale, style, and function. It could be a generated forest with consistent tree species, undergrowth, and terrain, or a city block where buildings share architectural details. The AI's role is to understand and replicate the complex relationships and rules that make an environment feel believable, not just to spawn discrete items.

Why This Matters for 3D Artists & Developers
This matters because it fundamentally shifts the bottleneck. The tedious, time-consuming work of modeling every brick, tree, and lamppost for a background vista can now be delegated. In my projects, this means I can spend more time on the hero assets that the player interacts with directly and on the overall artistic direction. It allows for rapid iteration on environment mood and layout during pre-production, enabling more creative exploration within tight deadlines.
Key Components I Look For in a Robust Model
Not all generated worlds are equally useful. The ones I can actually use professionally exhibit a few key traits:
- Spatial Coherence: Objects sit properly on surfaces, scales are consistent (a door isn't 20 feet tall), and there's a logical sense of space.
- Stylistic Consistency: The visual language—be it PBR realistic, low-poly stylized, or something else—holds across generated assets.
- Logical Asset Relationships: A kitchen contains counters, appliances, and cabinets arranged for function, not just random kitchen-themed objects floating in space.
- Editable Structure: The world isn't a single, uneditable mesh. Assets are intelligently segmented or layered so I can remove, replace, or modify elements.
Building Your First AI World Model: My Step-by-Step Workflow
Step 1: Defining Scope & Gathering Reference Data
I never start generating blindly. First, I define a tight scope: "a small mossy stone ruin in a forest clearing" is better than "a fantasy environment." Then, I gather reference images that define the style, color palette, and key architectural or natural features. This reference set becomes the crucial input that guides the AI, ensuring the output aligns with my vision from the first iteration.
Step 2: Choosing the Right Generation & Assembly Tools
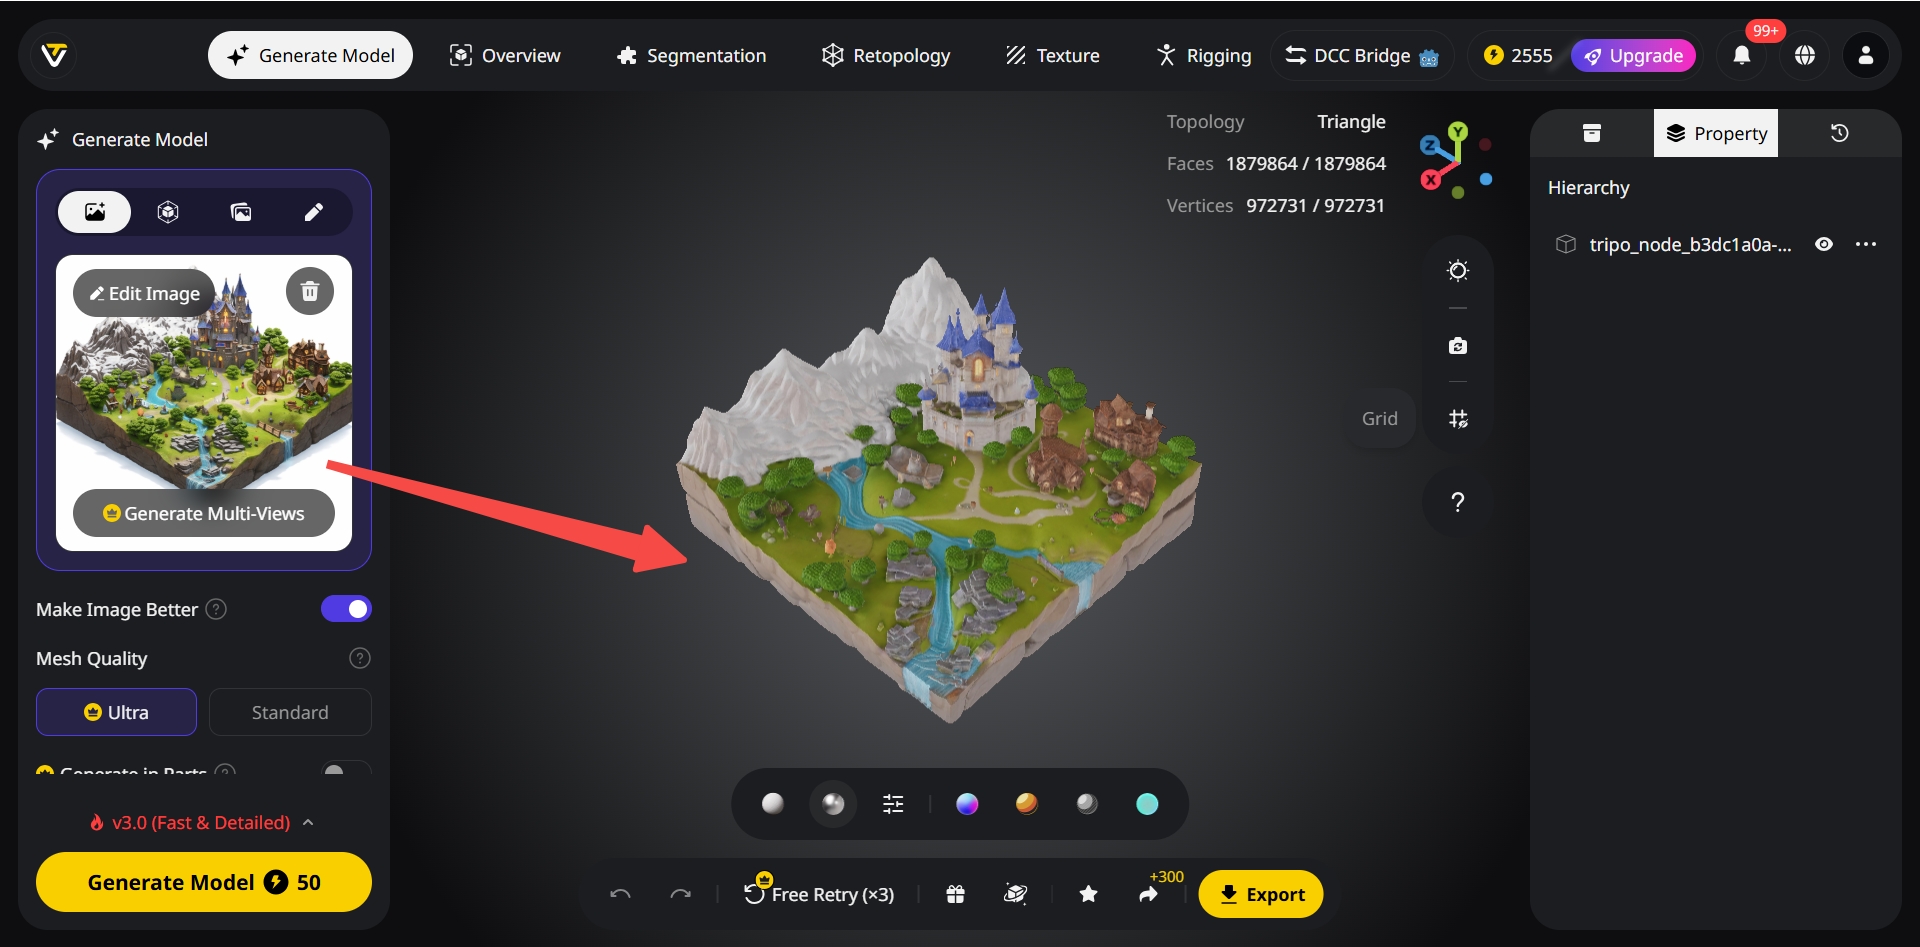
My tool choice depends on the task. For generating a base set of consistent, style-matching assets (like varied rubble piles or tree stumps), I use a platform like Tripo AI for its fast, text/image-to-3D capability. For assembling these assets into a coherent layout, I might use the AI's scene generation features or move into a traditional DCC (Digital Content Creation) tool like Blender or a game engine with procedural placement tools. The goal is a flexible pipeline.
Step 3: Iterative Refinement & Coherence Checks
The first output is a starting point, not the finish line. My next phase is a critical review loop:
- Check Scale: I import a human-scale reference model into the scene.
- Check Style: I look for outliers that break the visual theme and re-generate or replace them.
- Check Logic: Does the layout make sense? Would a path wind this way? Would rocks fall like that?
- Refine: I manually adjust placements, add or subtract detail, and often generate a second batch of assets to fill specific gaps identified in this review.
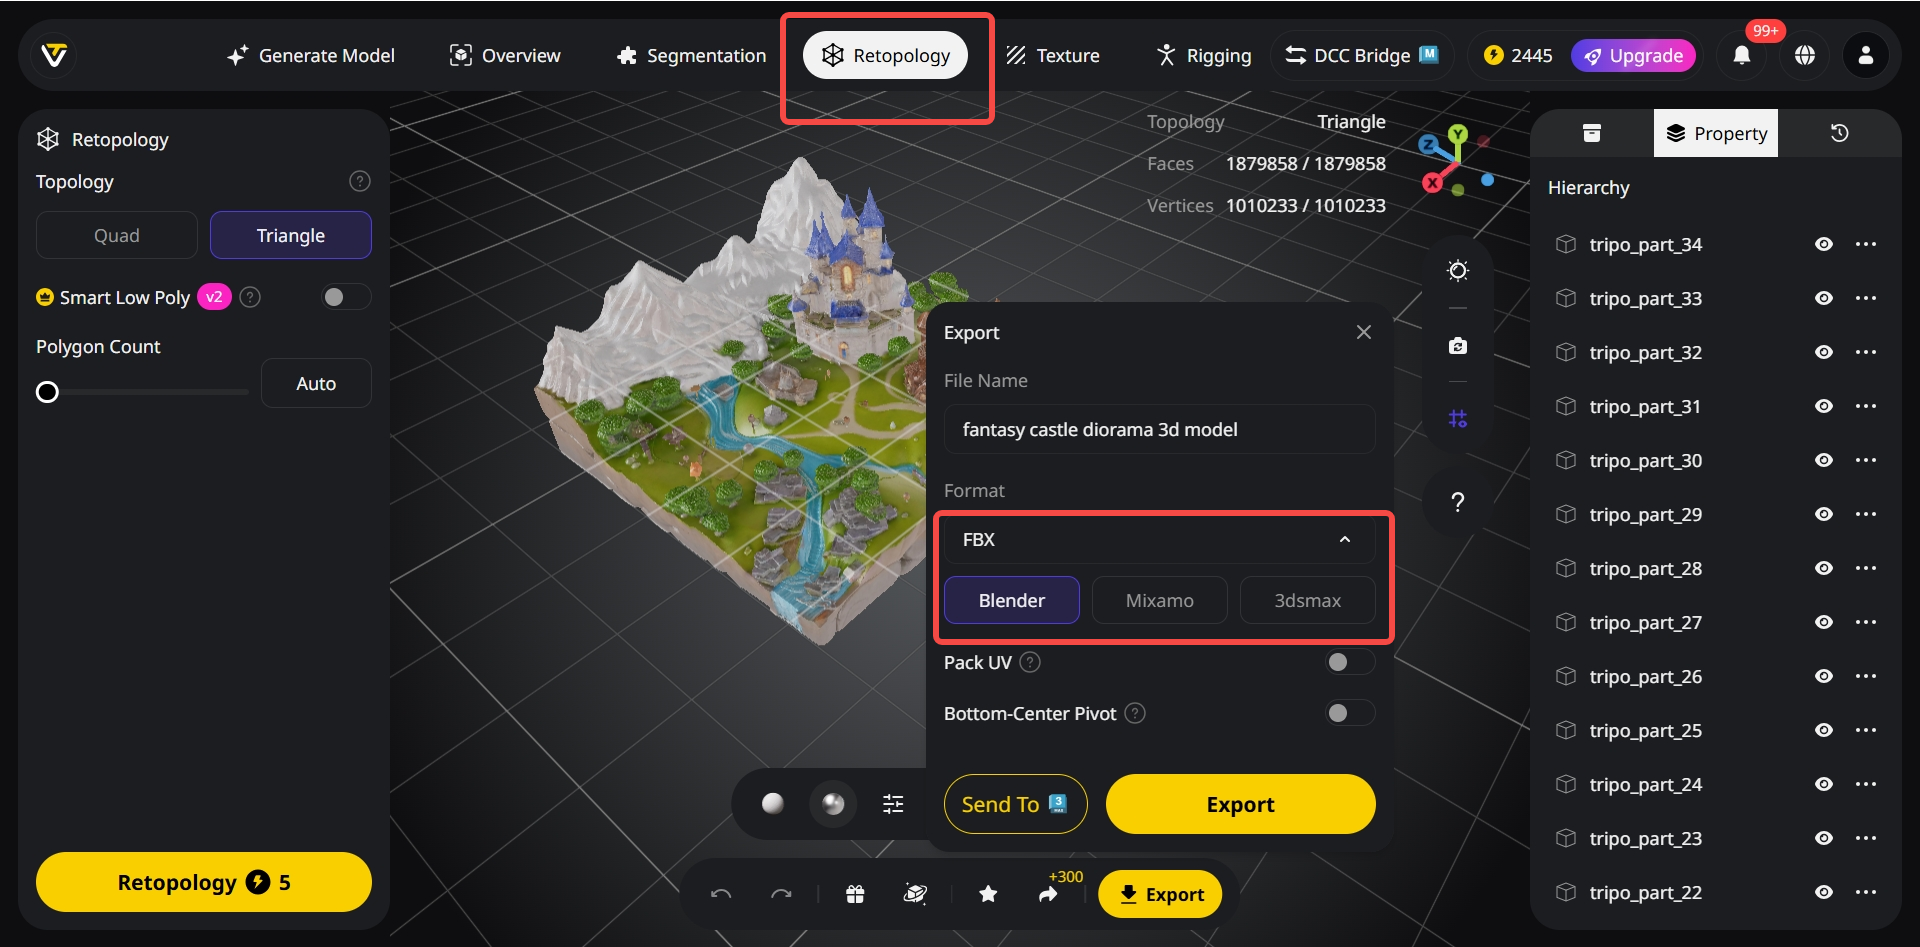
Step 4: Exporting for Your Target Platform
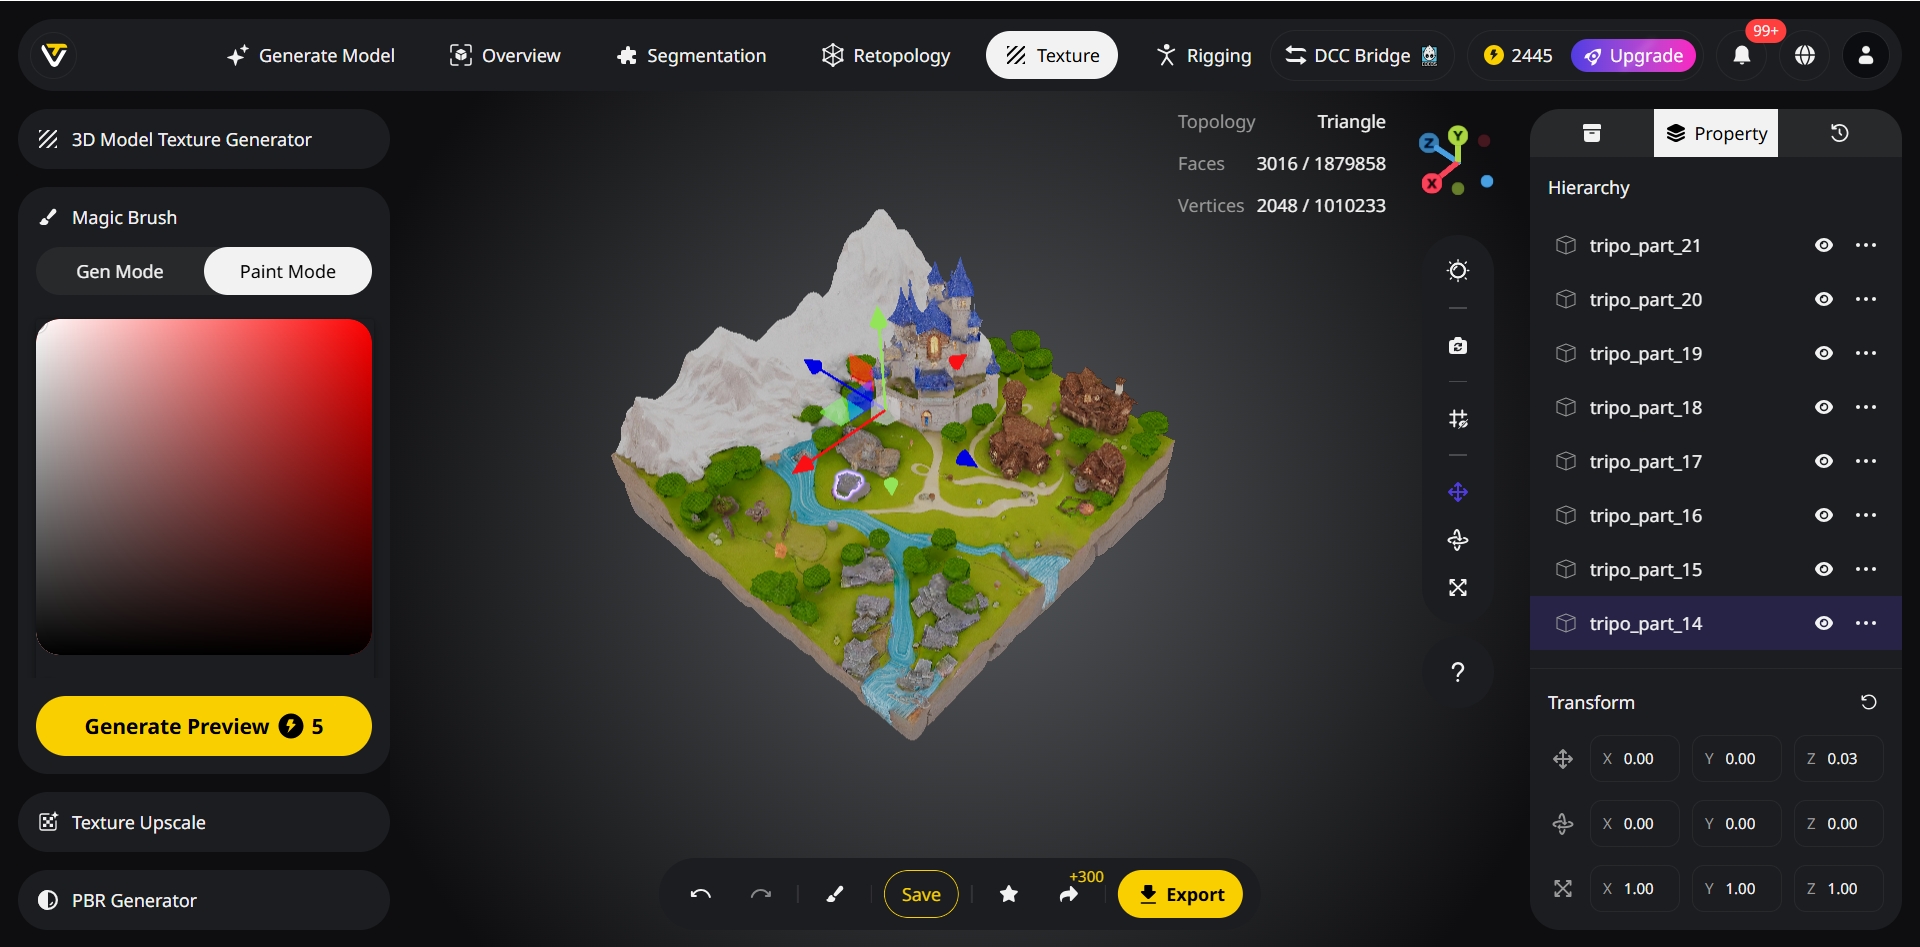
A beautiful scene is useless if it crashes a game engine. Before final export, I ensure assets have clean topology and optimized texture maps. I use Tripo's built-in automatic retopology and UV unwrapping to prepare generated meshes. Then, I export in the correct format (FBX, glTF) with proper hierarchy and PBR material channels (Base Color, Roughness, Normal) for my target platform—Unreal Engine, Unity, or a renderer like V-Ray.
Best Practices I've Learned for Coherent & Usable Worlds
Maintaining Consistent Scale & Style
This is the number one pitfall. I always establish a scale reference (a default cube, a human model) in my scene before I start placing AI-generated assets. For style, I create a simple "style guide" mood board and refer to it constantly during generation and assembly, rejecting assets that deviate too far.
Intelligent Segmentation for Easy Editing
I avoid monolithic "world" meshes. In my workflow, I leverage Tripo's intelligent segmentation feature, which automatically separates distinct elements within a generated object (e.g., a bookshelf from the books on it). This allows me to later delete, re-texture, or animate parts independently, which is essential for integration into an interactive project.
Optimizing Geometry & Textures for Performance
AI models often come out dense. My standard process involves:
- Running auto-retopology to create cleaner, lighter meshes suitable for real-time use.
- Baking high-poly detail into normal maps.
- Ensuring texture resolutions are appropriate (1024x1024 for large/key assets, 512x512 or lower for small/far-away details).
- Merging texture atlases for small, similar objects to reduce draw calls.
My Checklist Before Finalizing a Scene
- Scale validated with reference model.
- All assets share a coherent color palette and material response.
- No intersecting geometry or floating objects.
- Polygon counts are optimized for the target platform.
- Textures are packed (ORM/RMA) and channels are correct.
- Scene hierarchy is logical and clean for import.
Comparing Approaches: AI Generation vs. Traditional vs. Hybrid
Speed & Creative Exploration: Where AI Excels
For raw speed in the early stages, AI is unmatched. I can generate dozens of environment concepts or populate a vast terrain with biome-specific foliage in minutes. It's a phenomenal brainstorming and block-out tool, allowing me to explore visual directions I might not have manually modeled due to time constraints.
Control & Precision: Traditional Methods' Strengths
When I need pixel-perfect control, specific branding integration, or complex, hero assets with bespoke animation rigs, traditional modeling (Blender, Maya, ZBrush) is still king. The precision for hard-surface modeling, the nuance of hand-sculpted organic forms, and the absolute certainty of the output are irreplaceable for primary focal points.
My Preferred Hybrid Pipeline for Professional Results
My standard pipeline leverages the strengths of both:
- AI Phase: Generate background buildings, natural scatter (rocks, fallen logs), and generic props using Tripo AI. Establish the scene's scale and mood.
- Traditional Phase: Model the hero assets (main character vehicle, unique building facade, key weapon) by hand with full control.
- Assembly & Lighting Phase: Combine everything in a game engine or DCC tool. Use AI-generated assets as the "set dressing" around my hand-crafted focal points. Apply final lighting, VFX, and sound.
When to Use Which Approach in a Project Timeline
- Pre-Production/Concepting: Heavily AI-driven for rapid world exploration and mood setting.
- Production: Hybrid. AI for bulk environment population; traditional for hero assets and animation-ready models.
- Polish/Finaling: Primarily traditional and technical art (optimization, LOD creation, final bake), using the AI-generated base as established geometry.
Practical Applications: Where I Use AI World Models Today
Rapid Prototyping for Games & XR
This is the most immediate application. I can build a playable environment block-out in a day. For a VR experience, I quickly generate a whole environment to test for scale and user presence before committing to final art. It allows for incredibly fast iteration with stakeholders.
Creating Immersive Backgrounds for Animation
For animated shorts or film backgrounds, I use AI to generate detailed, deep environments that would take weeks to model manually—distant cityscapes, dense jungles, or asteroid fields. These assets are rendered as-is or used as detailed matte paintings, saving immense production time.
Generating Varied Environments for Architectural Viz
I use it to rapidly visualize a building design in multiple contexts: a snowy mountain pass, a dense urban setting, an arid desert. I can also generate realistic, varied interior decor options (furniture, plants, decor) to stage visualizations for client presentations without sourcing 3D asset libraries.
My Tips for Integrating AI-Generated Worlds into Existing Projects
- Establish a Master Material: Before importing AI assets, create a master PBR material in your engine. Then, tweak the imported AI textures to fit this material's input slots, ensuring consistency with your existing asset library.
- Use as a Base, Not a Final: Always plan to use the AI world as a foundational layer. Plan to add hand-placed decals, vertex painting, unique lighting, and custom VFX on top to break up repetition and add narrative detail.
- Own the Post-Process: The final color grading, ambient occlusion, and volumetric effects in your engine or renderer are what will truly unify the AI-generated elements with your hand-crafted ones and sell the final scene.
