Affordable 3D Modeling Programs: Expert Insights & Best Practices
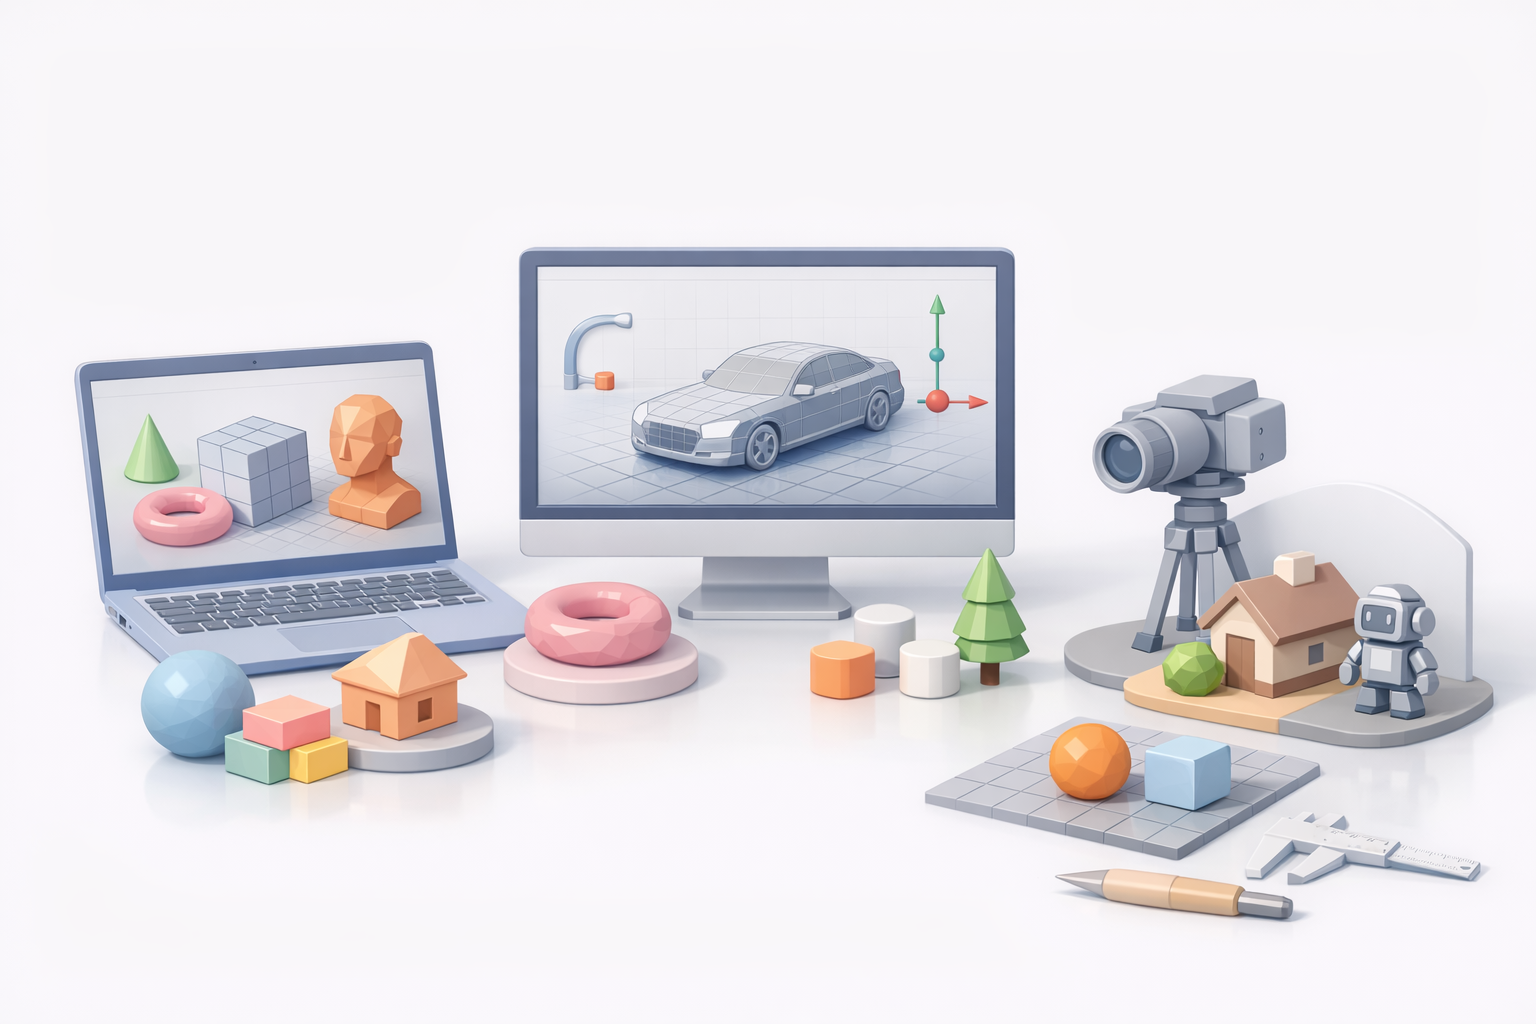
Getting started with 3D modeling on a budget is more practical than ever. Over the years, I've worked with a range of affordable 3D tools—some free, some low-cost—and found that you don’t have to sacrifice quality or workflow efficiency. The right program, paired with AI-powered features, can streamline production and open creative doors, even for beginners. This guide is for artists, designers, and developers looking to maximize value without overspending, based on my hands-on experience and lessons learned.
Key takeaways:
- Many affordable 3D modeling programs now offer pro-level features.
- Choosing the right tool depends on your workflow and project needs.
- AI automation can drastically reduce manual labor and costs.
- Start small: focus on mastering core features before expanding.
- Watch out for hidden limitations in “free” or low-cost software.
- Integrating AI platforms like Tripo can accelerate and simplify 3D creation.
Executive Summary: Key Takeaways on Affordable 3D Modeling

What I’ve learned about budget-friendly 3D tools
In my experience, the gap between expensive and affordable 3D software has narrowed. Many low-cost programs provide solid modeling, sculpting, and texturing capabilities. The learning curve is often friendlier, and you’re not locked into costly subscriptions. For indie creators or small studios, this means more budget for assets, plugins, or hardware.
How affordability impacts workflow and creativity
Affordable tools encourage experimentation. I’ve found that when software is accessible, I’m more willing to try new workflows, prototype ideas, and iterate faster. However, I always check for export options, file compatibility, and community support—these factors impact long-term flexibility and collaboration.
Choosing the Right Affordable 3D Modeling Program

My criteria for evaluating cost-effective 3D software
When evaluating budget-friendly tools, I focus on:
- Core features: Modeling, UV mapping, basic texturing
- File compatibility: Import/export with standard formats (OBJ, FBX, GLTF)
- Performance: Runs smoothly on mid-range hardware
- Community & support: Forums, tutorials, and documentation
- Licensing: Clear terms for commercial use
If a program lacks one of these, I consider how easily I can fill the gap with plugins or external tools.
Balancing features, usability, and price
I prioritize usability—an intuitive UI saves hours of frustration. Some affordable tools trade advanced features for simplicity, which is fine for most projects. My advice: list your “must-haves” and test-drive a few programs. Most offer free trials or limited versions, so you can gauge fit before committing.
Best Practices for Getting Started with Low-Cost 3D Tools

Steps I follow to maximize value from affordable programs
- Start with official tutorials to build a solid foundation.
- Join user communities for tips, troubleshooting, and asset sharing.
- Test your workflow end-to-end: Model, texture, export, and import into your target engine or renderer.
- Leverage built-in automation (like auto-UVs or simple rigging) to speed up repetitive tasks.
Tips for beginners: avoiding common pitfalls
- Don’t skip the basics: Learn navigation, selection, and transformation tools first.
- Save often and use versioning: Some affordable programs are less stable than premium counterparts.
- Check export settings: Avoid surprises when moving assets between programs.
- Beware of “locked” features: Some programs restrict advanced exports or high-res textures to paid tiers.
Comparing Popular Affordable 3D Modeling Solutions
Hands-on comparison: strengths and weaknesses
From my hands-on tests, here’s what typically stands out:
- Entry-level programs: Great for basic modeling and learning concepts; limited in sculpting or advanced shading.
- Browser-based tools: Fast to access, but sometimes laggy with complex scenes.
- AI-powered platforms: Excellent for rapid prototyping, segmentation, and generating textured models from text or images.
Strengths: Low cost, easy learning curve, and growing feature sets. Weaknesses: Occasional stability issues, limited advanced features, or export restrictions.
Where AI-powered platforms fit in my workflow
AI platforms like Tripo have become essential for quick asset generation. I use them to:
- Generate base meshes from text prompts or sketches.
- Automate UV unwrapping and basic texturing.
- Rapidly prototype ideas before committing to manual refinement.
This lets me focus on creative decisions, not repetitive technical tasks.
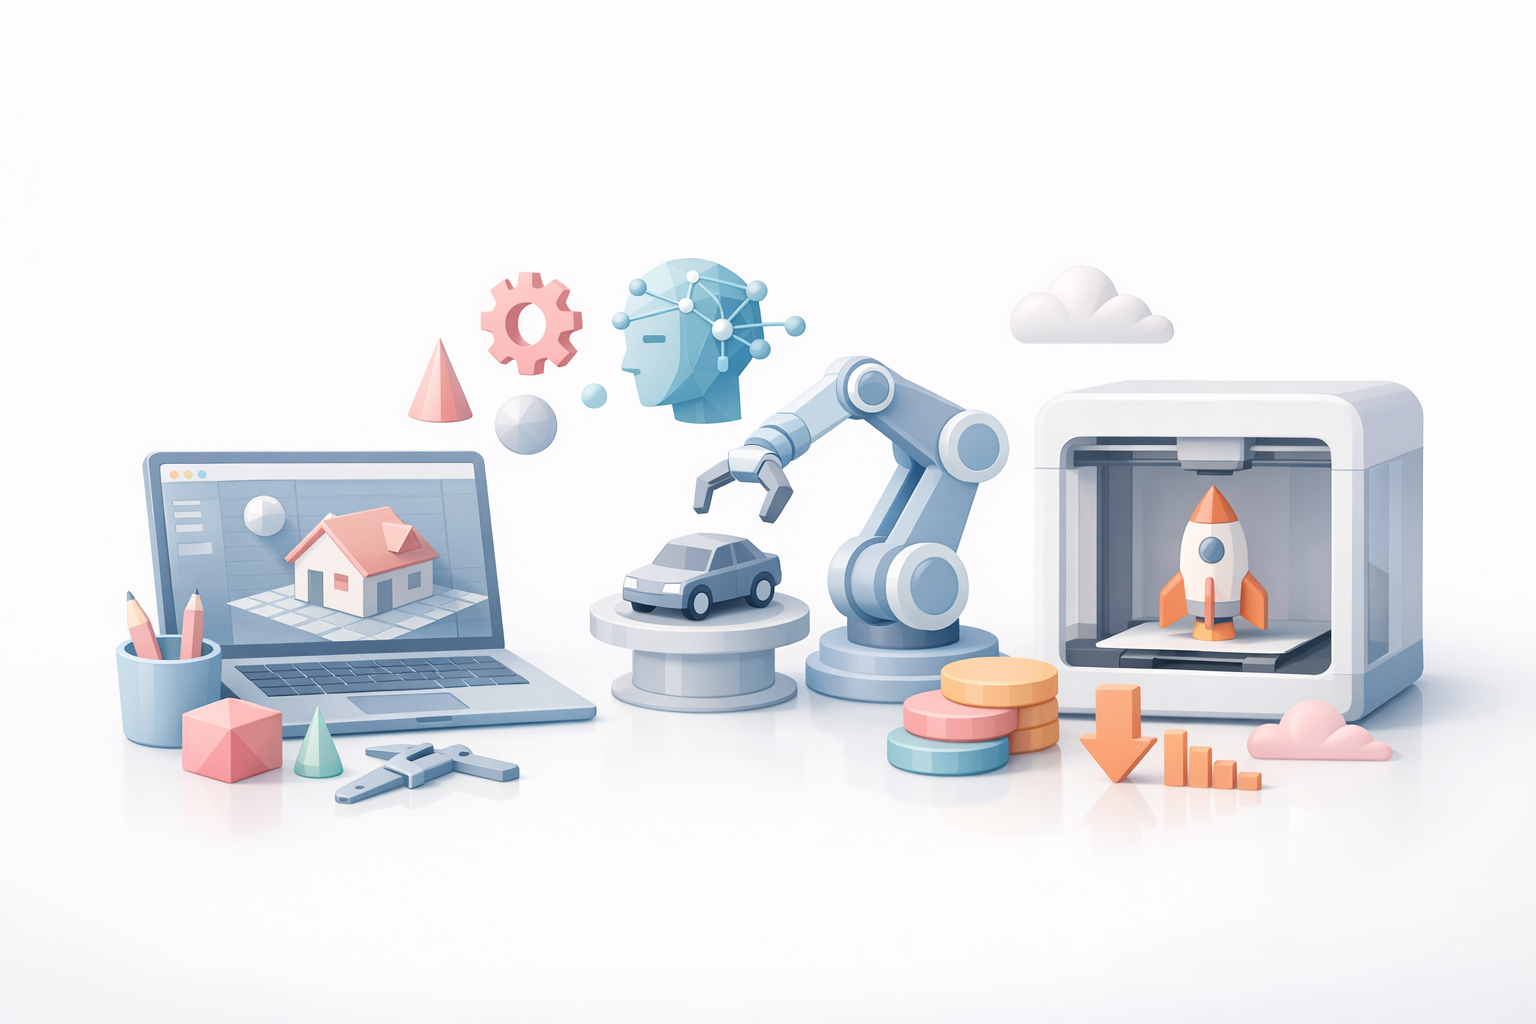
Integrating AI and Automation for Cost-Effective 3D Production
How I leverage AI tools for faster, cheaper results
AI-powered platforms have changed my workflow. Instead of spending hours on segmentation, retopology, or texturing, I let the AI handle initial passes. For example, with Tripo, I can:
- Input a text description or sketch to generate a base model.
- Use automated segmentation to separate mesh parts intelligently.
- Apply procedural textures or materials with minimal tweaks.
Streamlining segmentation, retopology, and texturing
Here’s my typical process:
- Generate initial model (text, image, or sketch input).
- Auto-segment and retopologize with built-in tools.
- Apply auto-texturing for a production-ready asset.
- Export to my main DCC for final touches or animation.
This approach saves both time and budget, especially for iterative projects.
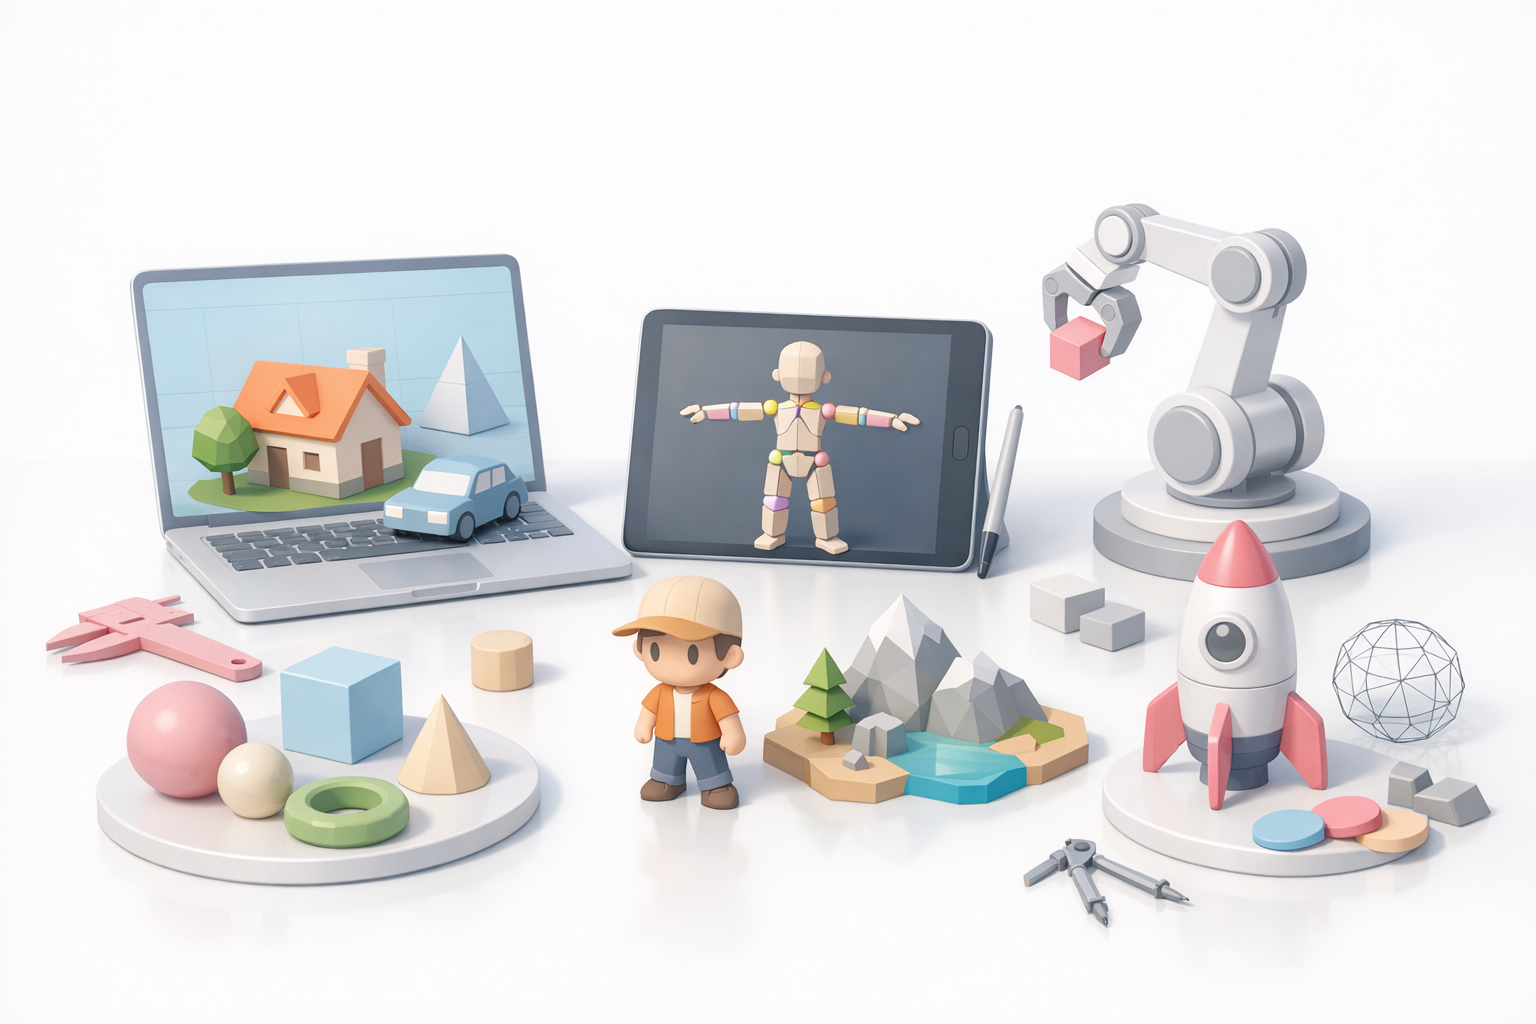
My Workflow: Real-World Examples Using Affordable 3D Programs
Case studies: projects completed on a budget
- Indie game prototype: I combined a free modeling tool for base meshes with Tripo’s AI for texturing and retopology. The result: a playable level with unique assets, all created in under a week.
- XR concept art: For a VR mockup, I generated environment props from text prompts, then refined them in a low-cost sculpting app. Quick turnaround, minimal manual labor.
Lessons learned and recommendations
- Mix and match tools: Don’t rely on a single program—combine strengths.
- Use AI for the “grunt work”: Let automation handle segmentation, UVs, and base textures.
- Invest time in learning workflows: The biggest gains come from knowing when to switch tools or automate.
- Document your process: This makes it easier to repeat success or troubleshoot issues.
Final advice: Affordable 3D modeling is more accessible than ever. With the right mix of traditional and AI-powered tools, you can deliver professional results on a budget—without sacrificing creativity or quality.


