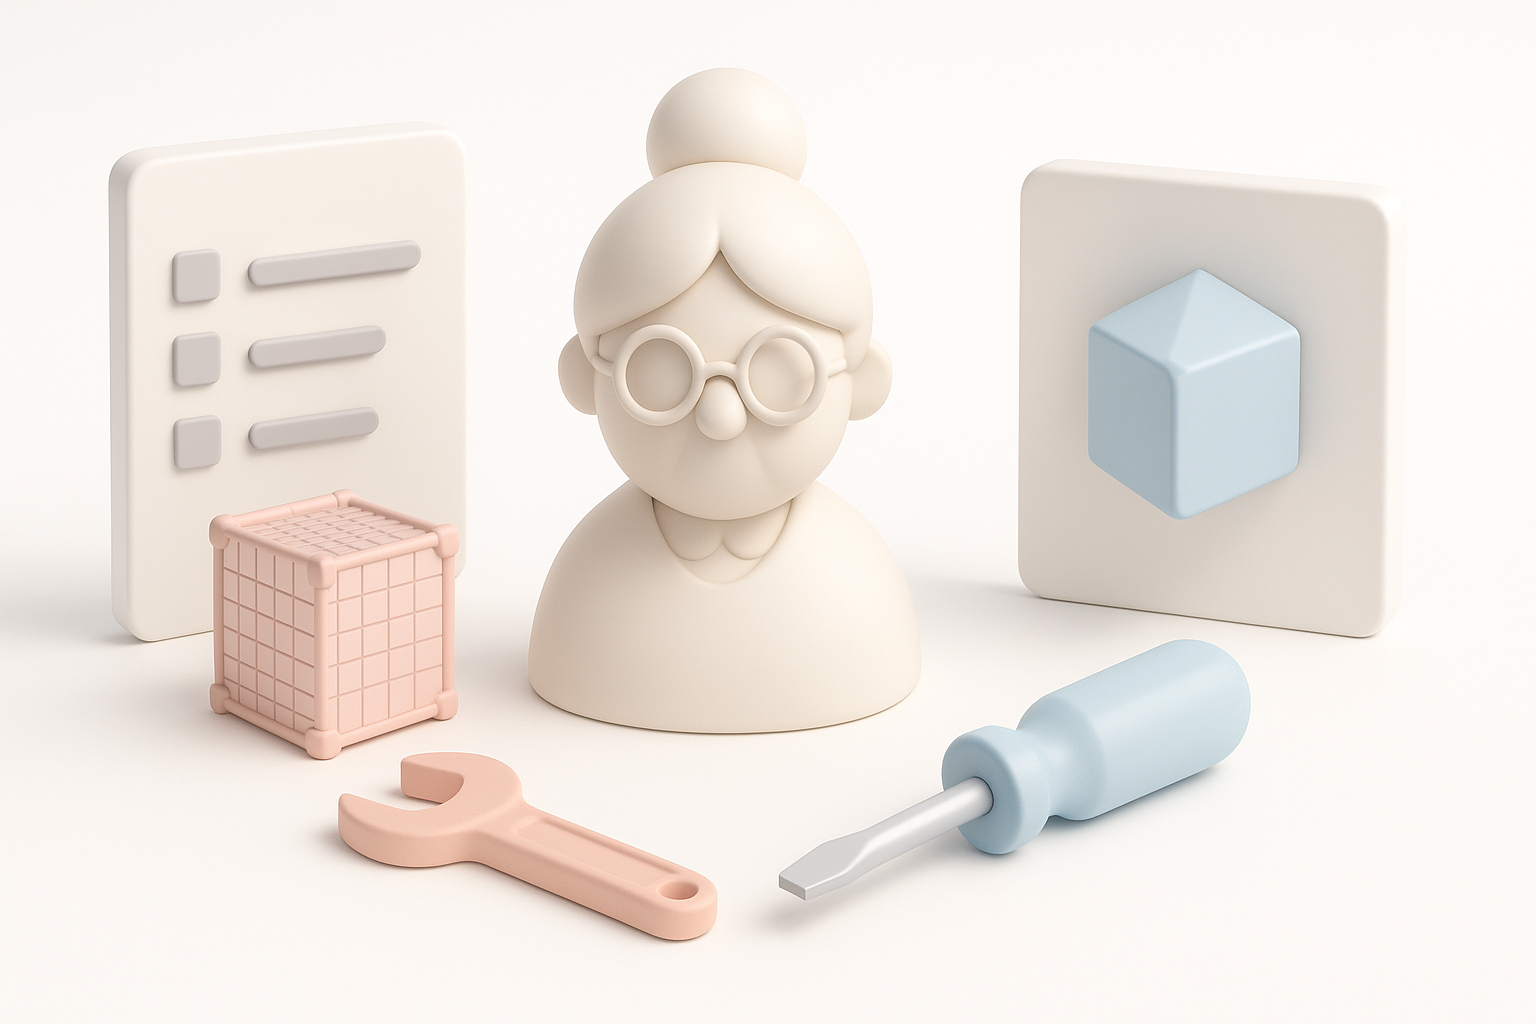
Creating and Optimizing Acme Pixel Line IP Grandma3 3D Models
скачать 3d модель для chicken gun
In my experience, producing high-quality Acme Pixel Line IP Grandma3 3D models is all about balancing creative vision with efficient workflows. This guide covers my hands-on process—from initial modeling to final export—highlighting practical strategies, tool choices, and common pitfalls. Whether you’re a game developer, designer, or 3D artist, you’ll find actionable tips for texturing, rigging, and optimizing Grandma3 models for real-world production. I also share insights on how Tripo AI streamlines key stages and how it compares to other methods I’ve used.
Key takeaways:
- Understand Grandma3’s features and use cases before modeling
- Efficient workflows save time and reduce errors
- Smart texturing and rigging are essential for production-ready assets
- Retopology and export settings impact performance and compatibility
- Tool choice matters—Tripo AI can simplify and accelerate the process
Understanding the Acme Pixel Line IP Grandma3 Model
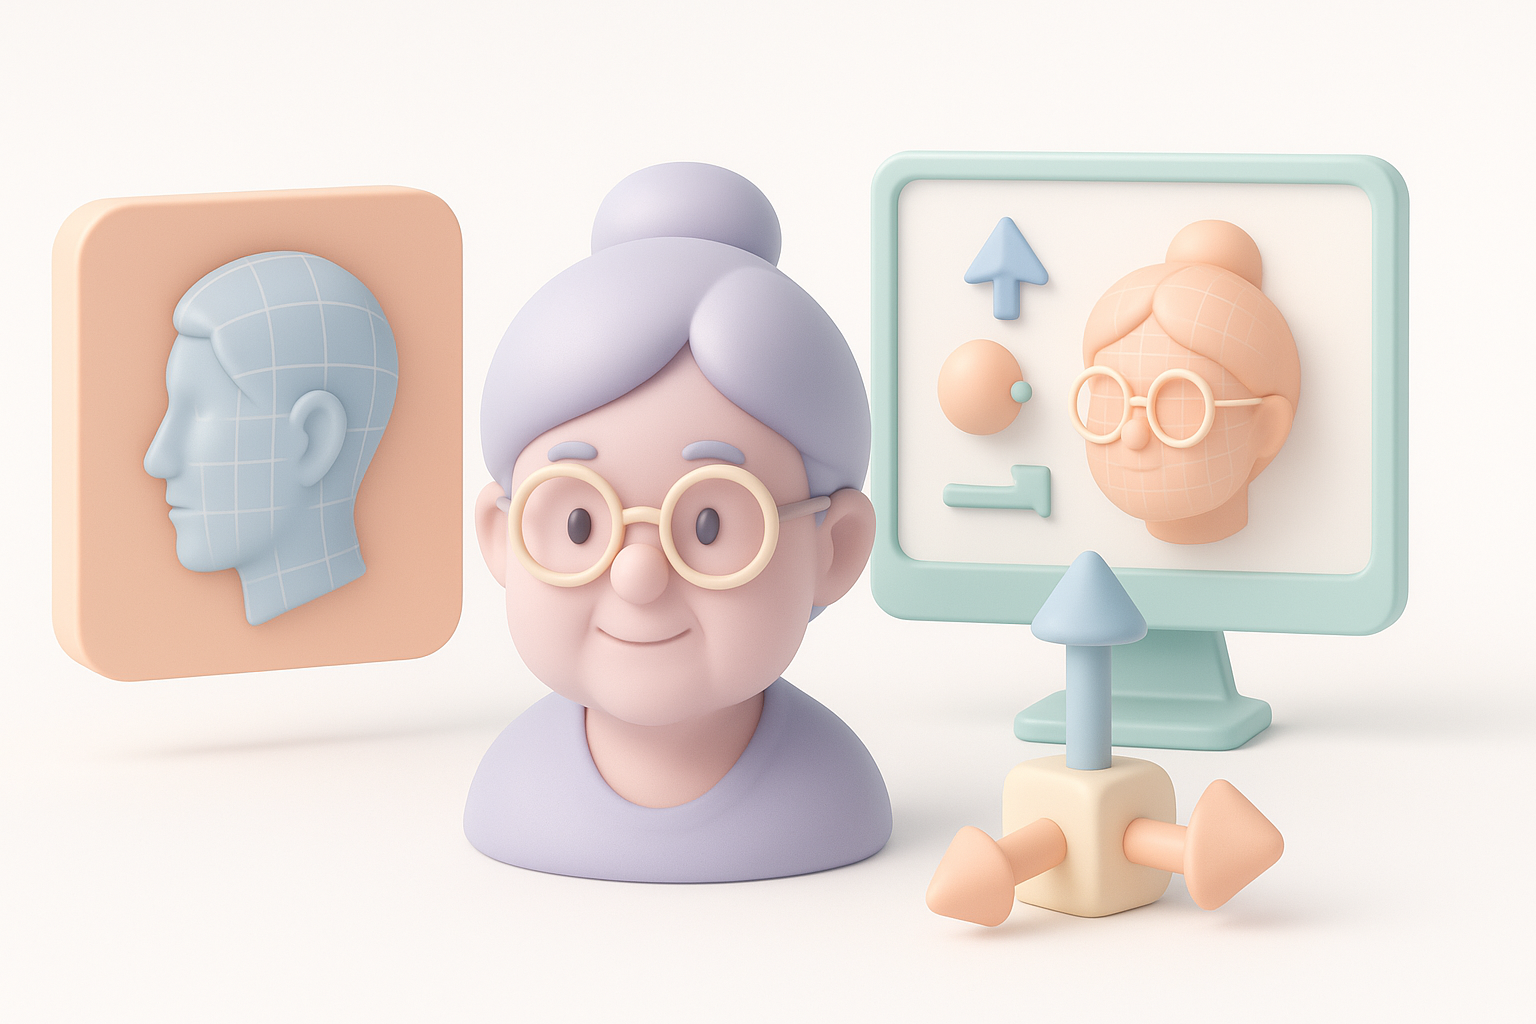
Key Features and Specifications
The Grandma3 model in the Acme Pixel Line IP is characterized by its stylized proportions, clean topology, and modular design. From my experience, its mesh is optimized for both animation and real-time rendering, with a poly count that strikes a balance between detail and performance.
- Key specs:
- Stylized geometry suitable for games and XR
- Modular mesh parts (head, body, accessories)
- UV layout optimized for efficient texturing
Common Use Cases in 3D Projects
I’ve used Grandma3 models in a variety of projects, including character-driven games, interactive apps, and animation shorts. Its flexible design makes it easy to adapt for different genres and platforms.
- Typical applications:
- NPCs in game environments
- Animated sequences for storytelling
- XR experiences requiring lightweight assets
My Workflow for Building Grandma3 3D Models
Step-by-Step Modeling Process
Here’s how I approach building a Grandma3 model:
- Reference gathering: Collect concept art and style guides.
- Blocking out shapes: Start with basic forms for silhouette and proportions.
- Detailing: Refine features, add accessories, and ensure clean topology.
- Segmentation: Use Tripo AI’s intelligent segmentation to separate mesh parts efficiently.
Pitfalls to avoid:
- Overcomplicating geometry early
- Ignoring style consistency with the IP
Best Practices for Efficient Creation
Efficiency is key. I rely on:
- Iterative feedback: Review progress frequently with stakeholders or teammates.
- Automated tools: Tripo AI speeds up segmentation and retopology, reducing manual errors.
- Mini-checklist:
- Confirm IP style compliance
- Maintain clean edge loops
- Prepare for downstream texturing and rigging
Texturing, Rigging, and Animation Techniques
Texturing Approaches I Rely On
For Grandma3 models, I prefer hand-painted textures to maintain the stylized look. Tripo AI’s auto-UV and smart texturing tools help lay the foundation, which I then refine in a paint program.
- Steps:
- Generate base UVs
- Apply initial textures via smart tools
- Polish details manually
Tips:
- Use color palettes from the IP
- Avoid texture stretching by checking UVs early
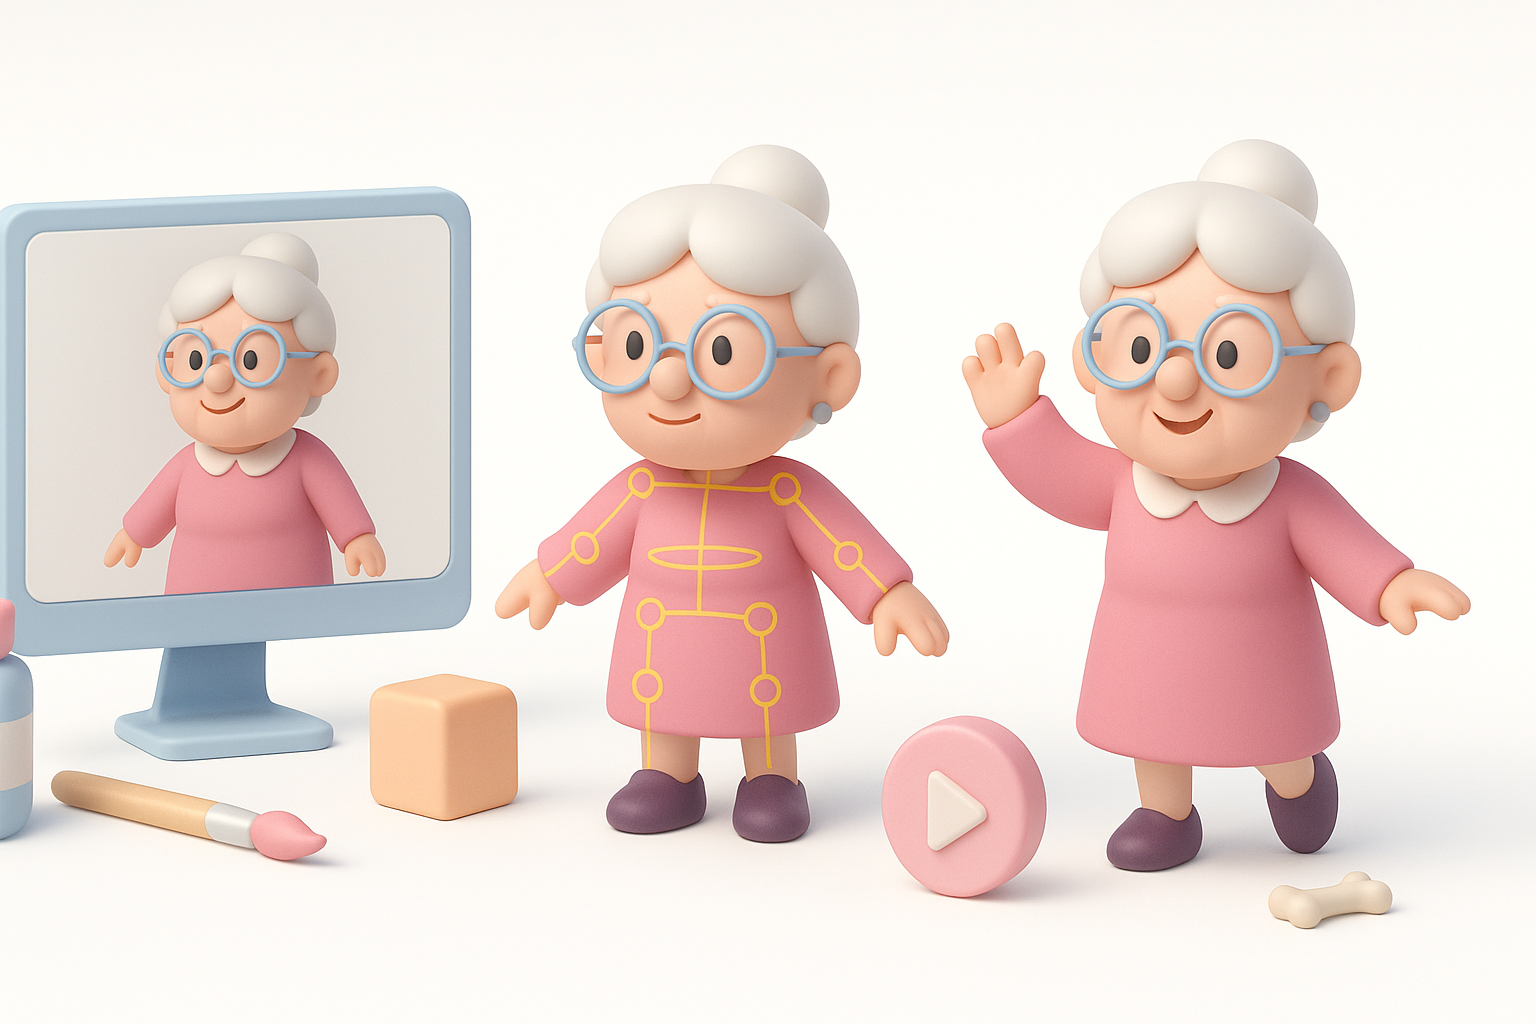
Rigging and Animation Tips for Grandma3
Rigging Grandma3 is straightforward due to its modular design. I use Tripo AI’s auto-rigging for base skeletons, then fine-tune weights and controllers.
- Checklist:
- Test joint placement for expressive movement
- Use animation presets for common actions
- Validate rig with quick pose tests
Pitfalls:
- Neglecting accessory rigging
- Overlooking facial controls for stylized expressions
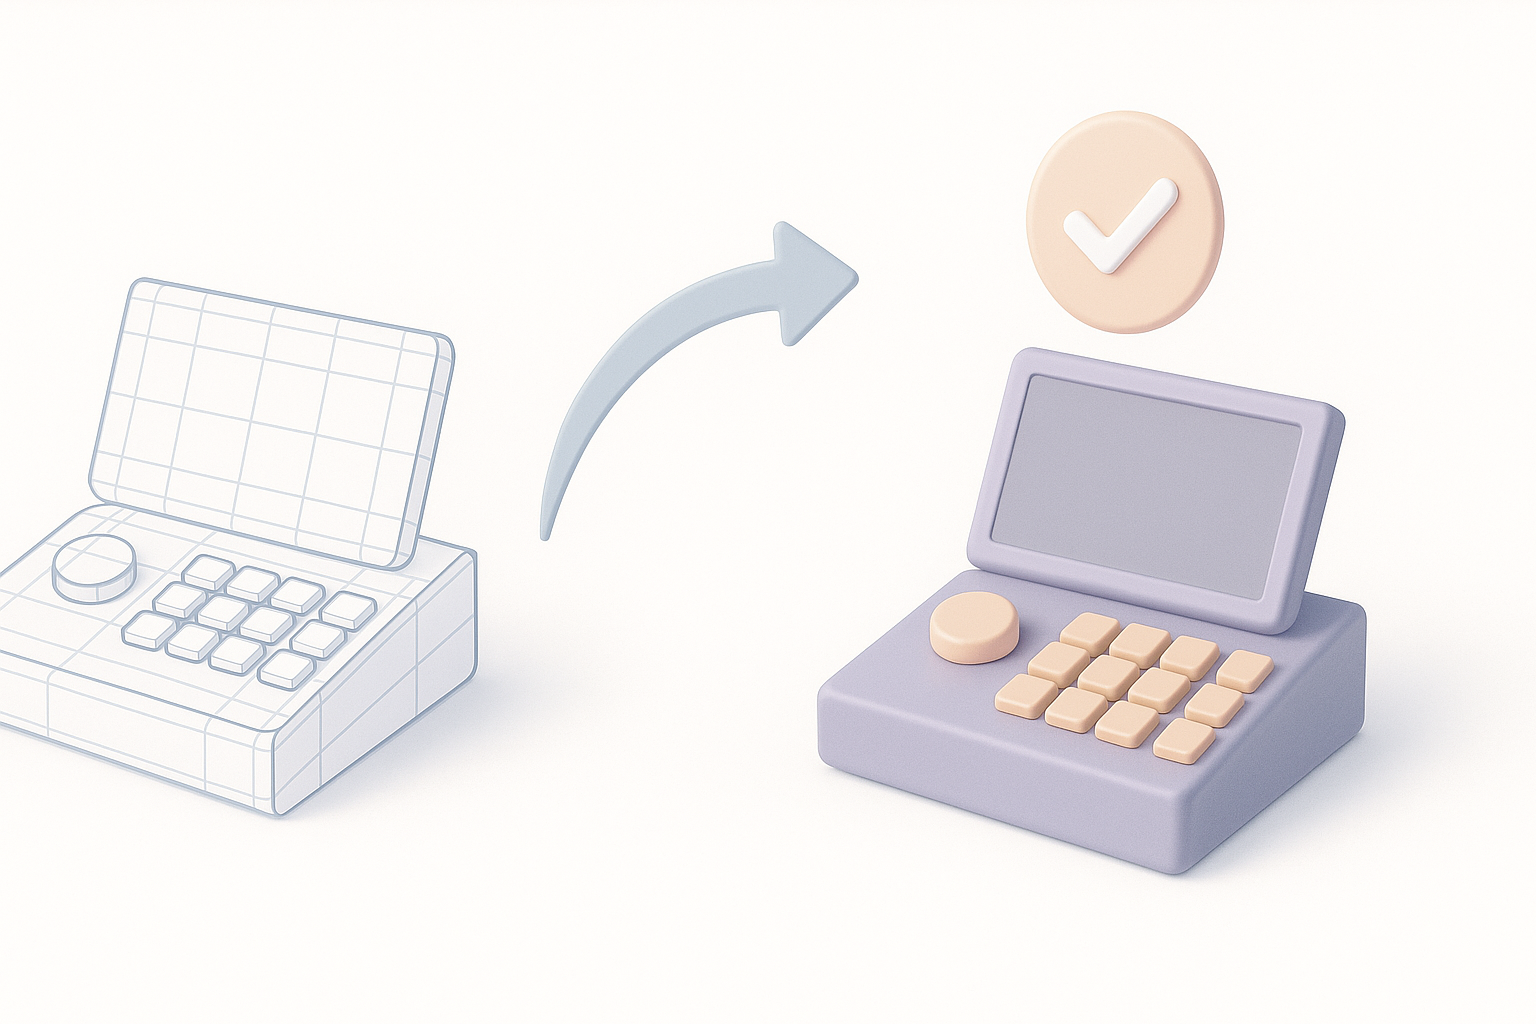
Optimizing and Exporting for Production
Retopology and Performance Optimization
Retopology is crucial for real-time projects. I rely on Tripo AI’s automated retopology, then manually check for edge flow and poly density.
- Steps:
- Run auto-retopology
- Check edge loops for deformation
- Reduce unnecessary polygons
Tips:
- Target platform-specific poly counts
- Optimize mesh for animation and rendering
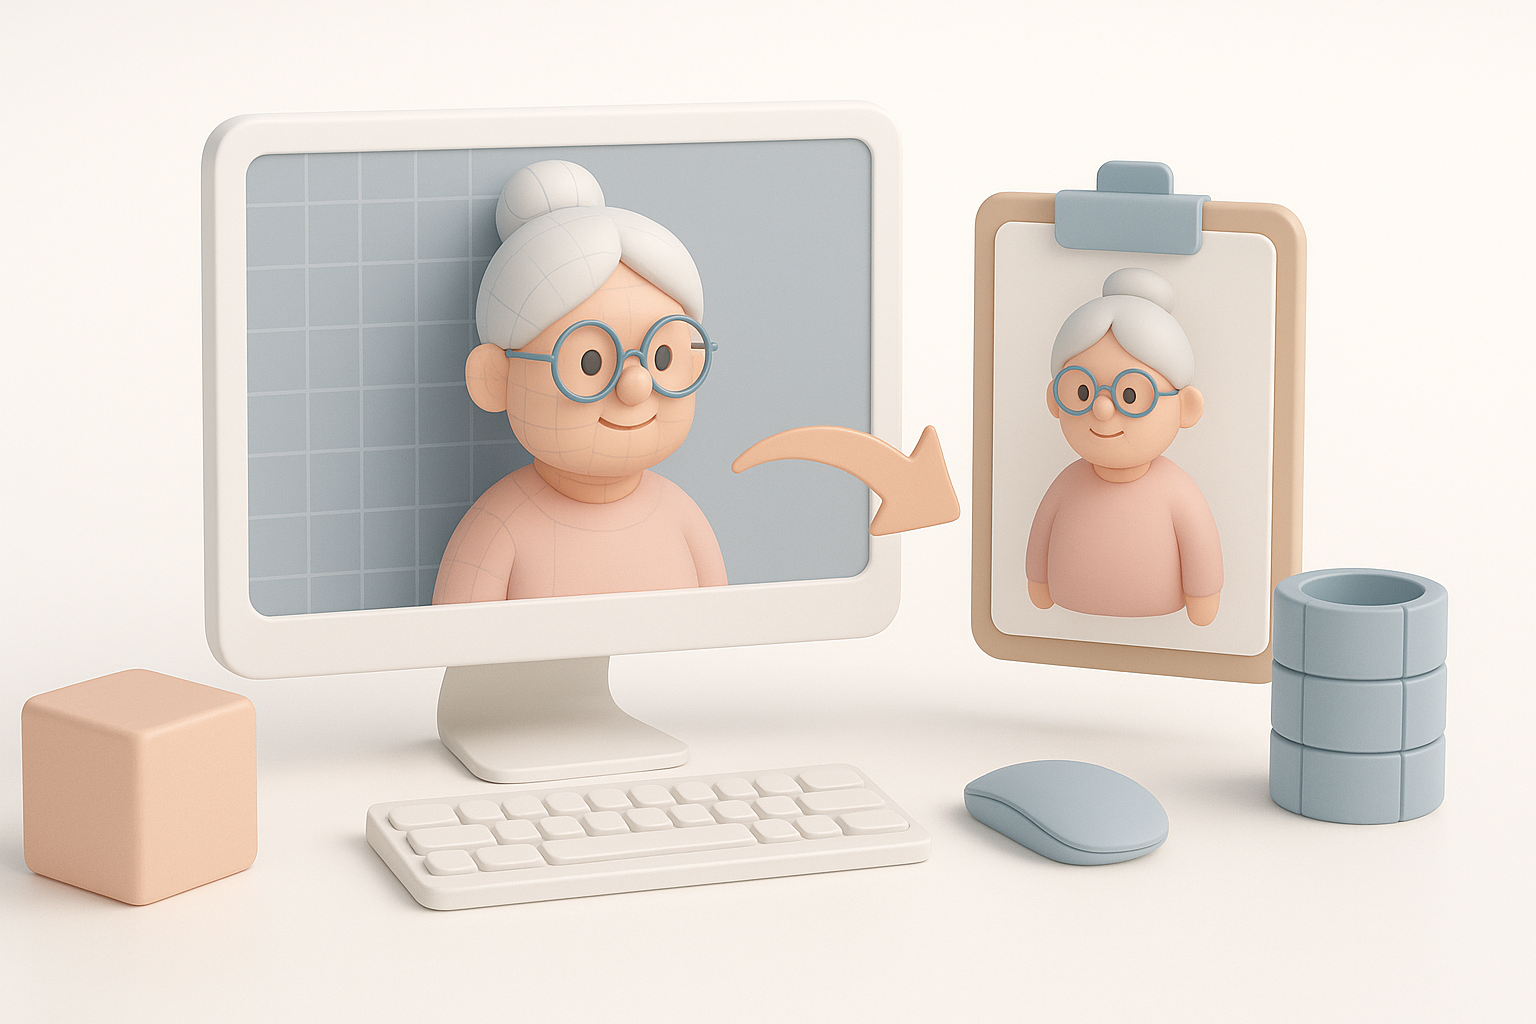
Export Settings and Compatibility
Exporting for production means ensuring compatibility with game engines and renderers. I use standardized formats (FBX, GLTF), and Tripo AI’s export presets simplify this.
- Checklist:
- Apply correct scale and orientation
- Bake textures and animations
- Test in target engine before final delivery
Pitfalls:
- Forgetting to embed textures
- Ignoring export naming conventions
Comparing Tools and Methods for Grandma3 Models
Using Tripo AI vs. Alternative Methods
From my experience, Tripo AI’s integrated workflow offers speed and accuracy, especially for segmentation, retopology, and texturing. Other tools often require manual steps or multiple exports, which can increase errors and time spent.
- Tripo AI advantages:
- Streamlined segmentation and auto-rigging
- Smart texturing and export presets
- Fewer manual interventions
- Other methods:
- More flexibility for custom workflows
- Potentially higher learning curve and complexity
What I’ve Learned from Different Workflows
Having tried both automated and manual workflows, I’ve found that automation (like Tripo AI) is ideal for iterative projects and tight deadlines. Manual methods are better when extreme customization is needed.
Takeaways:
- Choose tools based on project scope and timeline
- Automation reduces technical barriers
- Manual workflows offer deeper control but require more expertise
Conclusion:
Creating and optimizing Acme Pixel Line IP Grandma3 3D models is most efficient when you combine smart tools with best practices. Understanding the model’s specs, leveraging automation, and focusing on production-ready standards ensures your assets are both creative and technically solid.


